How I Visibly Mended a Pair of Secondhand Jeans

Using a scrap of quilting cotton and pearl cotton thread, I reinforced and mended a thinning and fraying area of my secondhand jeans.

Visibly mended jeans

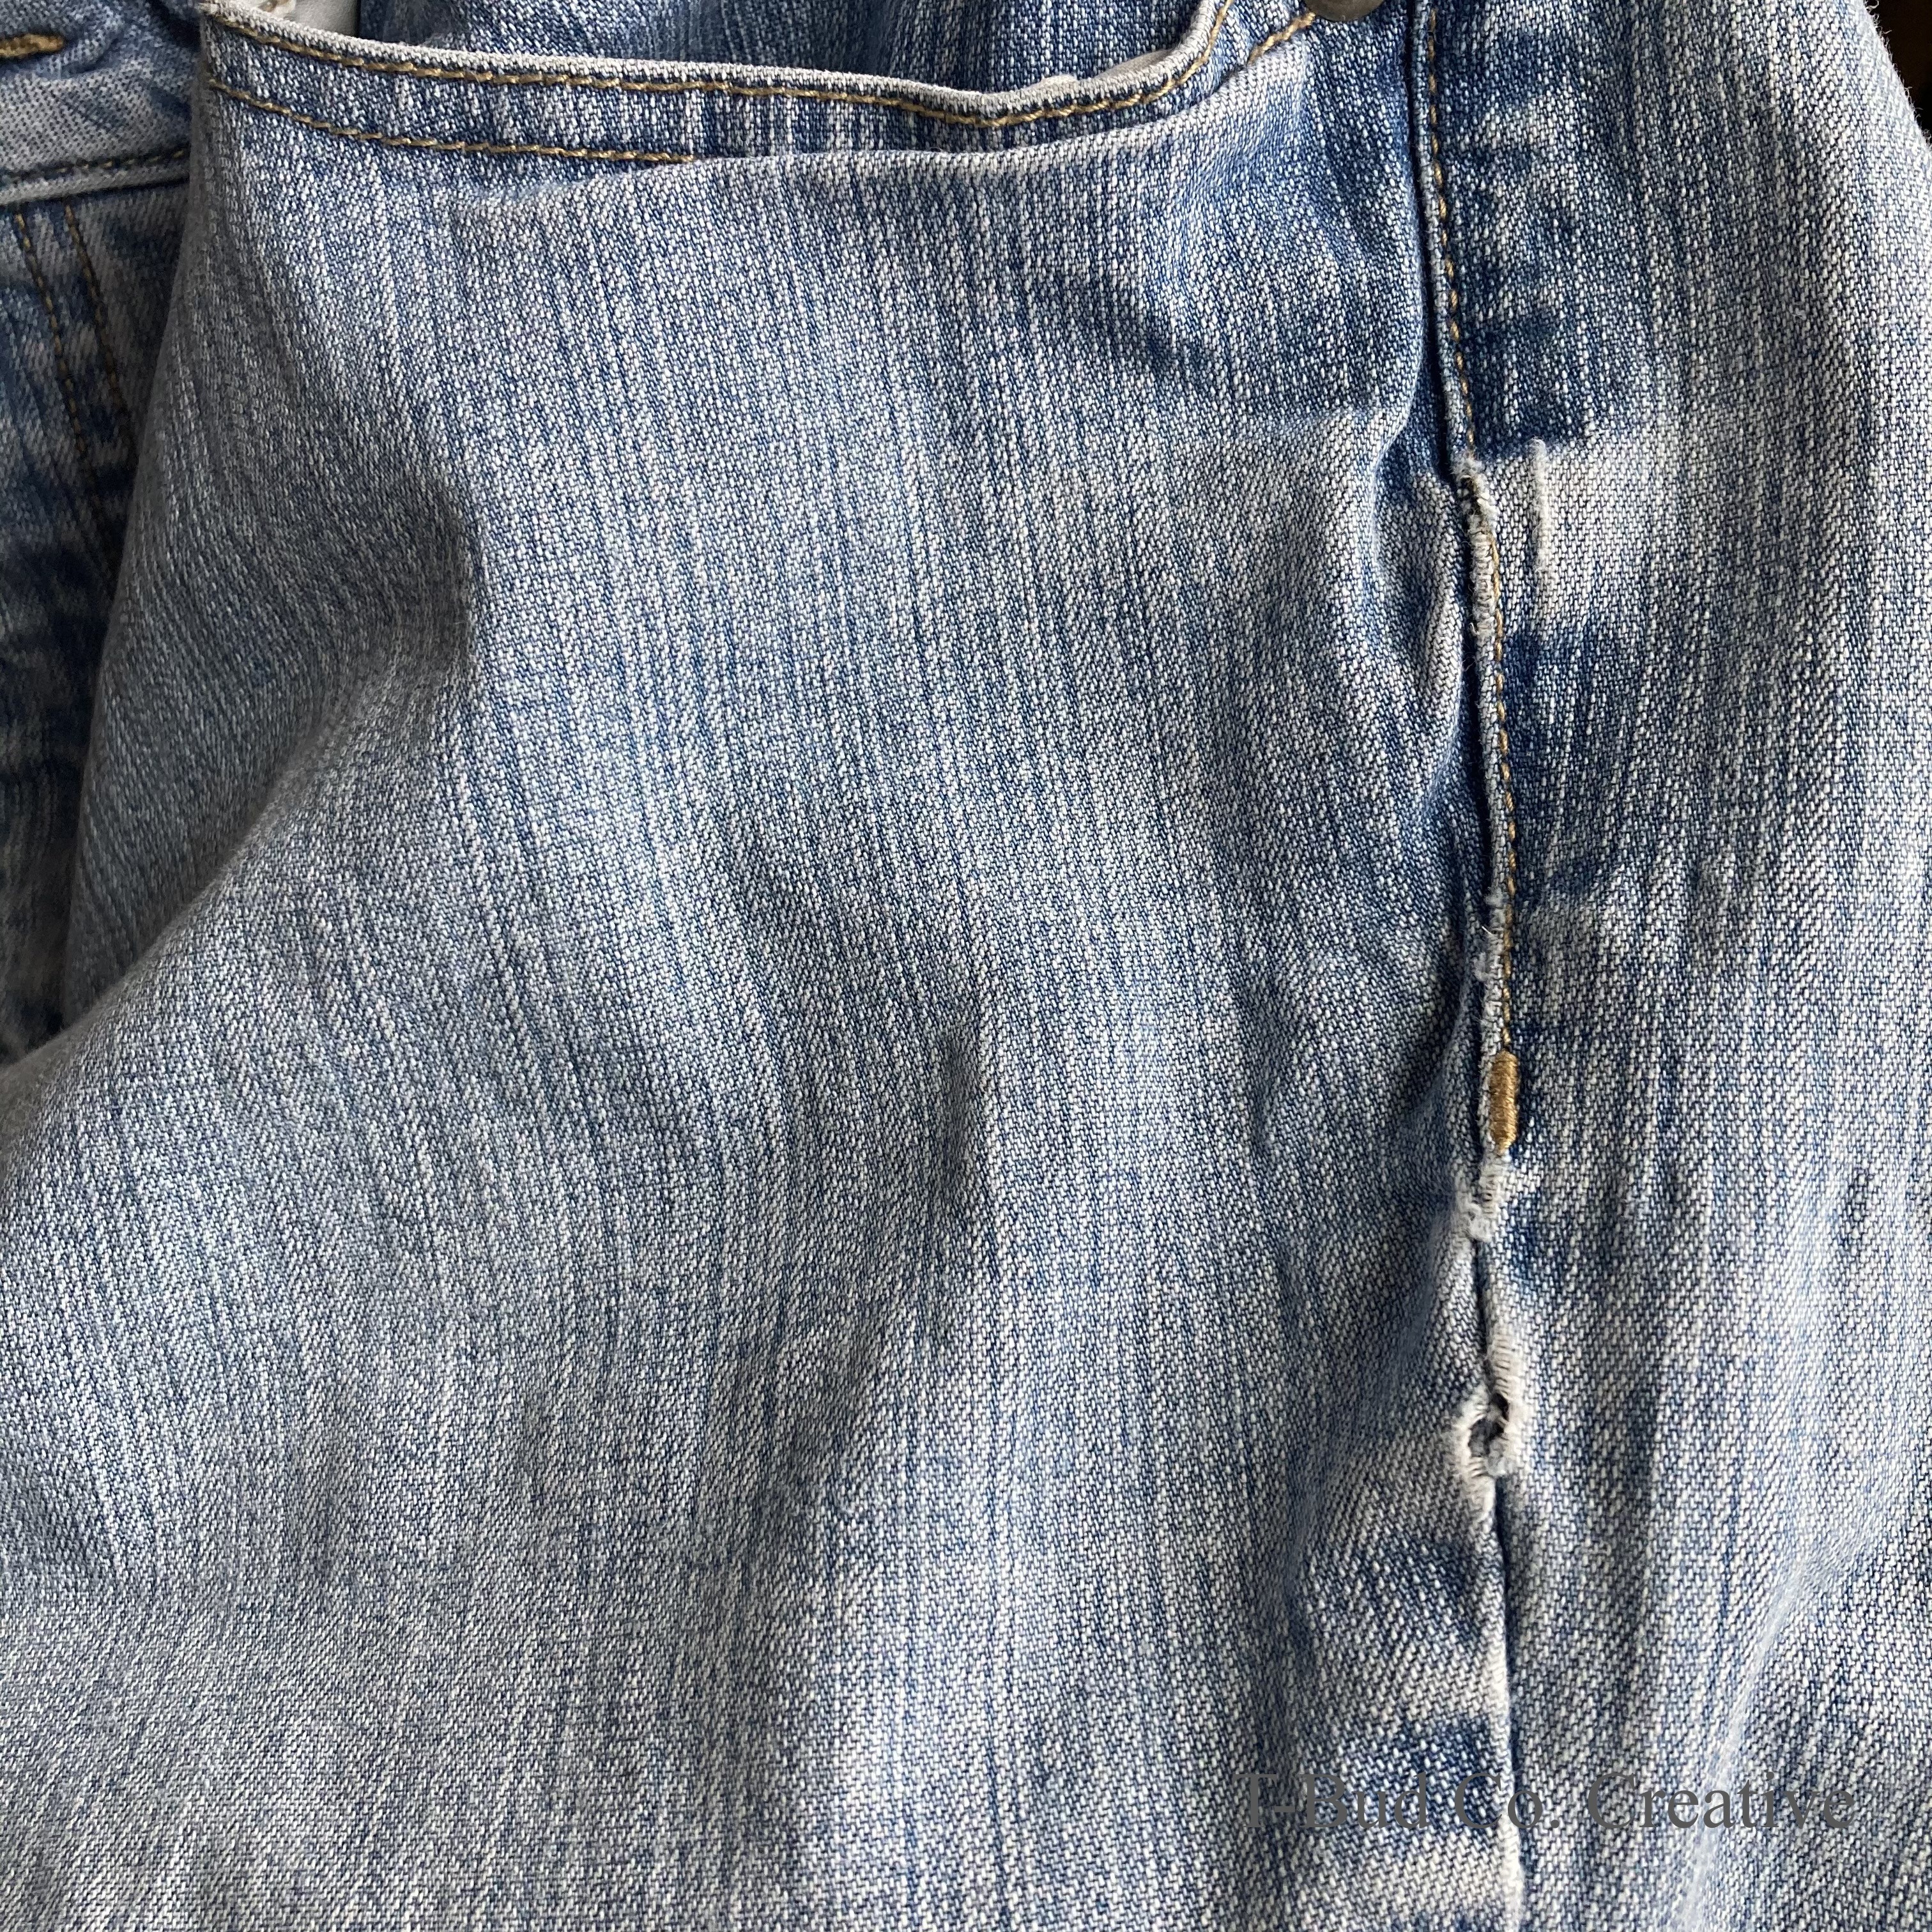
Remember the jeans I visibly hemmed? Well, I recently visibly mended them right at the seam on the upper thigh. I noticed that a twist in the seam allowance had created a thinning and fraying spot. As a person who has ripped her jeans in an embarrassing spot whilst wearing them before, I decided to take care of these jeans before an incident occurred. I chose to reinforce the area with a patch of woven cotton fabric on the inside using a Sashiko-like running stitch with pearl cotton.

Fraying and thinning area right at the seam

There wasn’t quite a hole, yet, and no mending to do per se, but with these being my—ahem—only pair of jeans that I can wear regularly, I wanted to be proactive. (Side note: Why is it so hard to find a pair of jeans that fit and fit comfortably? Hello, my third child is a little over a year old and I’ve spent a year staying at home as much as possible, thank you, pandemic. My body has capital-C changed. Also, WHY DO JEANS HAVE SO MUCH NON-COTTON FIBERS IN THEM?!? I get that a touch of stretch can make them comfortable, but when a quarter of the total fibers are not cotton, the fabric REALLY stretches. I’m already trying to find my new size, fiber content matters and is messing with my head!) Rant over—haha! 

A small piece of quilting cotton for the patch

I simply pulled a scrap of quilting cotton from my stash and cut it to size. Then I finger-pressed a 1/4” hem around the edges of this patch (I eyeballed it since I put it inside the jeans—no one else will be eyeballing it!).

Pin-basted patch on inside of jeans

Then, I pin-basted it into place. My first stitches were around the hem. The raw edges of the patch are completely concealed and contained between the patch and the jeans, because I didn’t want to deal with the patch fraying. 

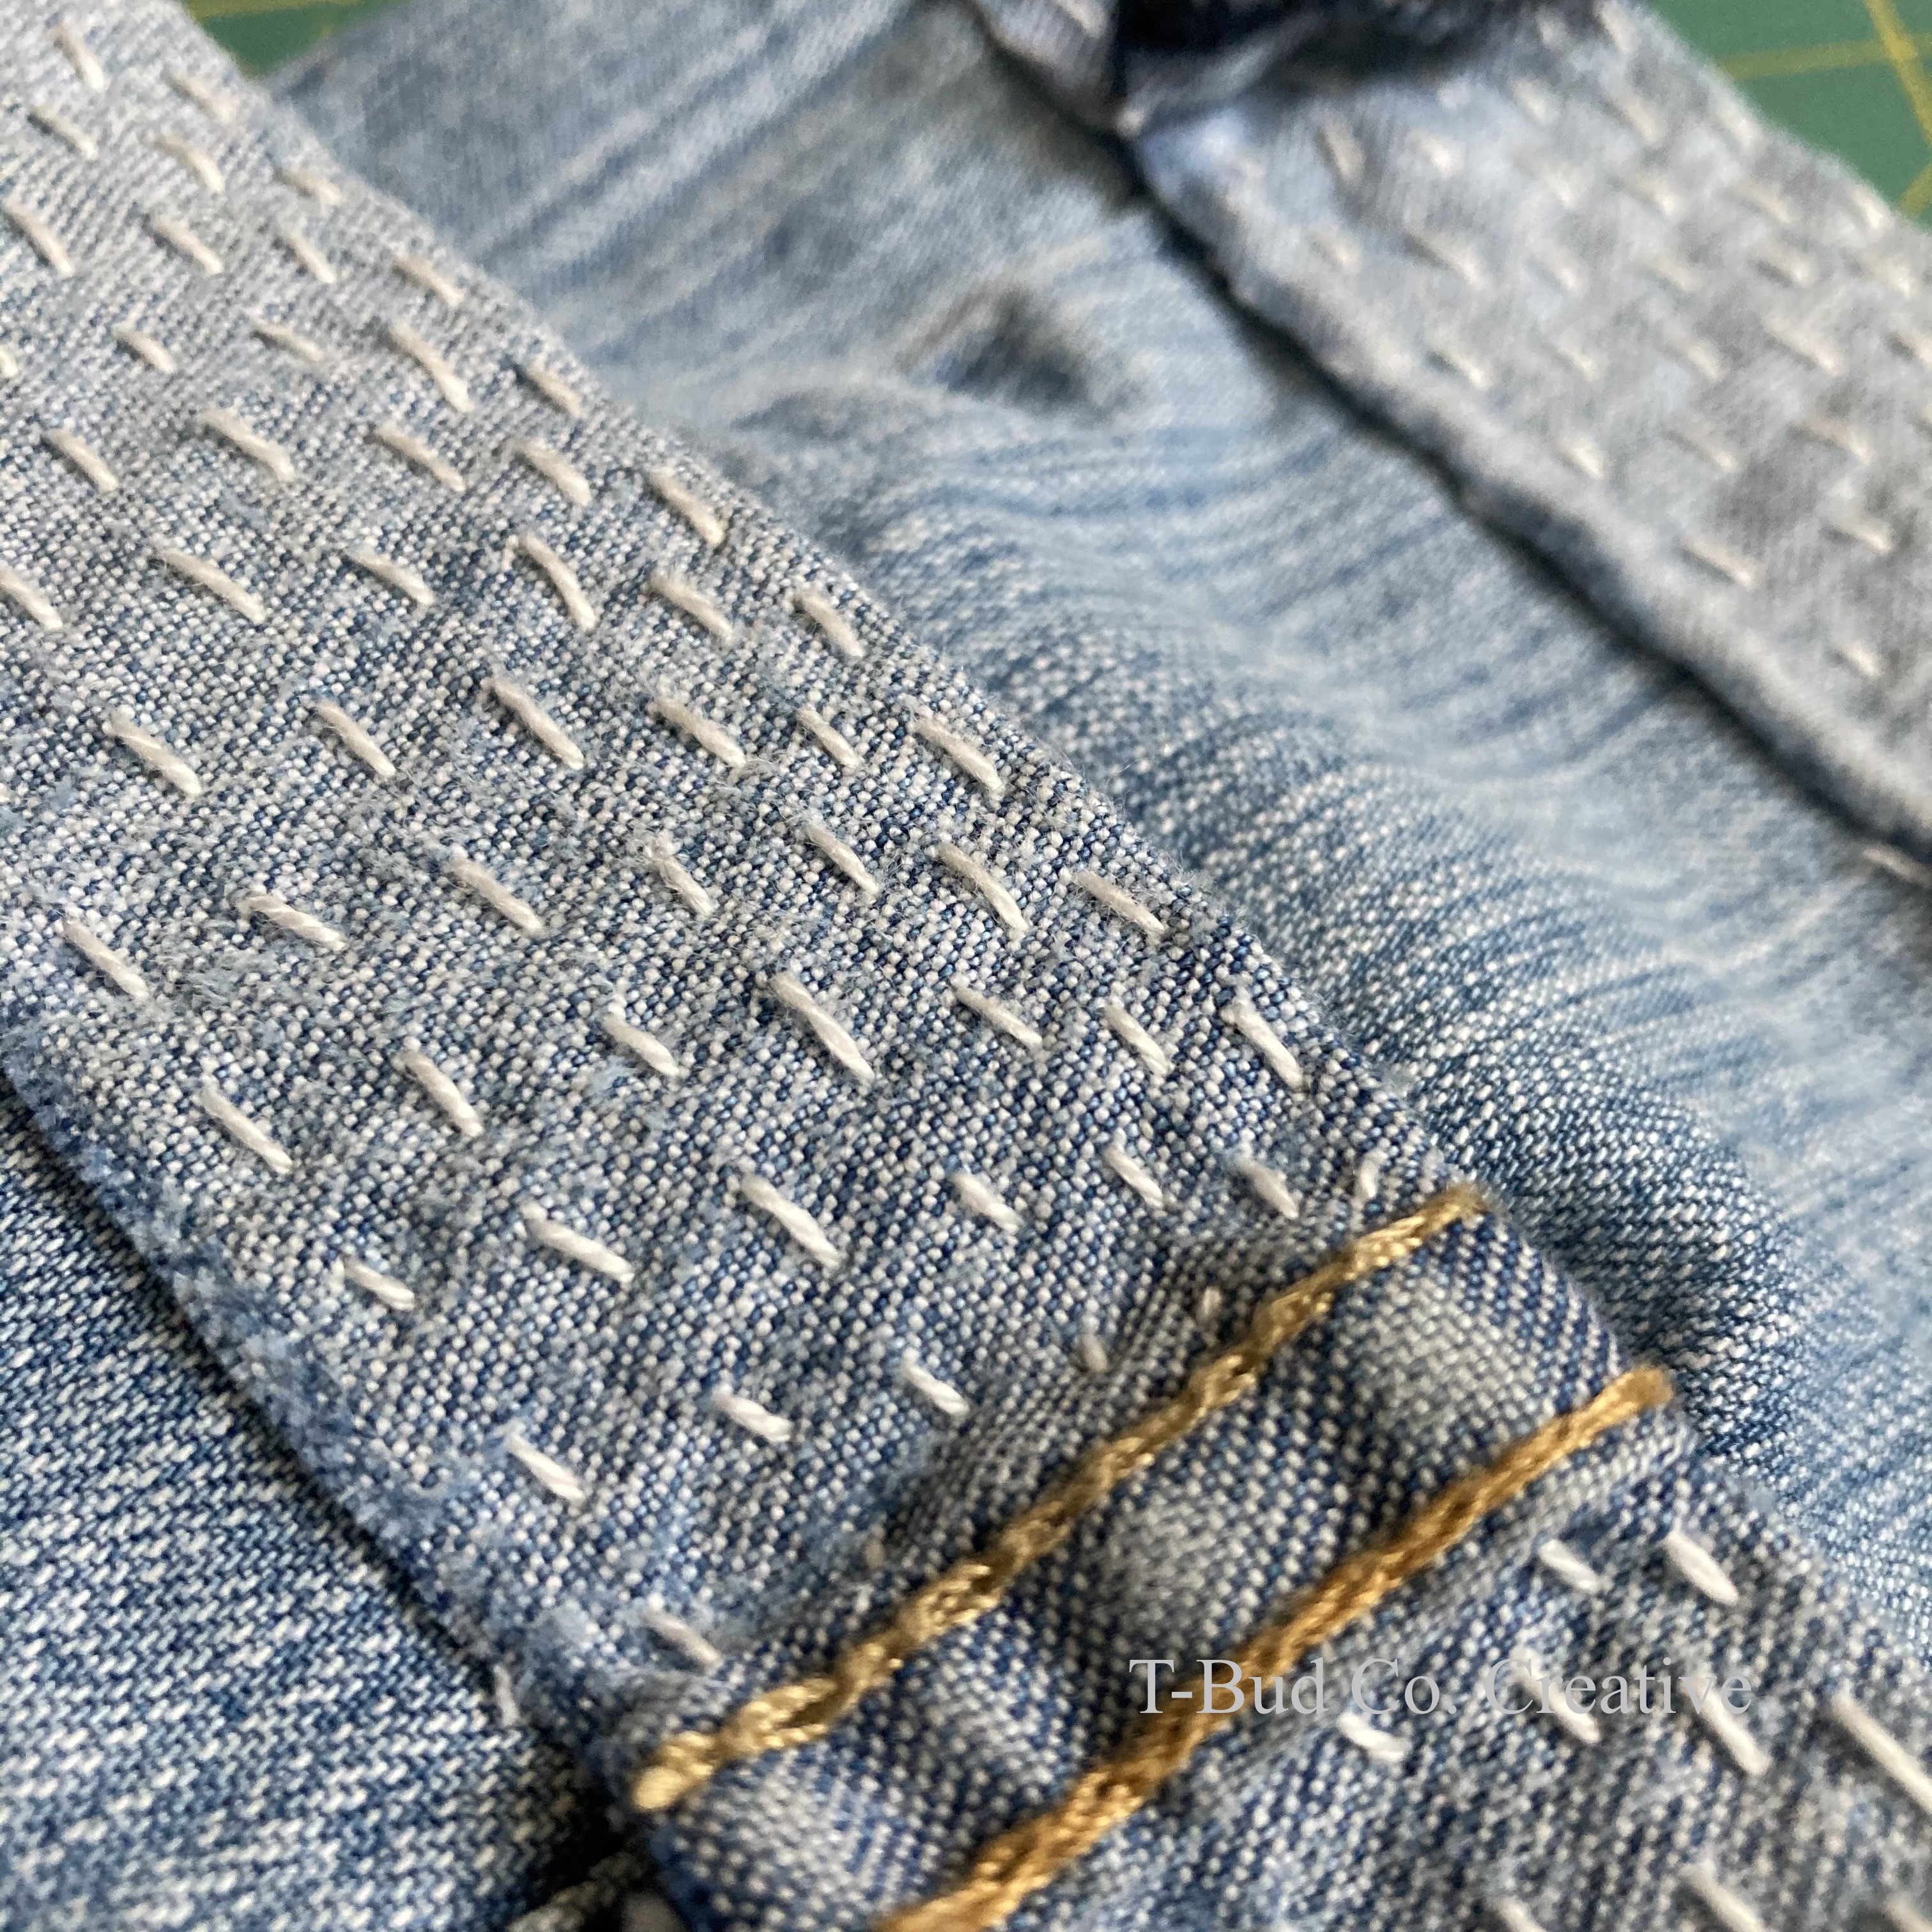
Quite simply, I just did a running stitch zigzagging from side to side in between the perimeter stitches. Done and done. My stitching is inspired by the “visible mending” trend, some of which is based on Japanese Sashiko. I found a great website for learning more about the culture and the craft. Click over to Upcycle Stitches.

Stitched around the perimeter first to secure the raw edges of the patch.

I’ve worn and washed these jeans a few times and the patch and stitching have stayed in place. Also, the repair is very subtle. The white thread is perfect on the light wash. While I love the “visible mending” aesthetic, I’m not about to draw attention to my hips and thighs!

You can see the jeans have been mended, but it’s not bold.

So, what do you think? Have you visibly mended any clothing? Did you use a technique that worked really well? Have I missed anything here? Let me know! I read all the comments whether you write them the day I publish a post or 5 years after!

How I Visibly Hemmed a Pair of Secondhand Jeans

I used sashiko-like stitching to hem a pair of thrifted jeans. The inseam now fits better and the jeans have a “visible mending” aesthetic.

Visibly Hemmed Jeans

I’ve had a pair of thrifted jeans that I didn’t like for a couple of years. They were too long (and bootcut, which exacerbates the annoyance of a too-long inseam—all that fabric just hanging around my ankles!). Alas, my post-third-baby and pandemic-life body fits these jeans and not many other pants. So, I figured I can’t make these jeans any worse, so why not try to hem them and make them marginally better?

Pinterest, a go-to for inspiration, didn’t have too much about visibly hemming pants. There are about a bazillion tutorials on how to hem jeans with the original hem, but for this project, I didn’t have the patience. I did find this inspiration: jeans with colorful stitching to hold a cuff in place. I wasn’t interested in a cuff as much as just shortening the legs of my jeans.

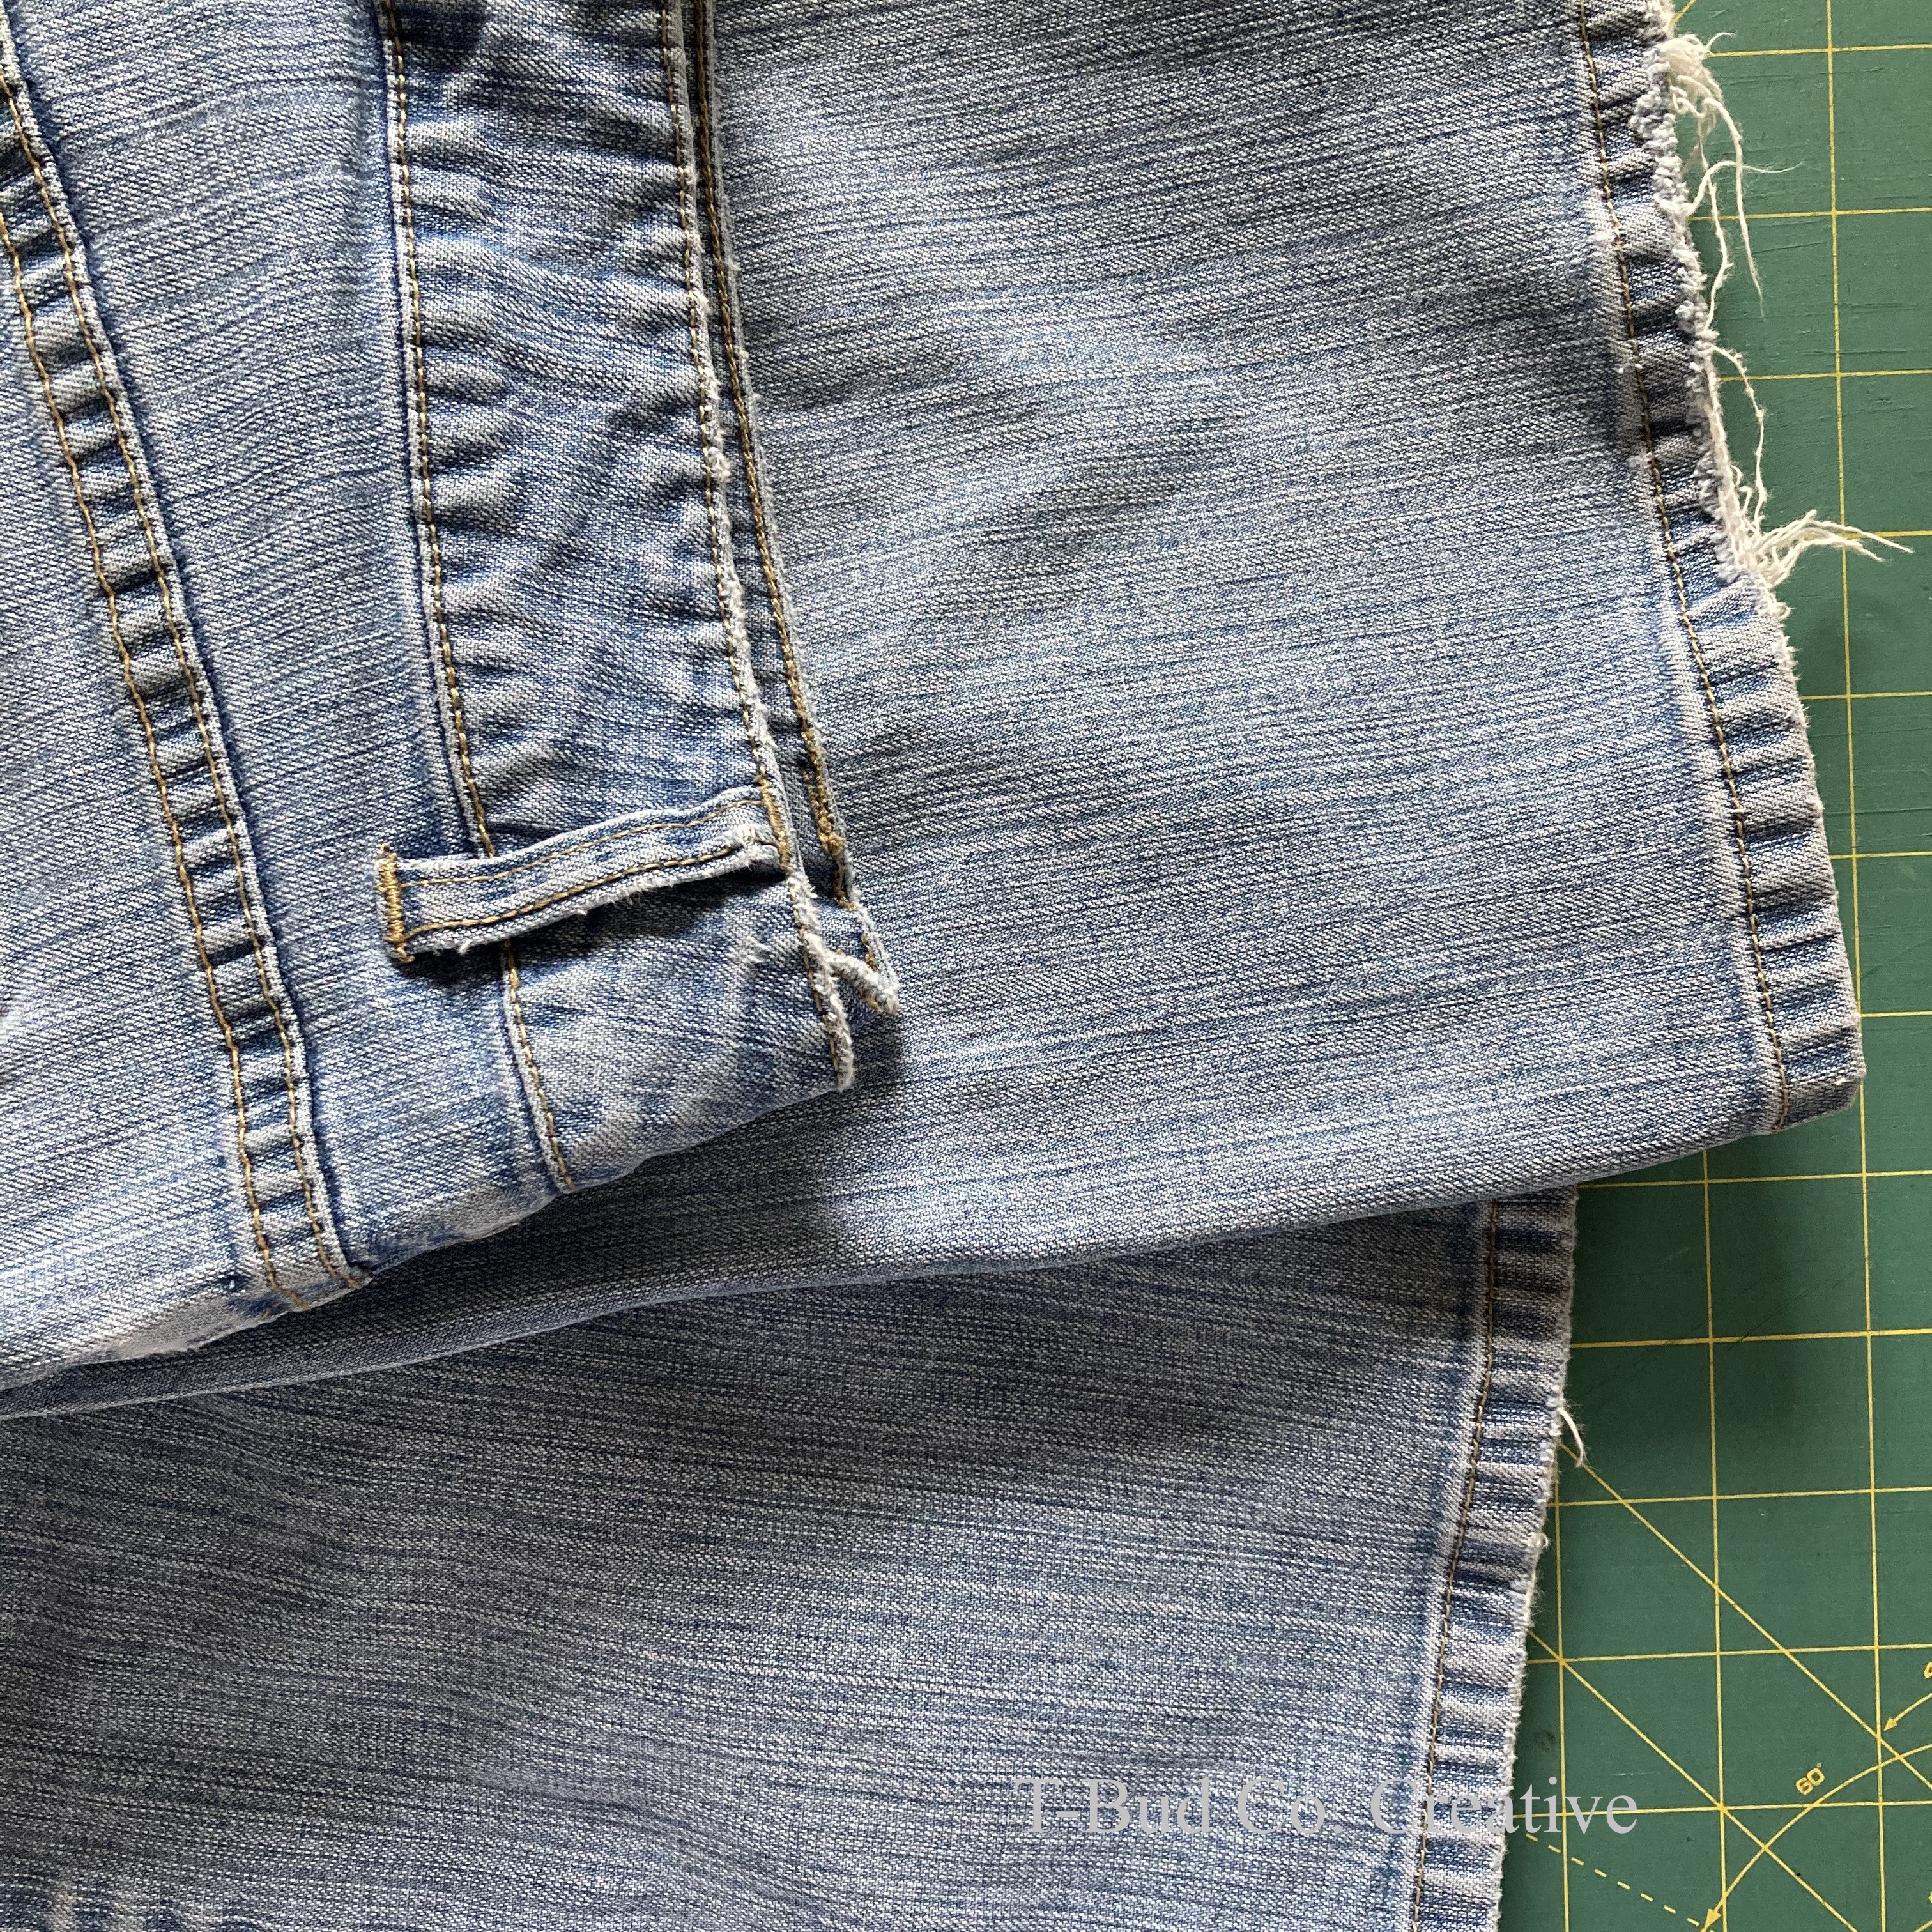
The before: just a thrifted pair of bootcut jeans showing a little wear.

I dived right into this project by first cutting off the original hem. Because of the bootcut silhouette and my annoyance at the excessive fabric around my ankles, removing the hem got rid of some of that heft. 

Removed the original hem to lose the extra weight/fabric.

Then, I folded up the pantlegs to a length I liked. I had been doing this when I wore them anyway. Anyone else despise how a cuff like this will catch anything and everything? I’ve taken my pants off at the end of the day to find bits of dried leaves and grass and dirt hiding in the cuffs!

A perfect fit requires just putting the jeans on!

I held the hem in place with some clips and broke out a needle and some pearl cotton thread. I went to town with a running stitch along the folded-up hem, securing the fabric in place. It gives the hem a sashiko stitch look and a nod to the visible mending trend (which is what I was going for second to shortening the length). 

Visibly hemmed jeans with a running stitch.

Overall? The pants are still not my favorite. But, they are better than what they were! Plus, I got some practice hand stitching and felt a sense of accomplishment getting a small project started and completed (hard to do with a one-year-old crawling around!). I’ve washed the jeans and there is some fraying where I cut off the original hem. But, it’s nothing just a little snipping of loose threads here and there can’t fix. 

After one wash. A little bit of fraying, but not too bad.

Have you ever taken a chance on altering a piece of clothing you felt “meh” about? Did you like it better afterwards? Let me know!

Unfussy Instructions for Sewing a Standard Pillowcase

My easy instructions for making pillowcases means you can have a lot of different designs to choose from every time you change sheets. It’s fun for everyone, especially kiddos.

One of my favorite things is having fun pillowcases to choose from every time I change the sheets. I recently made pillowcases for my older kiddos for Christmas (yes, I had to get started this early). Because they’re easy to make, why not have a lot of different patterns or give in to your kids’ 6-month obsession with whatever television character?

I’m not fussy about my home décor and how I make my standard pillowcases is equally unfussy. Admittedly, I inherited my “lots of fun pillowcases” philosophy from my quilter-sewist mom. (She started my collection.) So, I had a sense of how to make one myself since I’ve watched her make them before. But, the instructions I’m providing are my own—made from simply measuring whatever pillow was on my bed at the time, measuring one of her pillowcases, and doing my best with limited space for cutting large swaths of fabric!

First and foremost, per Google, a standard pillow measures 26”L x 20”H. The pillowcase should be a wee bit higher and a wee bit longer. A Google search shows that a standard pillowcase is 30”L x 20”H. But, remember we are working with pillows. Pillows are squishy. Standard pillows are for sleeping, not for decoration (like a throw pillow). So, if your pillowcase ends up a bit too small, you can just squish the pillow in. If they pillowcase is a bit too big, well, it’ll just be a bit loose on the pillow.

To start, select 2 coordinating cotton woven fabrics about 45” wide. One will be for the main part of the pillowcase (Fabric A) and one for the accent (Fabric B). Fabric A needs ¾ yard. Fabric B needs 1/3 yard. Honestly, just get 1 yard of Fabric A and ½ yard of Fabric B. Any extras you can just toss into your scrap pile or add to your stash—who doesn’t want extra fabric to play with? Plus, while 25” + 11” = 36”, a yard, you must remember that a yard is not a yard of fabric. One of the reasons I prewash is that it helps to show just how un-square the cut is. Washing fabric will shrink it, even slightly. Once you fold the fabric straight, you’ll see that the cut edges are not square and that once you square the fabric, you’re most definitely not left with whatever length you asked for. You’ll lose a few inches.

Cut Fabric A 25” by the width of the fabric (WOF). Cut Fabric B 11” by the WOF. Trim off the selvedge.

Fold Fabric B in half with wrong sides together (so the right side is showing) and press.

Pin and stitch Fabric A and B together along the WOF, right sides together, raw edges together. Finish the seam with a zigzag stitch or a French seam. (See below for YouTube French seam tutorial video.)

Here’s where the unfussy comes in: if there are any differences in the lengths between Fabric A and B, just square it up and trim off the extra fabric after they’re stitched together. This is where you’ll get your little bit too small or little bit too big measurements. It’s okay! Trust me! Perfection is overrated anyway.

What the length difference looks like in real life. Notice the pink leaf fabric is longer than the accent fabric.

Next, fold the fabric in half with the right sides together and then stitch the long sides together and finish that seam (zigzag stitch, French seam).

Finally, stitch the short sides together with the right sides together and finish that seam. Turn it right side out and you’re done!

You have my permission to put it on your pillow immediately and just take a short little snooze to test it out.

Here is the French seam tutorial I watched to learn how to do them. It’s a nifty technique that’s great to have in your sewing repertoire.

Baby Bibs from Repurposed Button-Up Shirts

I made quick and easy baby bibs with fabric from repurposed button-up shirts and snaps from outgrown, stained baby bodysuits.

Baby bib from upcycled shirts.

I just had my third baby in November. So, he just started eating solids a little over a month ago. Now, being my third, I have some tired bibs leftover from my older two. But the hook-and-loop closures are worn and don’t stick very well, and they’re very vinyl-plastic-y feeling, which I don’t like.

In my fabric stash I have a few button-up shirts from my husband that he no longer can wear because of holes in the elbows. Usually, I would be all about mending, but we’re not at the point where a mended elbow is considered a professional look in the workplace. And, yes, those things do matter. Alas, I did the best I could and stashed the shirts in my fabric bins until the perfect project came along. Enter my need for several bibs for a new human sloppily learning to eat.

The only new thing I used was thread. There’s no interfacing in these bibs! The snap closures came from outgrown baby bodysuits that were stained just enough to bypass the donation bin and went straight to the rag bin (after I snipped off the snaps, of course).

First, I took one of the old bibs I had and made a pattern. I simply folded the bib in half and traced it on some paper, marking the side where the fold goes. I added a ¼” seam allowance line freehand. Hey, these are bibs, not something that needs to fit just right!

Old bib.
New bib pattern.

Next, I cut up the shirts to have a decent amount of fabric. Each bib needs two of the pattern piece cut out of fabric. With some creative folding, I was able to get two bibs out of one shirt: one out of the back and one out of both sleeves.

The back and two sleeves of a shirt cut into flat pieces.

Then, I pinned the two sides together. Here’s the great thing about using woven plaid shirts: I didn’t have to worry so much about wrong and right sides of the fabric. Obviously, if you’re using fabric that has a wrong and right side, pin the right sides together. I stitched around the perimeter of the bib, leaving a space at the bottom for it to be turned right side out.

Before flipping the bib out, I made some clips on the seam allowance around the curves. This helps with getting the seam to lay flat.

After flipping the bib, I gave it a quick press under the iron and then topstitched around the perimeter.

Nothing fancy. Just topstitching in all-purpose thread.

Next up, I trimmed my upcycled snaps. I left just enough fabric on each side so that there would be room to stitch them down. I stitched each snap piece three times on either side of the snap, going back and forth to create a sturdy hold. Eyeballing where the snaps went on the bib ends worked fine. Again, these bibs are going to get messy; there’s no need to be fussy about the construction!

Snaps saved from a baby bodysuit.

A NOTE ABOUT CLOSURES: THESE BIBS, AND ANY BIBS, GO AROUND A BABY’S NECK. EXERCISE CAUTION! USE A BREAKAWAY CLOSURE. WATCH YOUR BABY WHEN THEY’RE WEARING THE BIB. MAKE SURE THEY DON’T GET THE BIB SNAGGED ON ANYTHING AND CAN’T GET FREE. KEEP YOUR BABIES SAFE! SAFETY FIRST, CLEANLINESS SECOND. Goodness, I don’t want any babies to get hurt!

It’s not pretty or precious, but it works!

Okay, so the stitching on the snaps isn’t pretty. Alright, so bibs made out of old business casual shirts aren’t necessarily cute. But, that’s the beauty of having a third baby! I value function over form! Most of these bibs (I made seven total) are 100% cotton. So, they wash up like a dream! They’re soft, pliable, and so far, have caught the slop.

When I put it on my baby, it looks like he’s about to head to office. Ha!

How to Make an Iron-On Transfer Using an Image Printed with a Toner Printer or Copier

A quick, easy (and cheap!) way to create an iron-on transfer is to use an image printed on a toner printer or copier. Learn how I did it with no special supplies.

Peeling off the paper to reveal the image.

Back in May, my quilt guild challenged its members to sew name tags to wear to meetings. I was all on board since I appreciate the members who wear name tags because we only meet once a month and I’ve only been attending for about a year and a half now. (I still feel like I don’t know everyone!)

I didn’t know exactly how to put my name to fabric. My handwriting isn’t fancy and embroidery would require extra needlework I didn’t have time for. Alas, buried in the depths of my memory was a 5th grade project my mom helped me with, where we ironed a photocopied image onto a piece of fabric. While I can’t remember the specific requirements of the project, we had to create something about a book we just read (and, no, I can’t remember what book it was). I decided to embroider the image used at the beginning of each chapter onto fabric and then (with a lot of my mom’s help) make it into a pillow. I don’t even know why, but the technique for creating an iron transfer has stuck with me.

Here’s what we did: we simply photocopied the image from the book. We enlarged it and darkened it, too. The more toner the better. Then, my mom ironed the image onto fabric. Voilà! I then had an outline to follow as I embroidered. I’m pretty sure this pillow no longer exists, so while my classmates and teacher seemed impressed, I question my 5th grade handiwork.

It was with that knowledge, that I started on my name tag. I first pulled up Microsoft PowerPoint, because it seems like the most “designy” program in the Microsoft Office suite. I wrote out my name (and my nickname—I wasn’t sure what I’d want fellow quilters to call me). Then, I searched the “Help” section for mirroring text. Instructions for that quickly popped up and I followed them. It’s here I’ll note that you have to mirror the image if it matters, as it does with text. Because you ultimately flip the printout over and iron it to the fabric. I made a couple of sizes to see which I liked best and then printed the sheet using the darkest setting I could. Remember, more toner creates a darker transfer.

IronOnTransfer_01
I mirrored the text (image) and played with the size.

I cut out several pieces of the text and practiced ironing it to 100% cotton muslin. I put my iron on high heat and I pressed really hard. I suggest practicing. And, depending on what you plan on doing with your transfer, you may not need it to be perfect. My plan was to leave the transfer as-is, so I wanted it relatively dark. If I was embroidering it, I wouldn’t have needed it as dark, just dark enough to see where to put my needle and thread.

Post ironing. The regular ol’ printer paper (no need to buy anything fancy!) curls with the heat.
Carefully peeling off the paper. As you can see, even though it’s dark, it still has a nice distressed look, which I like.

After transferring my name, I stitched it into a name tag, and put a pin back on it.

The finished name tag.

Here’s the kicker. I don’t love it! The thing I like most about this name tag is the lettering. I’m not crazy about the other fabrics or the size of the whole thing. In fact, I don’t like it so much that I’ve never worn it to a quilt guild meeting! But you know what? That’s how making goes. You’ve gotta make a whole lot of “meh” to get to some good stuff. And, that’s alright with me, because I always enjoy the process.

In a nutshell: How to Make an Iron-On Transfer with an Image Printed with a Toner Printer or Copier

1. Make sure the printer or copier you’re using uses toner. I’ve never tried this with an inkjet printer and I don’t know what a space-age copier uses these days. As far as paper goes, I just used what is in my printer, that is, nothing fancy. Ditto with the copier we used in the 5th grade. Whatever was loaded in there, we used.

2. Select your image and mirror it. If you’re printing from a computer, see if the program you created the image in allows for this. (Search the “Help” menu or Google it.) If you’re using a copier, see if there’s a setting that allows you to mirror.

3. Print the image, cut it out, and select your fabric (I’m thinking 100% cotton probably works best). Turn your iron to a high heat (another reason 100% cotton works—synthetics may melt!).

4. Press really hard and iron the entire image. Play around with what gives you the best results for your purpose. Embroidery outlines may not need to be very dark, but if you’re not doing anything else to the image, you may want it darker.

Now, don’t ask me how this transfer holds up to washing, because I’ve never washed one! But, if you know, by all means, drop a comment below and let us know.