I use two different methods for buying fabric online so that the colors coordinate. For this year’s pillowcases, I used the easiest method.

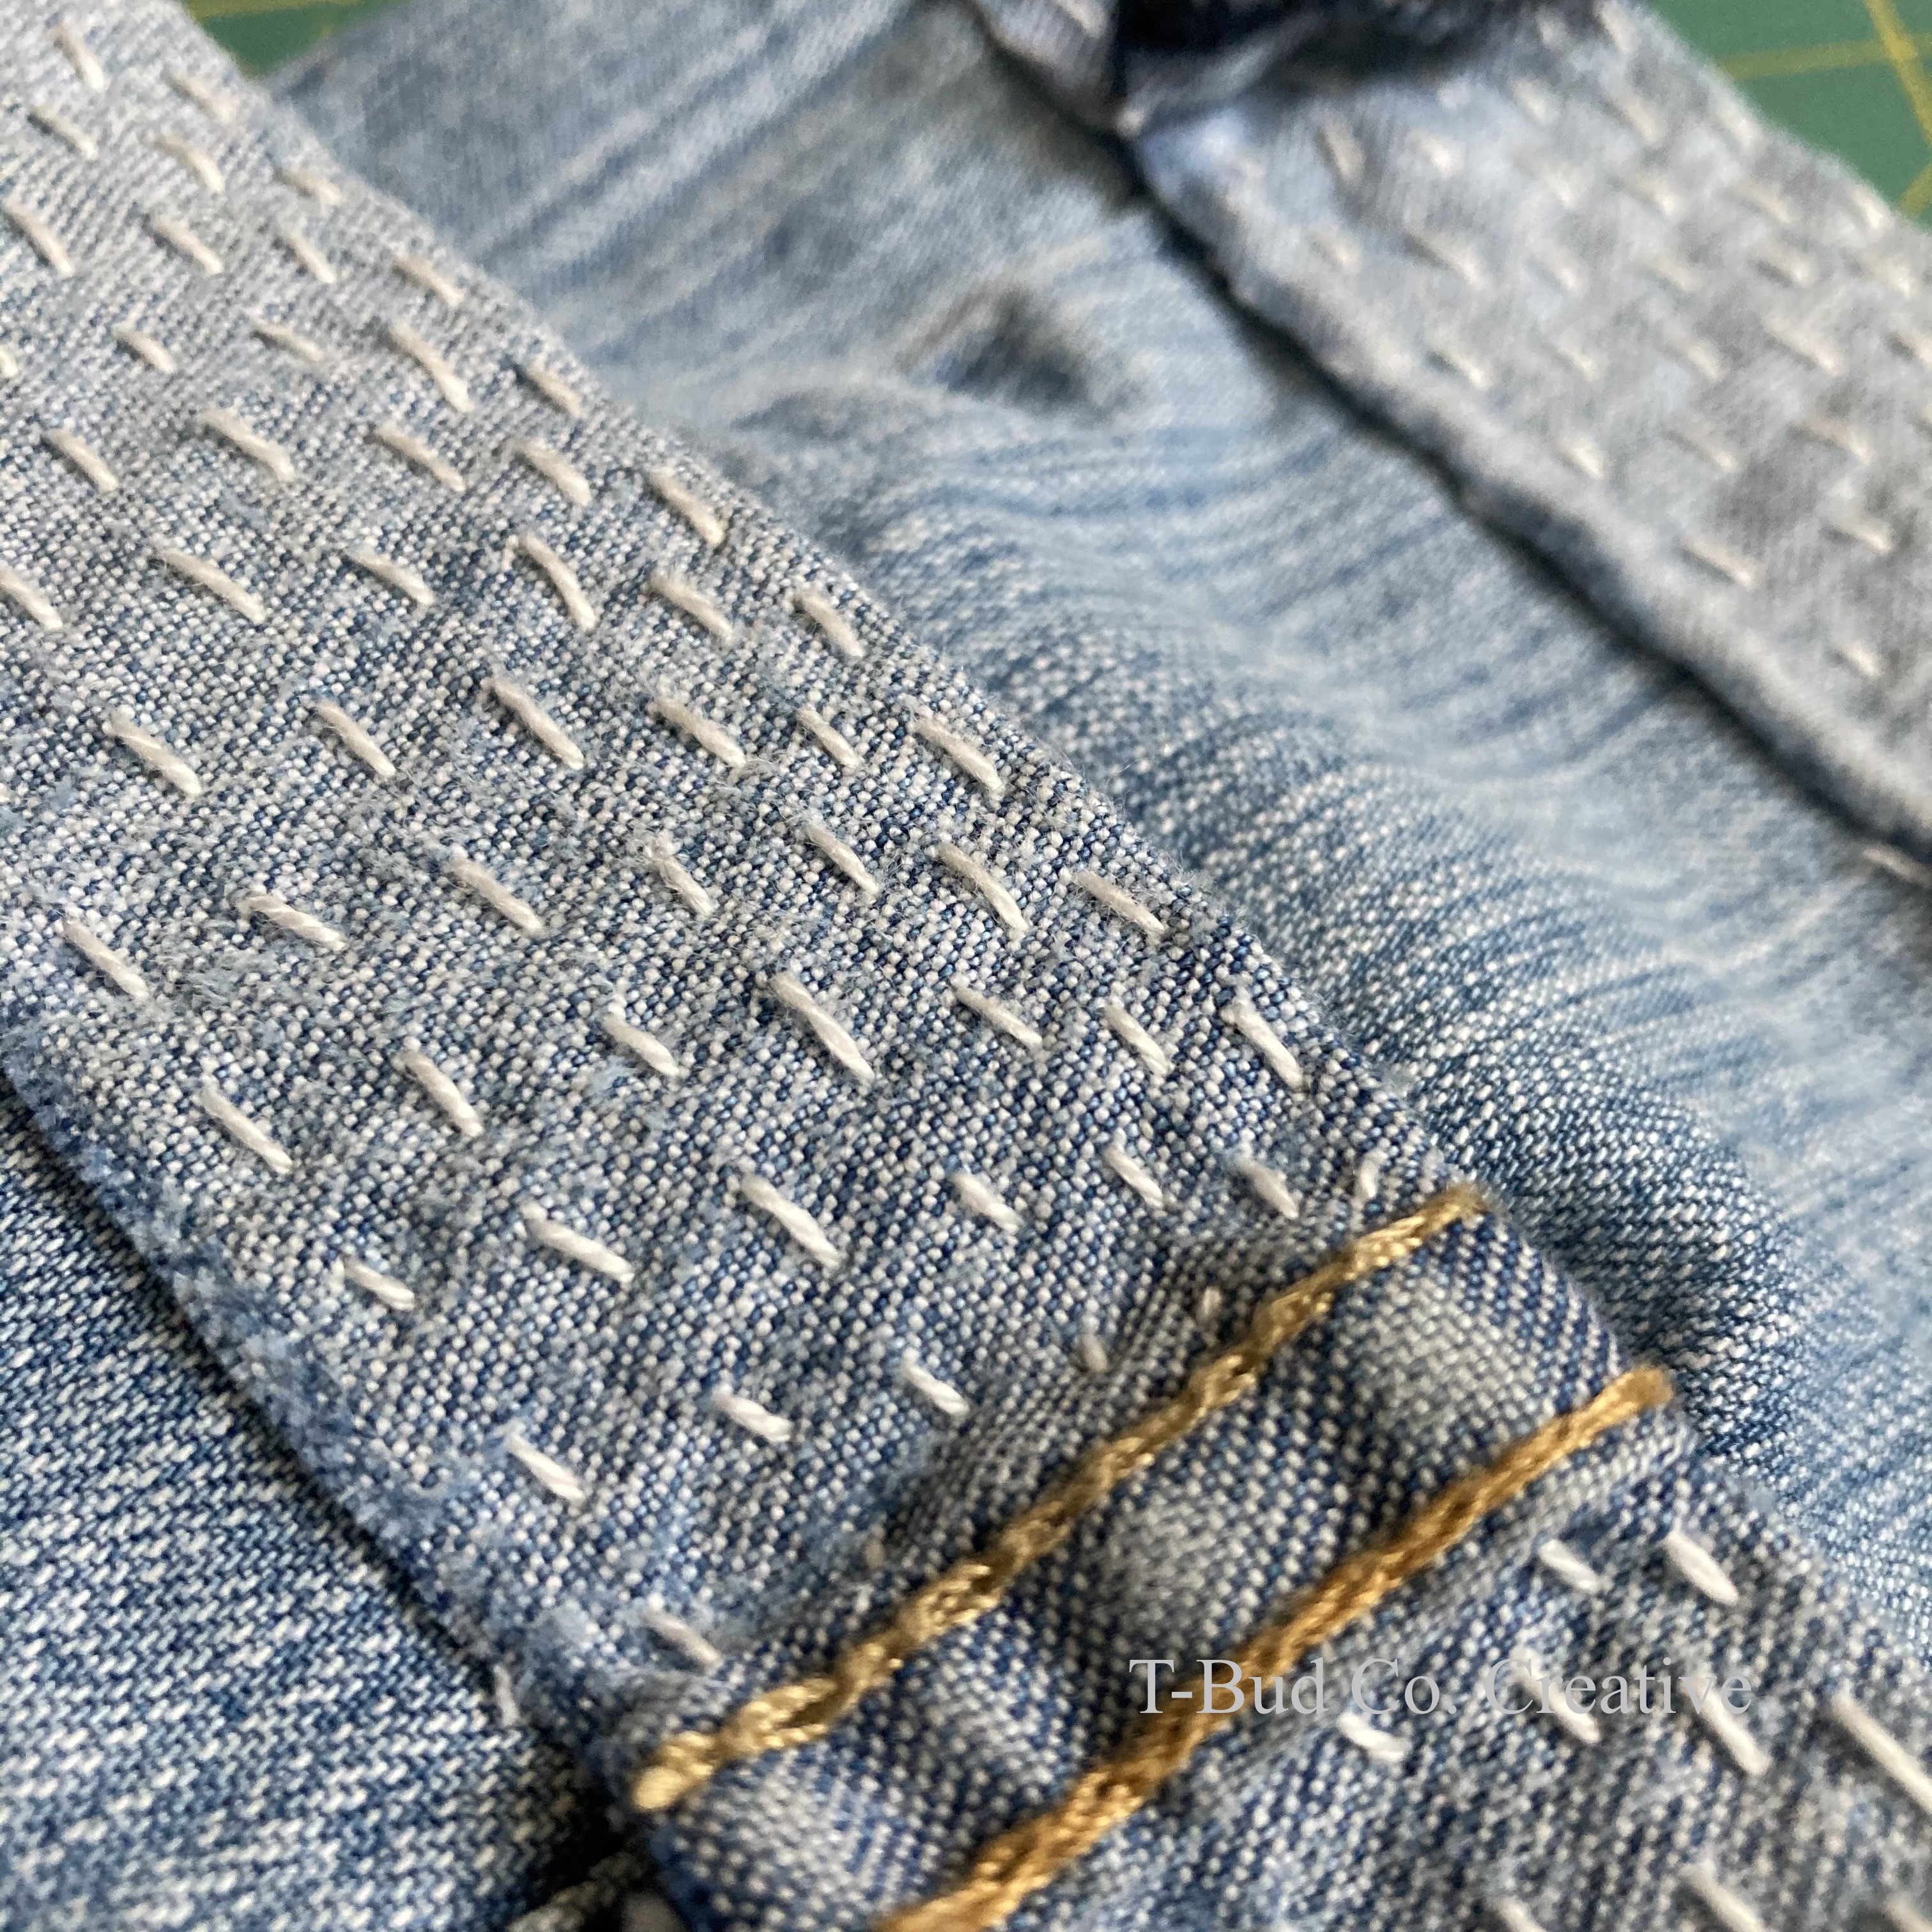
Every year, I make myself and my kids (just the older two for now) a new pillowcase each. I wrote a tutorial for the pattern and technique I use here. It requires coordinating fabric and sometimes matching fabrics is hard…especially if you’re shopping online.
Now, there’s no wrong way to pair fabrics, but some fabrics just look better together. Since shopping online has become a norm (and not just because of the pandemic), buying fabric online is becoming a norm.
Shopping for fabric online isn’t easy, though. There’s something about not being able to see it and feel it and most importantly, put fabrics side-by-side to see if they coordinate that creates difficulty. Alas, I have a couple of tricks!
First, look at the fabric website on different screens, such as a smartphone and a laptop. I did this with one of last year’s pillowcase fabrics and some fabric for my Down the Rabbit Hole Quilt. Usually what I did was browse on my phone, emailed myself links to any fabrics I thought may work, and then hopped onto my laptop to open the email and click back to the fabric website. Bonus, I have a monitor plugged into my laptop, so I looked at it on 3 screens (phone, laptop, monitor). I figured somewhere “in between” was the true color and it worked, albeit, with a bit of faith and risk. Ha!
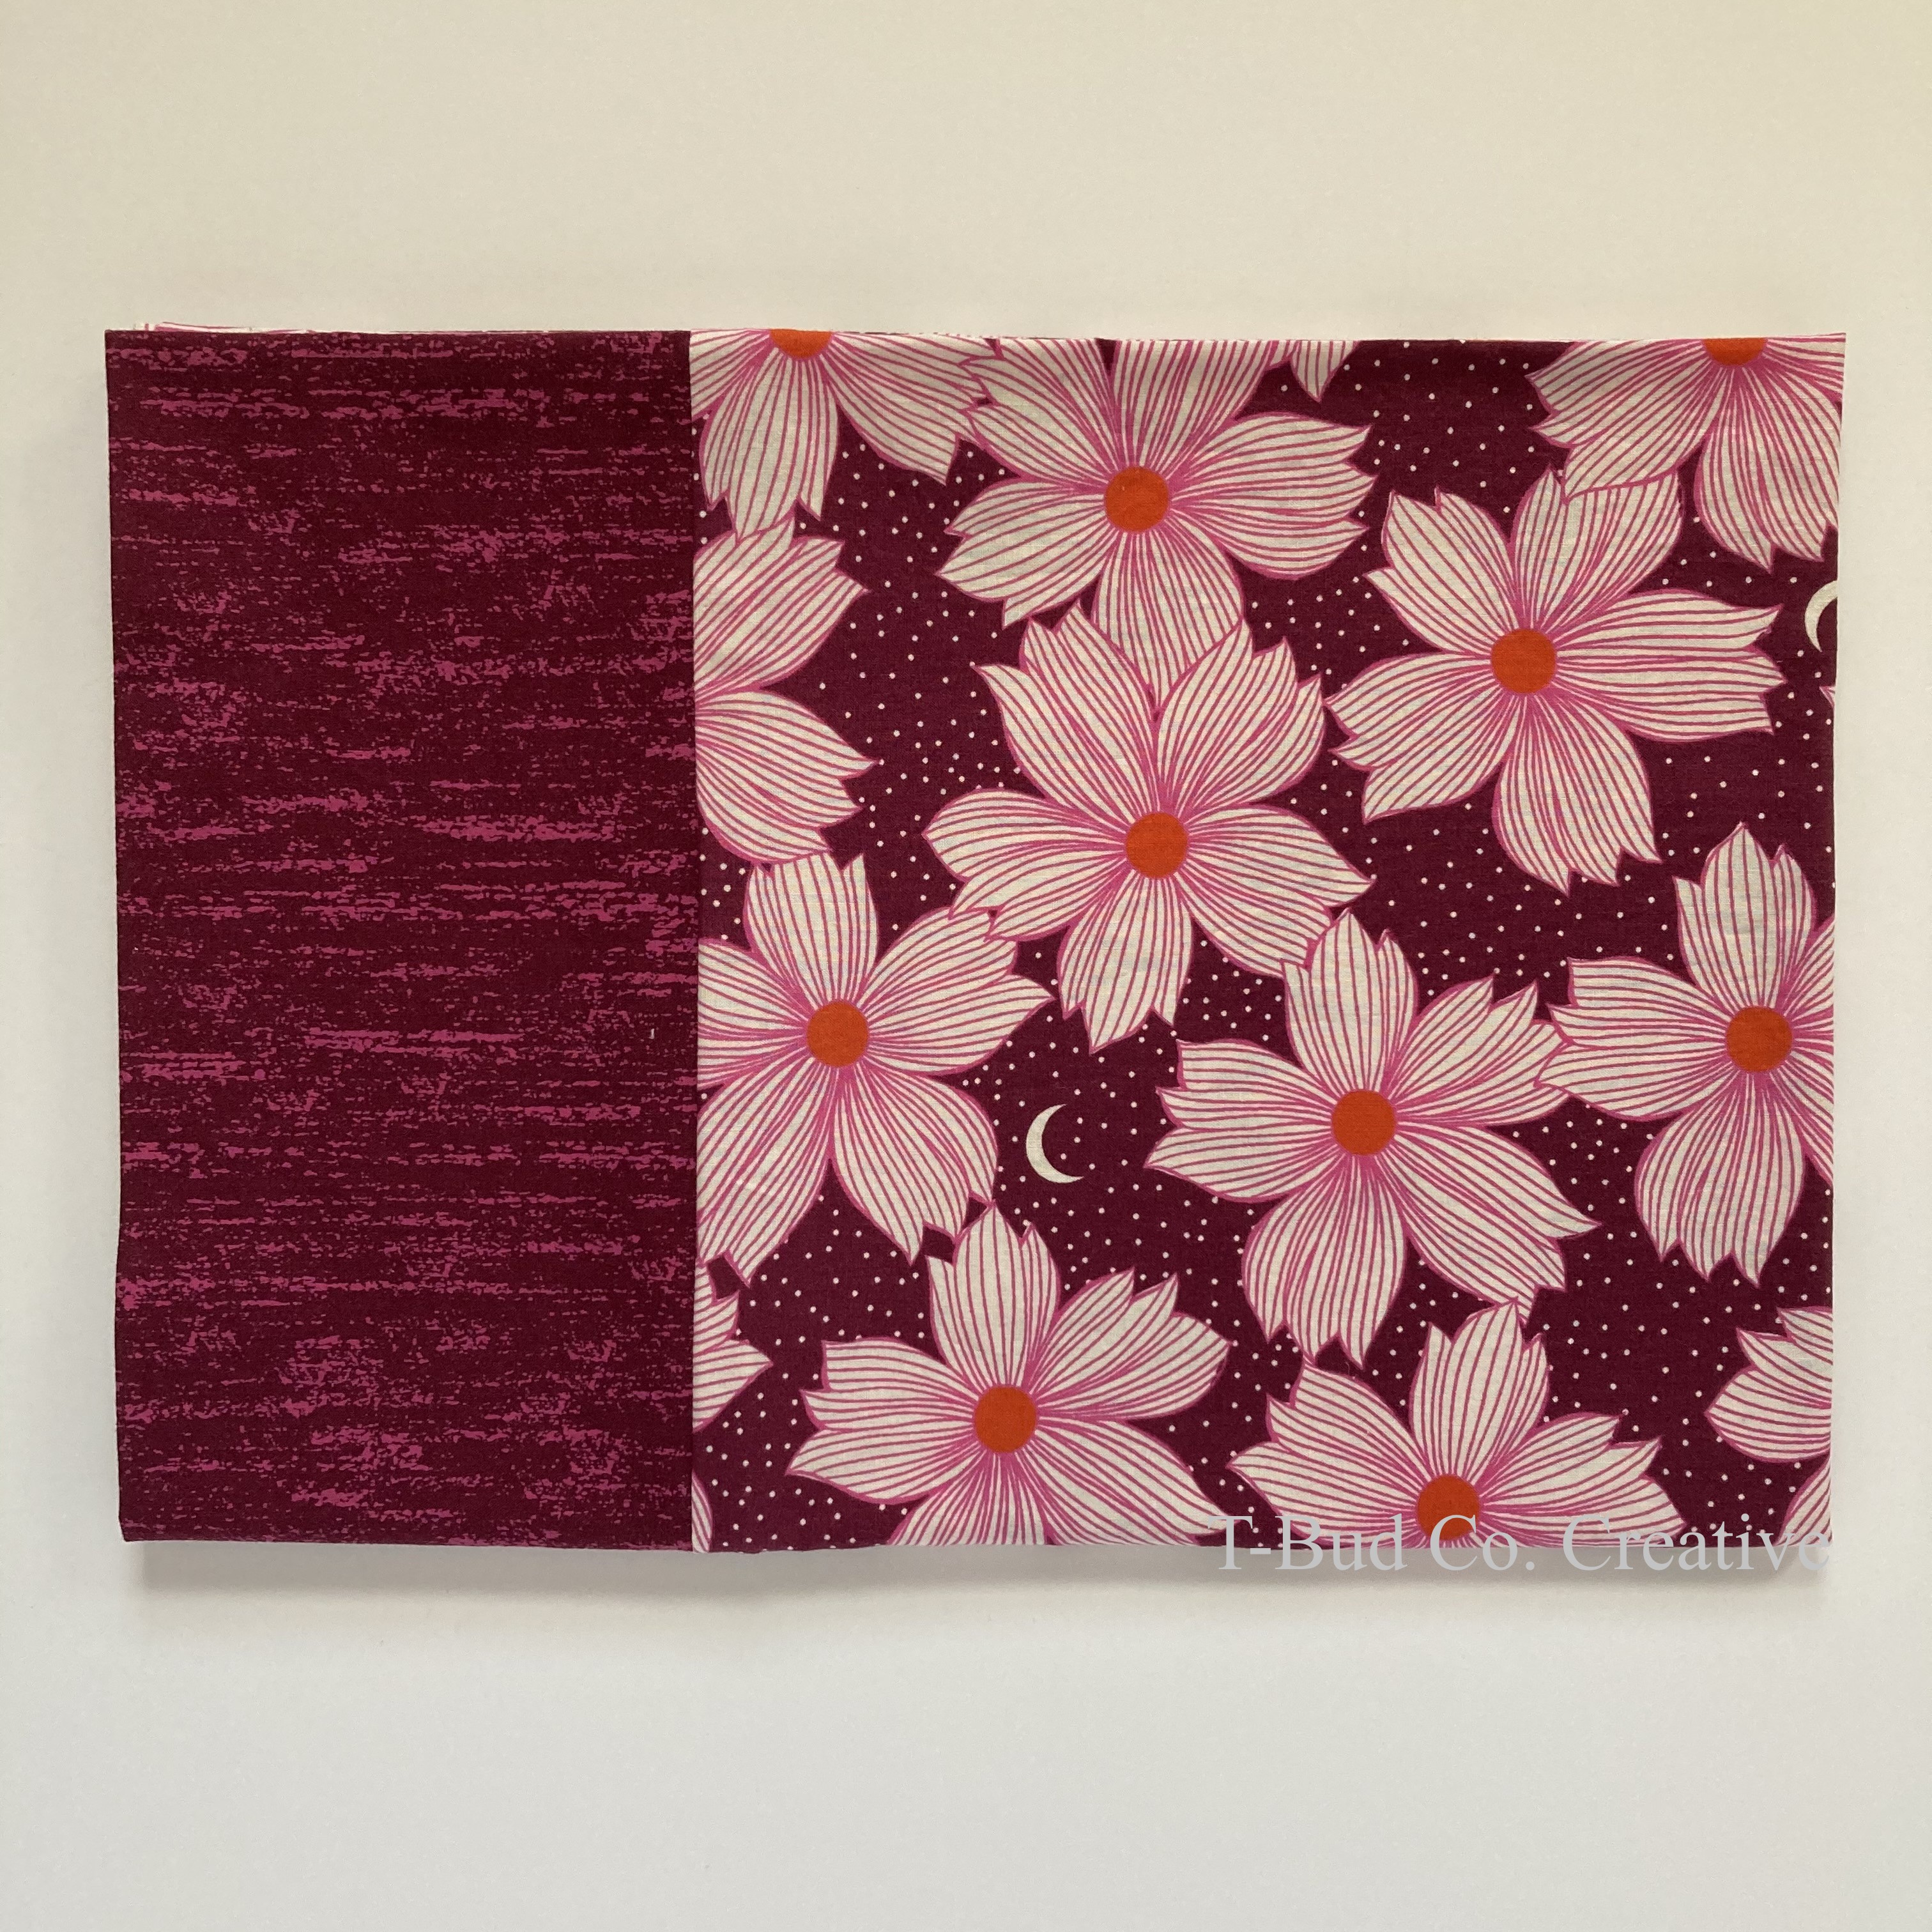
Think that first tip is too tedious? It is! But, my second tip is easy-peasy, which is to just skip the guess work and buy fabrics from the same line! Designers create patterns and color palettes that coordinate so really all the fabrics in a particular line look good with all the others. I did this with my Craftedmoon fabric by Sarah Watts that I used for one of my pillowcases.
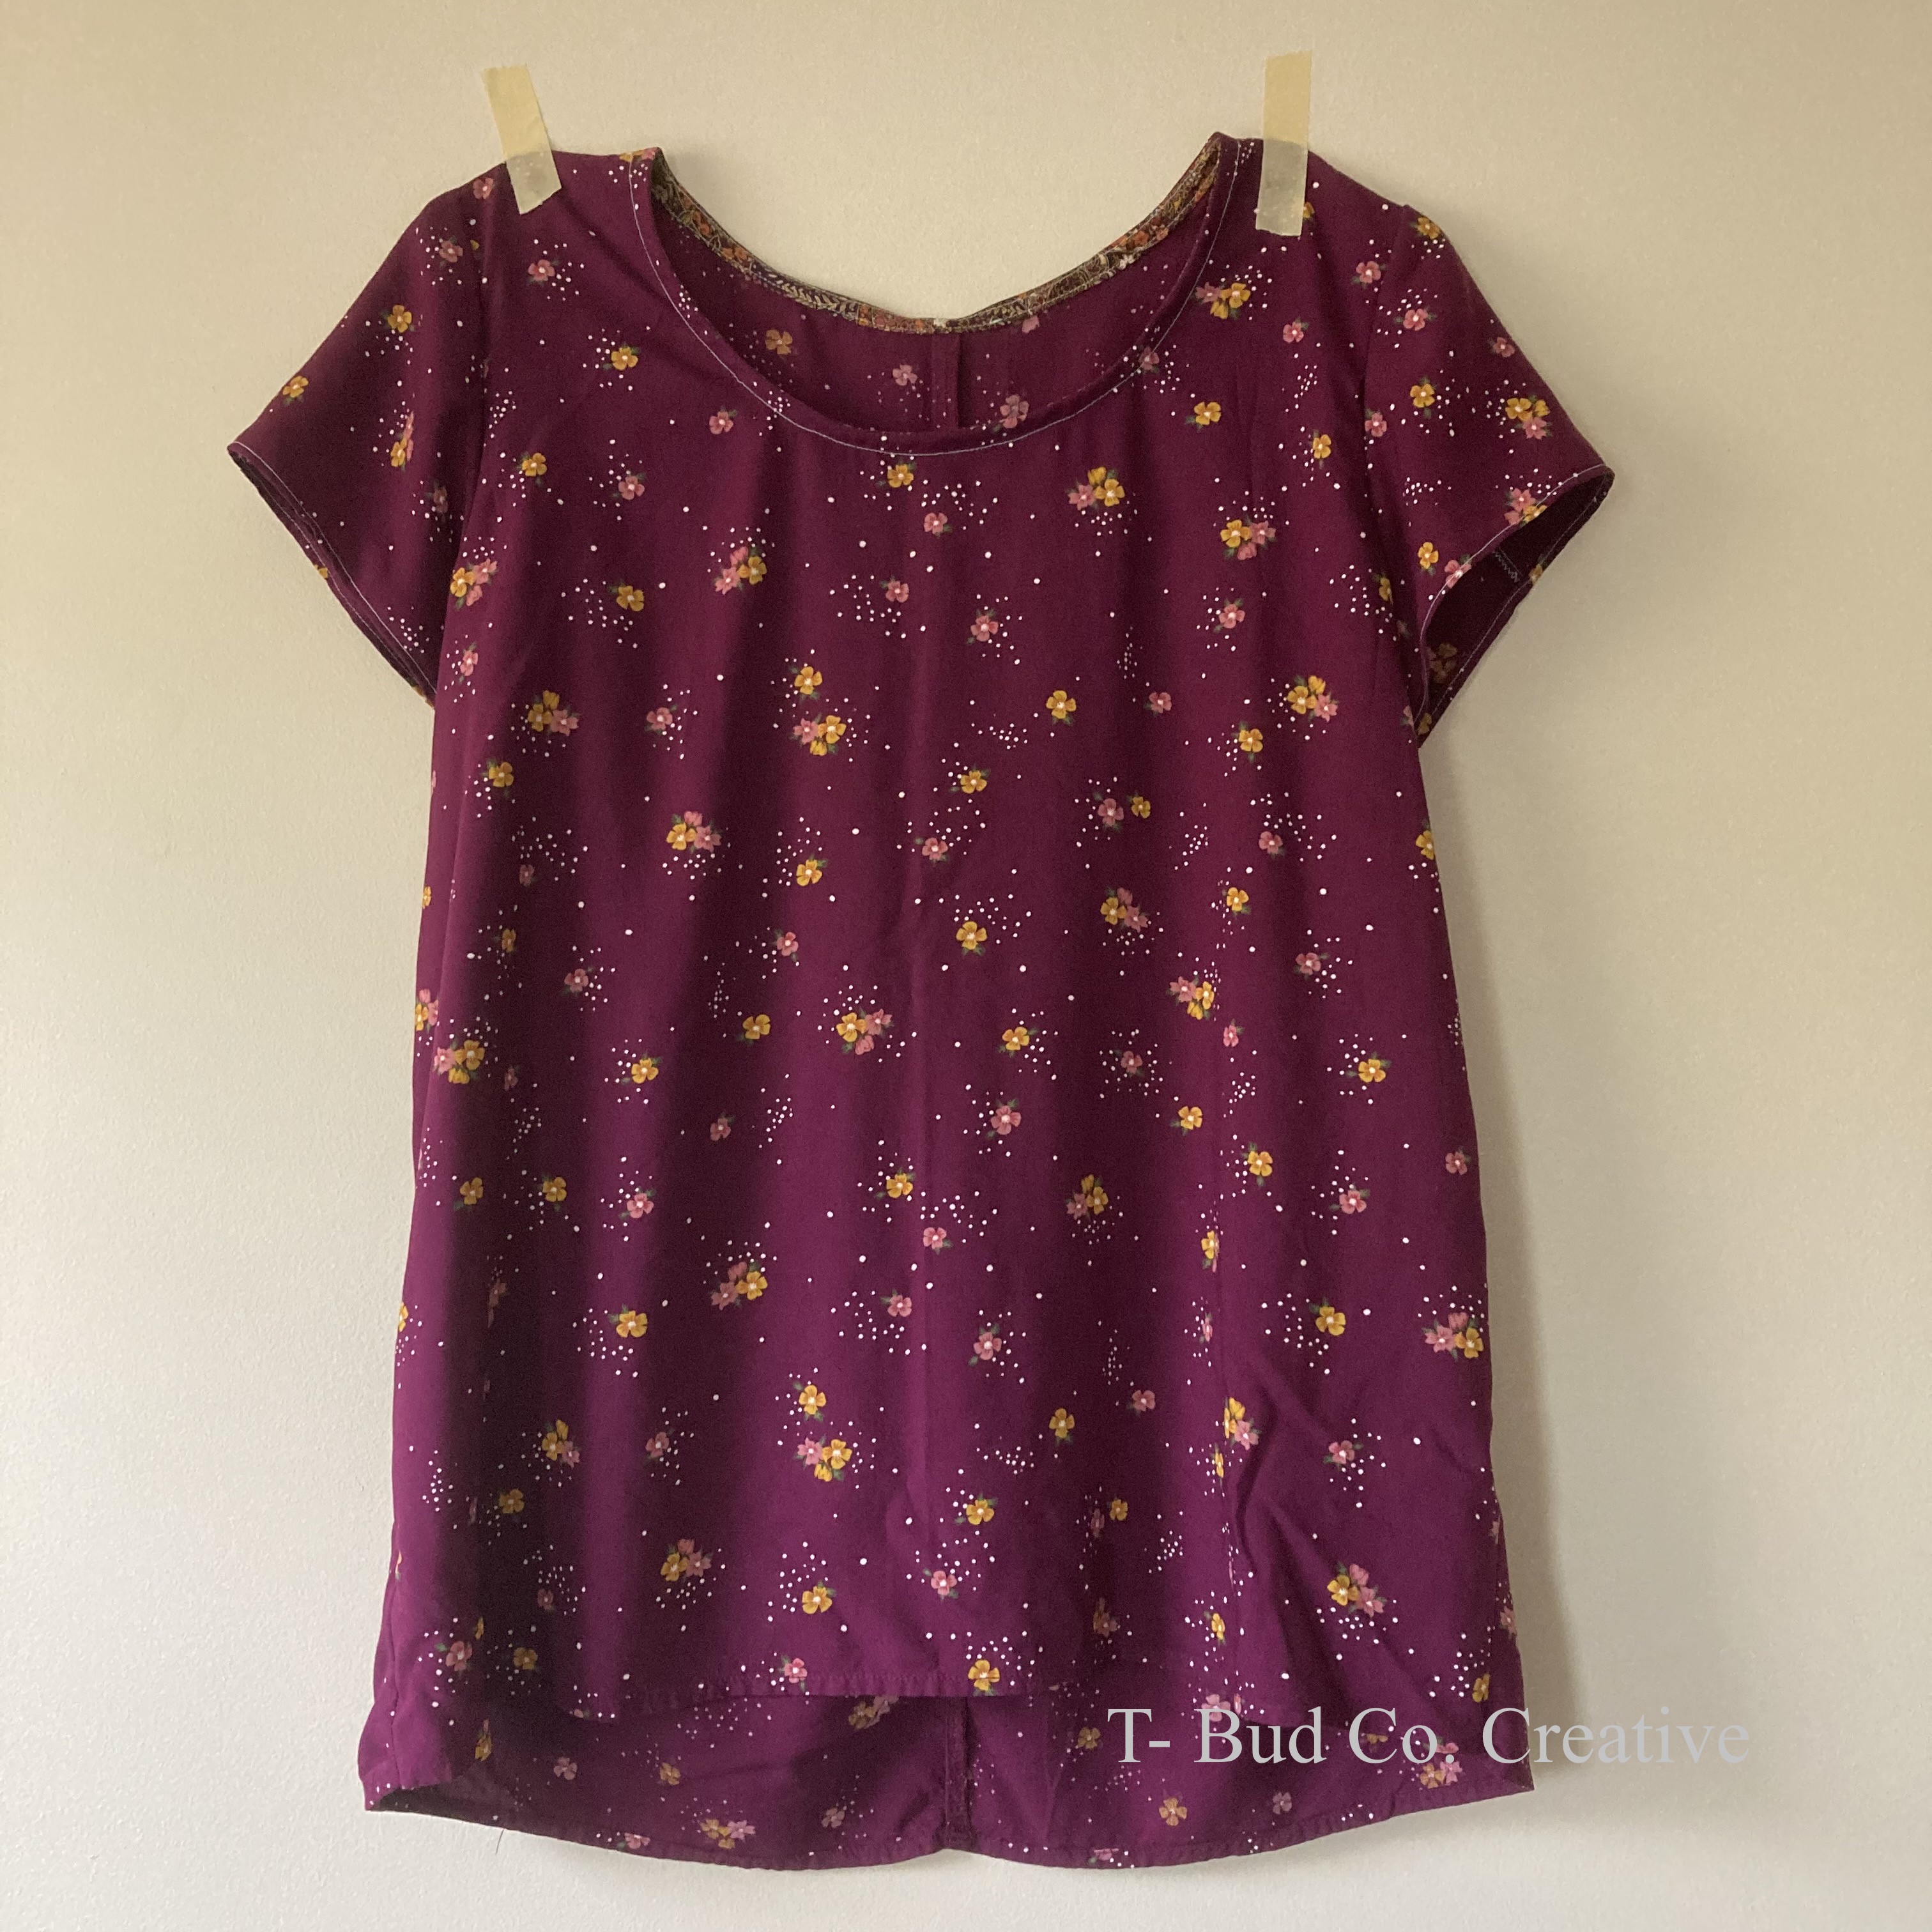
Now, I don’t know what to tell you if your online fabric purchase has glitter that you couldn’t see in the picture, except maybe pitch the fabric and chalk it up as a learning experience. I have learned that lesson.

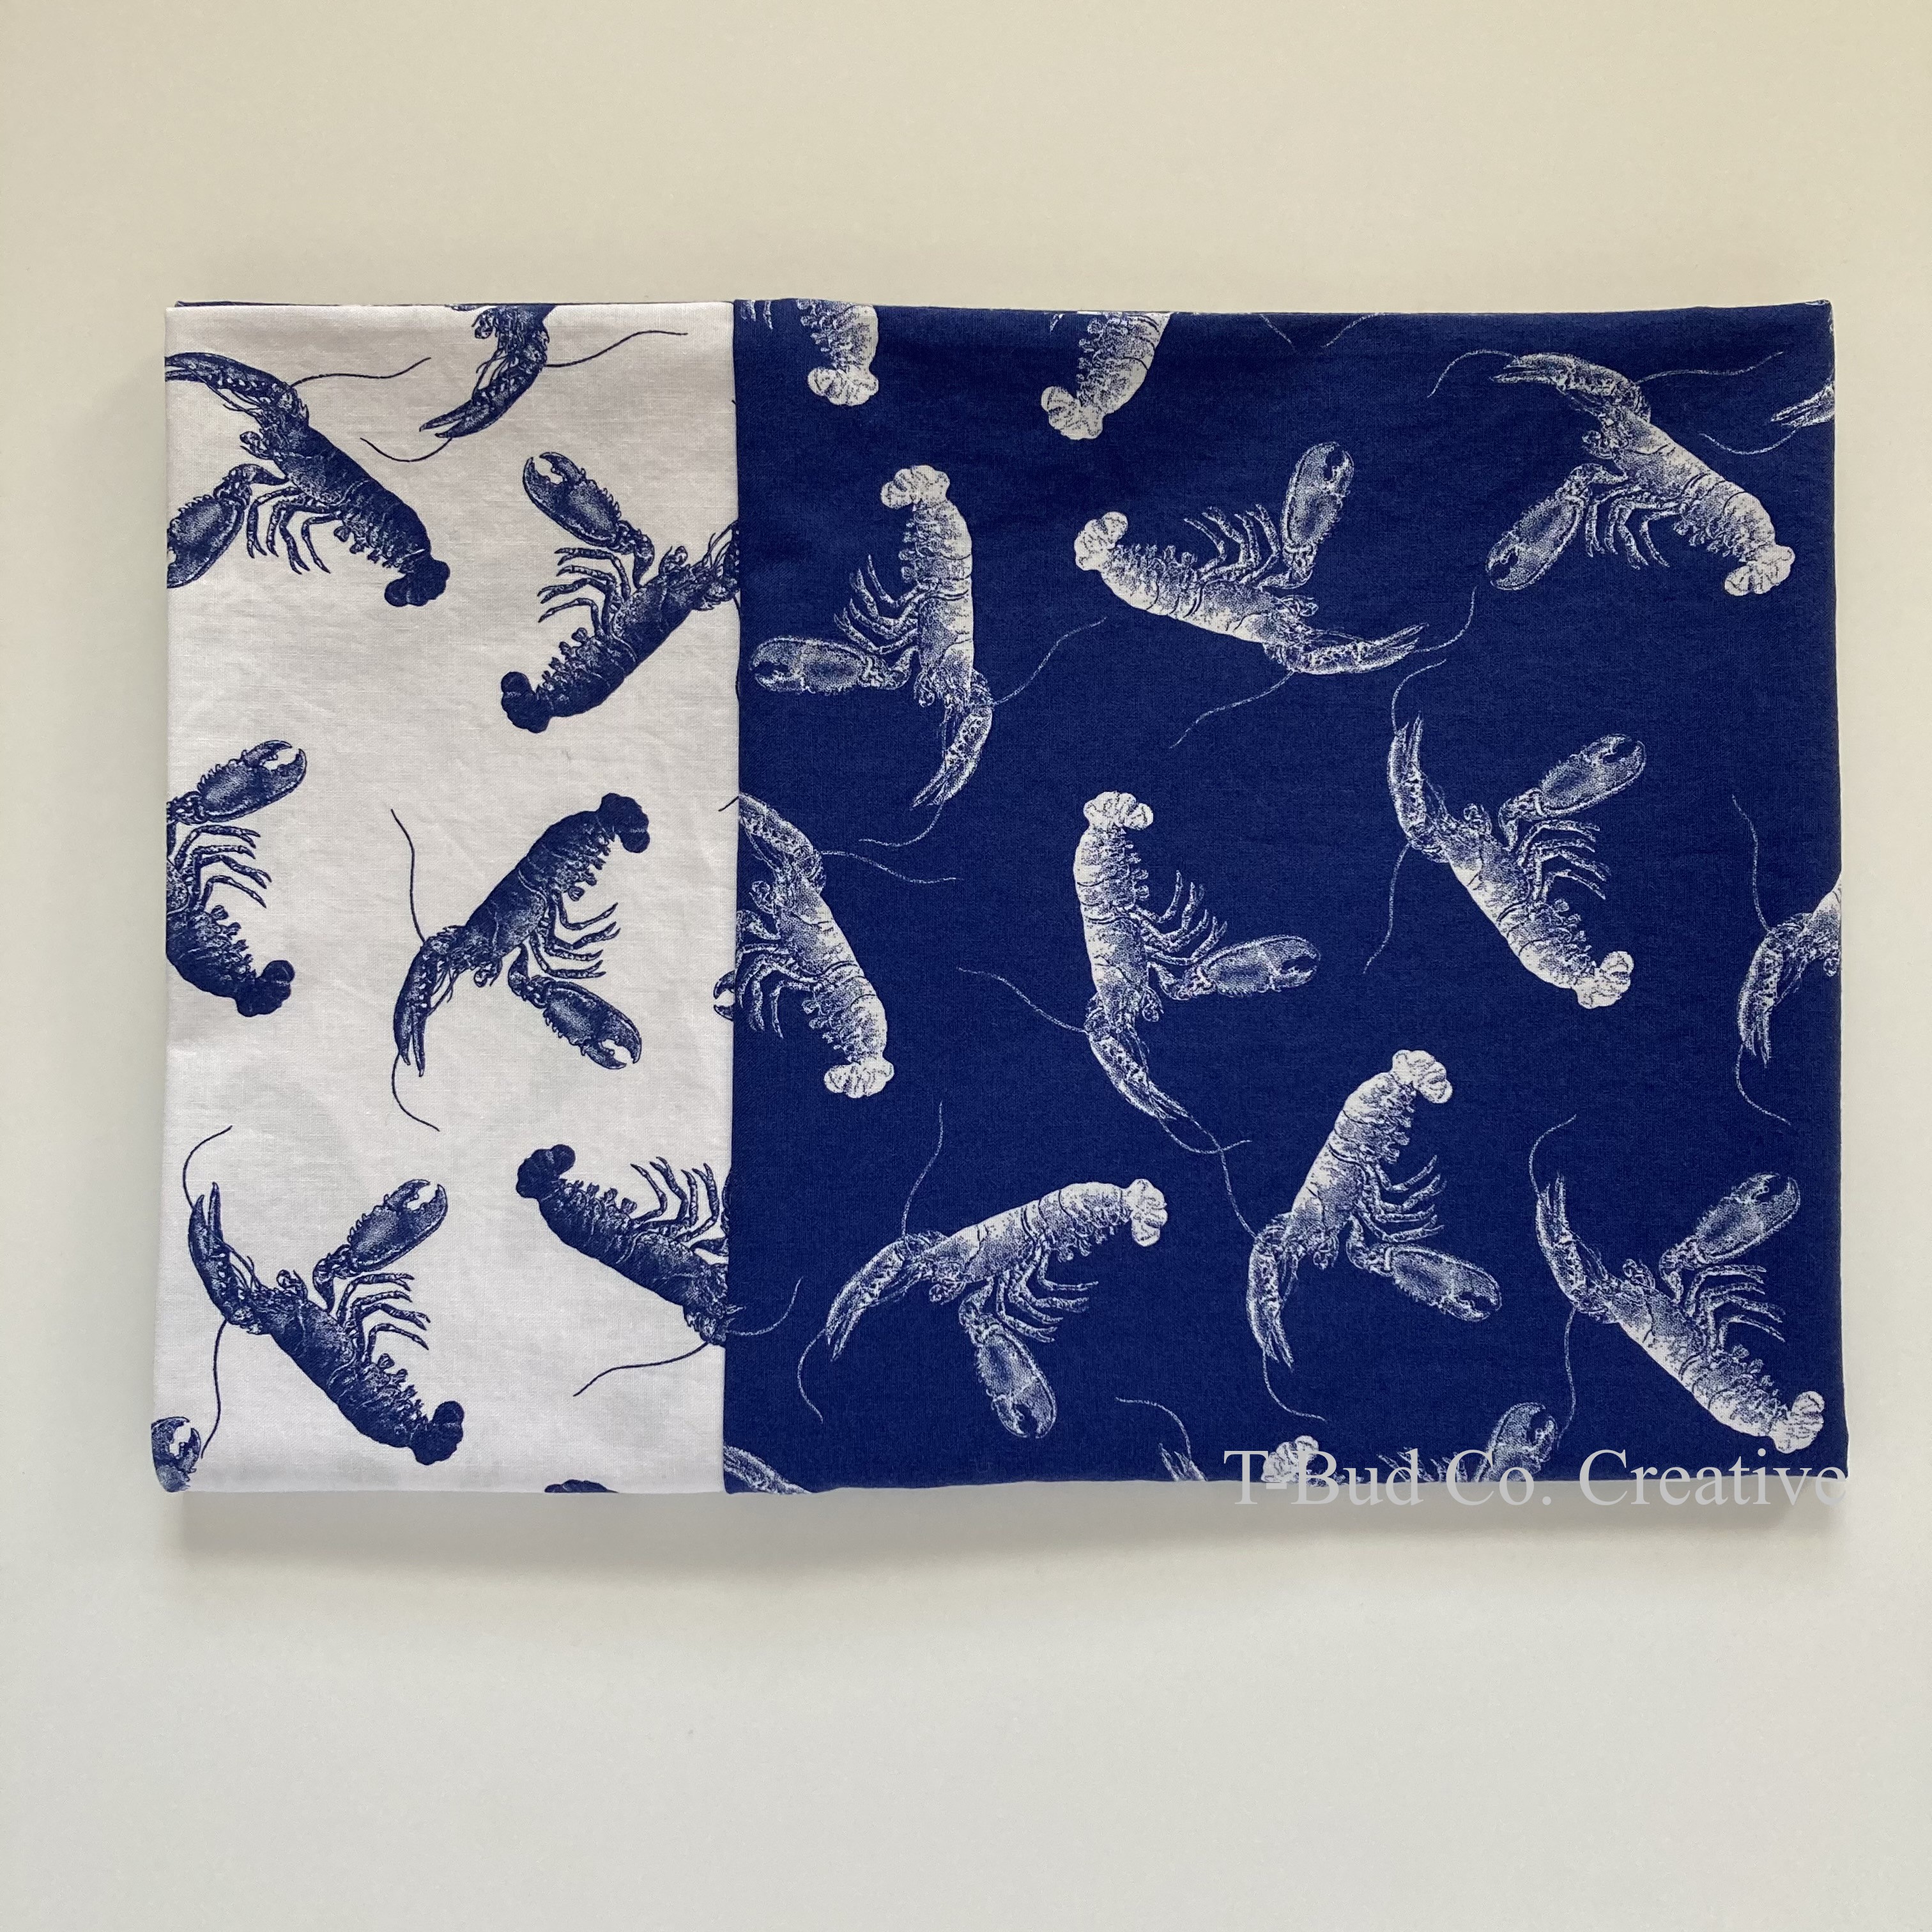
For these pillowcases, I bought 4 of the fabrics on eBay. I was very pleased with the experience. Who knew? The Violet Craft fabric I searched for because I thought it’d be nice for my daughter to have a pillowcase that matched her quilt (that was doomed by glitter—see above about learning experiences). So there’s a bonus tip: if you need “out of print” fabric, try eBay! I think there are some sellers who are just trying to destash, but also some who have found a little business. I didn’t find the prices and the cost of shipping to be a barrier to purchasing on eBay. Plus, eBay now is a place I “browse” fabric when my thumb is itching to scroll on my phone. I started a Pinterest board to save all the fabrics that catch my eye from there (and elsewhere).

So, look at online fabric pictures on multiple screens or just buy fabrics from the same line since they’re designed to coordinate. Also, browse eBay for any fabrics that may be out of print or fabrics you may never see in a traditional fabric store—brick-and-mortar or online. And, have a little faith and take a little risk in the process. It’s just fabric!

Do you ever buy fabric online? What are your tips and tricks to finding exactly what you’re looking for?