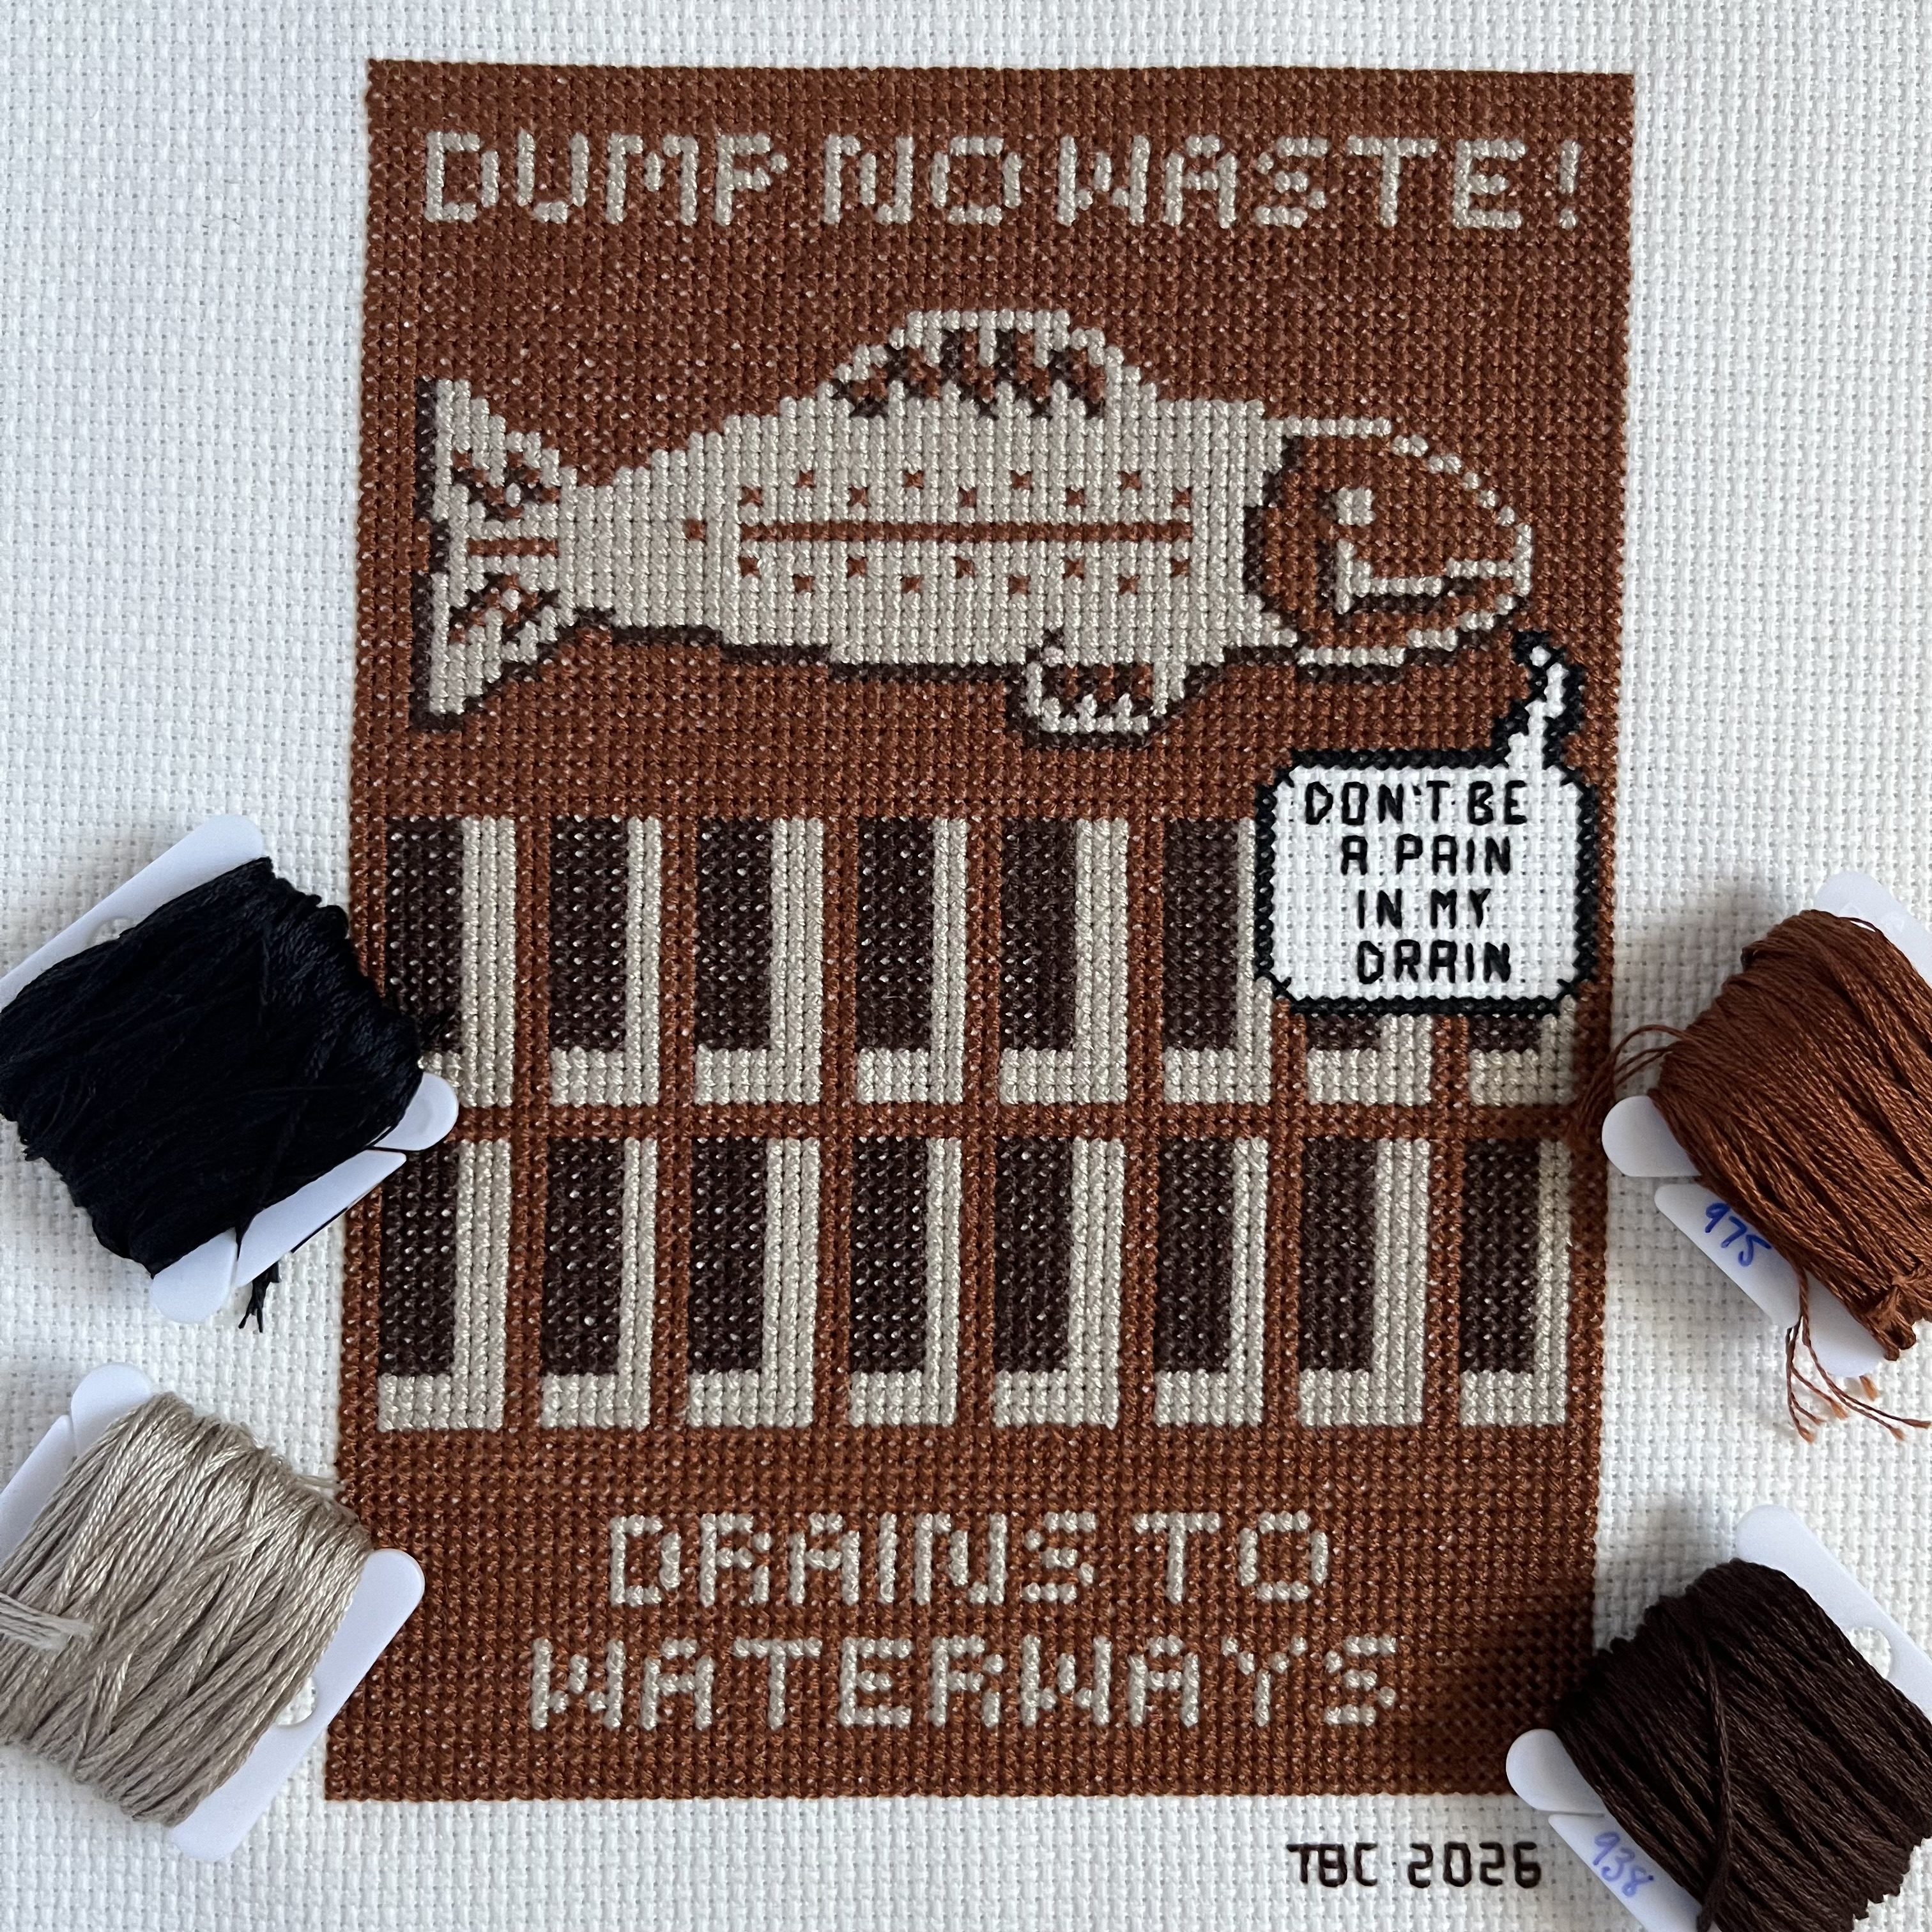
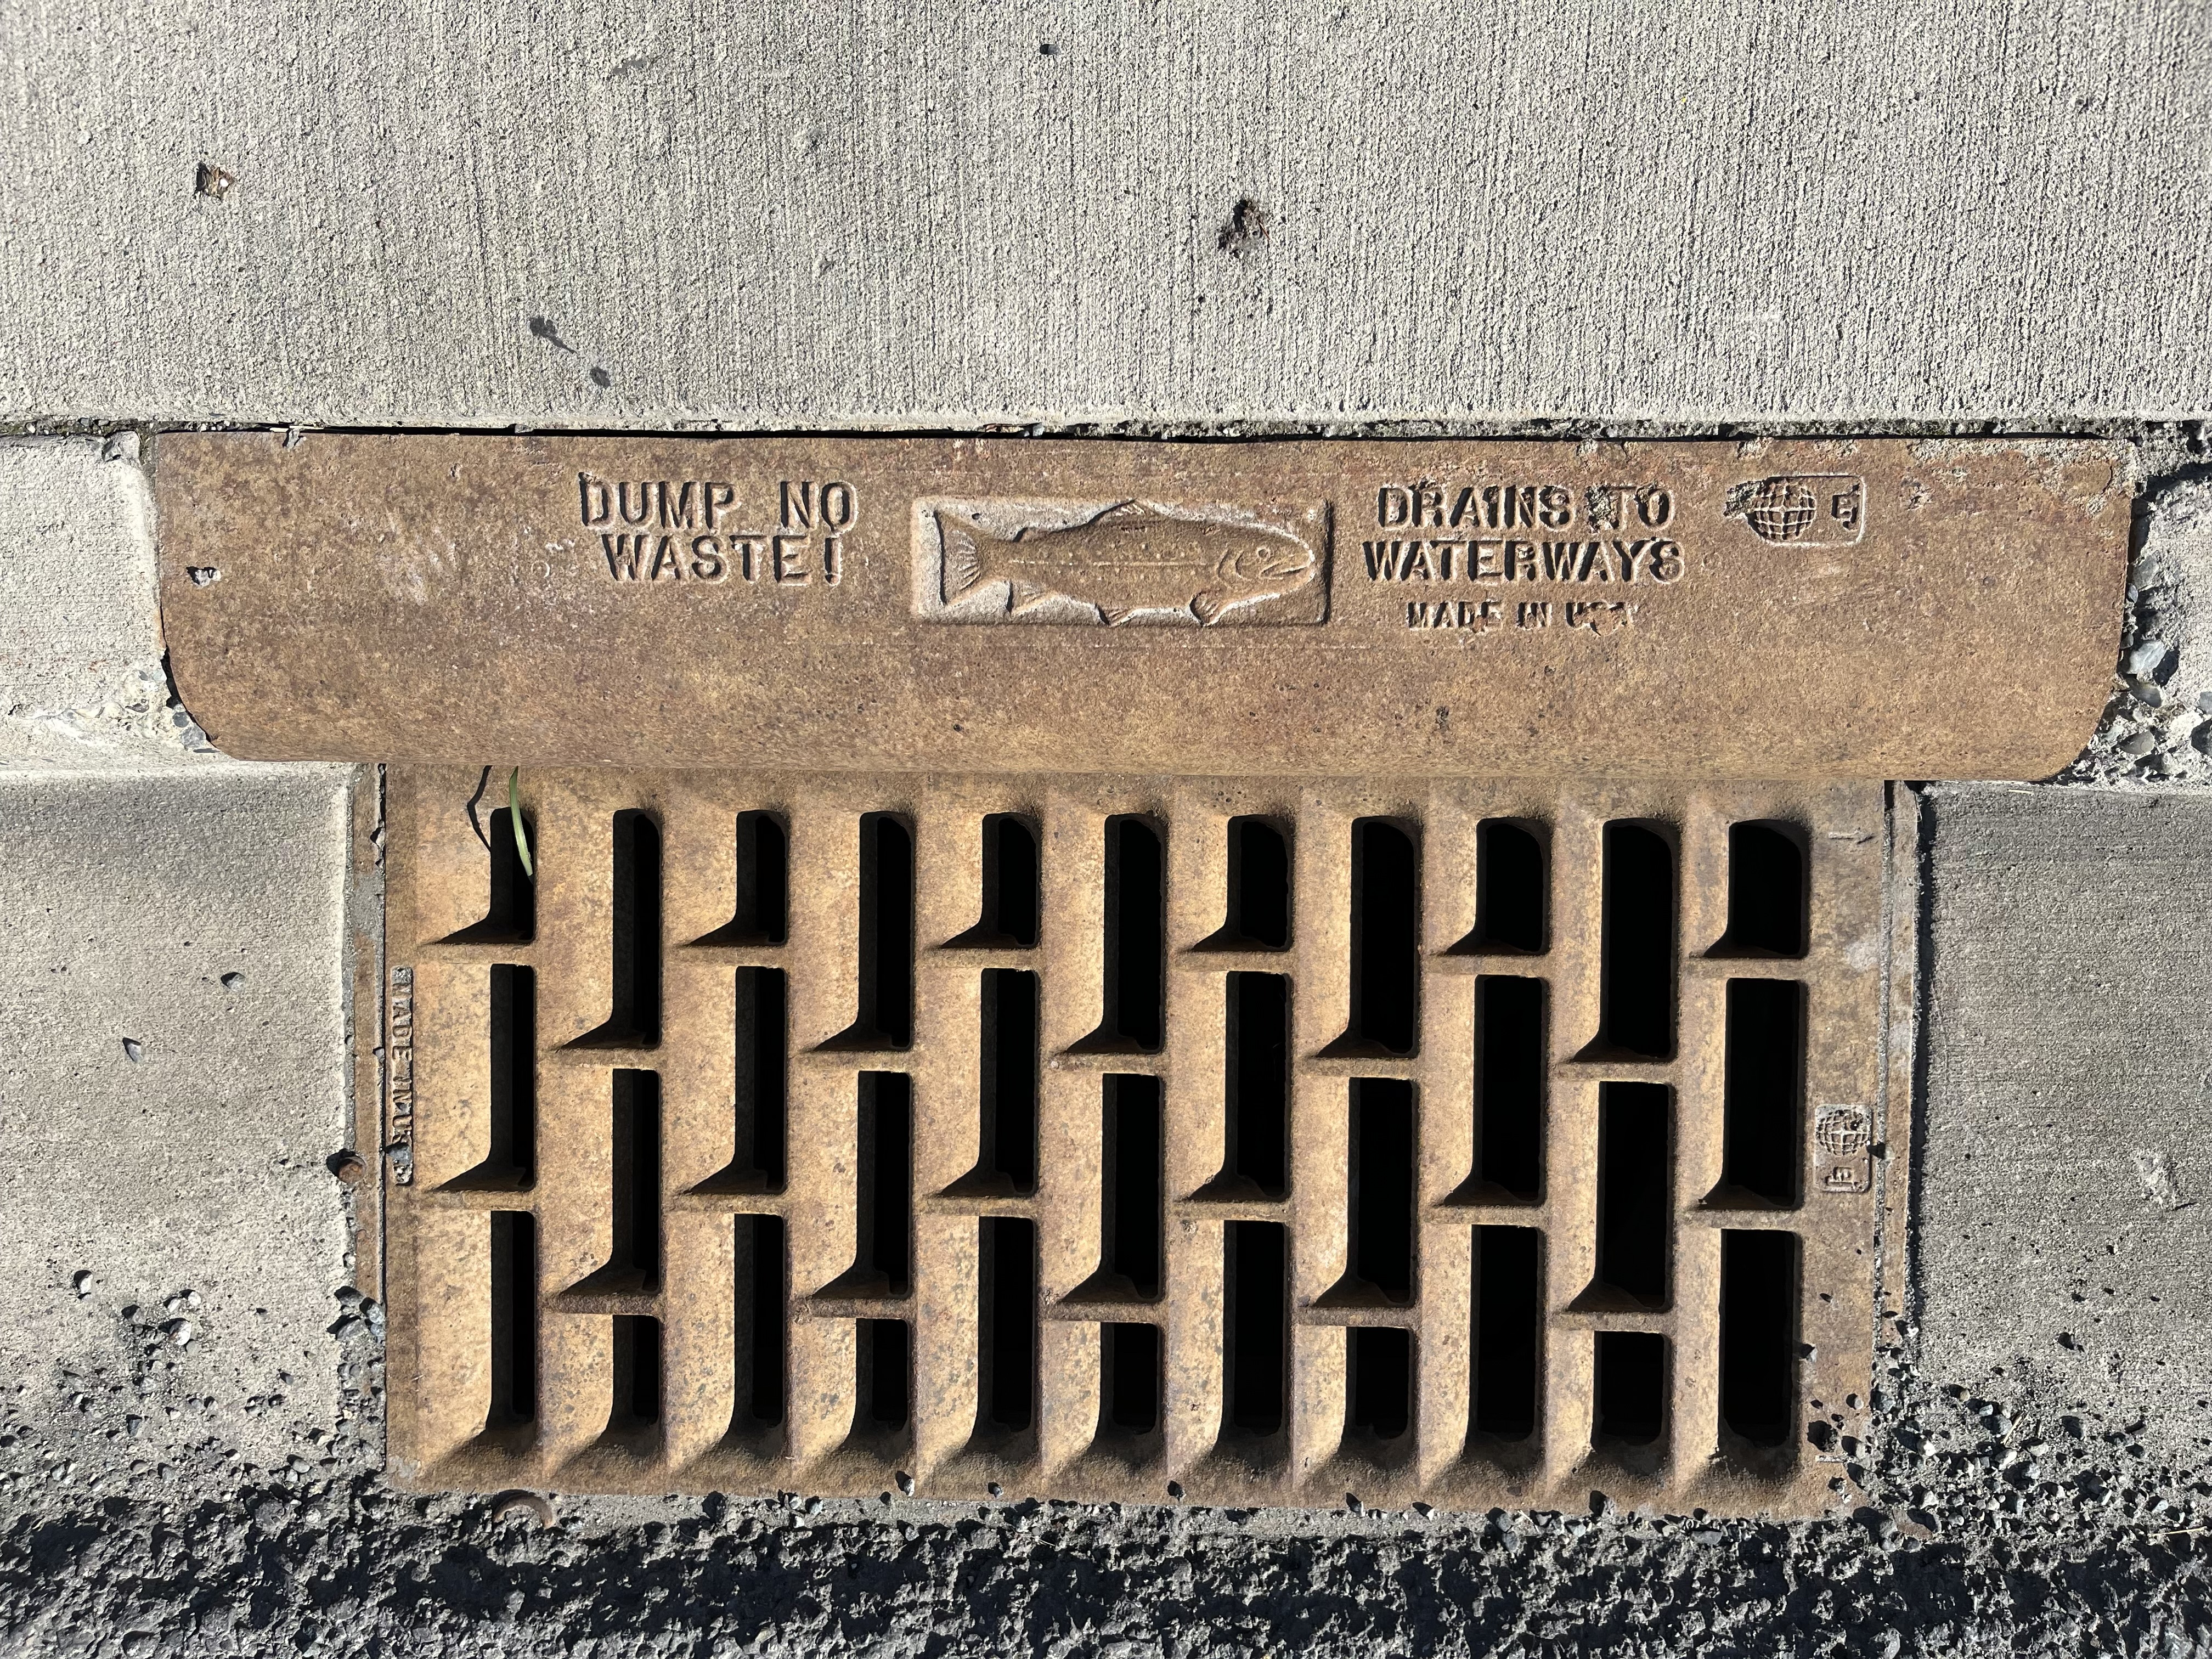
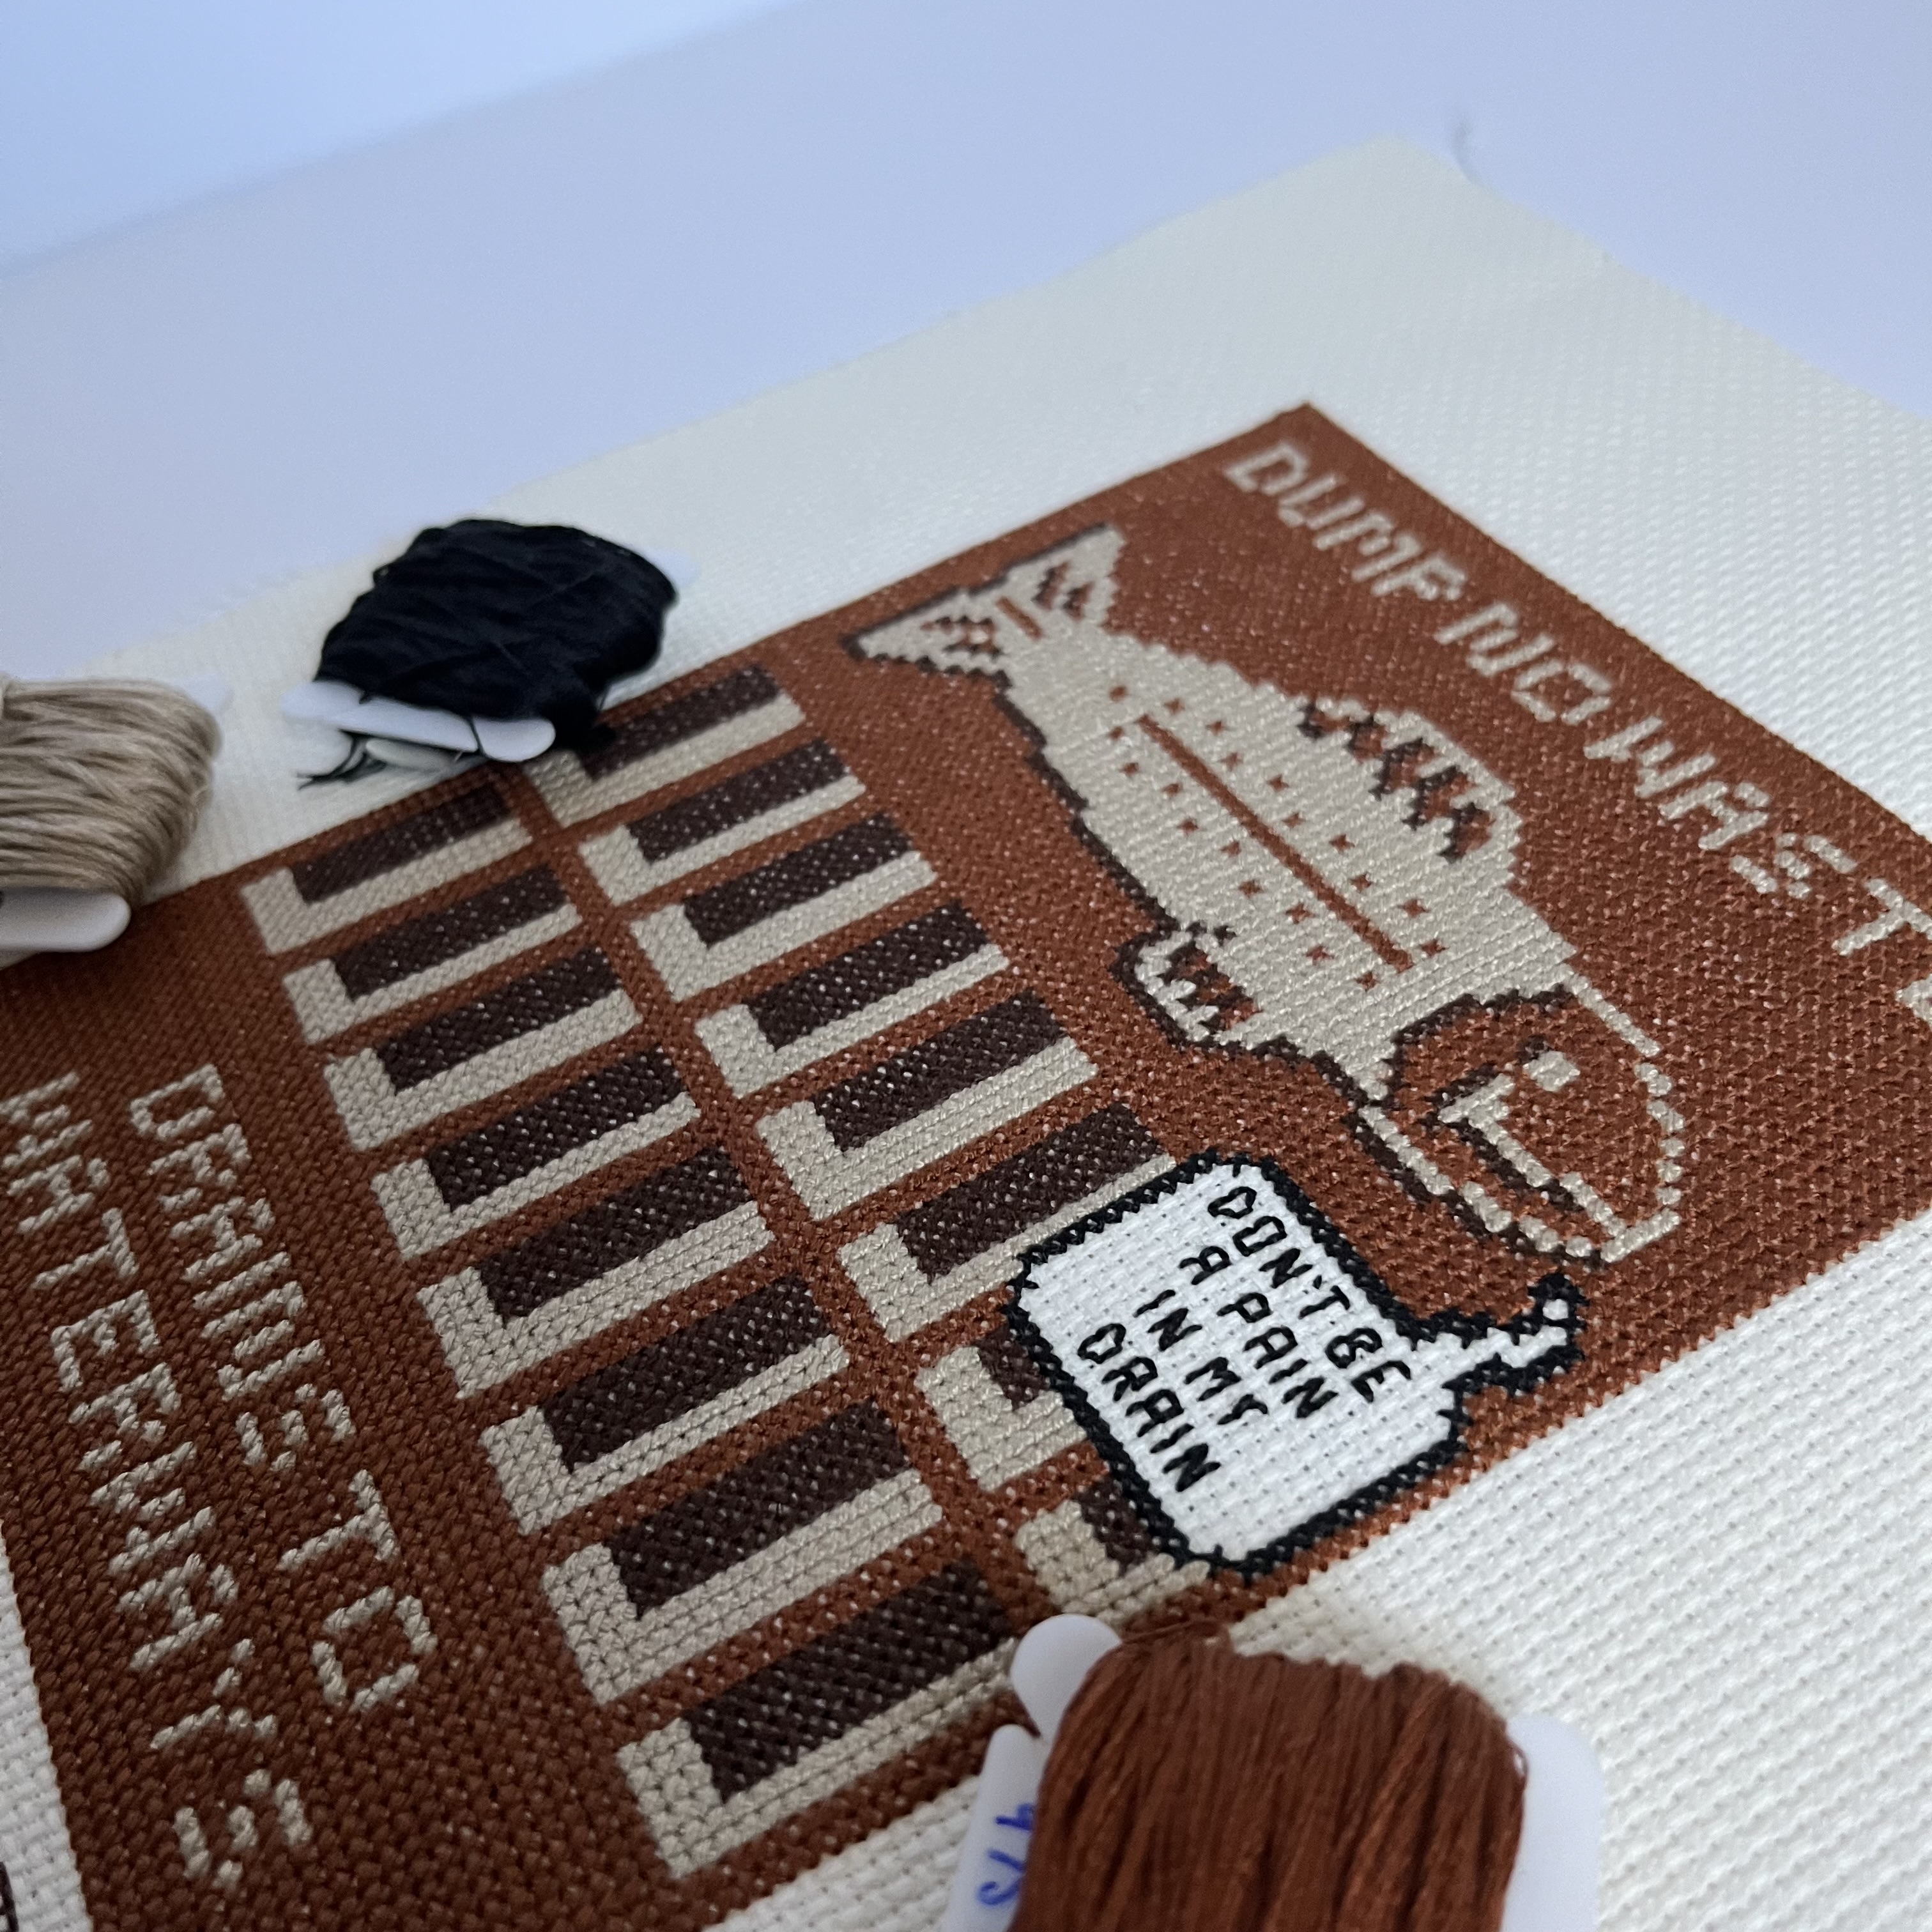
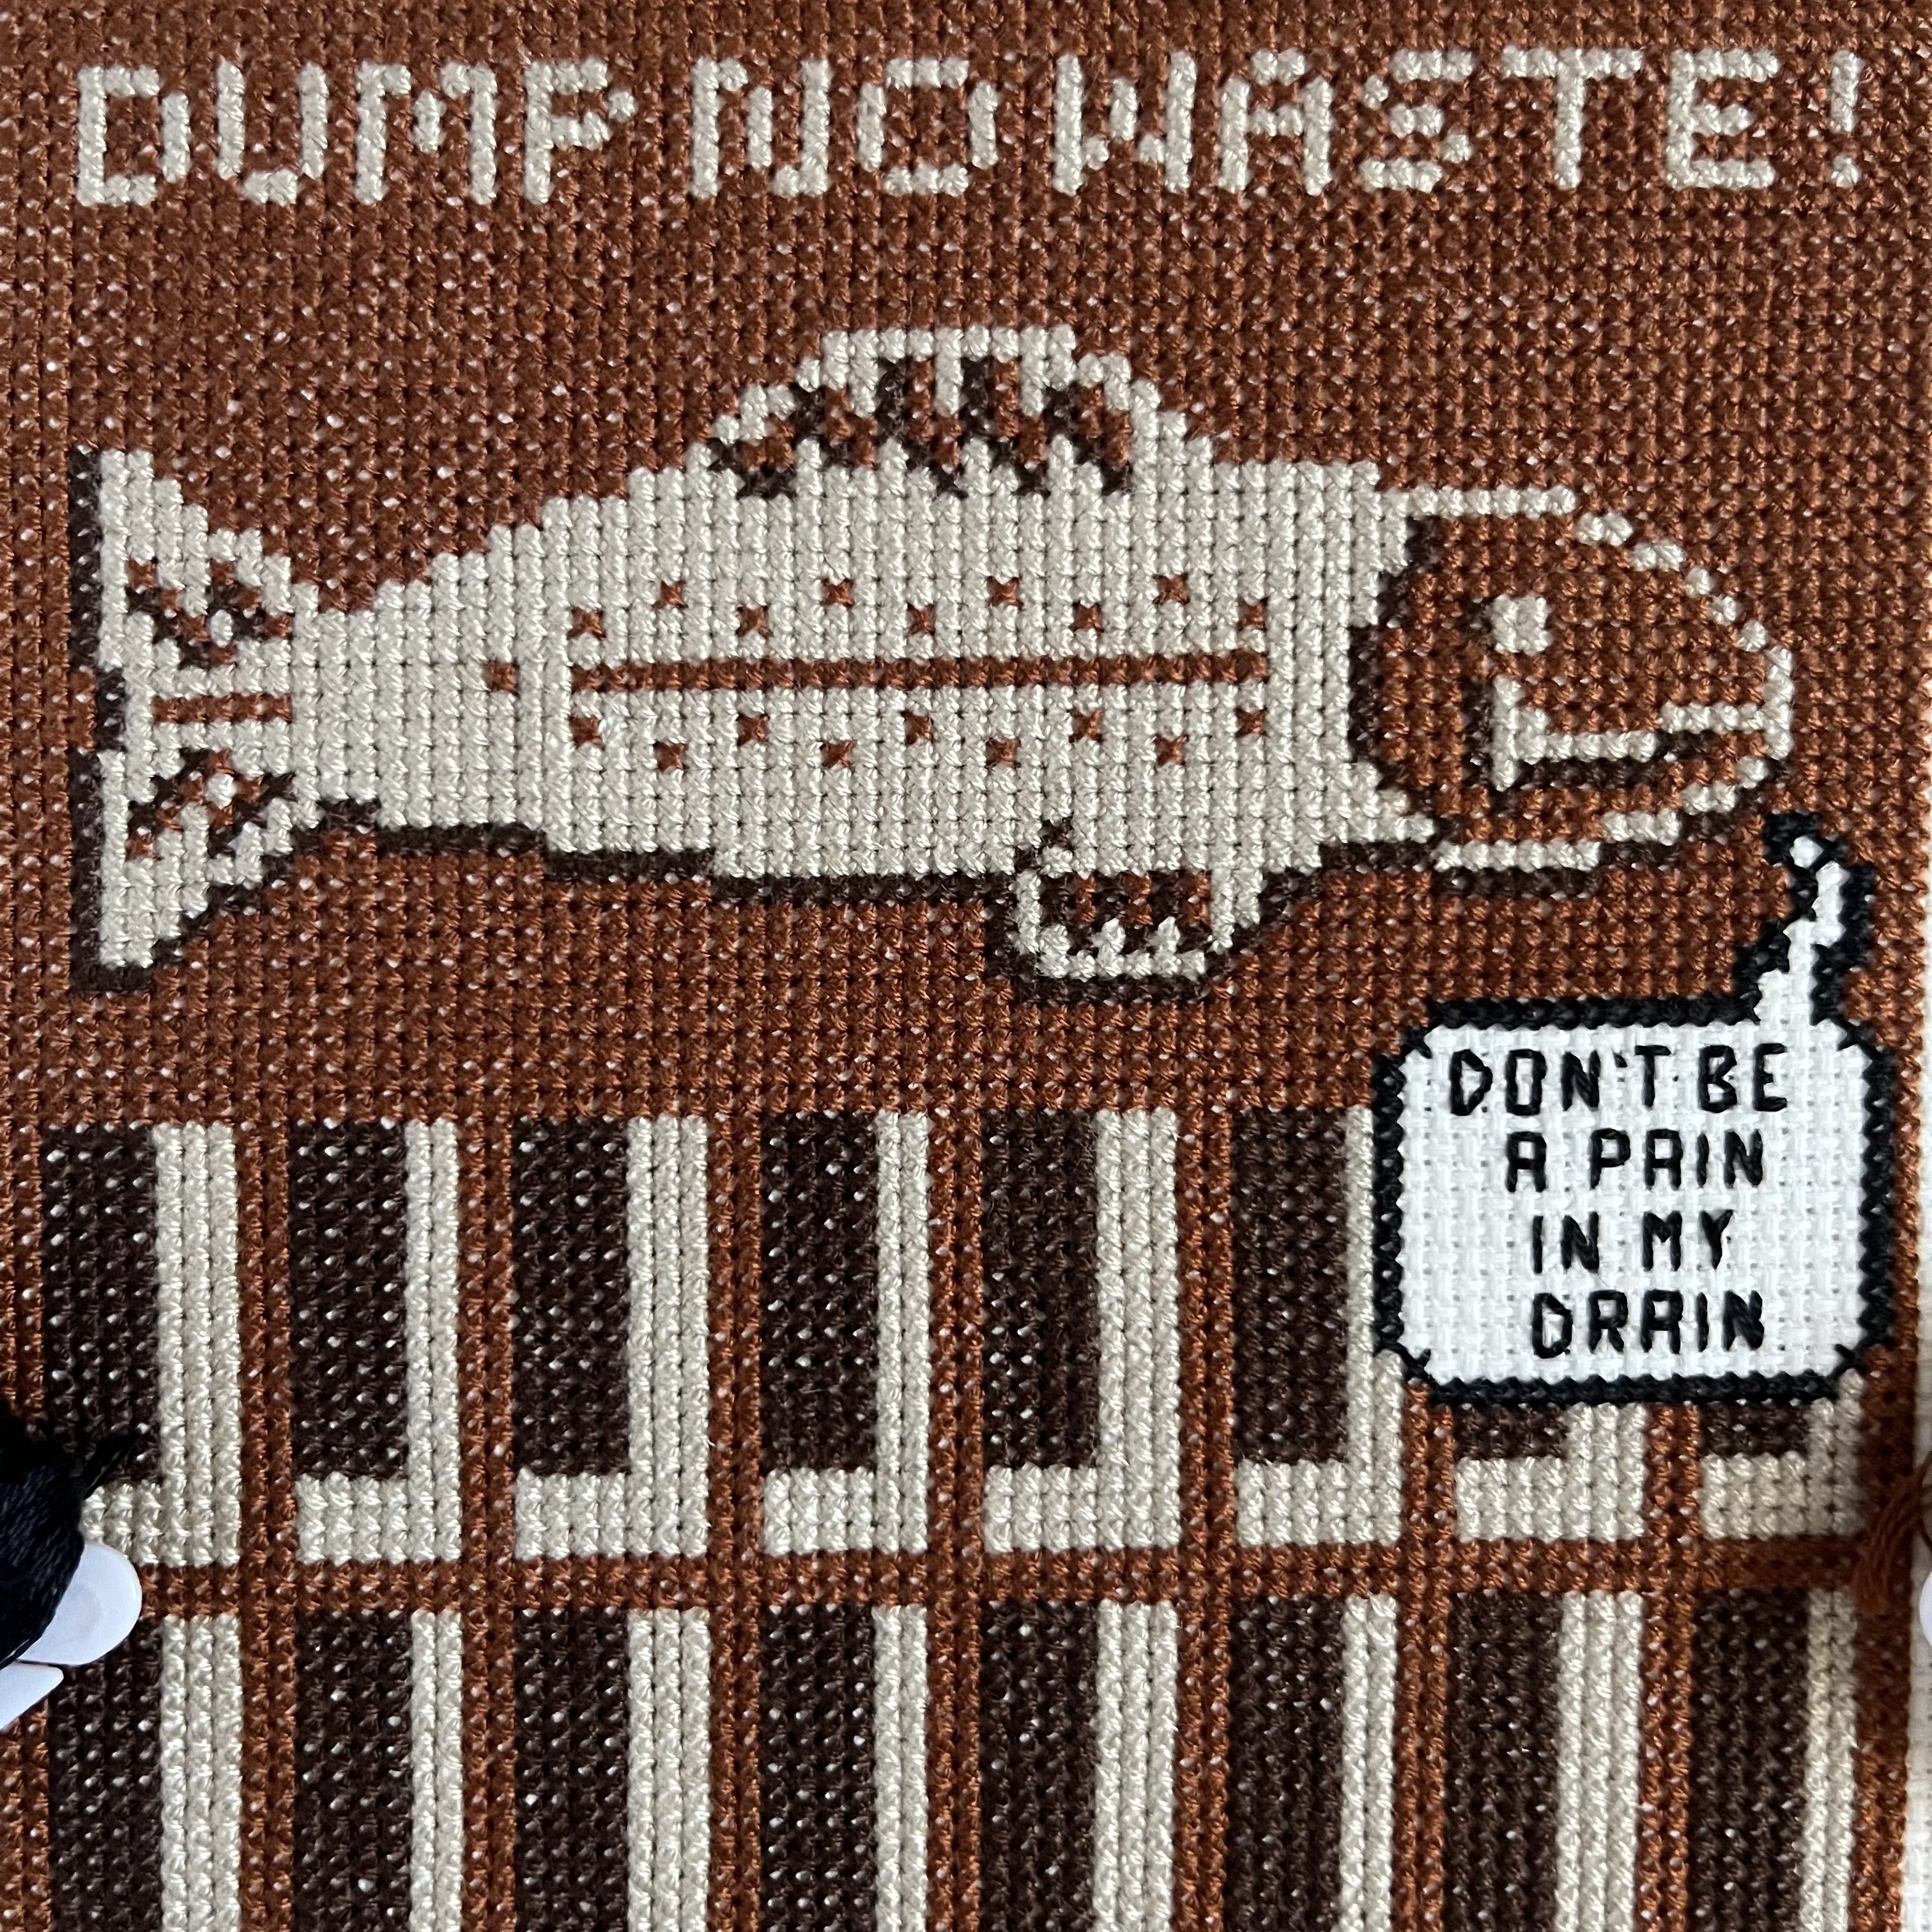
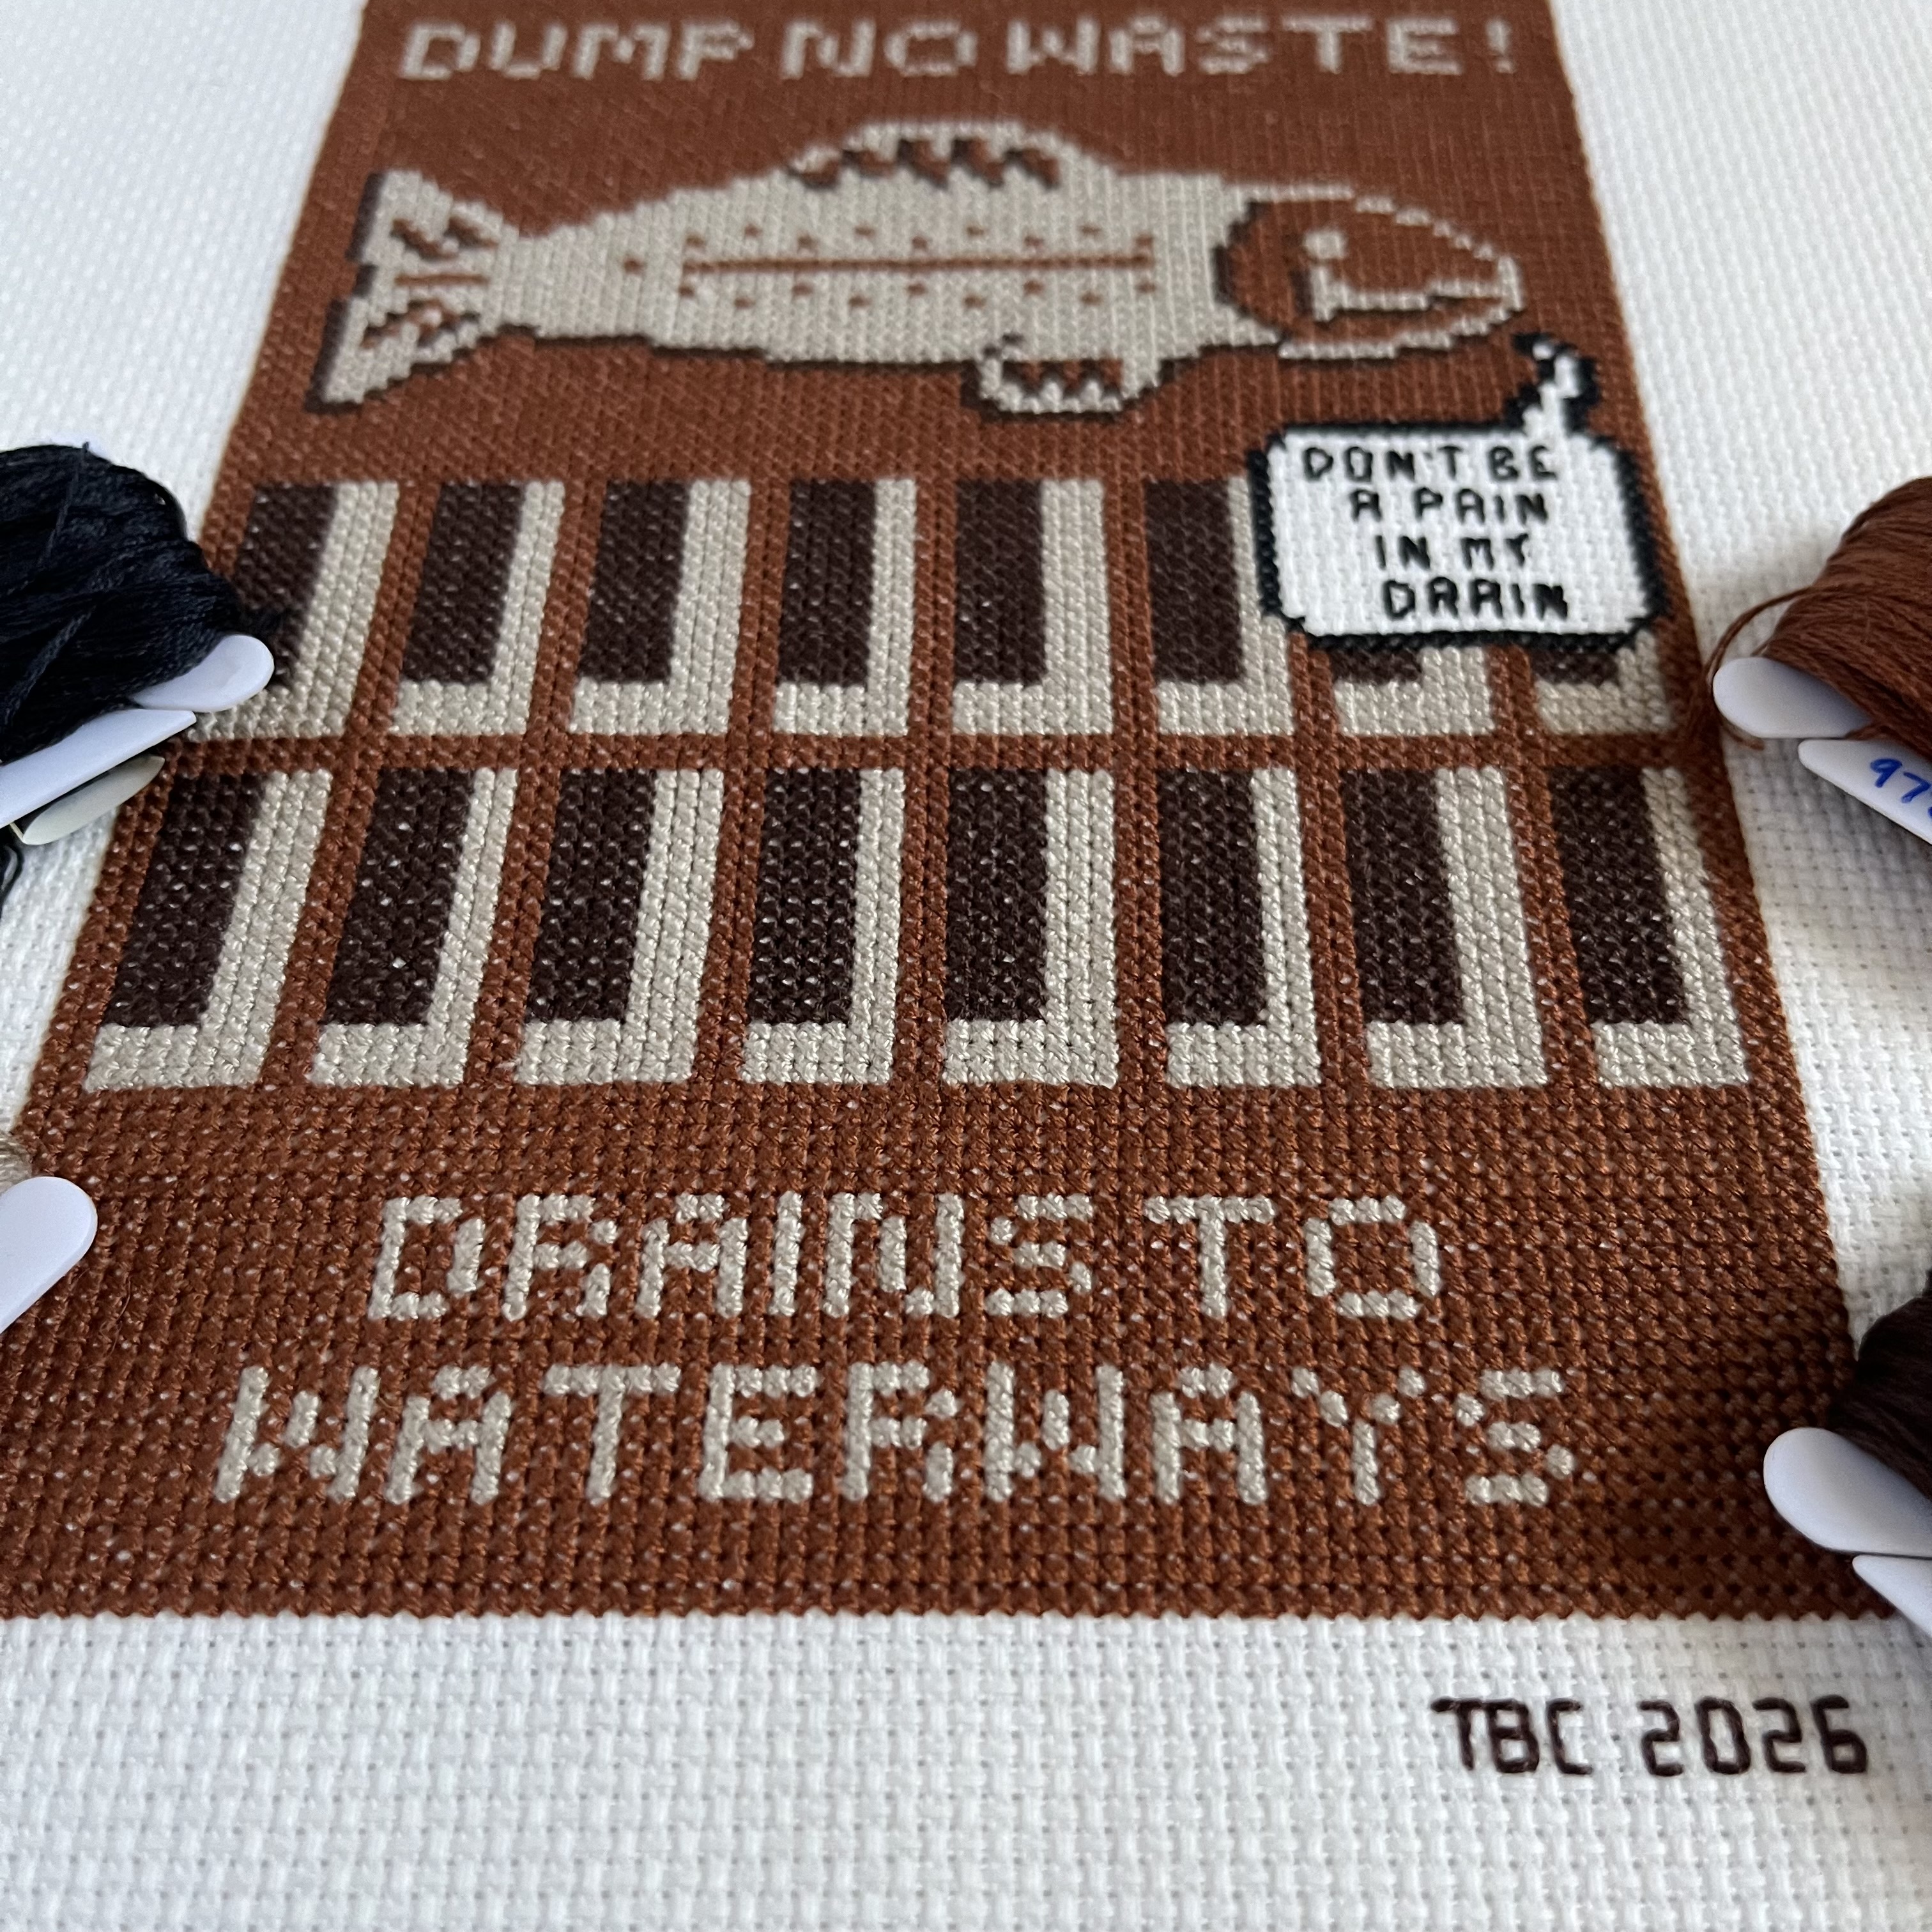
The “Keep It Clean” watershed signs I see posted on roads right at creeks have a simple, eye-catching design. I knew the single color and bold fish illustration would translate well to a cross-stitch design.
Purchase the digital PDF pattern for my Ohio Watershed Keep It Clean Cross-Stitch Pattern on my Etsy shop here.
I snapped a picture of one of these signs close to me and got to work. While the program I use to create patterns can automatically convert an uploaded picture into a cross-stitch pattern, I discovered I still had a LOT of work to do. The auto feature picks up almost every color. And, because I’m not a robot, my photo wasn’t taken perfectly aligned to the sign (I was on the side of a road). So, I had to simplify.
To do that, I removed the background around the sign. I also removed any color the program picked up on the “white” part of the sign. Then, I had to correct the font. I had to fix each letterform and then make them consistent—all the E’s the same, and so on.
The fish required a lot of work, too. Curved lines are hard to create in a medium that is literally a grid. But, I did it and I’m satisfied with just how happy the fish looks.
Finally, I added the speech bubble. That little fishy has too much personality to be silent. He’s not jumping out of the water to wave “hello” as you pass by. No, he is on a mission. He wants to drive the sign’s message home: don’t leak in his creek. Please and thank you.
On 14-count aida, which is my favorite cloth count to work on, this design measures 5″ x 5.64″. It only requires two thread colors, one of which is black. You could do the whole thing in blue if you really wanted to.
Clean watersheds are important because water outside somehow, someway always ends up in our pipes flowing right to our faucets and water fountains. Clean watersheds mean clean drinking water. Also, our buddies, the fish and other aquatic life need clean water.
Have fun stitching up this simple design and sharing just how much clean water means to you.
I repurposed a cut and sew panel intended to be a fabric book into a quilt. Each page became a quilt block and coordinating fabric was used for sashing and borders.
Frosty the Snowman Christmas Quilt Front
My Frosty the Snowman Christmas Quilt is based on my Rudolph the Red-Nosed Reindeer Christmas Quilt. When I found a cut-and-sew fabric book panel for the story of Frosty the Snowman that was similar to the Rudolph panel I used for that quilt, I knew I wanted to make another quilt. The Rudolph Quilt is one of my family’s favorites and is out on our couch year-round.
The construction of the Frosty Quilt is almost identical to the Rudolph Quilt. In fact, I measured the sashing and borders on the Rudolph Quilt and made my Frosty sashing and borders the same size.
This quilt was a breeze to put together. I had had the fabric for a few years. It was only when I made a promise to myself that I would focus on one quilt at a time that I worked my way through one unfinished quilt top and a started, yet unfinished row-by-row quilt that it was finally time for Frosty! Once started, it came together quickly.
Honestly, the hardest part was the backing. See, our dear Joann Fabrics and Crafts shut down and left not only a hole in our hearts, but the fabric market, too. I didn’t have enough Frosty hexagon fabric to be a complete back. Even with leftover Frosty fabric from the front, I didn’t have enough. So, I just kept adding more and more fabric—the white-on-white print from the front, and then some peppermint print fabric (that I had originally purchased from Joann). This is the most pieced backing I’ve ever made. If Joann Fabrics and Crafts was still in business, I would have zipped on over and purchased enough fabric of some Frosty/Christmas/winter theme to complement that hexagon pattern. I couldn’t do that and I didn’t want to order fabric online, so I made do.
Frosty the Snowman Christmas Quilt Back
The backing is alright. And, it is straighter and squarer with the edges of the quilt than I thought I was going to get it. Because of the layering of backing, batting, and top during the basting process, it is hard for me to line everything up.
And, speaking of lining up, I think my blocks line up well and make a good grid. I previously wrote about how I use tailor’s chalk and a ruler to make sure my blocks are lined up through sashing.
The quilting is big stitch and I did it by hand with DMC pearl thread. It’s easy and quick and creates a textural finish. Within each block, I stitched around the picture. In the sashing and borders, I did a few straight lines. I used blue thread on the white fabric and white thread on the blue fabric.
Big-stitch hand quilting
Big-stitch hand quilting is perfectly imperfect.
From the original cut-and-sew panel, I snagged the “Frosty the Snowman” logo. Using the needle-turn appliqué technique, I attached the logo to the back of the quilt, right above my label. That Rankin/Bass typography is just sooo good.
Logo from the original cut-and-sew panel appliqued onto the quilt back.
The quilt is bound with a non-Frosty, non-Christmas blue and white patterned fabric. While thematically it doesn’t fit, the colors are just about spot-on. Huzzah for making it work!
Teeny-tiny stitches secure the binding to the back of the quilt.
The details of my Frosty the Snowman Christmas Quilt:
Creating a tidy grid of quilt blocks and sashing is easy with a simple trick using tailor’s chalk and a quilting ruler.
Lining up quilt blocks across sashing can be tricky. Pinning a row of quilt blocks sewn together to the sashing before stitching is necessary, but with some simple tools, you can get a neat and tidy grid.
Line the ruler up with the side seam and the seam along the sashing you are stitching the next row to.
After attaching the sashing to the first row of sewn quilt blocks, square up a ruler with the seam of a quilt block and sashing. Then, make a mark along the sashing with the tailor’s chalk. (Note: you can use whatever temporary pencil or marker you prefer. Heck, you could even stick a pin on the far side of the sashing where the seam is.) You’ll want to mark the seams of all the quilt blocks along the sashing.
It’s now easy to see exactly where to pin the seams on the sashing.
Now, take your next row of sewn quilt blocks and line the seams up with the marks. It’s not as satisfying as nesting seams, but it still feels good that you’re going to get an accurate placement.
I pin both seams and I also put at least one pin in the middle of each block.
Stitch the seam and voilà! A pretty darn accurate grid of quilt blocks!
Those chalk lines will go away in the wash.
I first came across the challenge of lining up quilt blocks when I was a quilt guild member. Another member posed the question to the group because her blocks were always a little offset. I hadn’t made a quilt with sashing at that point, so I listened and the best response was “pin it really well.” The most important pins are the ones at the seams of the second row and the chalk marks, but making those chalk marks are essential. It’s a simple trick and super easy to do with some common tools!
P.S. The quilt shown here is my Frosty the Snowman Quilt which is still in progress…stay tuned!
Add it to your Pinterest board for future reference!
Prepping the cloth and floss for a new cross-stitch pattern makes it easy to jump in and start stitching. Here’s how I do it.
All the supplies for stitching Tiny Modernist’s Cute Crocodile cross-stitch pattern.
This past summer, I was bitten by the cross-stitch bug. When I was around 10-years-old, my mom introduced me to Christmas cross-stitch ornament kits—those little plastic round frames into which I’d pop the image of Santa Claus, or a snowman, or a train that I had painstakingly crisscrossed out with the provided threads. They were fun when I was a kid. But as an adult, I lost interest…until now.
Needing a hand sewing/stitching project, I browsed Pinterest and found a pattern that caught my eye. I was able to order the pattern and all the required embroidery floss and cloth from a single website. (Etsy is also a great place to get fun patterns, but you need to have the ability to print the pattern and must purchase the floss and cloth somewhere.)
Quilting and tailoring tools come in handy for prepping cross-stitch patterns.
Starting a cross-stitch pattern larger than those tiny ornaments can be overwhelming. Fabric! Thread! Find the center! Here’s how I set up my supplies after I have a pattern I want to start making.
First, I get my cloth. There are a lot of different sizes and colors. For now, I like working with 14-count Aida. White and beige are my favorite colors and easy to find. Consulting the pattern, I see how big the finished image is on the particular size of Aida I’m using. Then, I’ve learned to cut 3” extra on all sides. But, I wish pattern makers/writers would say “add 6 inches to the height and width” because a few times I’ve been tempted to just add 3”—and then I’d only have an extra 1.5” on each side. This extra fabric is so that you have finishing options.
I use my quilting ruler and tailor’s chalk to mark the size just on the edges of my larger piece of fabric. I cut the fabric using the weave as a guide.
No need to mark the whole line. Just follow the weave to cut a straight line.
Next, most patterns recommend working from the center out. Cross-stitch patterns generally have markers so you can easily find the center on the chart. I have been folding my fabric in half one way and then in half the other way. Then, I thread a needle with a single strand of black embroidery floss and run it up and down every 10 holes along the two folds. Once I get started and create the center stitches, I go ahead and clip and remove these marking threads so I don’t permanently stitch them into the design. (Ask me how I learned this.)
Simple lines of stitching make it easy to see the vertical and horizontal centers.
For the floss, I like to wind it onto bobbins, marking each bobbin with the corresponding color number. Then, I load them onto the ring. The plastic bobbins and ring were a set! I only put the colors for my current pattern on there.
Bobbins make keeping floss tidy easy.
Next, I get a piece of cardstock paper, fold it in half (so it’s extra sturdy), and punch enough holes in it to hold a couple lengths of each floss. I write the color number above each hole and then I cut two lengths of each floss and simply tie them on. The floss is the length I like to work with. If you take nothing else from this post, do this. I find this is one of the most helpful things I’ve done. It makes starting on the pattern so easy. Sure, at some point I need to cut a new length of floss from the bobbin, but having this card makes accessing it so easy.
A card of pre-cut floss keeps the stitches flowing!
I keep everything in the same project bag: cut fabric, floss card, ring of floss bobbins, pattern, needles, and something to cut with. Bonus items are thread conditioner and needle threader. One unusual thing you see in my photo is nail clippers. Nail clippers are scissors alternatives. If you are unwilling to travel with your “good scissors,” take nail clippers! They trim floss just as easily and are small enough for project bags and traveling!
All the cross-stitch pattern supplies ready to go.
And, here’s a glamour shot of my completed crocodile:
Using an online tutorial, I sewed a travel toiletry roll using a store-bought hand towel and fat quarter of quilting cotton.
I have had The Yellow Birdhouse’s “DIY Toothbrush Travel Wrap” blog post pinned on a Pinterest board for a few years now. With a trip on the calendar, I knew it was time to try it out. All it requires is a store-bought hand towel, a fat quarter of quilting cotton, some ribbon, and of course, thread, and a sewing machine.
I bought some 100% cotton hand towels and dug through my stash for some fat quarter-size pieces of fabric. I also dug through my collection of ribbon and trim to find pieces that would match and be long enough to stitch on as tie closures.
Full disclosure: I didn’t measure anything! After getting the gist of how to make the toiletry roll, I let the hand towel and mini travel toiletries be my guide. It was an exercise in letting go of perfection. I mean, who is going to see this? Function over beauty, I say!
First, using my secondhand embroidery machine, I stitched my name into the fabric. I’m still learning the ins and outs of machine embroidery and try to use it when I can. It’s all practice, as you’ll see from the fact that the embroidery isn’t very visible. And, it’s off-center.
I trimmed the hems off all four sides of the hand towel. Then, I trimmed the fabric to match the size of the towel. I placed the wrong sides together, placed the ribbon in the center on one side so that it would be outside once flipped, and stitched around, leaving 3-4” open so I could flip it to the right side out.
I flipped it, and topstitched around the perimeter, closing up the hole I used to turn it around.
For the next part, I let the toothbrush be the guide. I set the toothbrush on the towel side and folded the bottom up far enough that it would hold the toothbrush. I also folded the top down enough so that it would protect the head of the brush. I clipped together the top and bottom folds down to hold it in place while I stitched each side down.
Now, using a ruler (but not for measuring!) and some tailor’s chalk, I placed each toiletry in, marked with the chalk where I needed to stitch to create a “pocket.” The ruler ensures a straight line. Then, I stitched along the marked line, and repeated this process for each toiletry I wanted this roll to hold. I was sure to leave a little wiggle room with each pocket, because toiletries don’t last forever and surely the next mini-bottle of shampoo will be larger/different shape and that wiggle room will ensure it’ll still slip in!
I’m happy with it! I stitched up a roll for each of my kids. It allows them to keep track of their own toiletries when we go on family trips. If you need a bit more detail on how this travel toiletry roll comes together, head on over to The Yellow Birdhouse’s tutorial here.