
Using a scrap of quilting cotton and pearl cotton thread, I reinforced and mended a thinning and fraying area of my secondhand jeans.

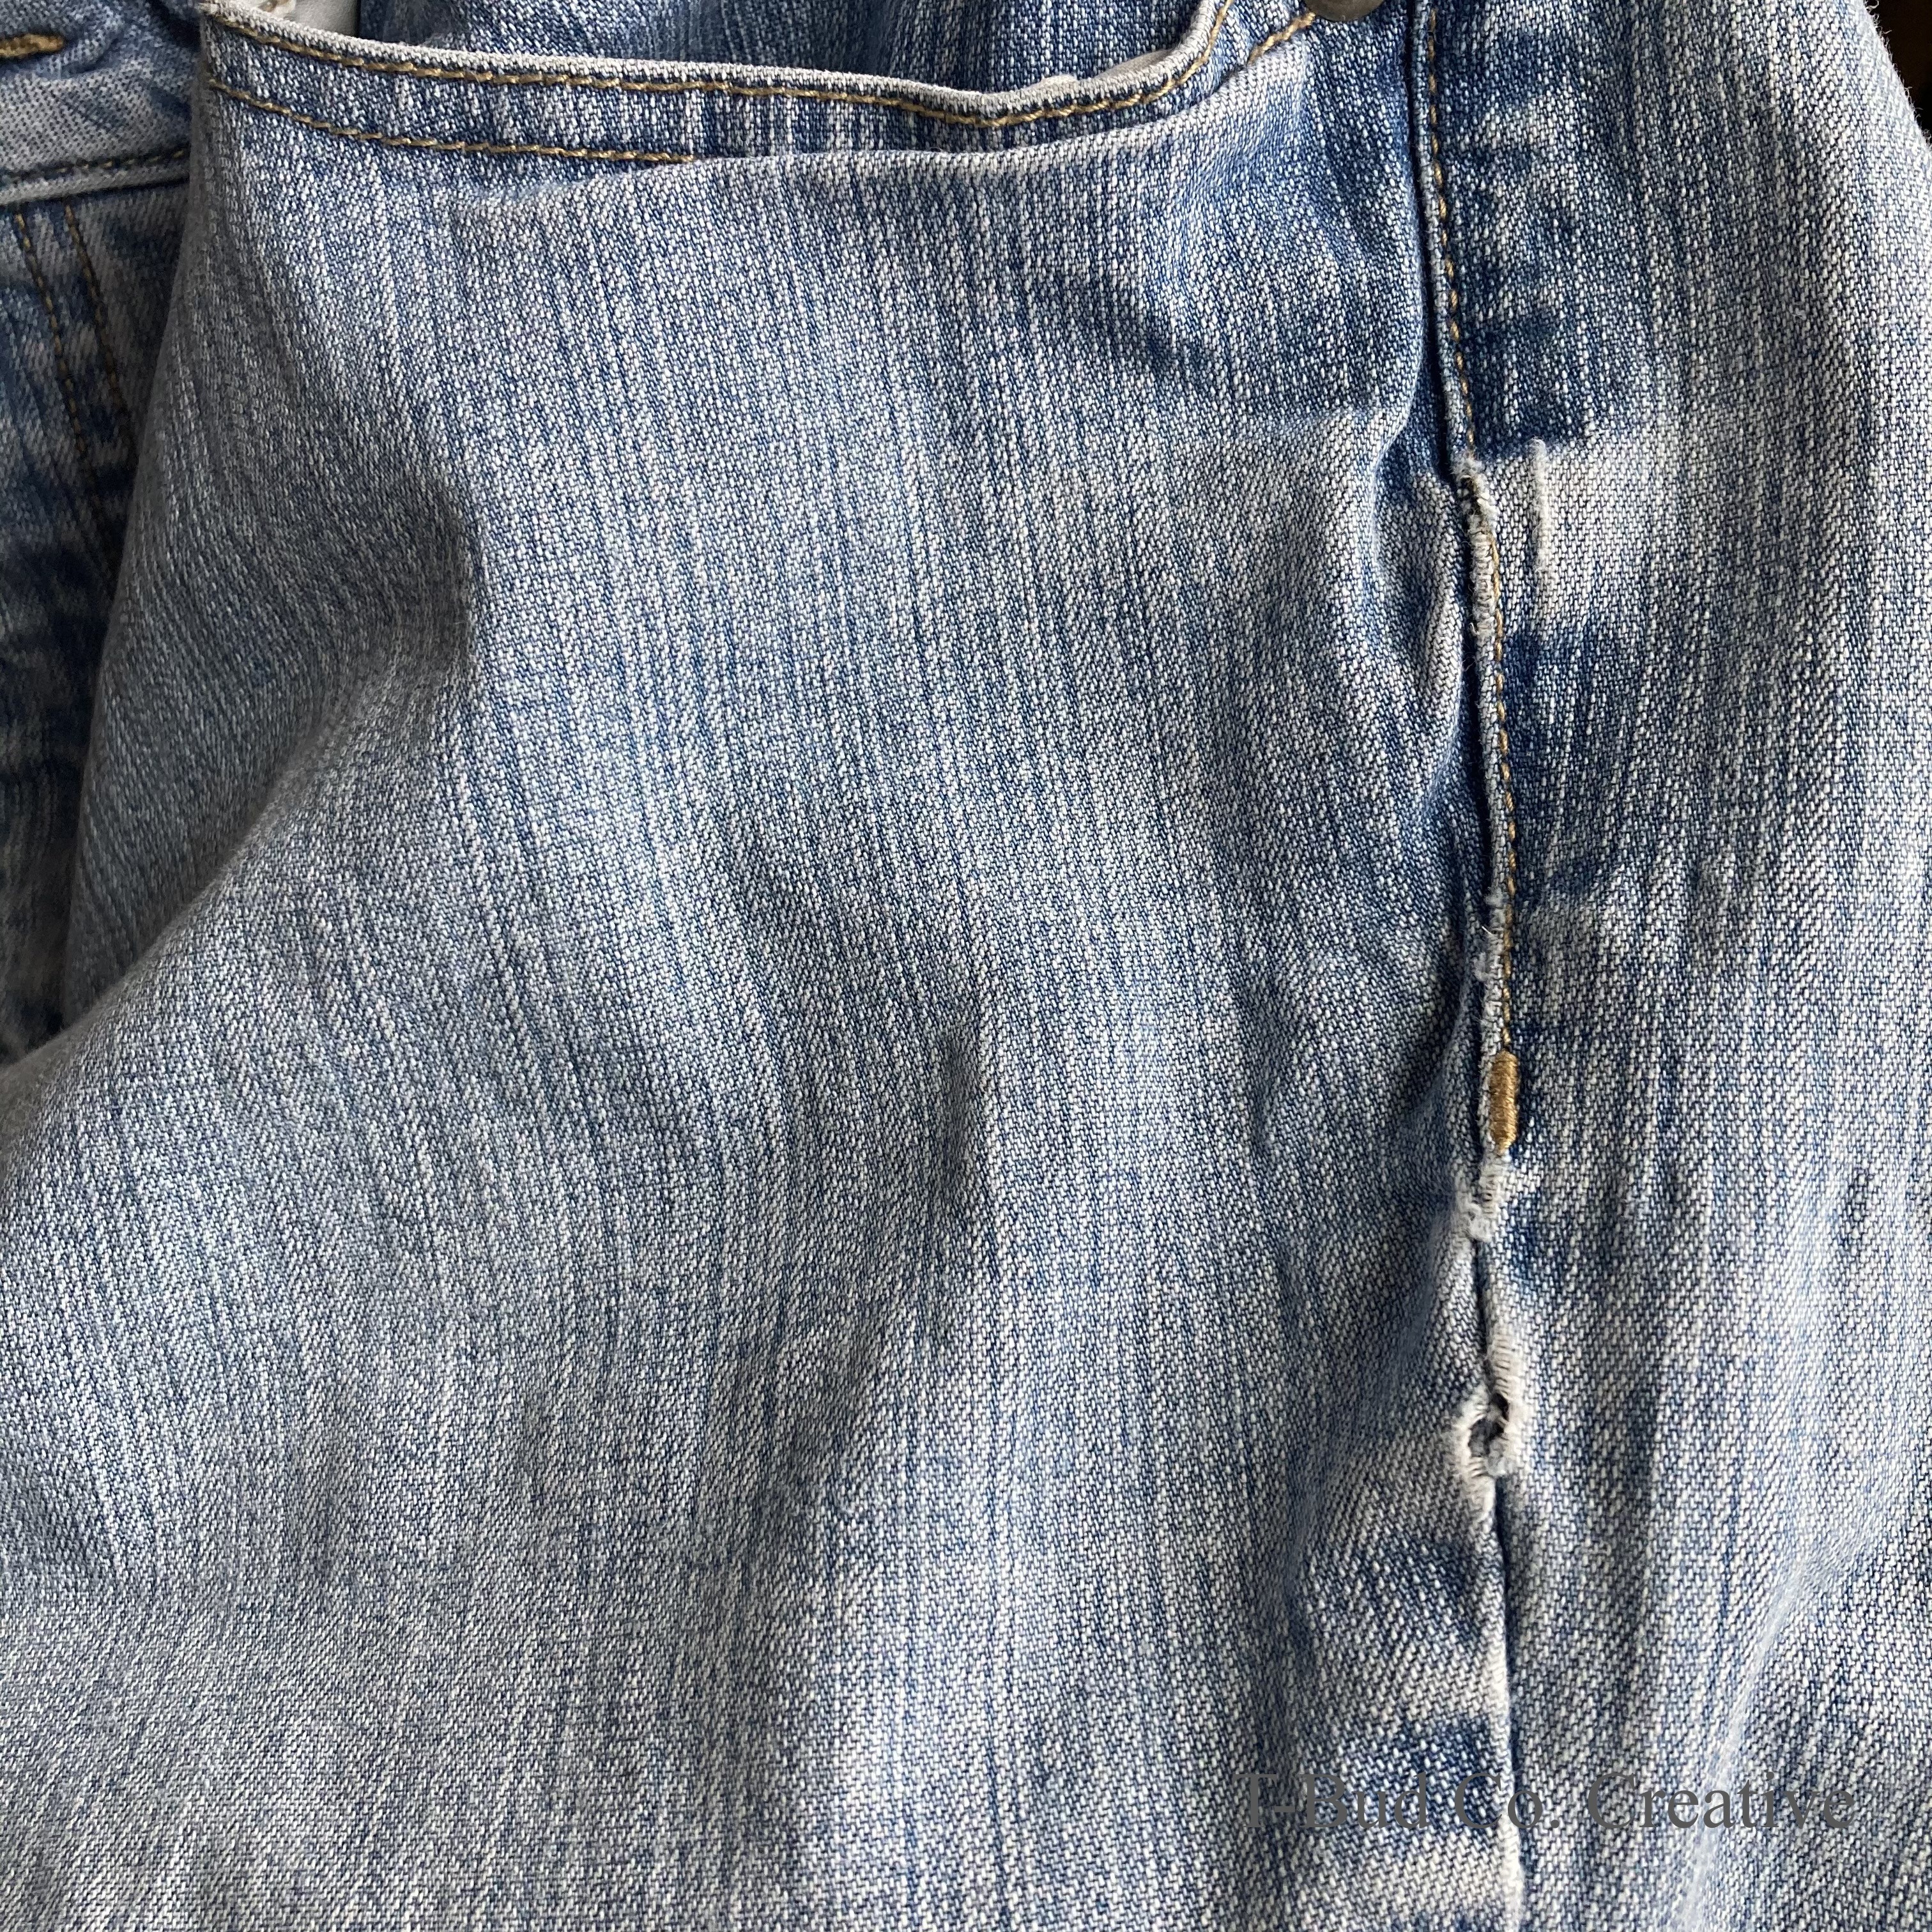
Remember the jeans I visibly hemmed? Well, I recently visibly mended them right at the seam on the upper thigh. I noticed that a twist in the seam allowance had created a thinning and fraying spot. As a person who has ripped her jeans in an embarrassing spot whilst wearing them before, I decided to take care of these jeans before an incident occurred. I chose to reinforce the area with a patch of woven cotton fabric on the inside using a Sashiko-like running stitch with pearl cotton.
There wasn’t quite a hole, yet, and no mending to do per se, but with these being my—ahem—only pair of jeans that I can wear regularly, I wanted to be proactive. (Side note: Why is it so hard to find a pair of jeans that fit and fit comfortably? Hello, my third child is a little over a year old and I’ve spent a year staying at home as much as possible, thank you, pandemic. My body has capital-C changed. Also, WHY DO JEANS HAVE SO MUCH NON-COTTON FIBERS IN THEM?!? I get that a touch of stretch can make them comfortable, but when a quarter of the total fibers are not cotton, the fabric REALLY stretches. I’m already trying to find my new size, fiber content matters and is messing with my head!) Rant over—haha!

I simply pulled a scrap of quilting cotton from my stash and cut it to size. Then I finger-pressed a 1/4” hem around the edges of this patch (I eyeballed it since I put it inside the jeans—no one else will be eyeballing it!).

Then, I pin-basted it into place. My first stitches were around the hem. The raw edges of the patch are completely concealed and contained between the patch and the jeans, because I didn’t want to deal with the patch fraying.
Quite simply, I just did a running stitch zigzagging from side to side in between the perimeter stitches. Done and done. My stitching is inspired by the “visible mending” trend, some of which is based on Japanese Sashiko. I found a great website for learning more about the culture and the craft. Click over to Upcycle Stitches.

I’ve worn and washed these jeans a few times and the patch and stitching have stayed in place. Also, the repair is very subtle. The white thread is perfect on the light wash. While I love the “visible mending” aesthetic, I’m not about to draw attention to my hips and thighs!

So, what do you think? Have you visibly mended any clothing? Did you use a technique that worked really well? Have I missed anything here? Let me know! I read all the comments whether you write them the day I publish a post or 5 years after!

I have never done this myself, but I thoroughly enjoyed reading your whole article with pictures included! And, I really liked your end results on your jeans!
Pingback: 2021 Favorite Projects & Top Posts (Plus a Bit of Inspiration) – T-Bud Co. Creative