
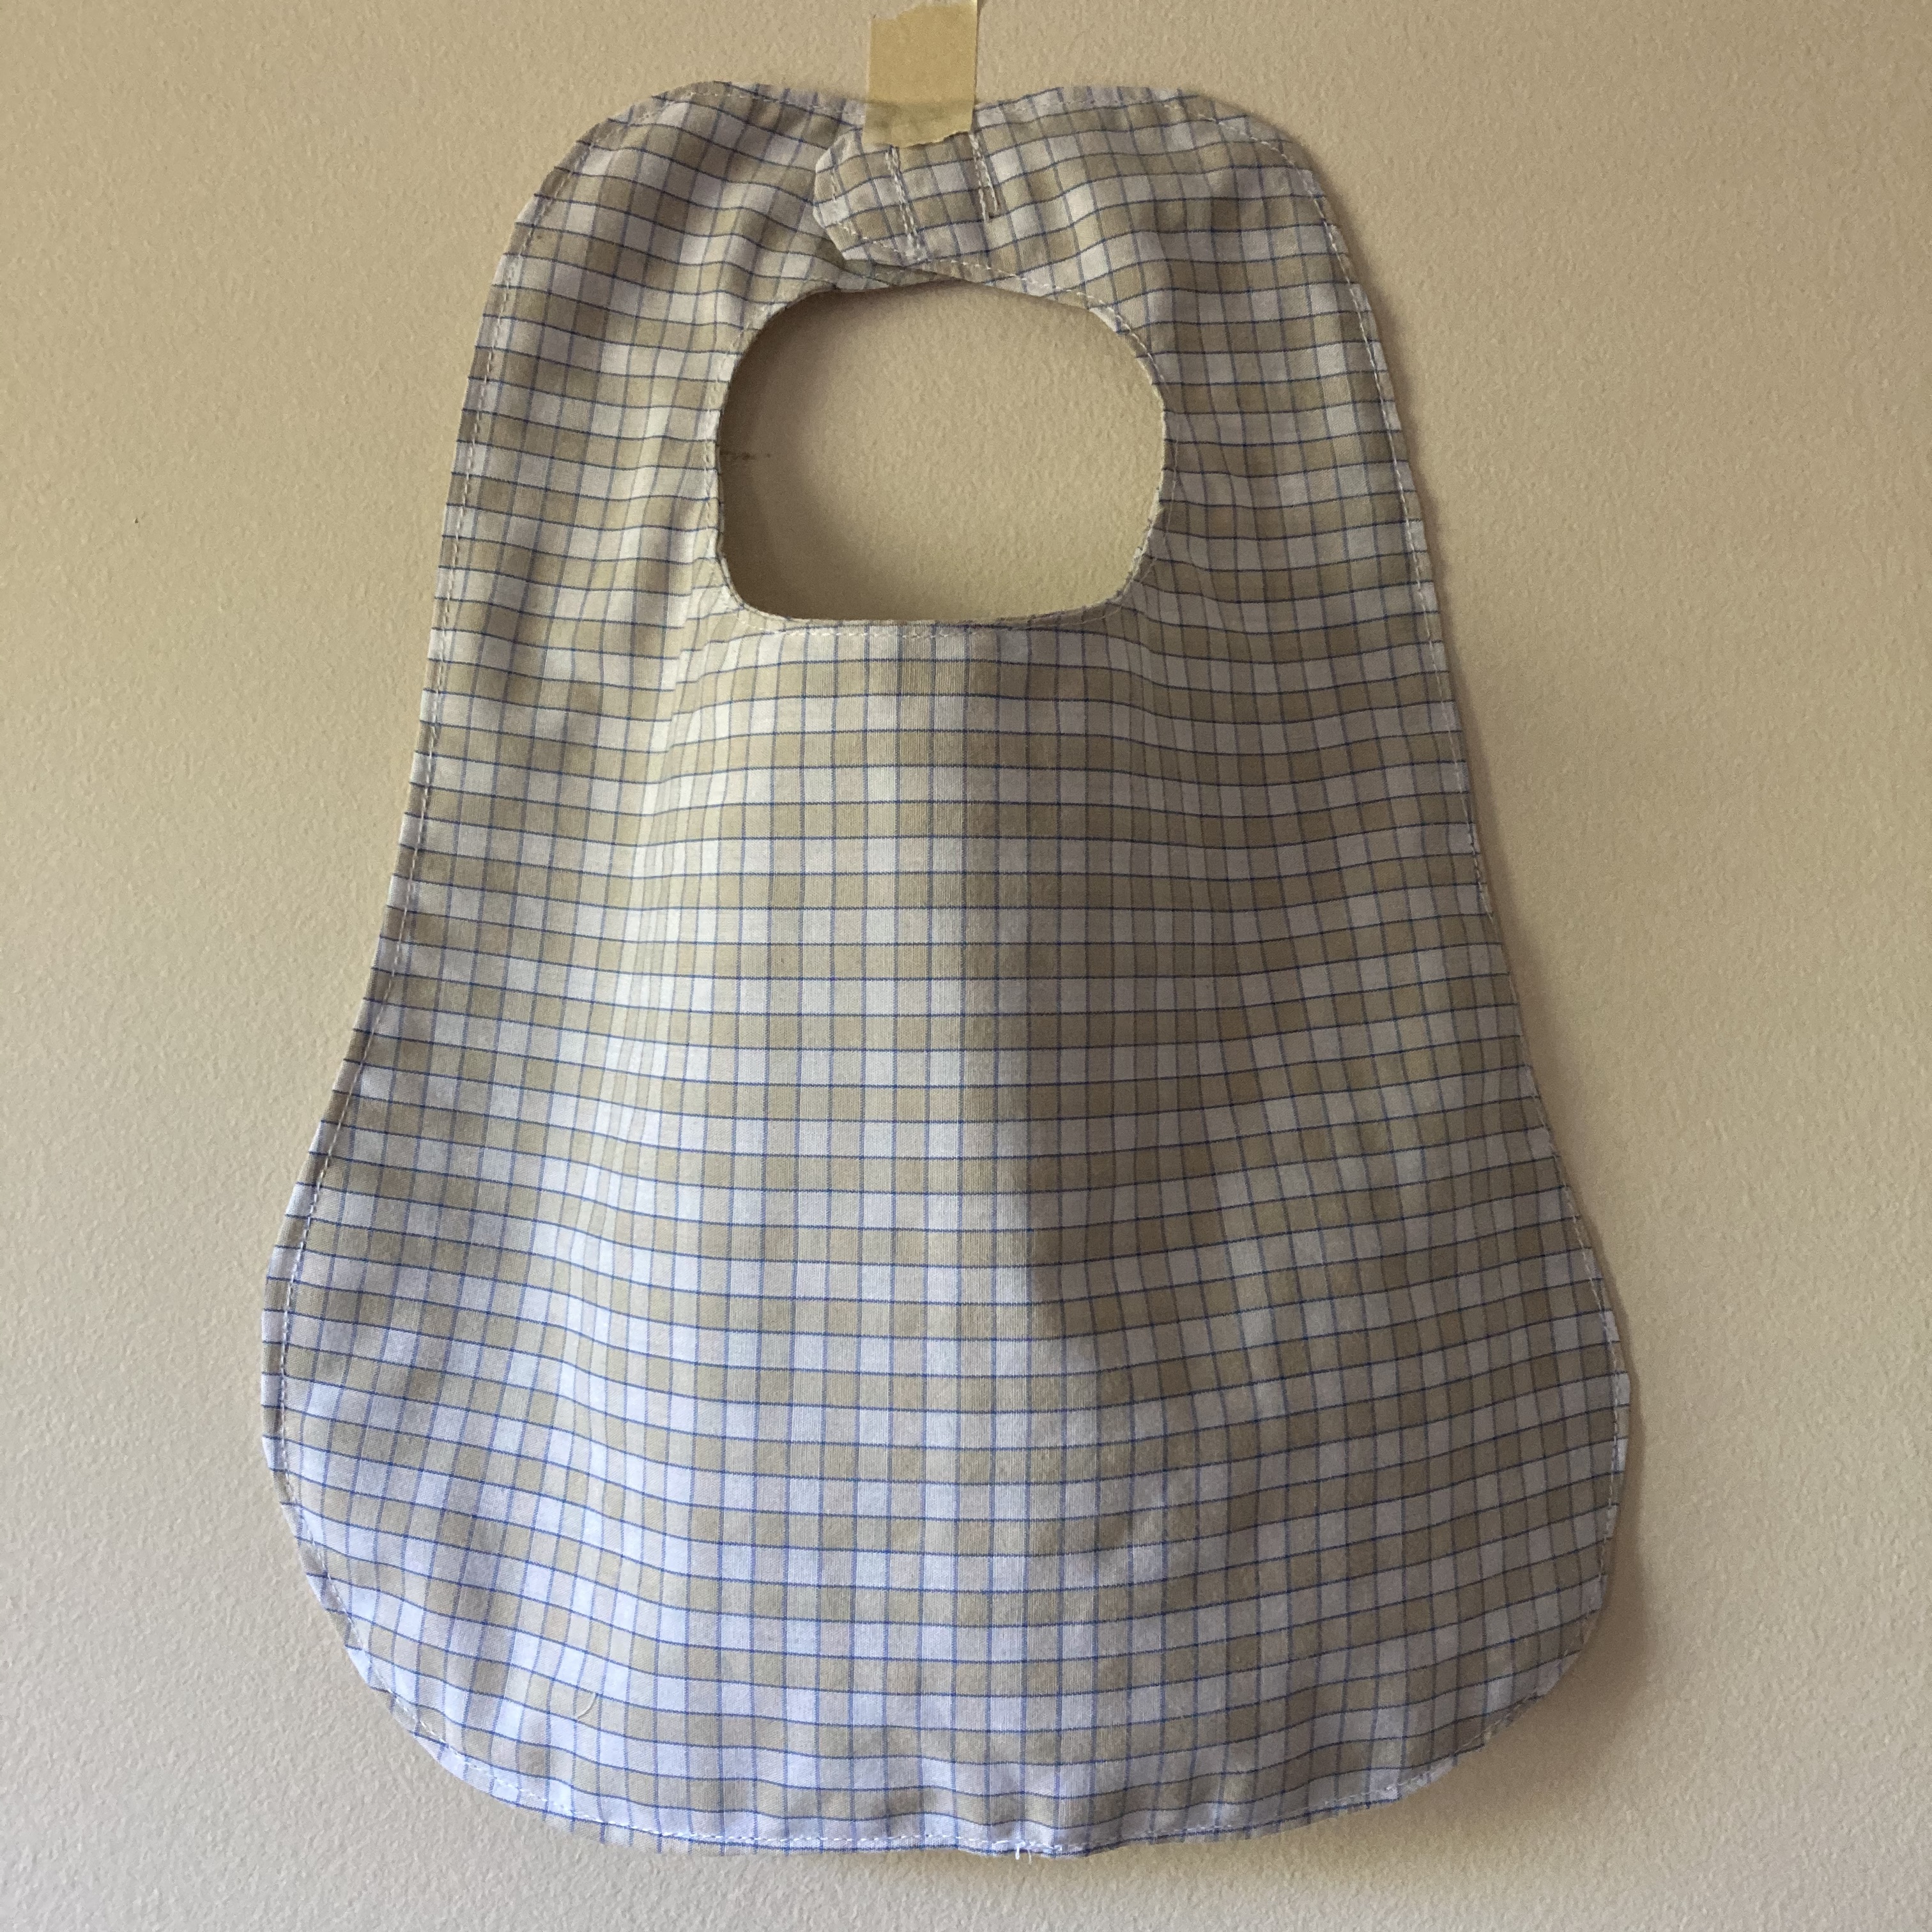
I made quick and easy baby bibs with fabric from repurposed button-up shirts and snaps from outgrown, stained baby bodysuits.
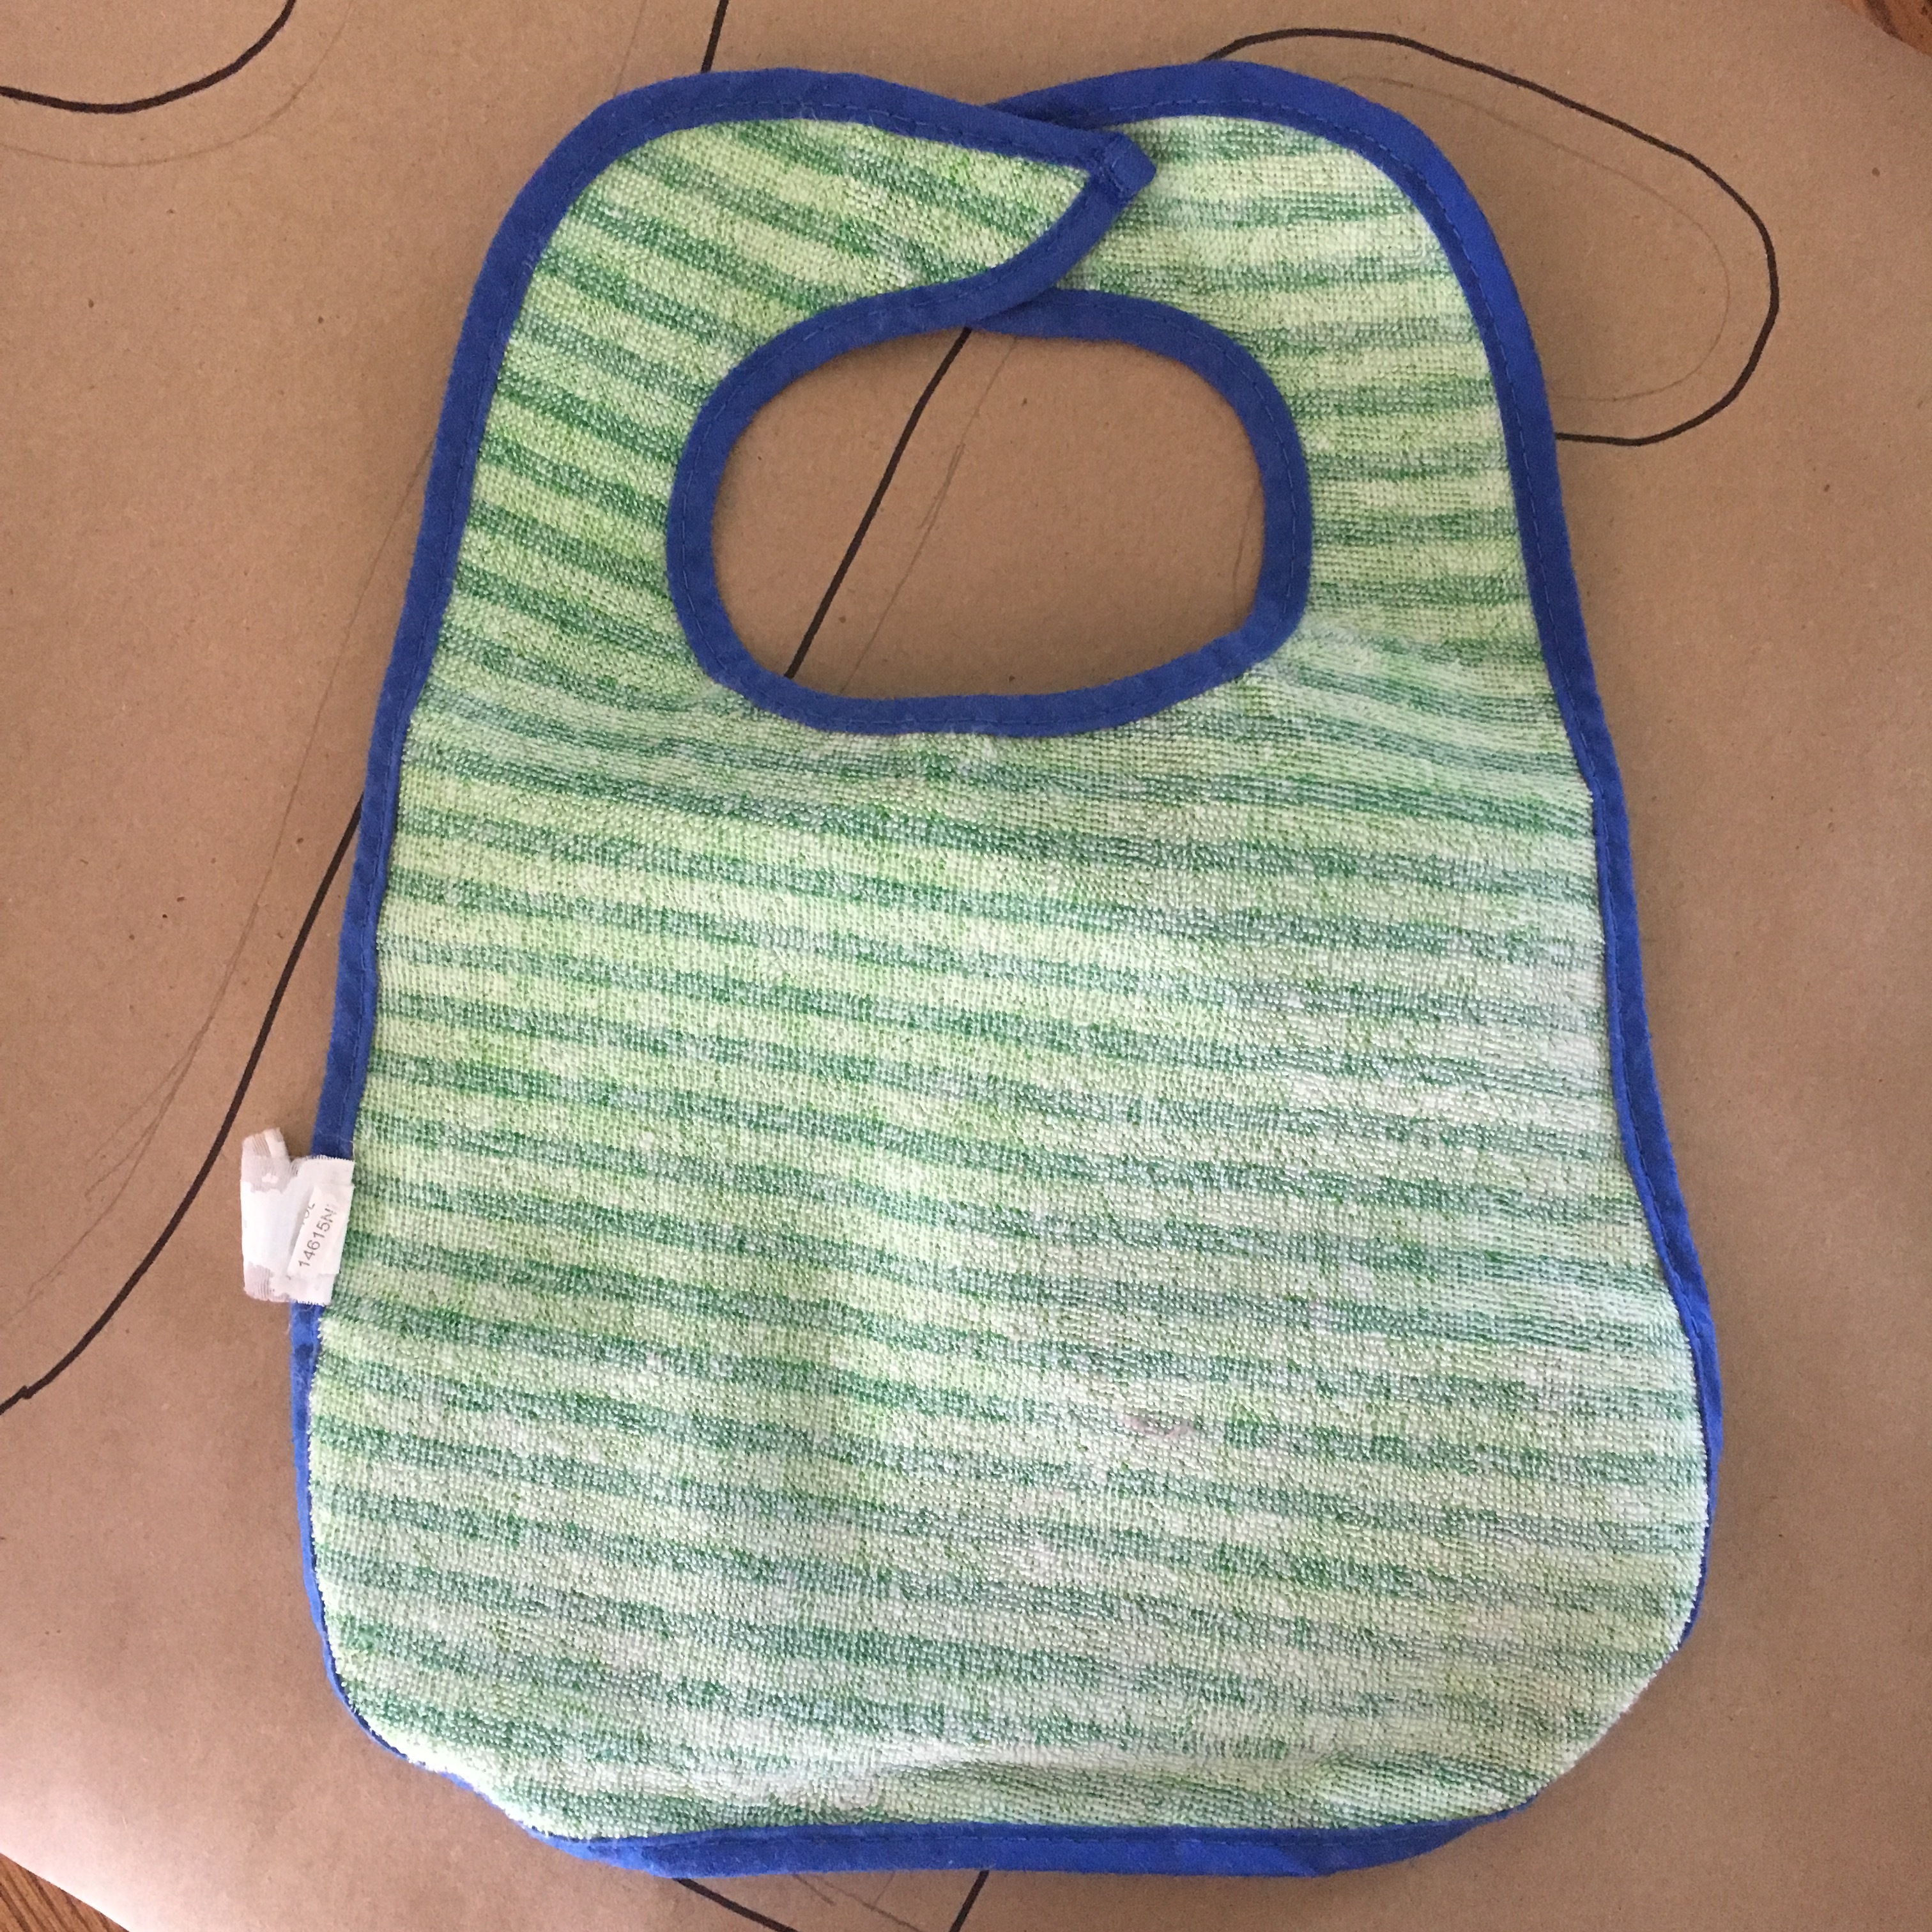
I just had my third baby in November. So, he just started eating solids a little over a month ago. Now, being my third, I have some tired bibs leftover from my older two. But the hook-and-loop closures are worn and don’t stick very well, and they’re very vinyl-plastic-y feeling, which I don’t like.
In my fabric stash I have a few button-up shirts from my husband that he no longer can wear because of holes in the elbows. Usually, I would be all about mending, but we’re not at the point where a mended elbow is considered a professional look in the workplace. And, yes, those things do matter. Alas, I did the best I could and stashed the shirts in my fabric bins until the perfect project came along. Enter my need for several bibs for a new human sloppily learning to eat.
The only new thing I used was thread. There’s no interfacing in these bibs! The snap closures came from outgrown baby bodysuits that were stained just enough to bypass the donation bin and went straight to the rag bin (after I snipped off the snaps, of course).
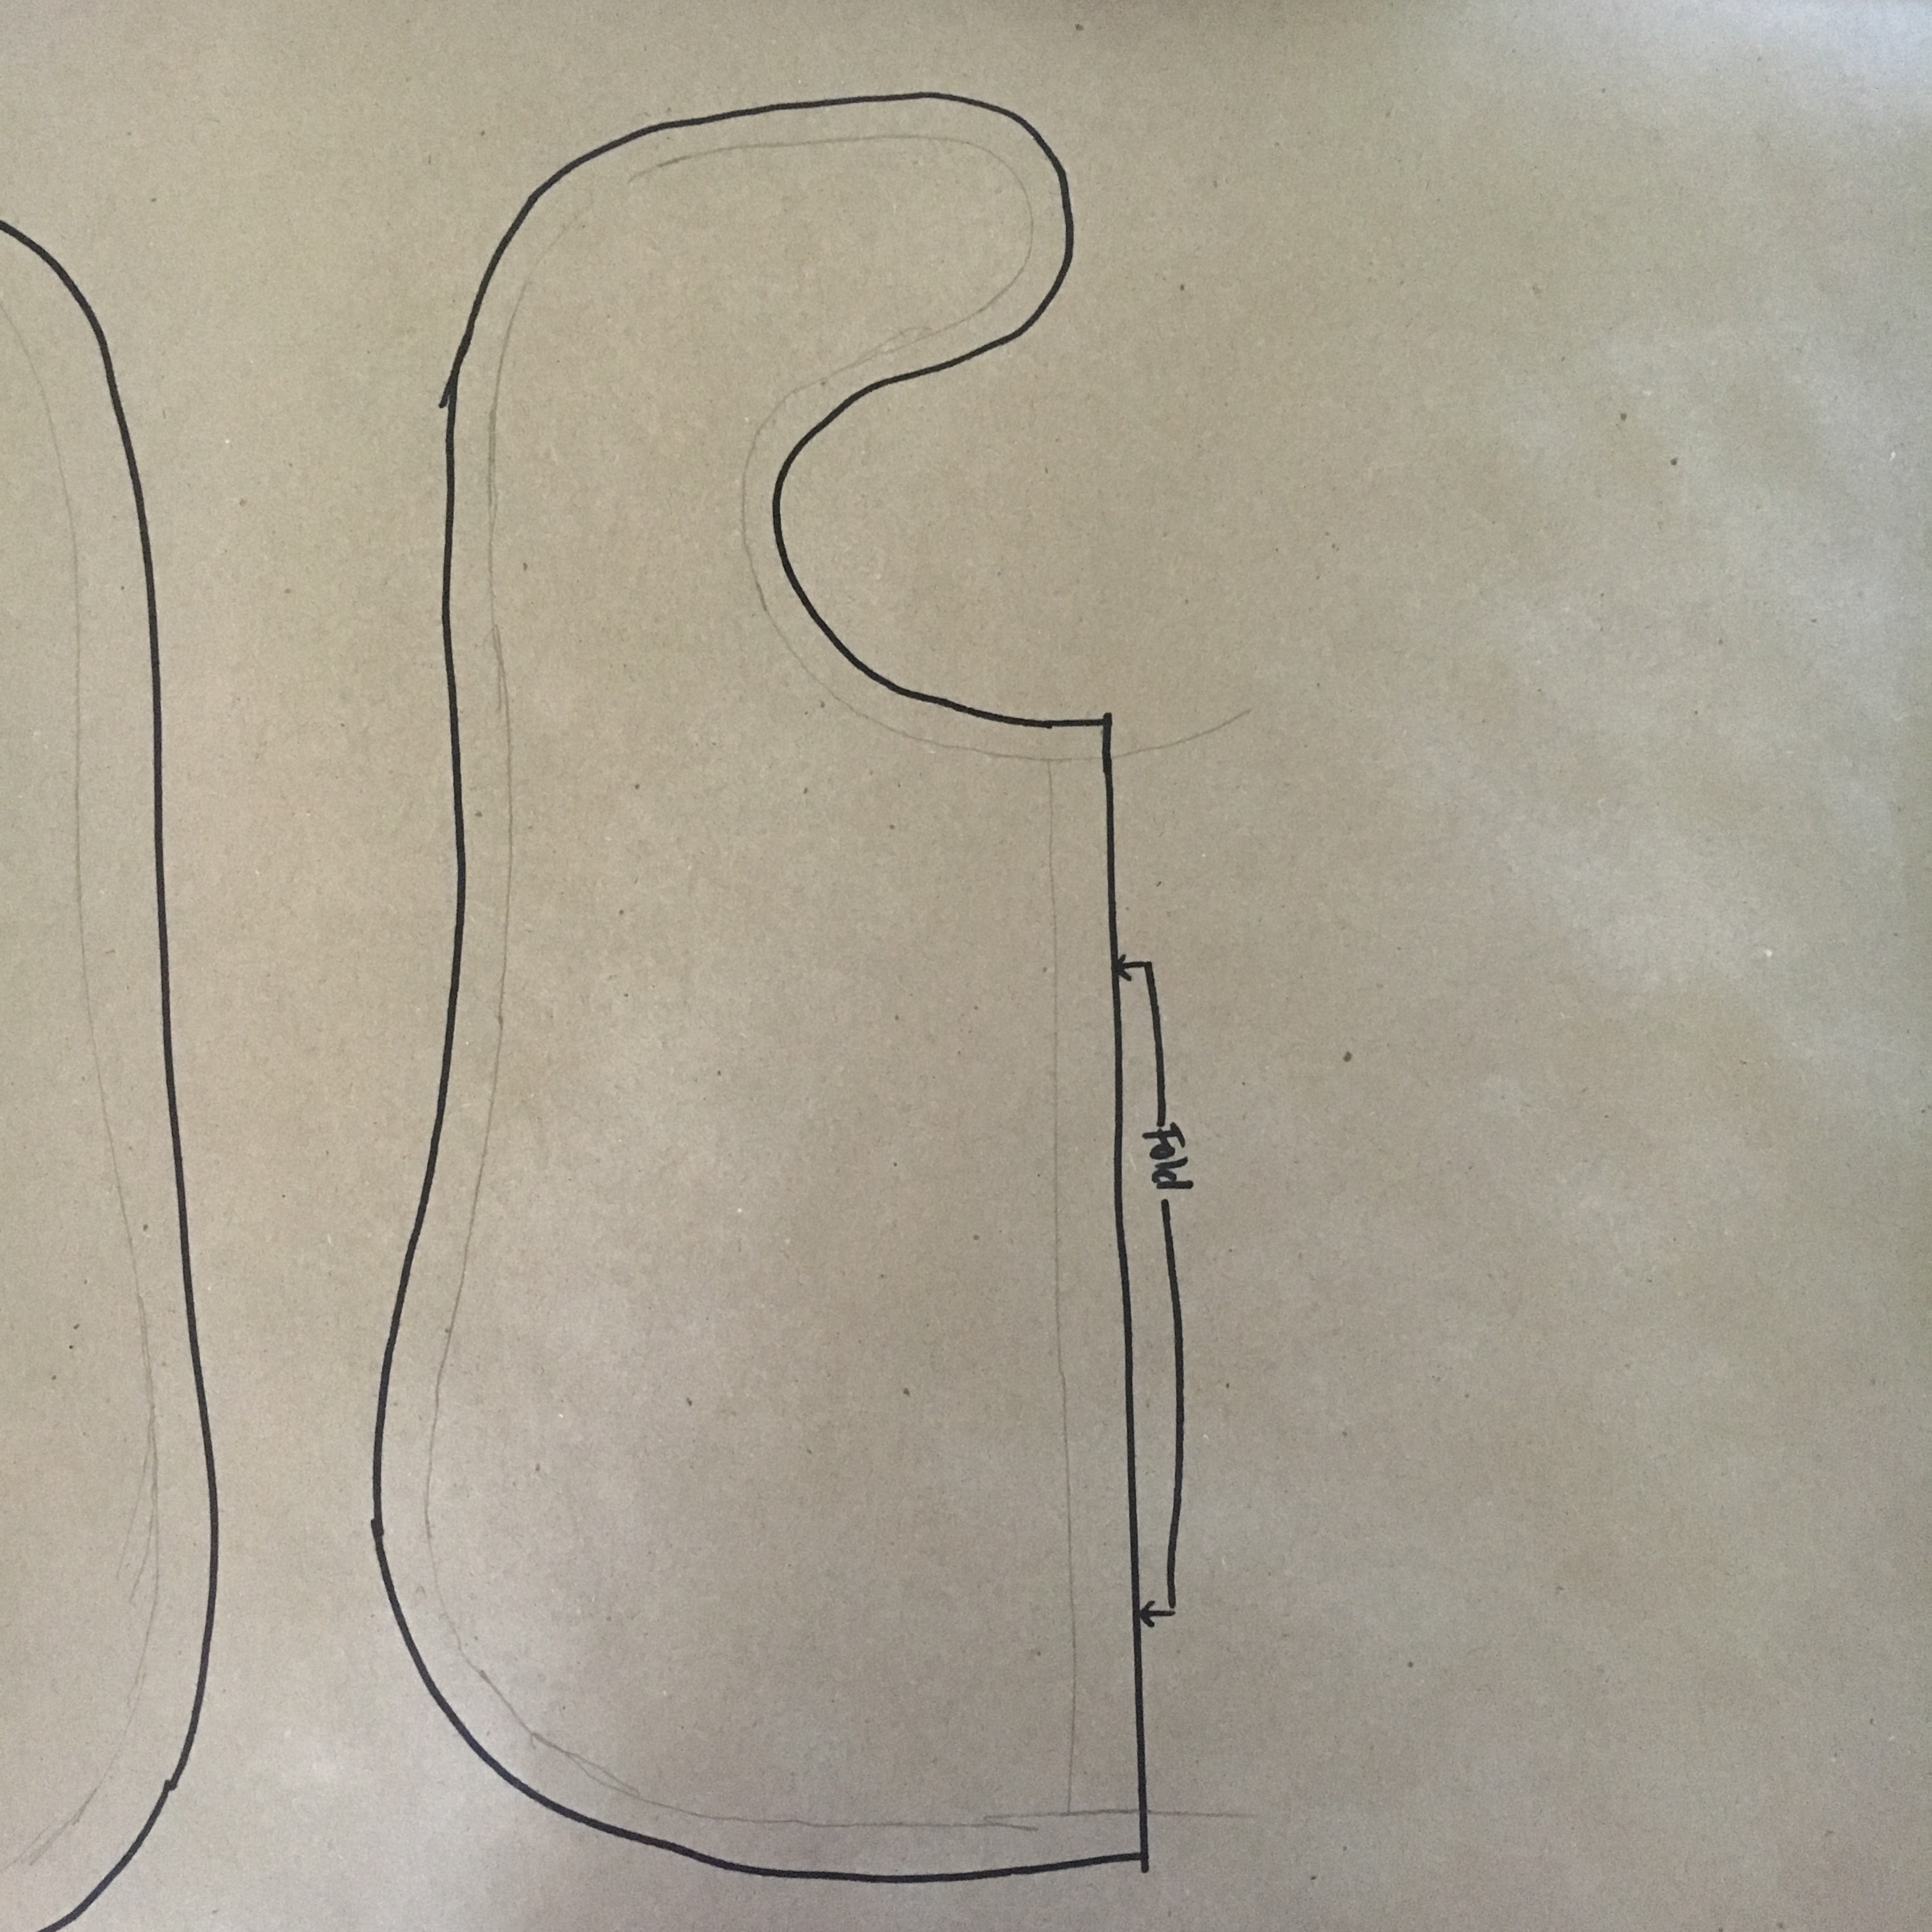
First, I took one of the old bibs I had and made a pattern. I simply folded the bib in half and traced it on some paper, marking the side where the fold goes. I added a ¼” seam allowance line freehand. Hey, these are bibs, not something that needs to fit just right!
Next, I cut up the shirts to have a decent amount of fabric. Each bib needs two of the pattern piece cut out of fabric. With some creative folding, I was able to get two bibs out of one shirt: one out of the back and one out of both sleeves.
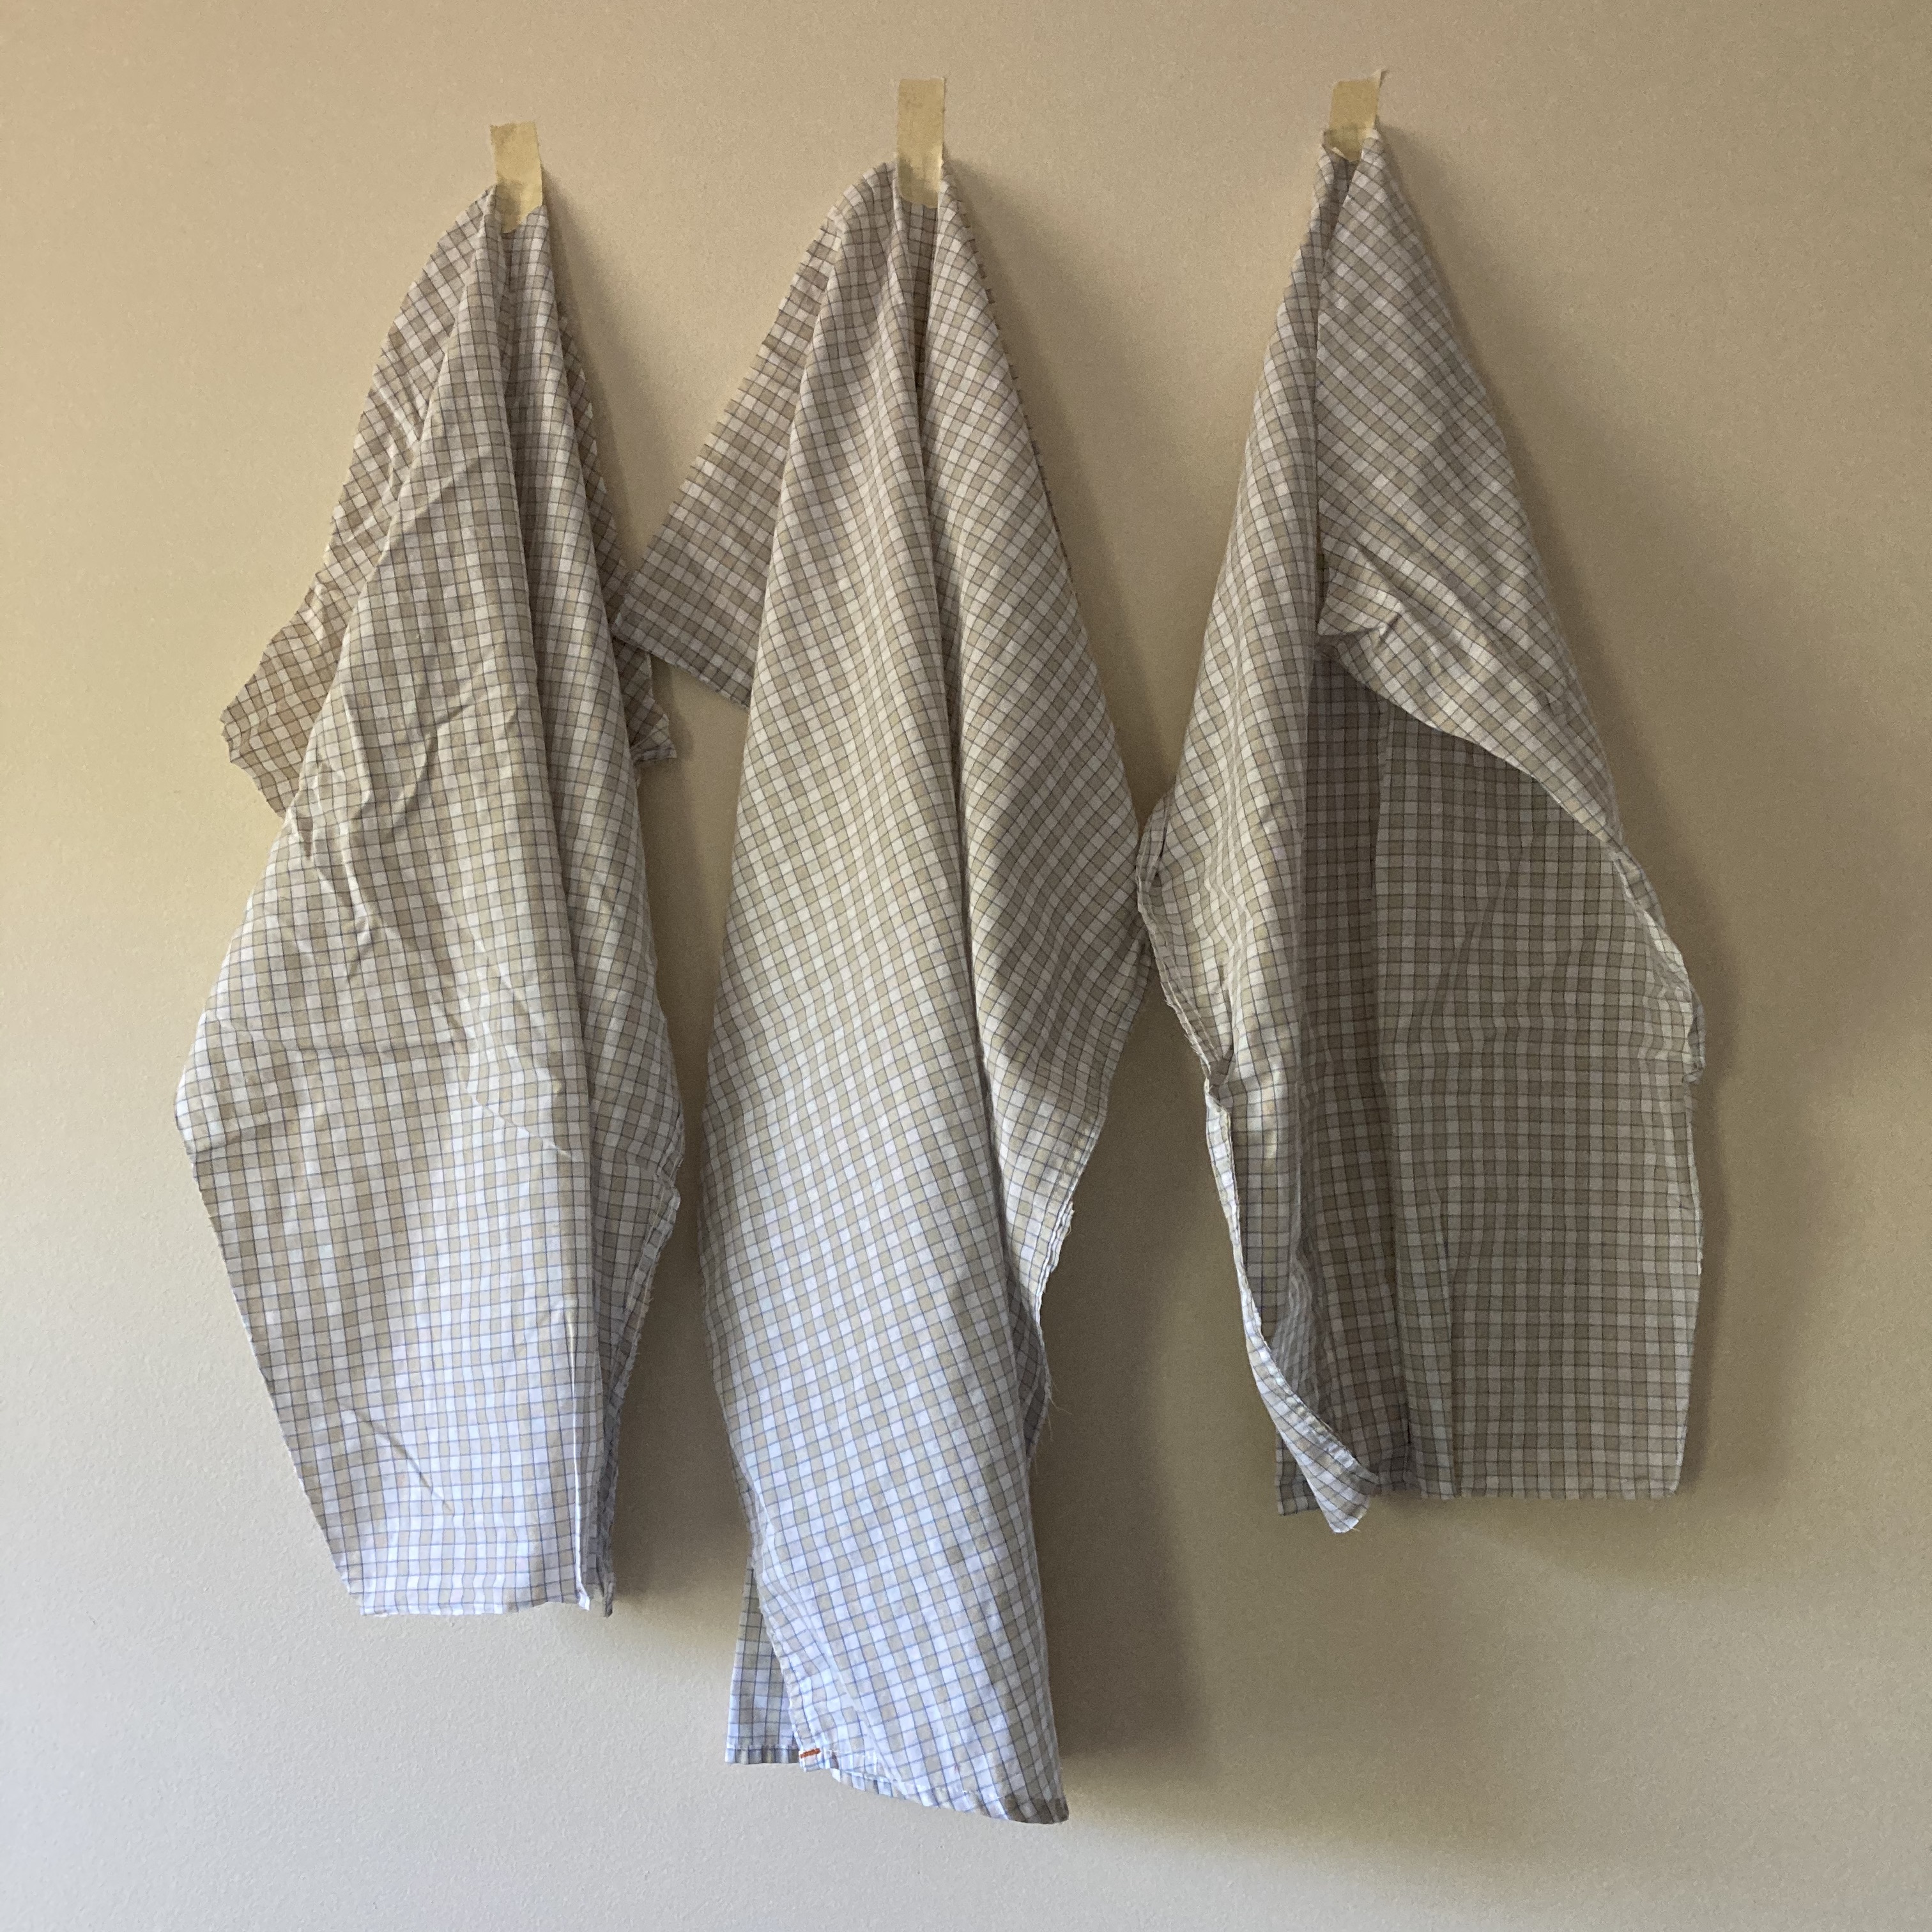
Then, I pinned the two sides together. Here’s the great thing about using woven plaid shirts: I didn’t have to worry so much about wrong and right sides of the fabric. Obviously, if you’re using fabric that has a wrong and right side, pin the right sides together. I stitched around the perimeter of the bib, leaving a space at the bottom for it to be turned right side out.
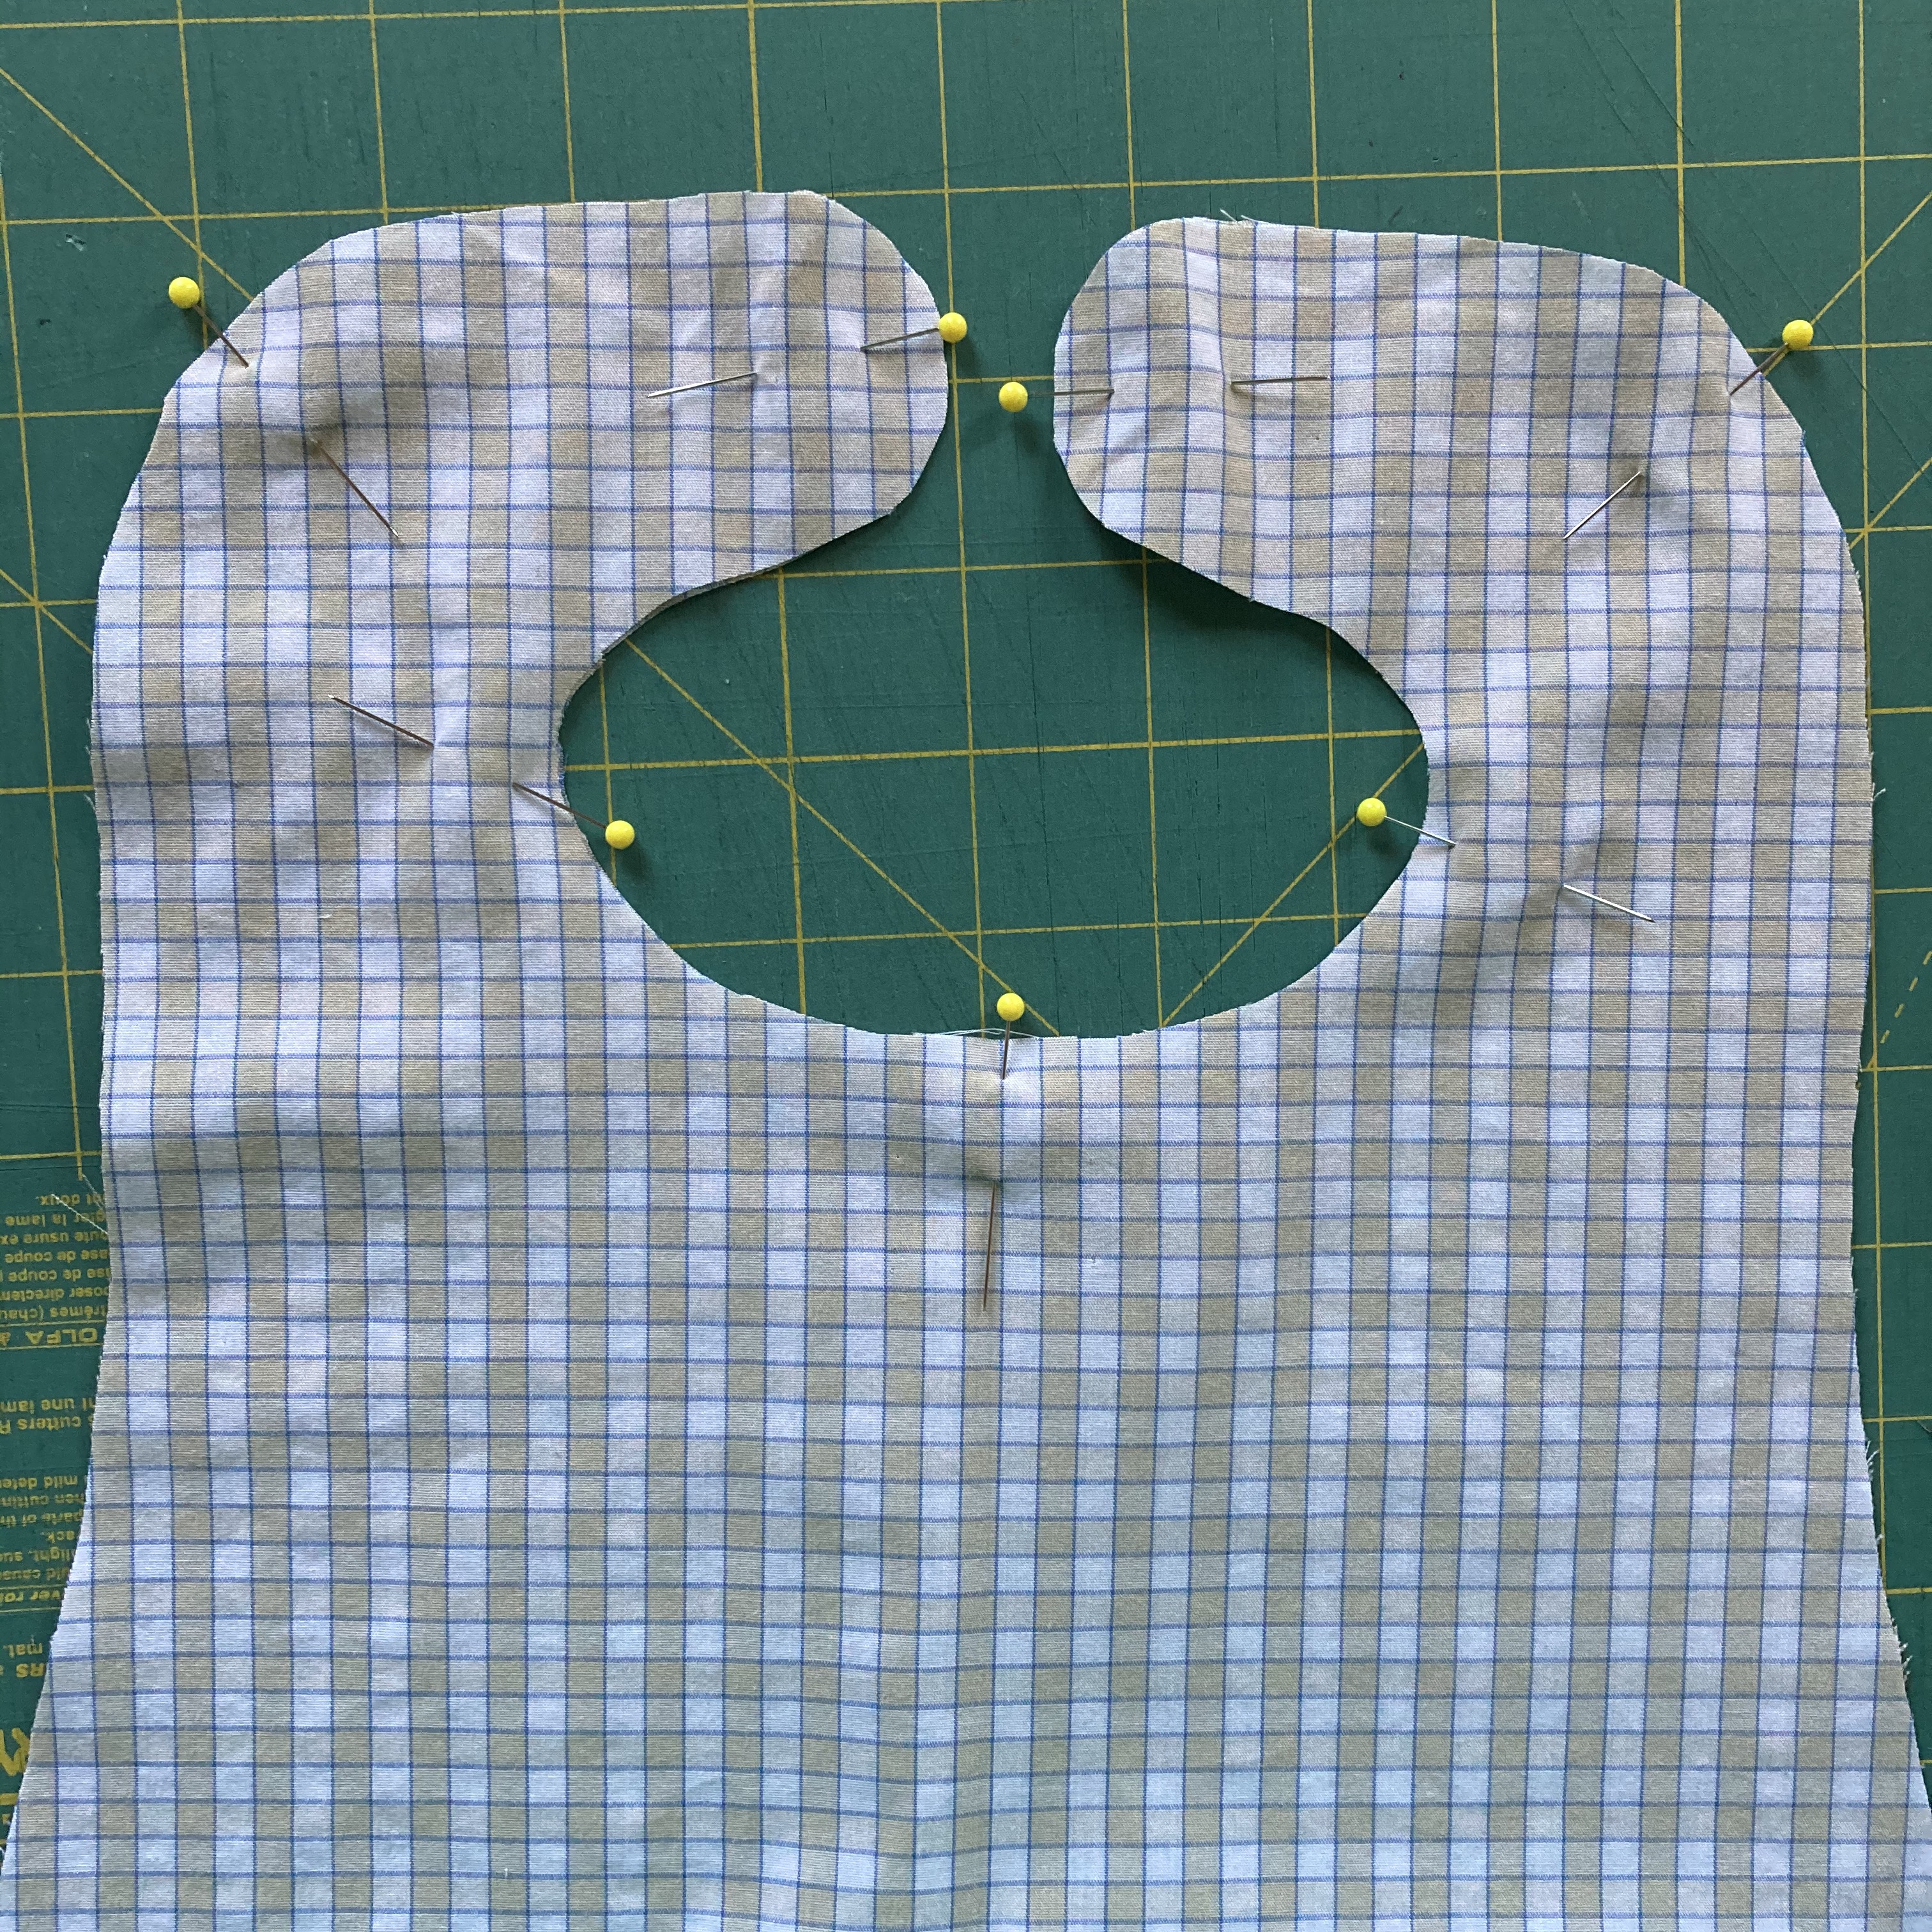
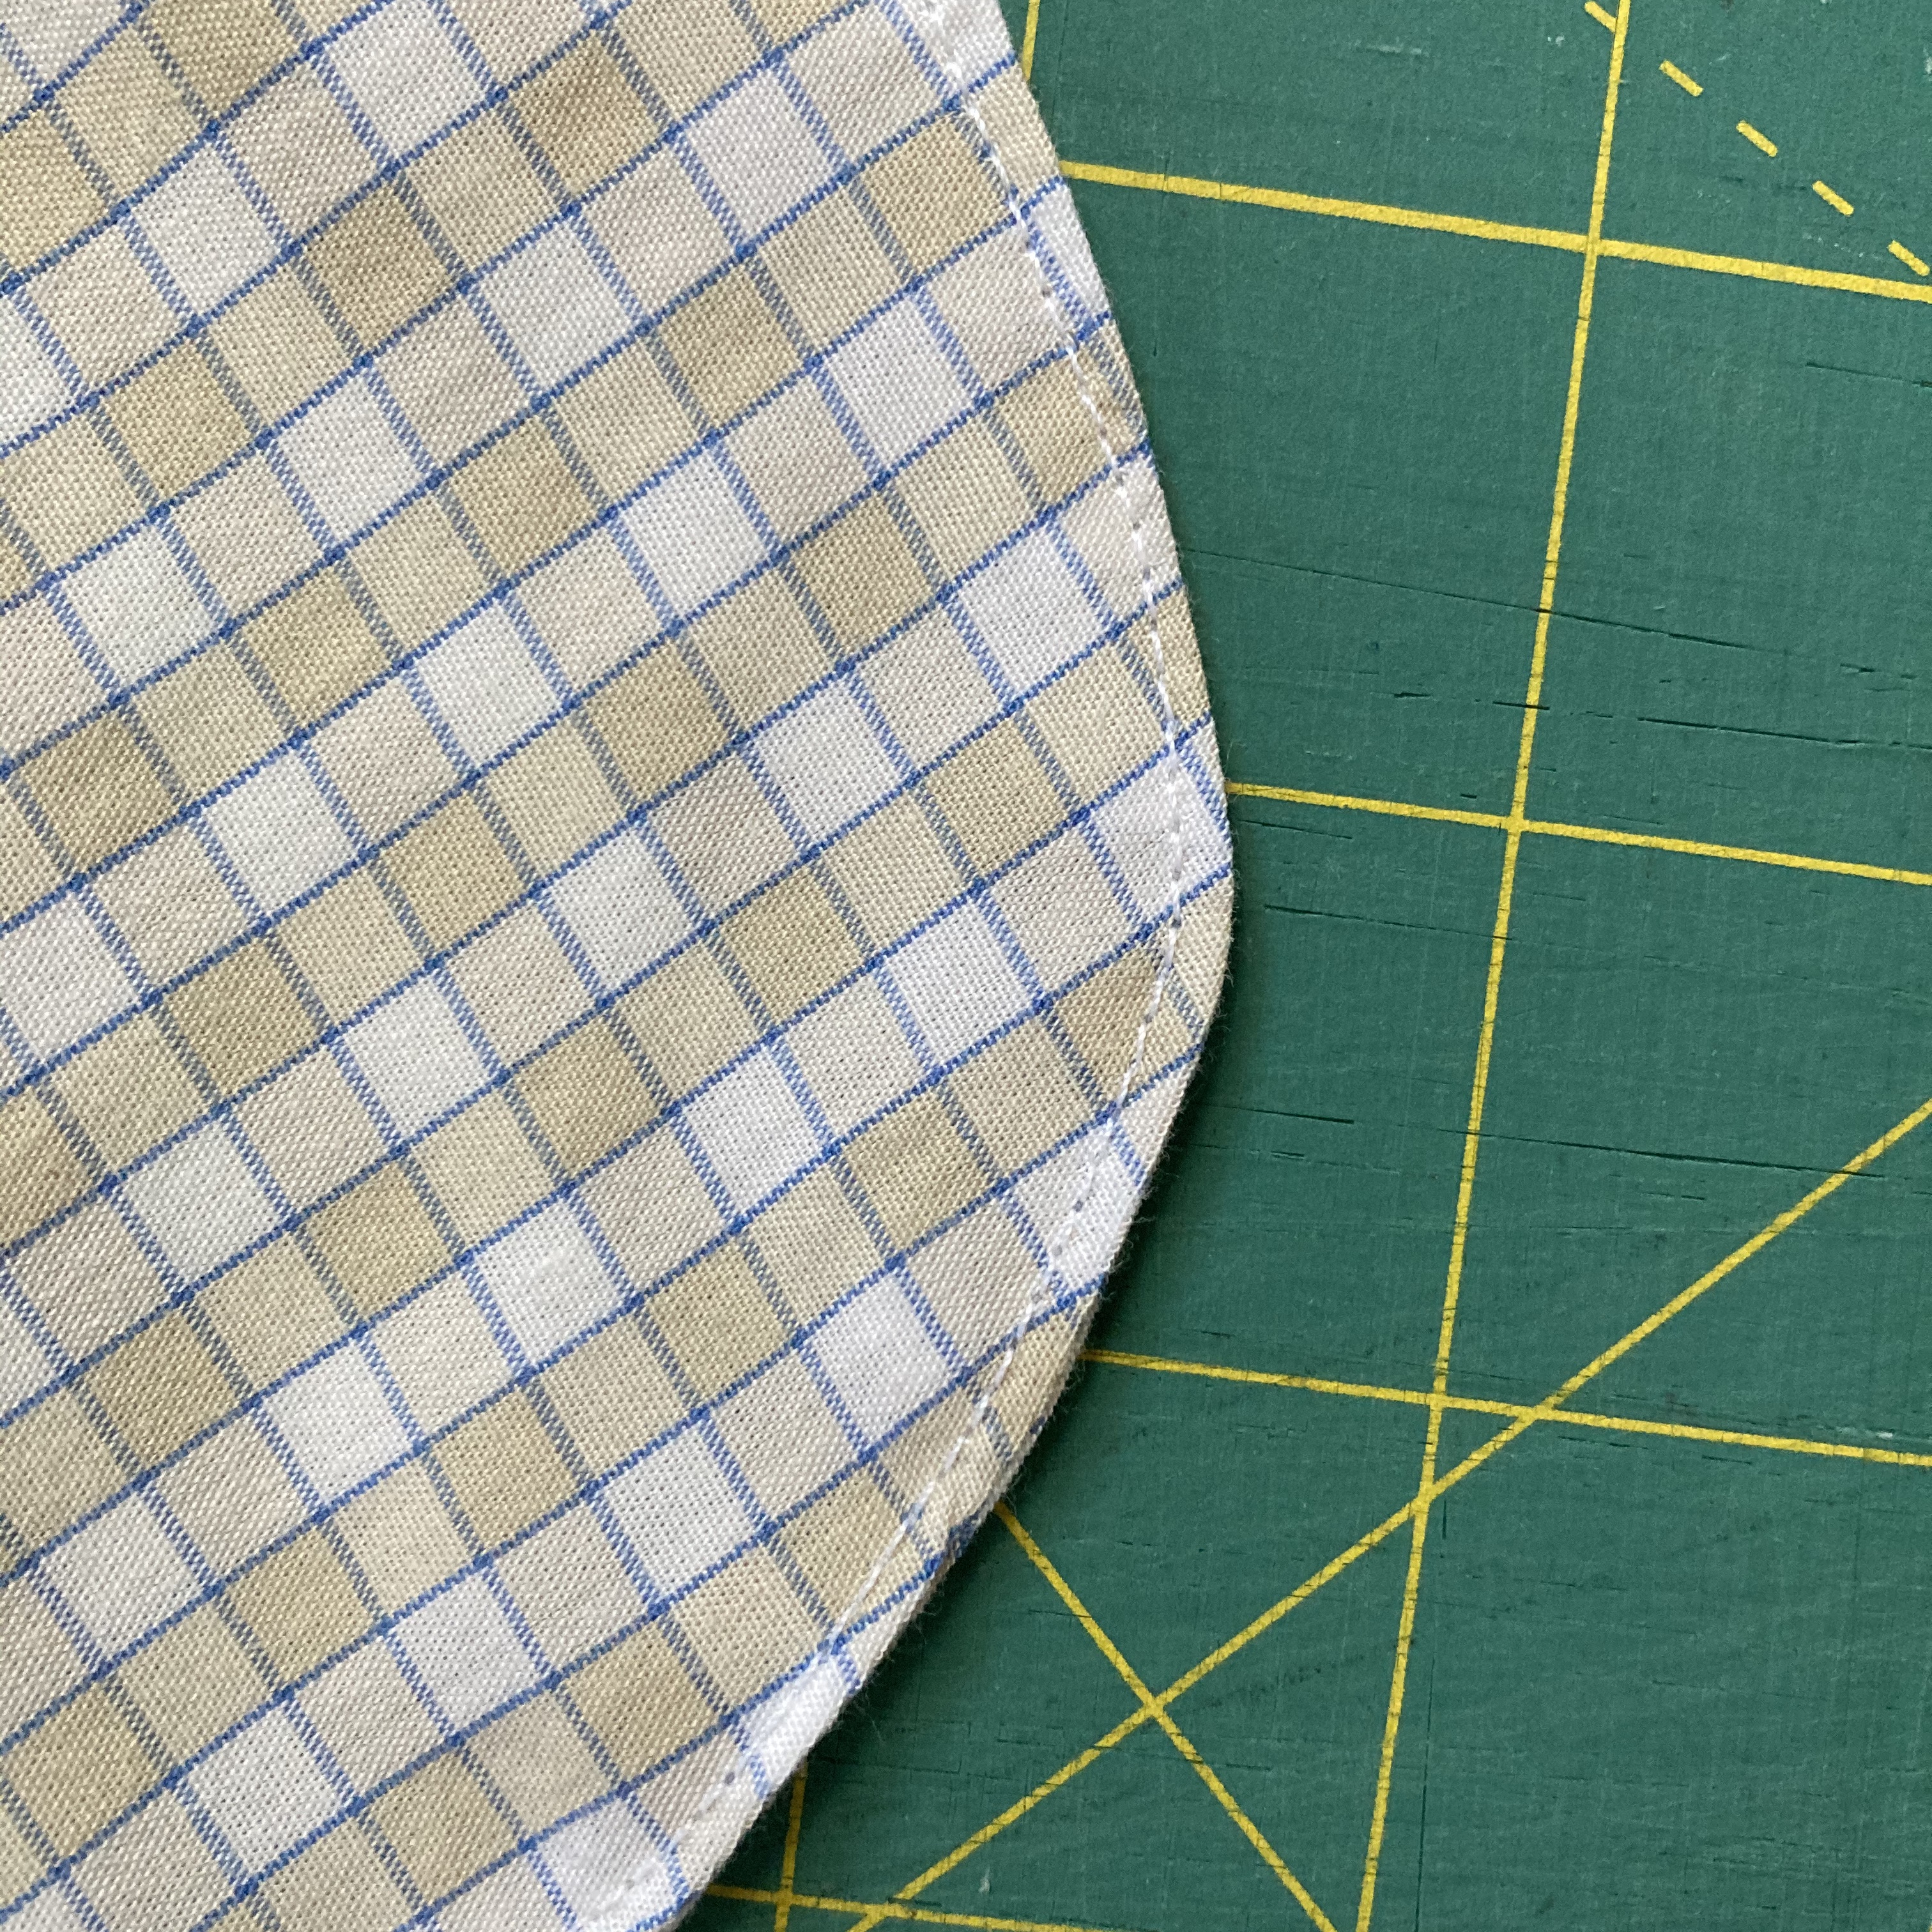
Before flipping the bib out, I made some clips on the seam allowance around the curves. This helps with getting the seam to lay flat.
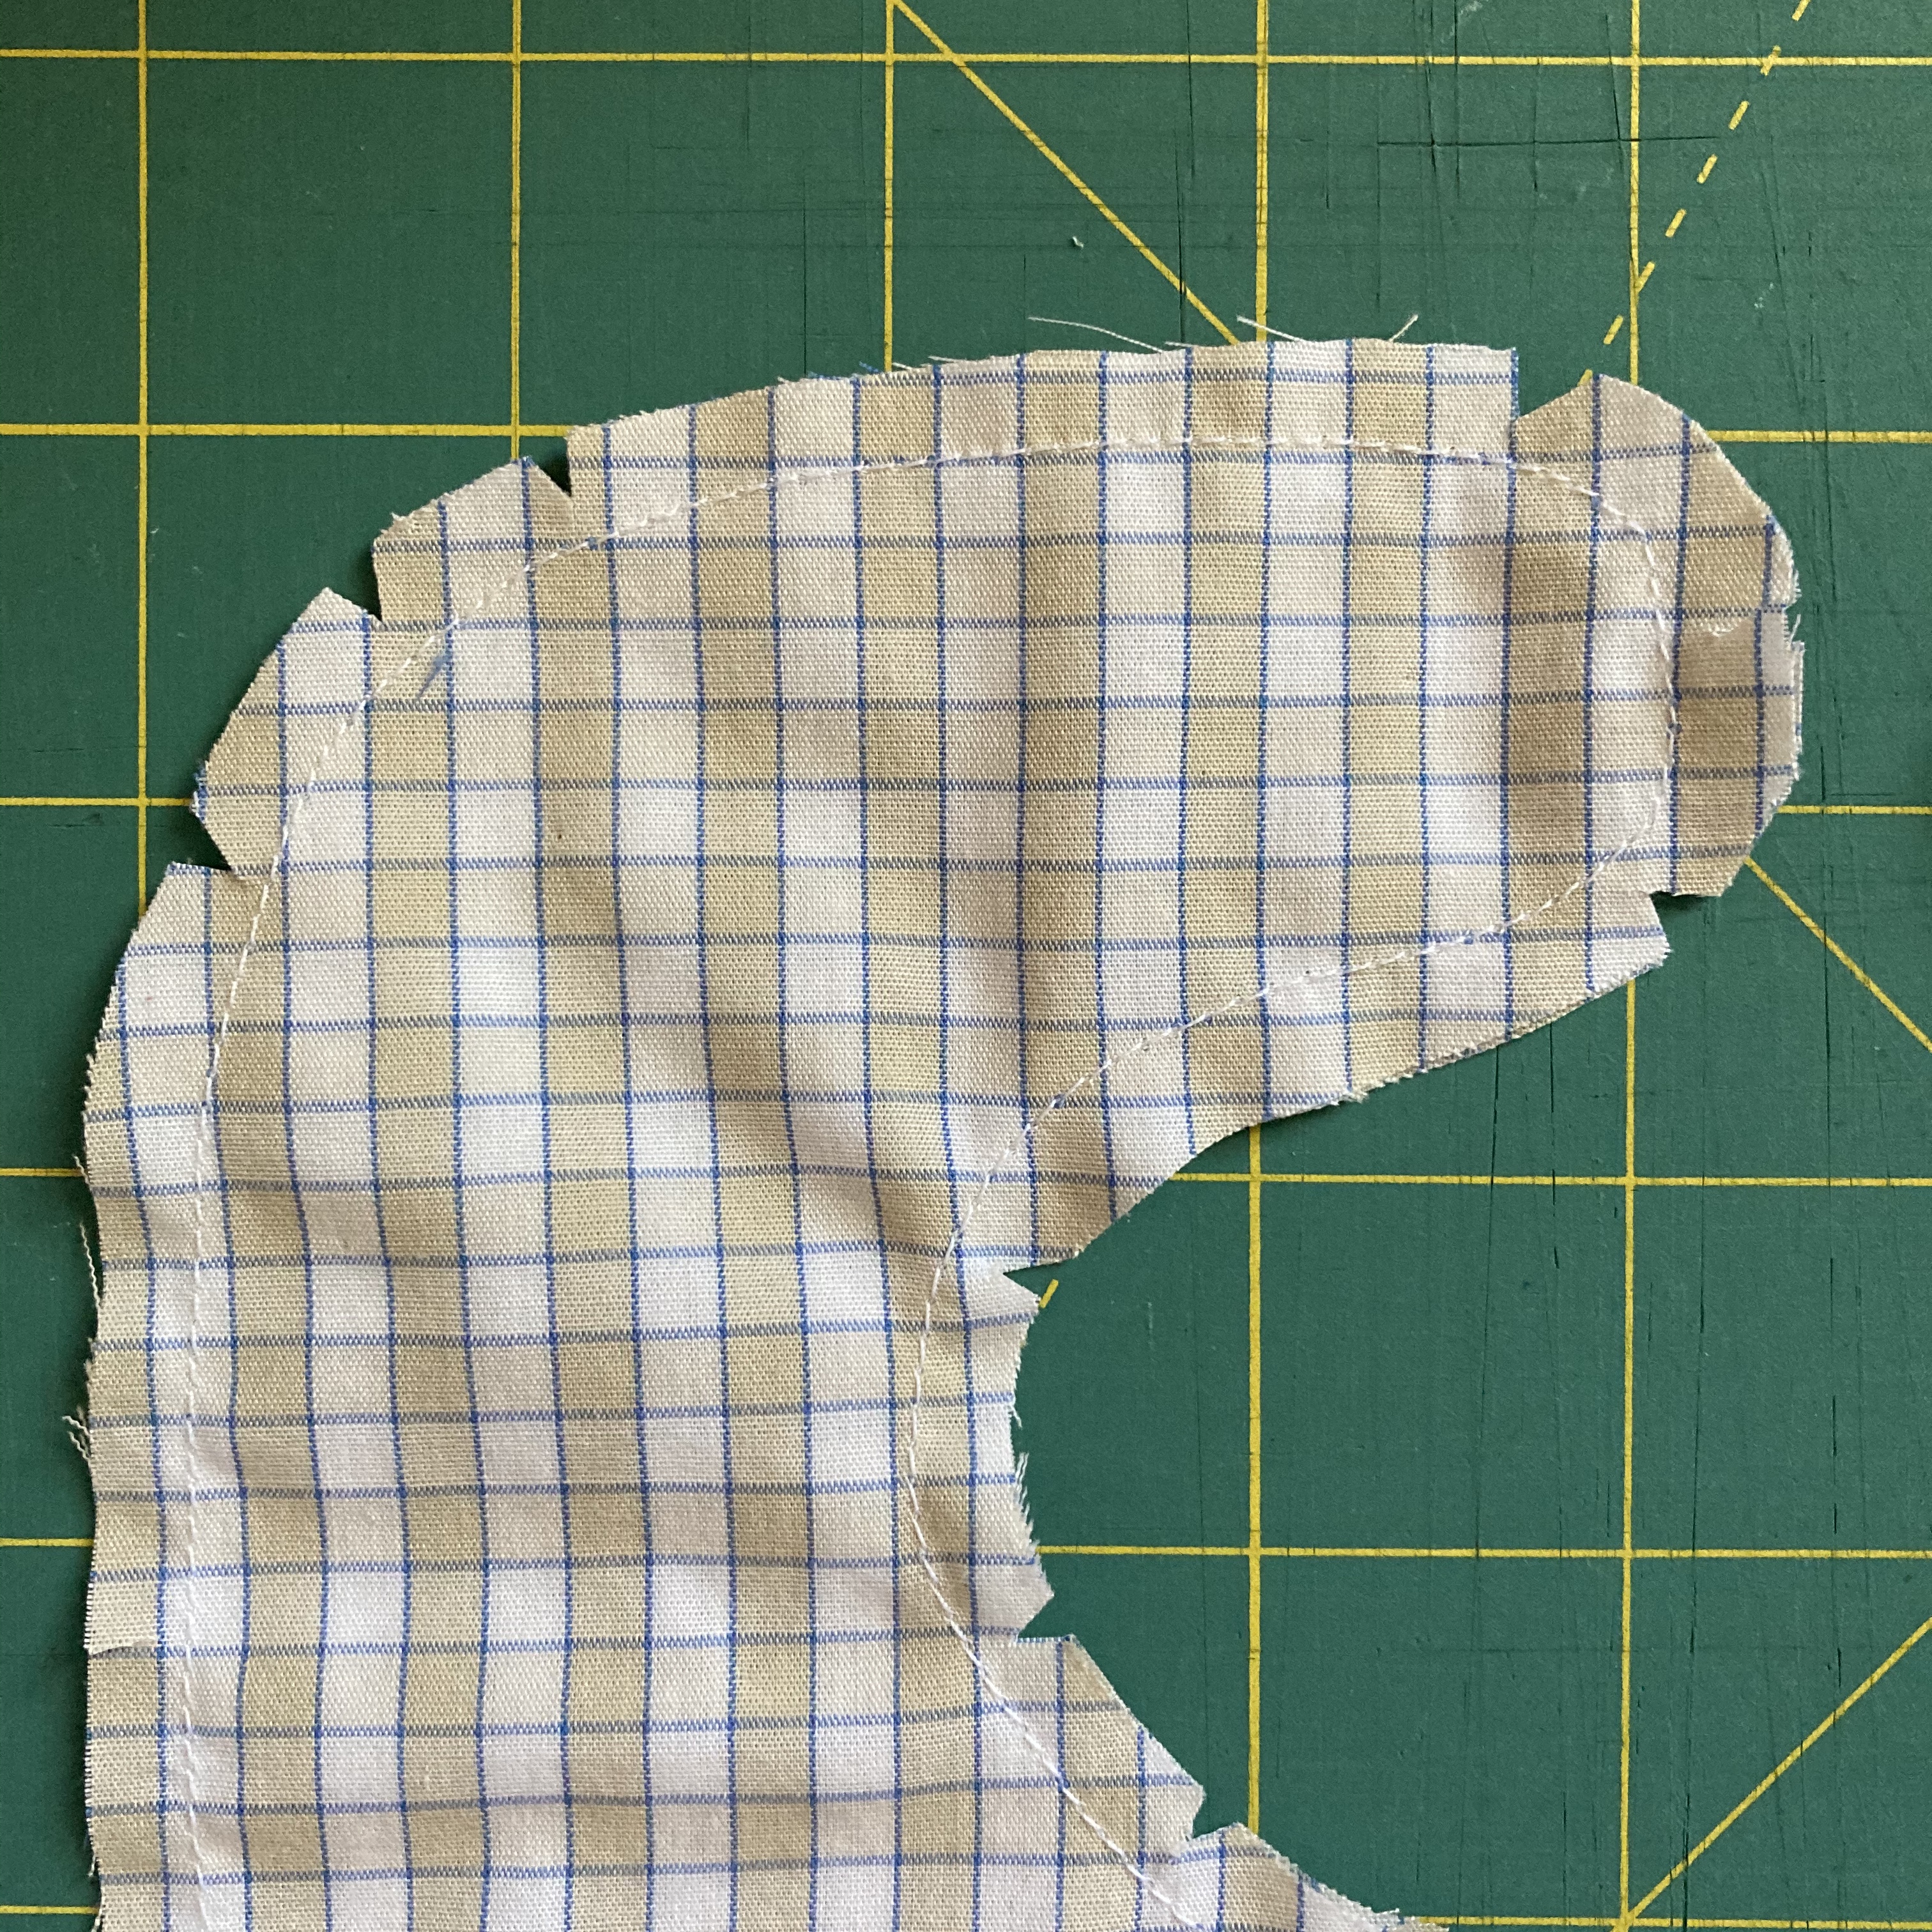
After flipping the bib, I gave it a quick press under the iron and then topstitched around the perimeter.
Next up, I trimmed my upcycled snaps. I left just enough fabric on each side so that there would be room to stitch them down. I stitched each snap piece three times on either side of the snap, going back and forth to create a sturdy hold. Eyeballing where the snaps went on the bib ends worked fine. Again, these bibs are going to get messy; there’s no need to be fussy about the construction!

A NOTE ABOUT CLOSURES: THESE BIBS, AND ANY BIBS, GO AROUND A BABY’S NECK. EXERCISE CAUTION! USE A BREAKAWAY CLOSURE. WATCH YOUR BABY WHEN THEY’RE WEARING THE BIB. MAKE SURE THEY DON’T GET THE BIB SNAGGED ON ANYTHING AND CAN’T GET FREE. KEEP YOUR BABIES SAFE! SAFETY FIRST, CLEANLINESS SECOND. Goodness, I don’t want any babies to get hurt!

Okay, so the stitching on the snaps isn’t pretty. Alright, so bibs made out of old business casual shirts aren’t necessarily cute. But, that’s the beauty of having a third baby! I value function over form! Most of these bibs (I made seven total) are 100% cotton. So, they wash up like a dream! They’re soft, pliable, and so far, have caught the slop.


How clever.
Pingback: Necessary Sewing: A Couple of Projects That Fulfill a Need – T-Bud Co. Creative