
My M&M’s quilt was in dire need of repair after 18 years of use. I removed the damage, added new binding, and discovered tips for extending a quilt’s life.
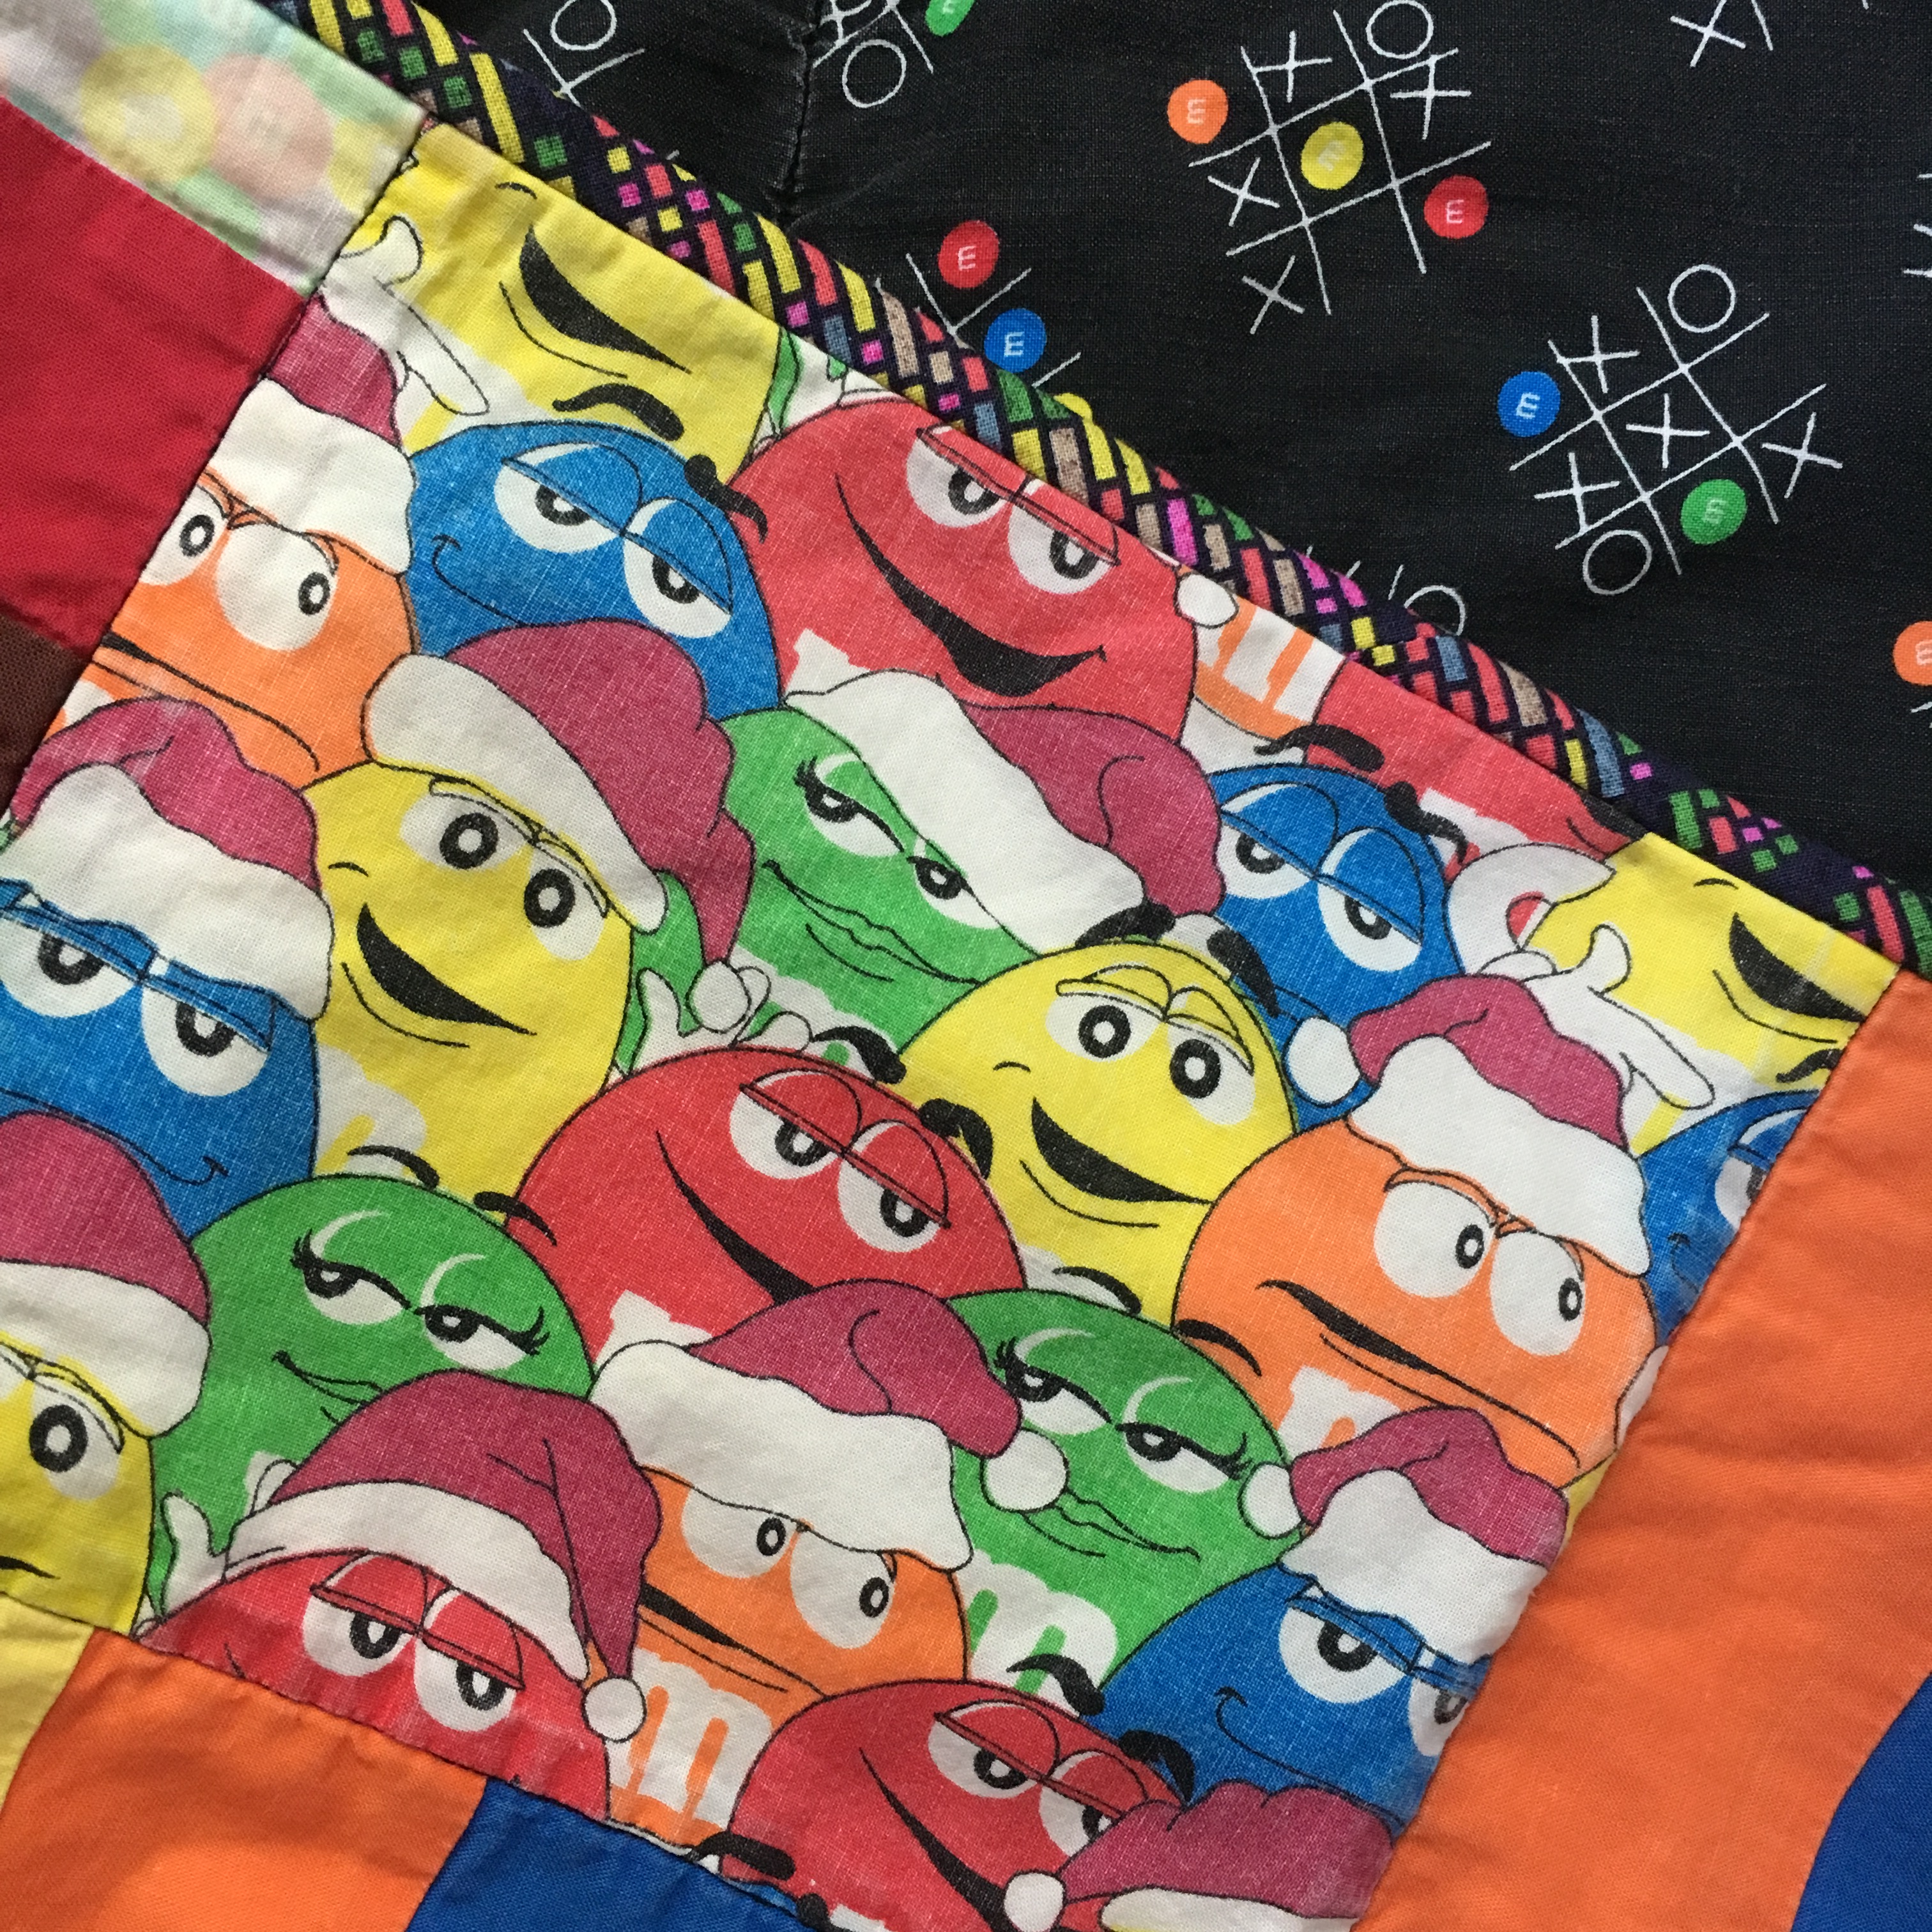
When I left for college, my mom gave me one of the first of her M&M’s quilts. She collected M&M’s fabric for several years and then decided to make a quilt for each of her 6 kids. Luckily, I graduated high school just as she was beginning this endeavor and didn’t have to wait too long for mine. It was my dorm quilt—the quilt I slept under every night for 4 years of college. (I had other quilts and blankets that I layered with it, too.)

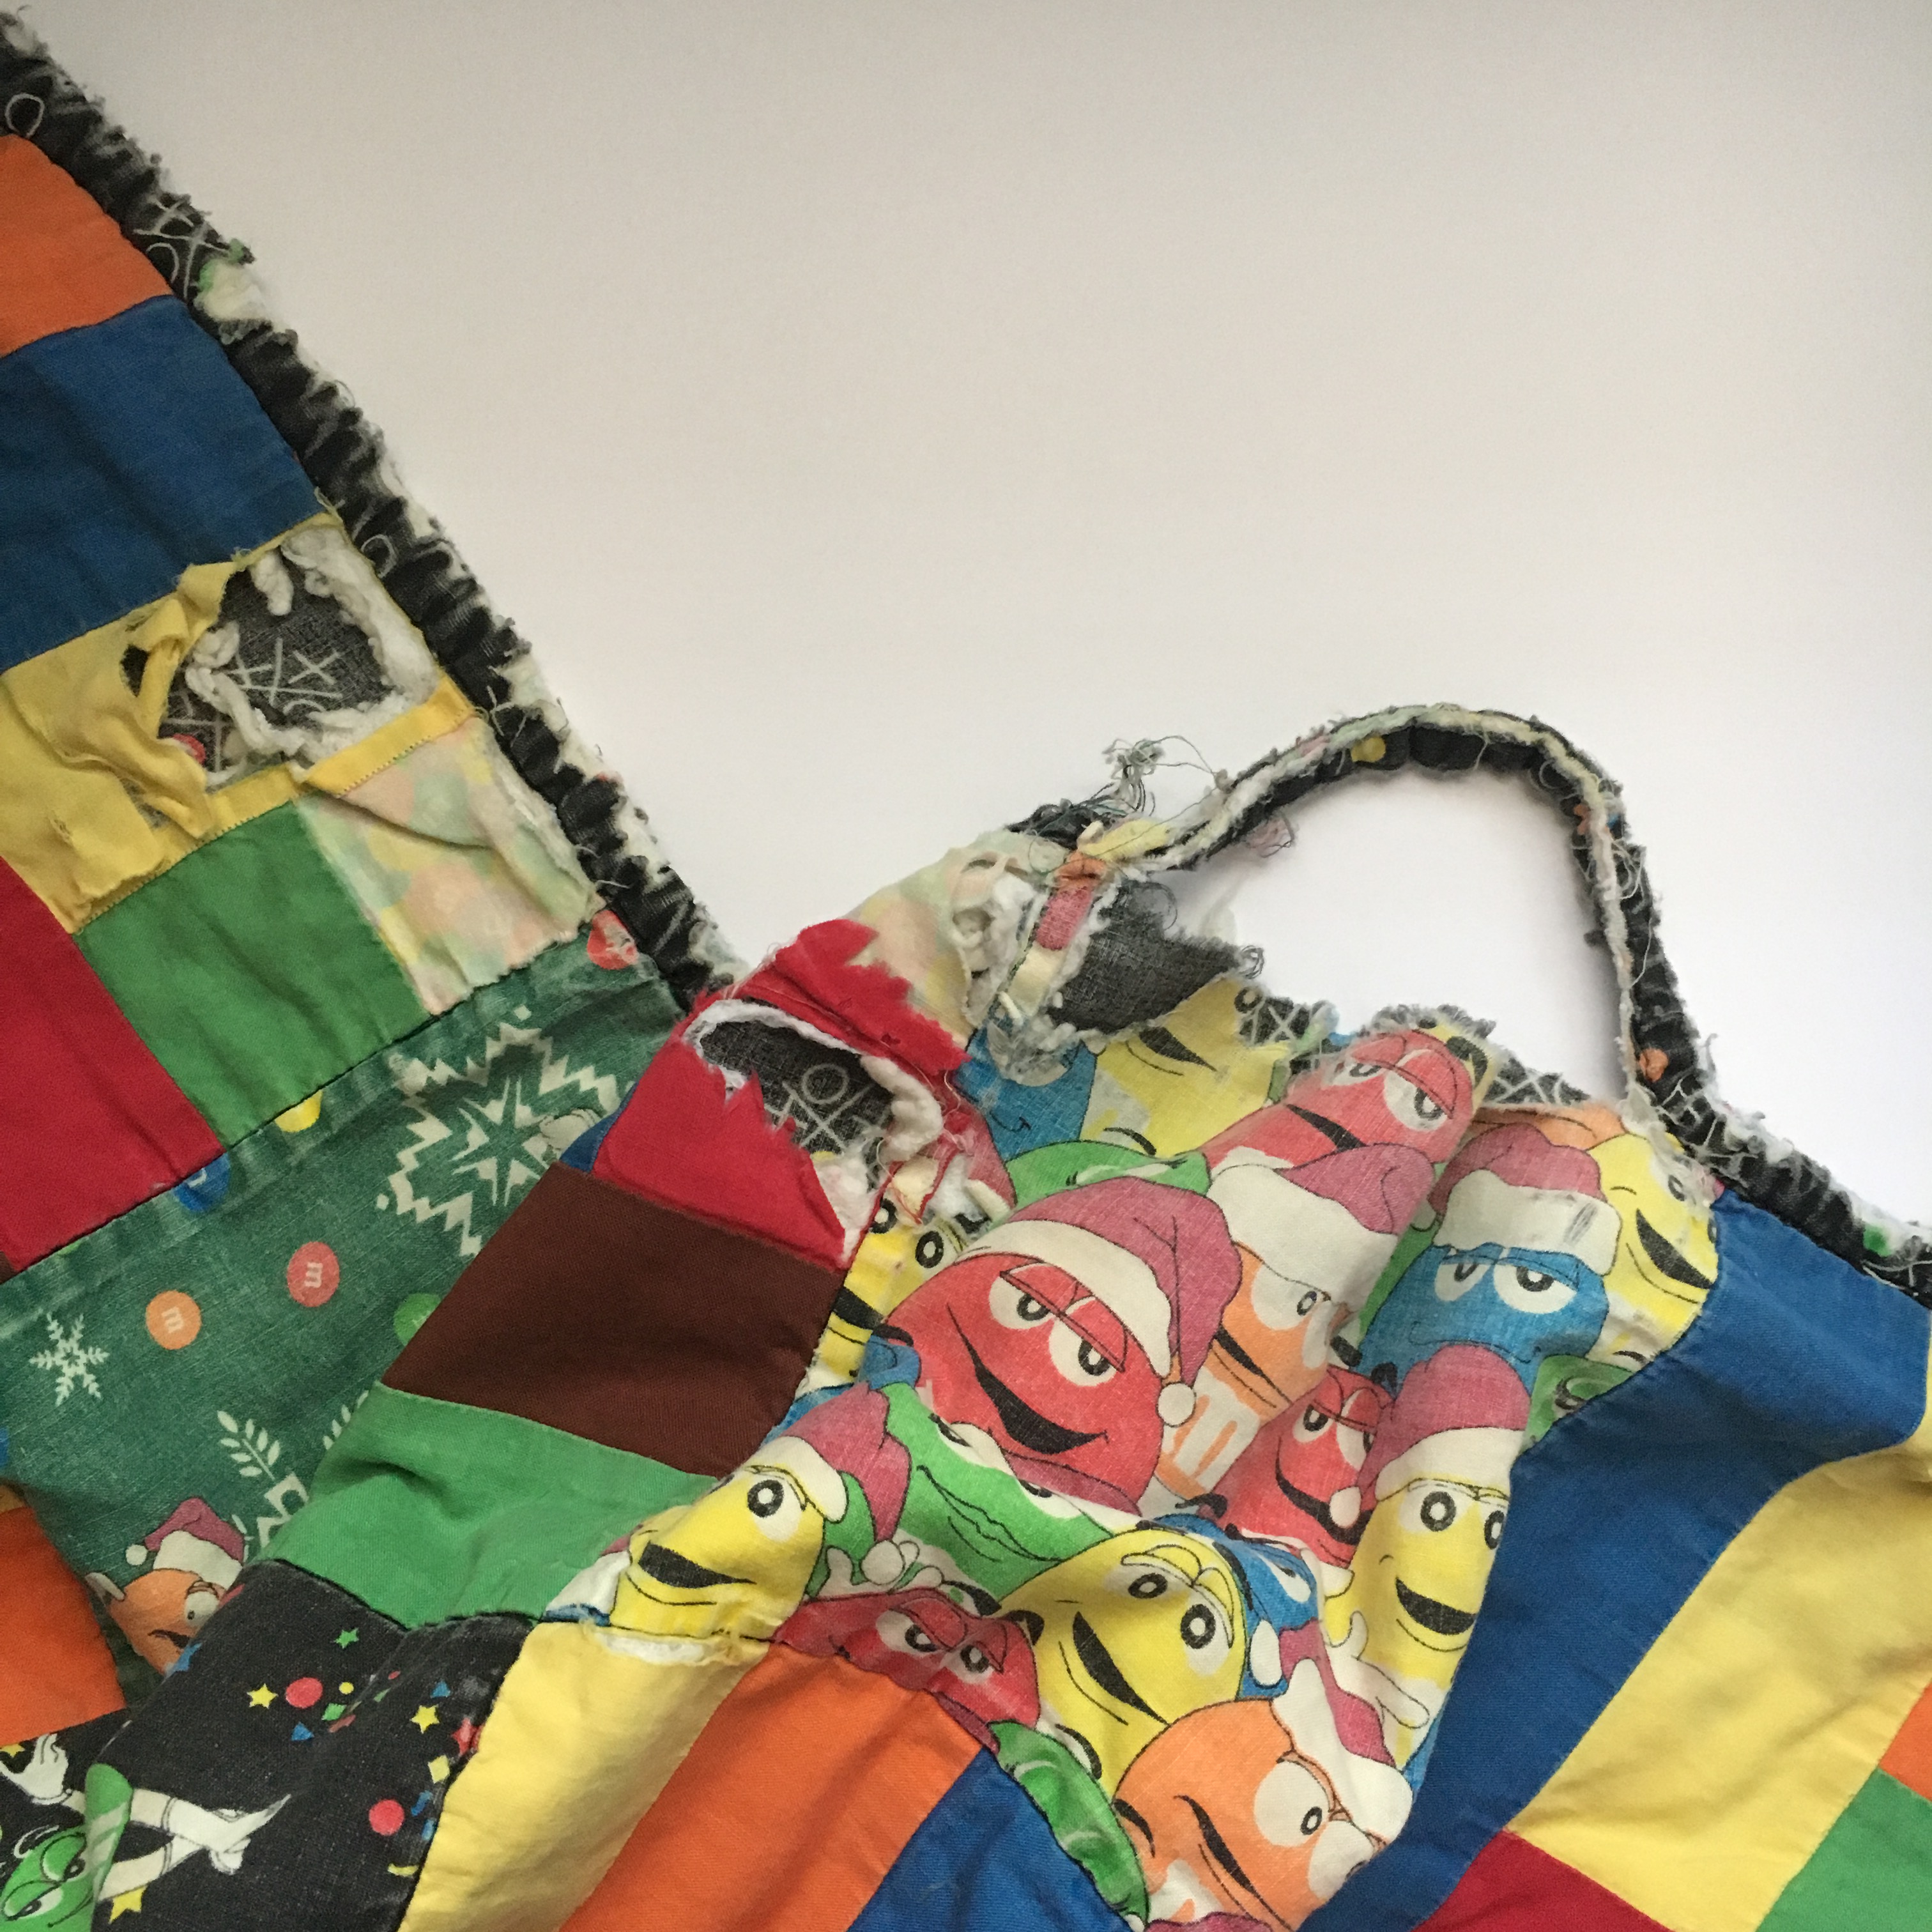
After college, I kept using it and although my mom made and gifted me at least 2 more quilts since the M&M’s quilt, I’ve used it regularly in the 18 years I’ve had it. That is, I used it until the top of the quilt started wearing out and the binding came off and I couldn’t use it without getting tangled up.
Mending this quilt has been on my to-do list for at least a year (it’s on my 2019 To Make List) and the quilt has sat in my office/sewing room for probably that long. (Okay, so maybe I only used the quilt for 17 years before I had to set it aside for mending!) I even bought the fabric for the mending about a year ago! Finally, finally, I set out to mend this quilt last month.

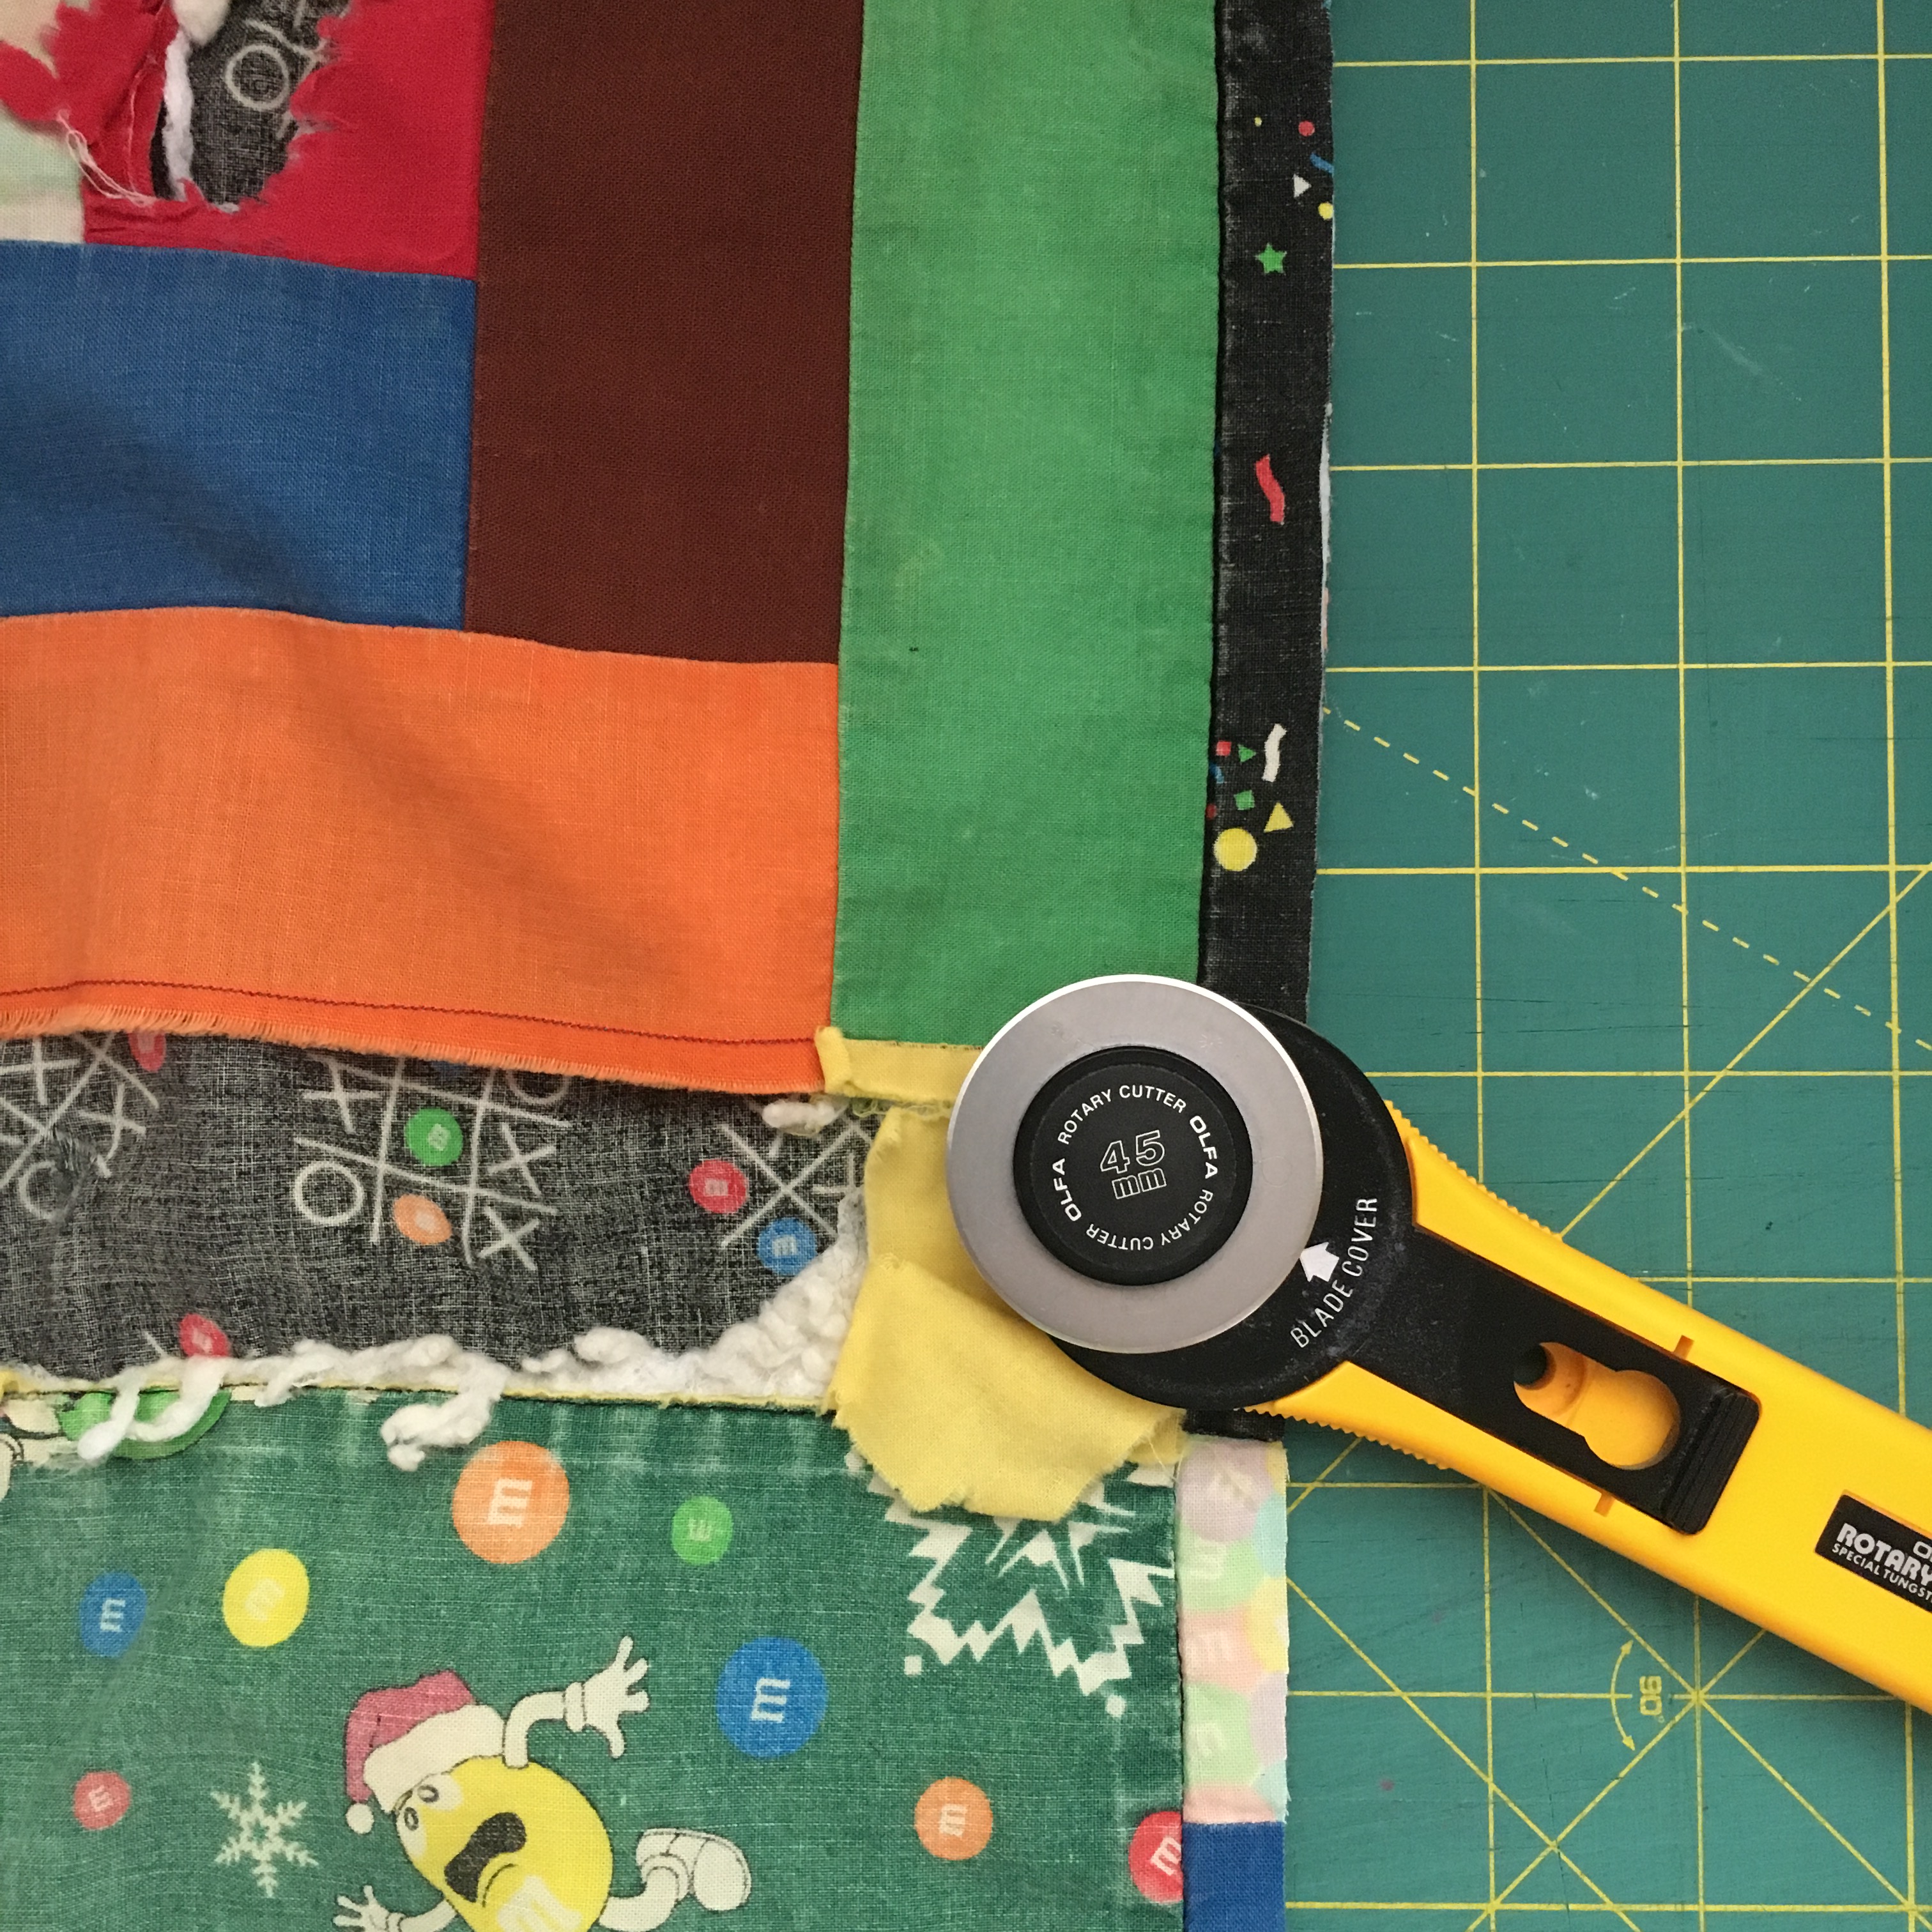
It really didn’t take too much time. My method was simple: I cut off the top row of blocks that had all the wear. I then made binding (continuous bias—my first time!), stitched it to the front of the quilt where the batting was now exposed (going a bit down the sides to create a secure finish), and then hand-stitched the binding to the back. Done!
As I was working on it, my 4-year-old put dibs on the quilt, so for now, he’s sleeping under it. There are still some worn areas that I know with more time—and probably sooner than 18 years—will require more mending, but I’ll just mend as I go.

This was a learning project for me. I made continuous bias binding for the first time. I used the Fons & Porter method, which you can find a video here. My mom had sent me a page from a magazine that explained it and it had a handy formula for how big of a square to start with.
Then, this project really had me thinking about how to extend the life of my quilts. I’m a firm believer that quilts should be USED. They should be slept under and enjoyed and worn out…and mended. How can I get as much use out of a quilt before I have to mend it?
3 Tips on How to Extend the Life of a Quilt:
1. Make non-directional quilts. Don’t design a “top” or “bottom” into a quilt. The M&M’s quilt has directional fabric, all going from top to bottom. I think this is correct and my sense of right and wrong is what led me to keep making my bed with the top of the quilt at the top of the bed! If a quilt is non-directional, then you can do number 2.
2. Rotate your quilt on your bed. Every time you pull it out and put it on your bed, flip what you had been using as the top to the bottom, again and again. My quilts show obvious wear at the top even though I swear I don’t gnaw on them in my sleep!
3. Finally, have lots of quilts to use! This tip is my favorite, because can we really ever have too many quilts or make too many quilts? I don’t think so! With many quilts, you can change the quilt on your bed frequently, instead of just rotating it like in the second tip. I know a lot of quilters make holiday quilts, which I think is a great way to incorporate this idea. Sure, each quilt will be used less than if it was used every single day, but they won’t need mending quite as often.
Have you ever had to mend a favorite quilt? How did you do it? What are your tips for making your quilts last? Let me know in the comments!

Pingback: How I Mended a Quilt by Reinforcing It with Fabric – T-Bud Co. Creative
Pingback: Necessary Sewing: A Couple of Projects That Fulfill a Need – T-Bud Co. Creative