The 7 Quilting & Sewing Projects I Finished in 2018

In January of 2017, I started a block of the month quilt and while it is still in progress, I haven’t looked back. In 2018, I started streamlining my crafts and focusing on quilting and sewing. I get a lot of energy and joy from sewing and so I naturally want to share, even though I know my work isn’t particularly special. I enjoy seeing other’s work, too. So, how about a roundup of the things I finished in 2018. (There is still plenty that was started.) Some of my finishes will look familiar, others I’m sharing here for the first time.

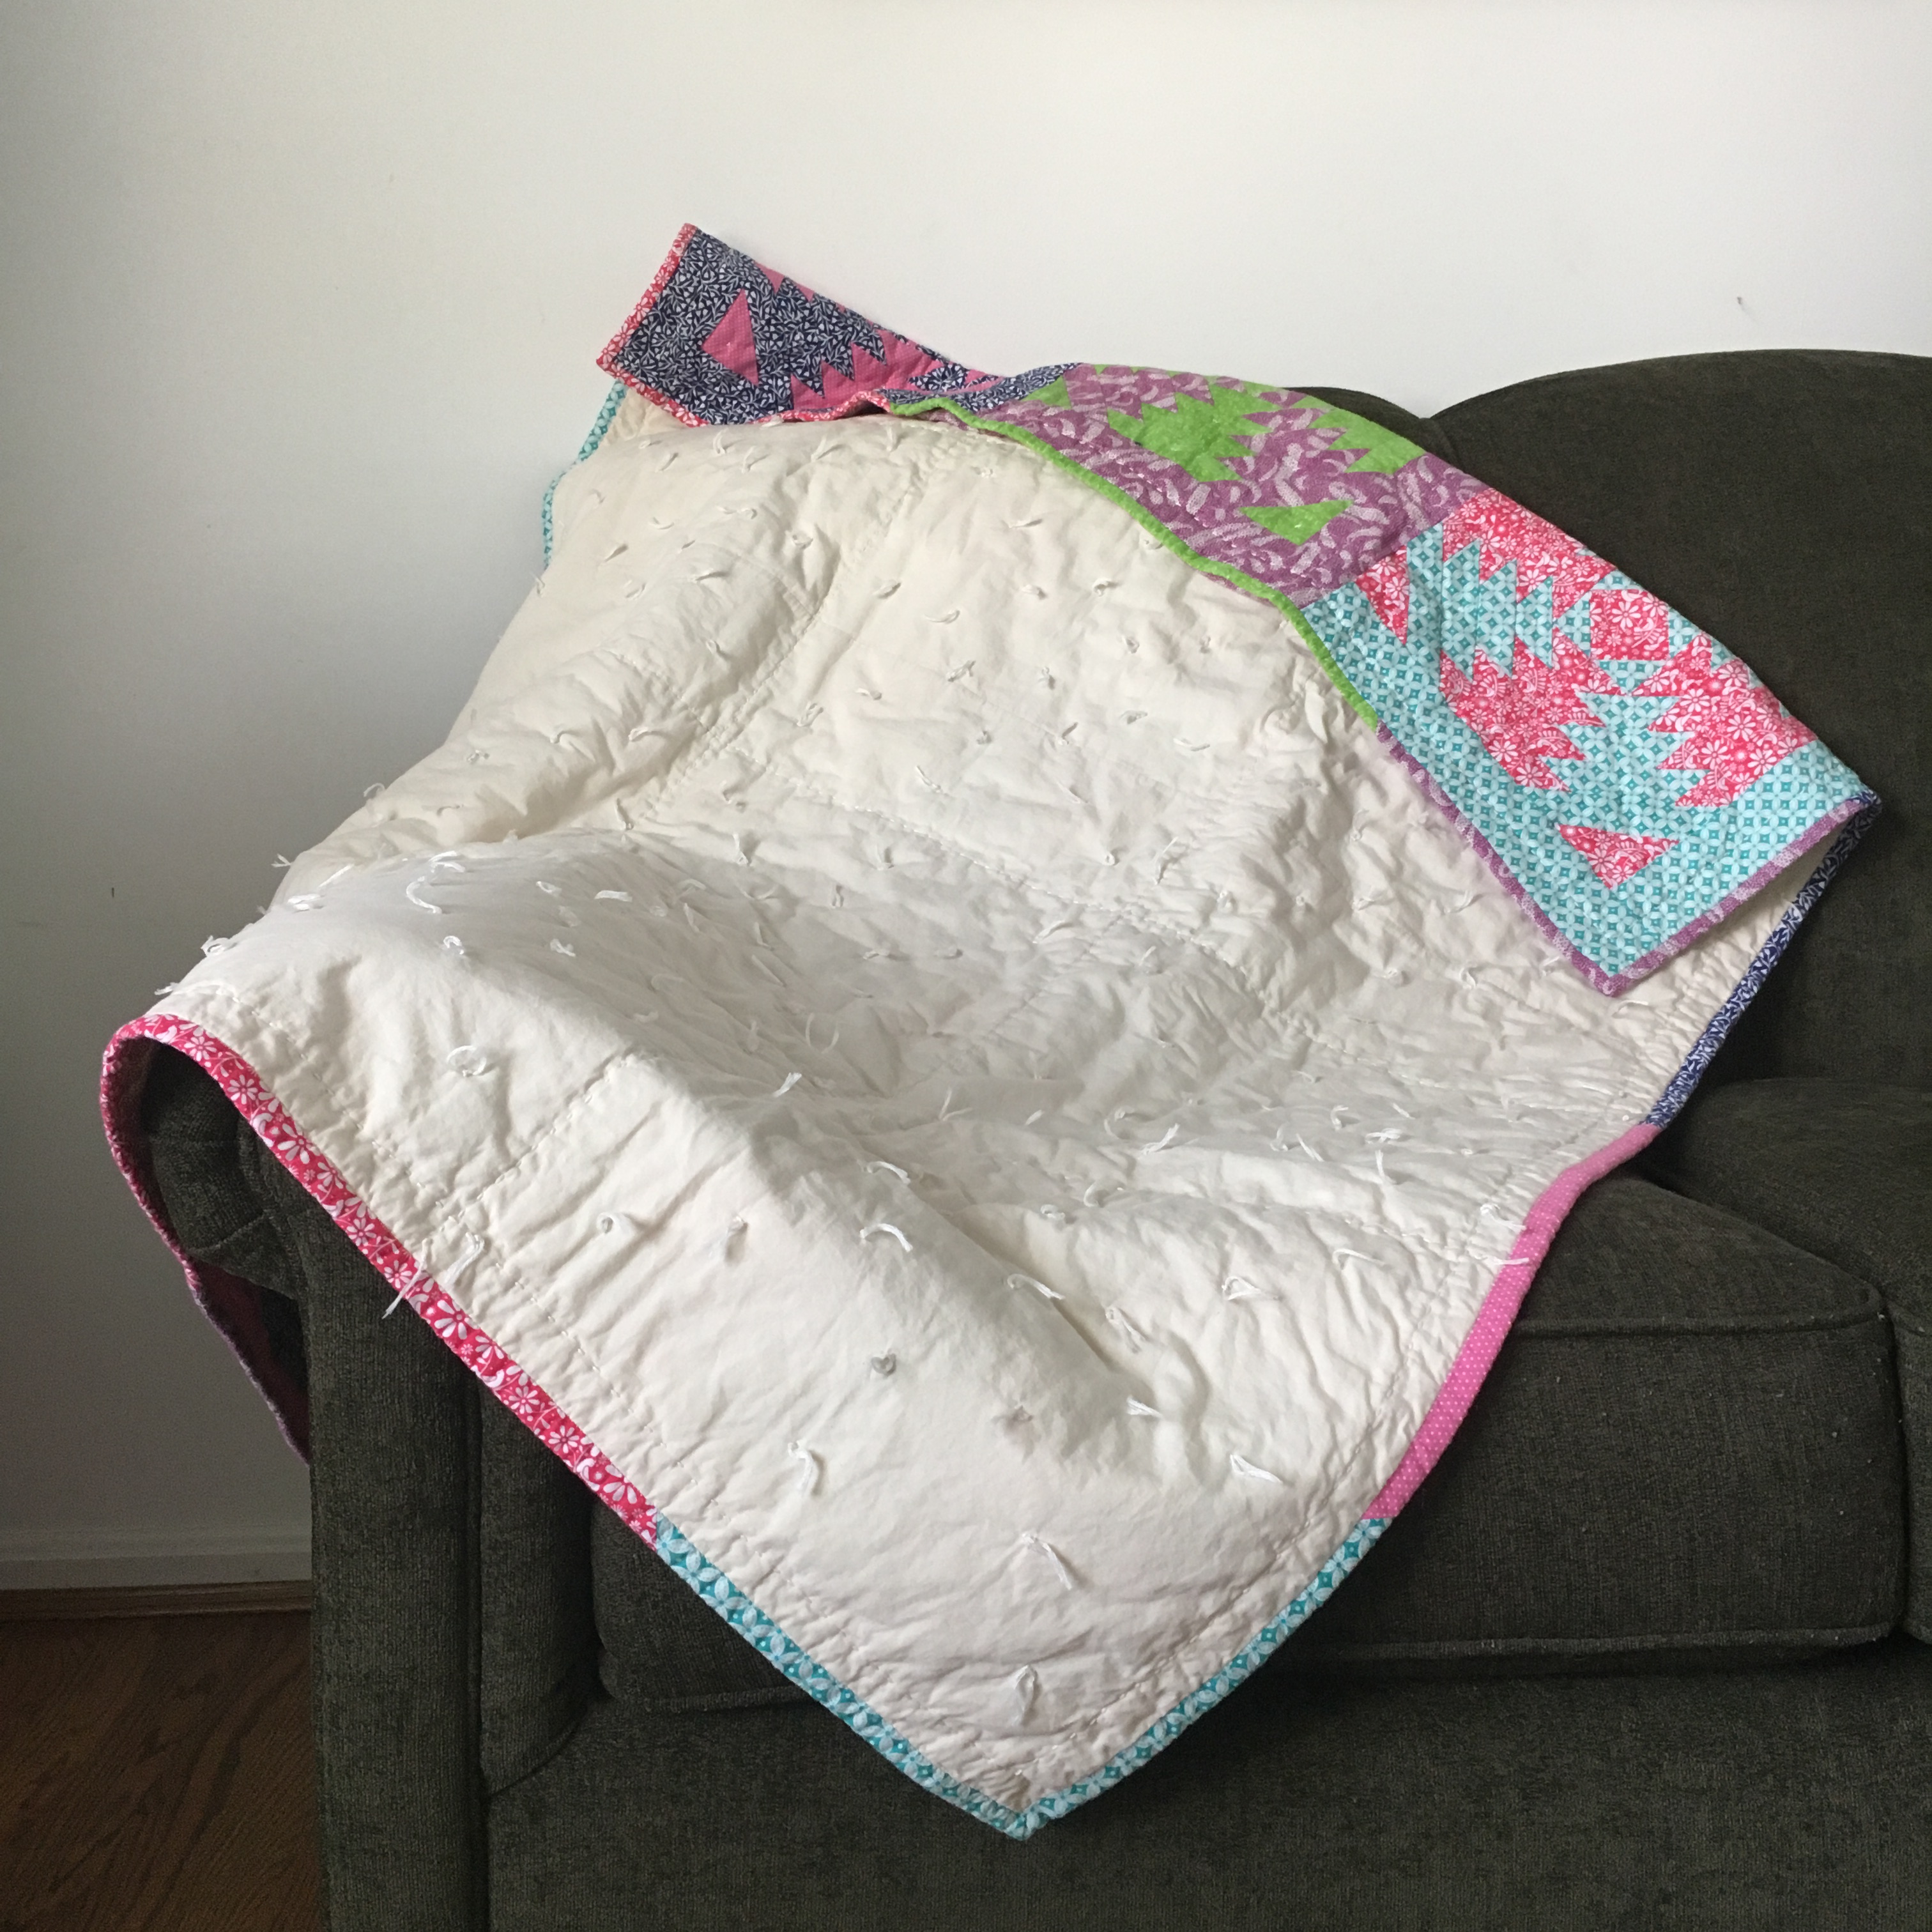
Dazzling Pineapple Block Study

Dazzling Pineapple Block Mini Quilt

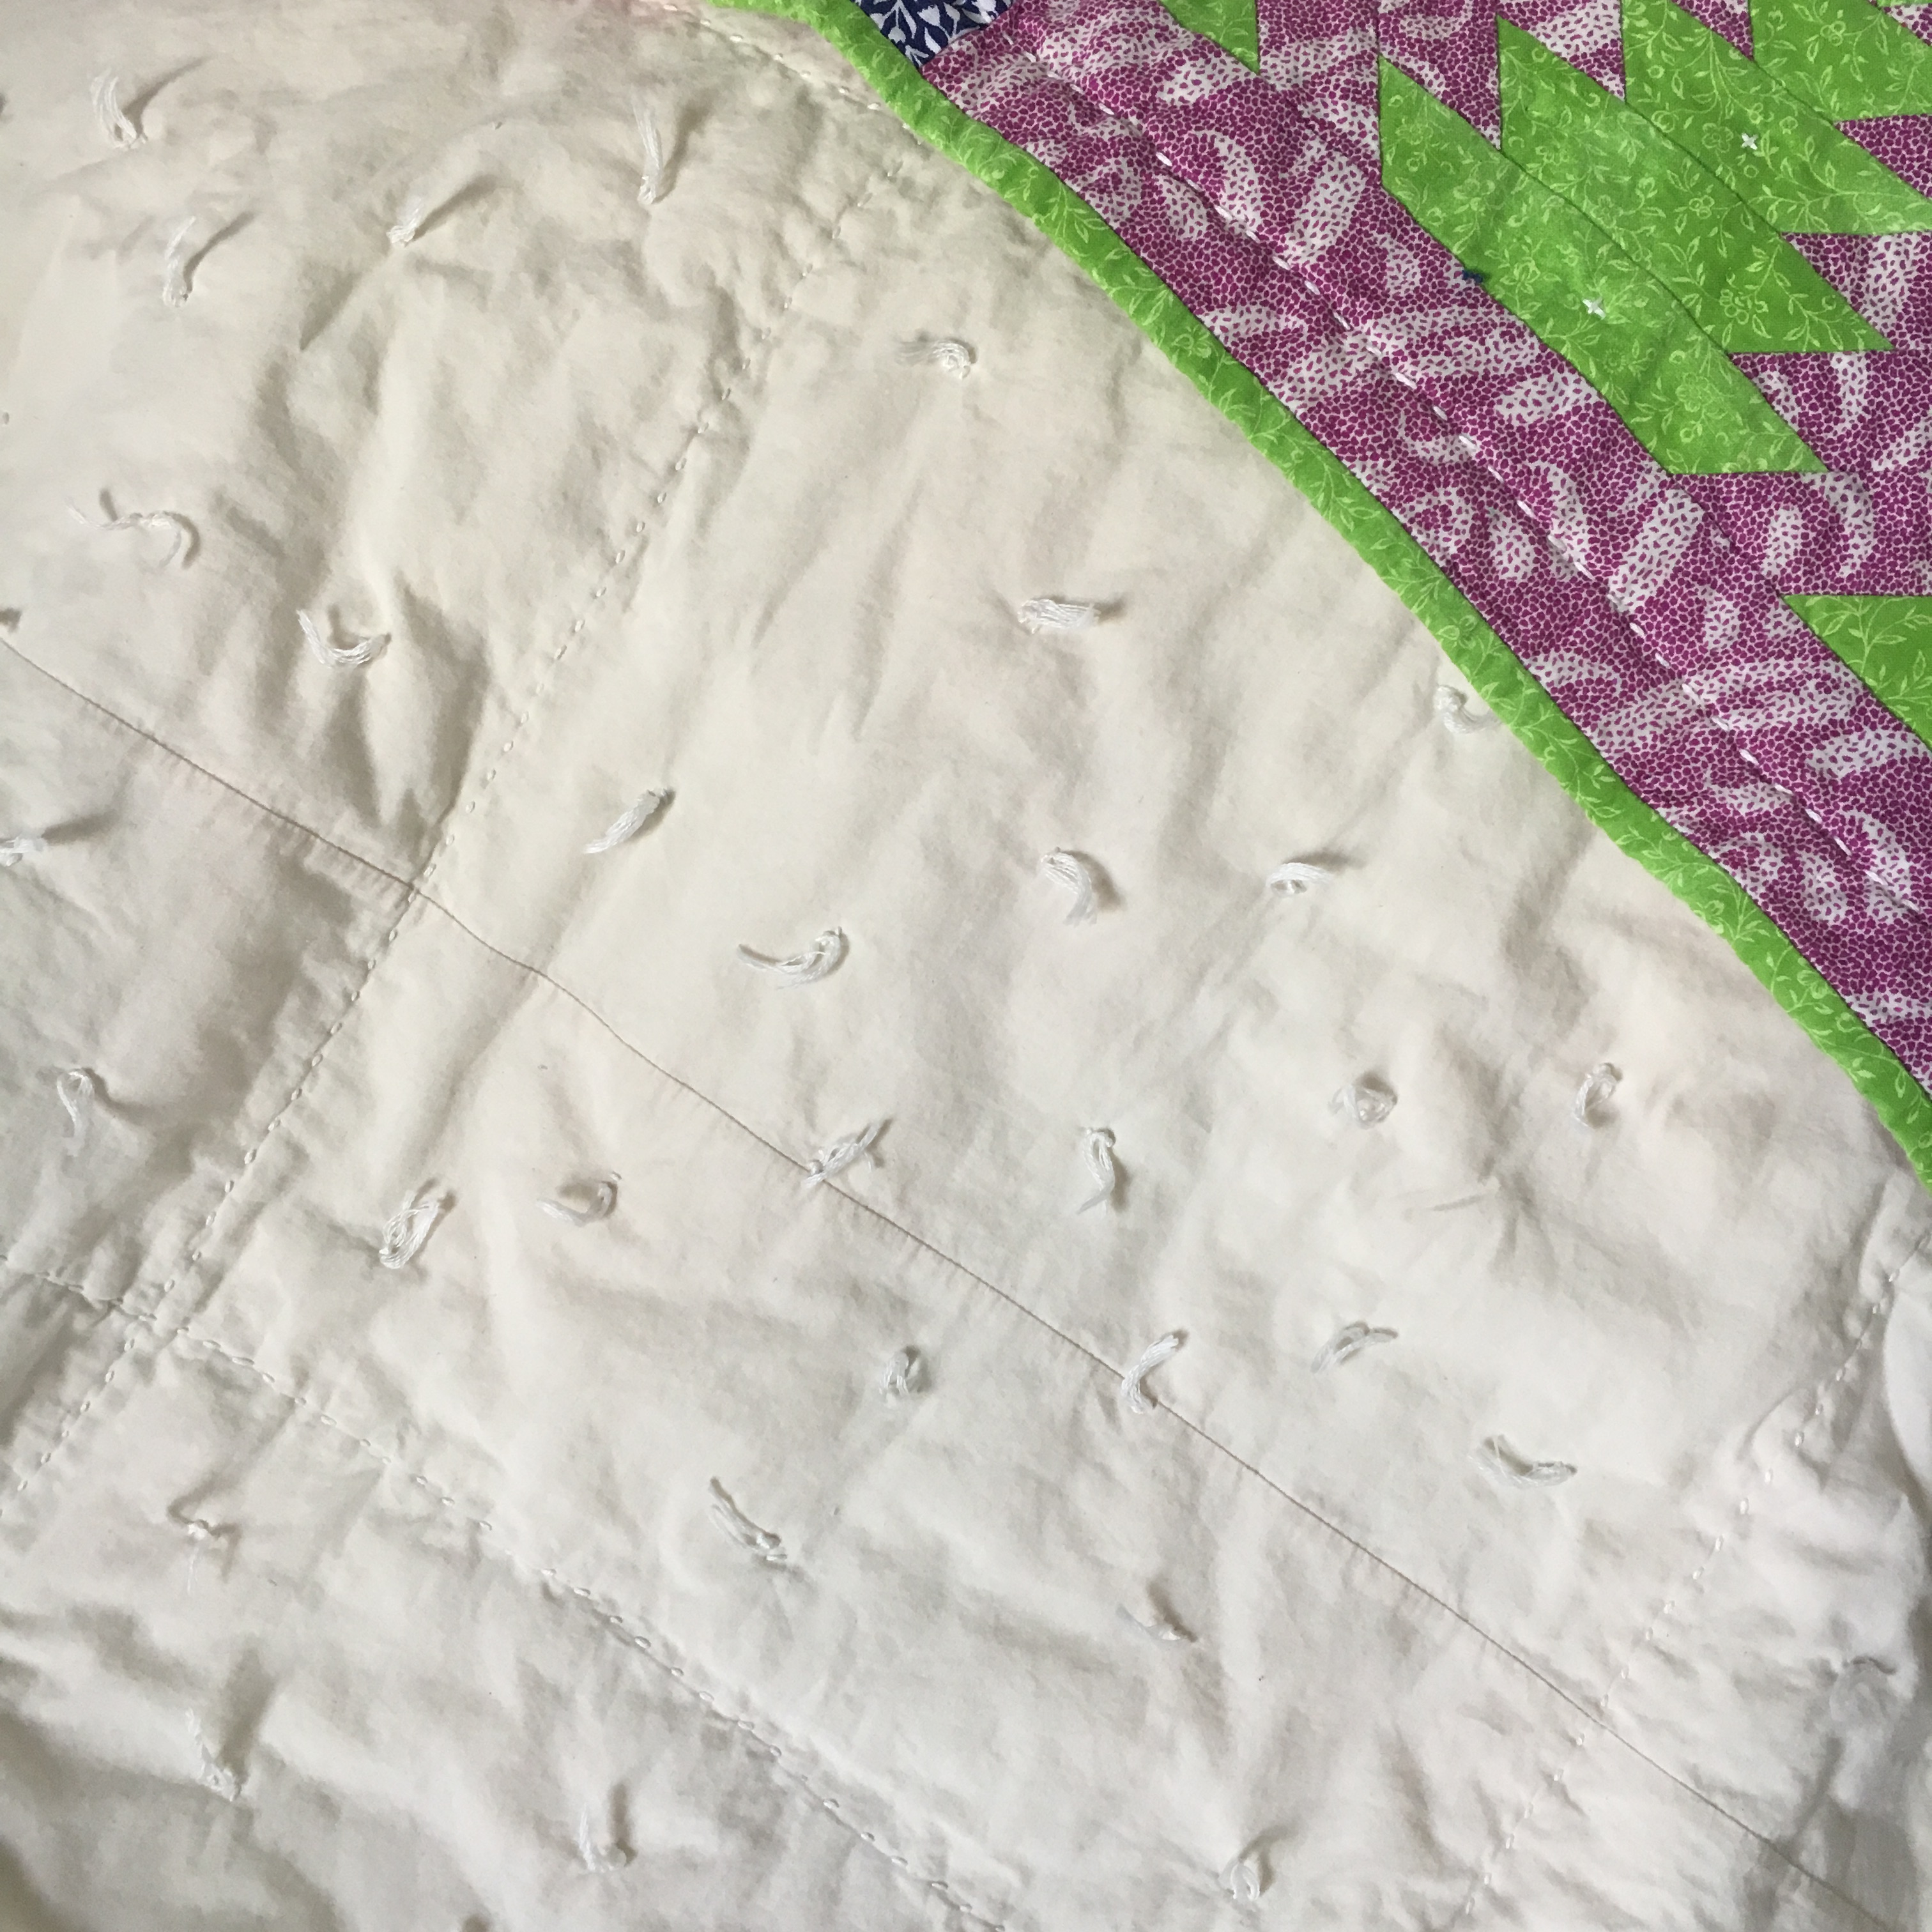
I made this one to see what tying a quilt with sequins and beads would look like. It was an itch that I had to scratch. I like it! I started a larger pineapple quilt, but chose such snazzy colors, I don’t want to finish it with sequins—it would be too much. That quilt top is completed, but it needs to be basted, quilted, and bound. See my post about the mini quilt here.


Daughter & Mom Matching Dress & Shirt

This one has been on my “to do” list since my daughter was born. I loved how they turned out and I especially love the fit of my Grainline Scout Tee, which I’ve worn several times. However, my daughter wore her dress for the first half of a day before changing into something else. What can I say? Kids are fickle, but I’m still glad I made these! See my full post on this project here.


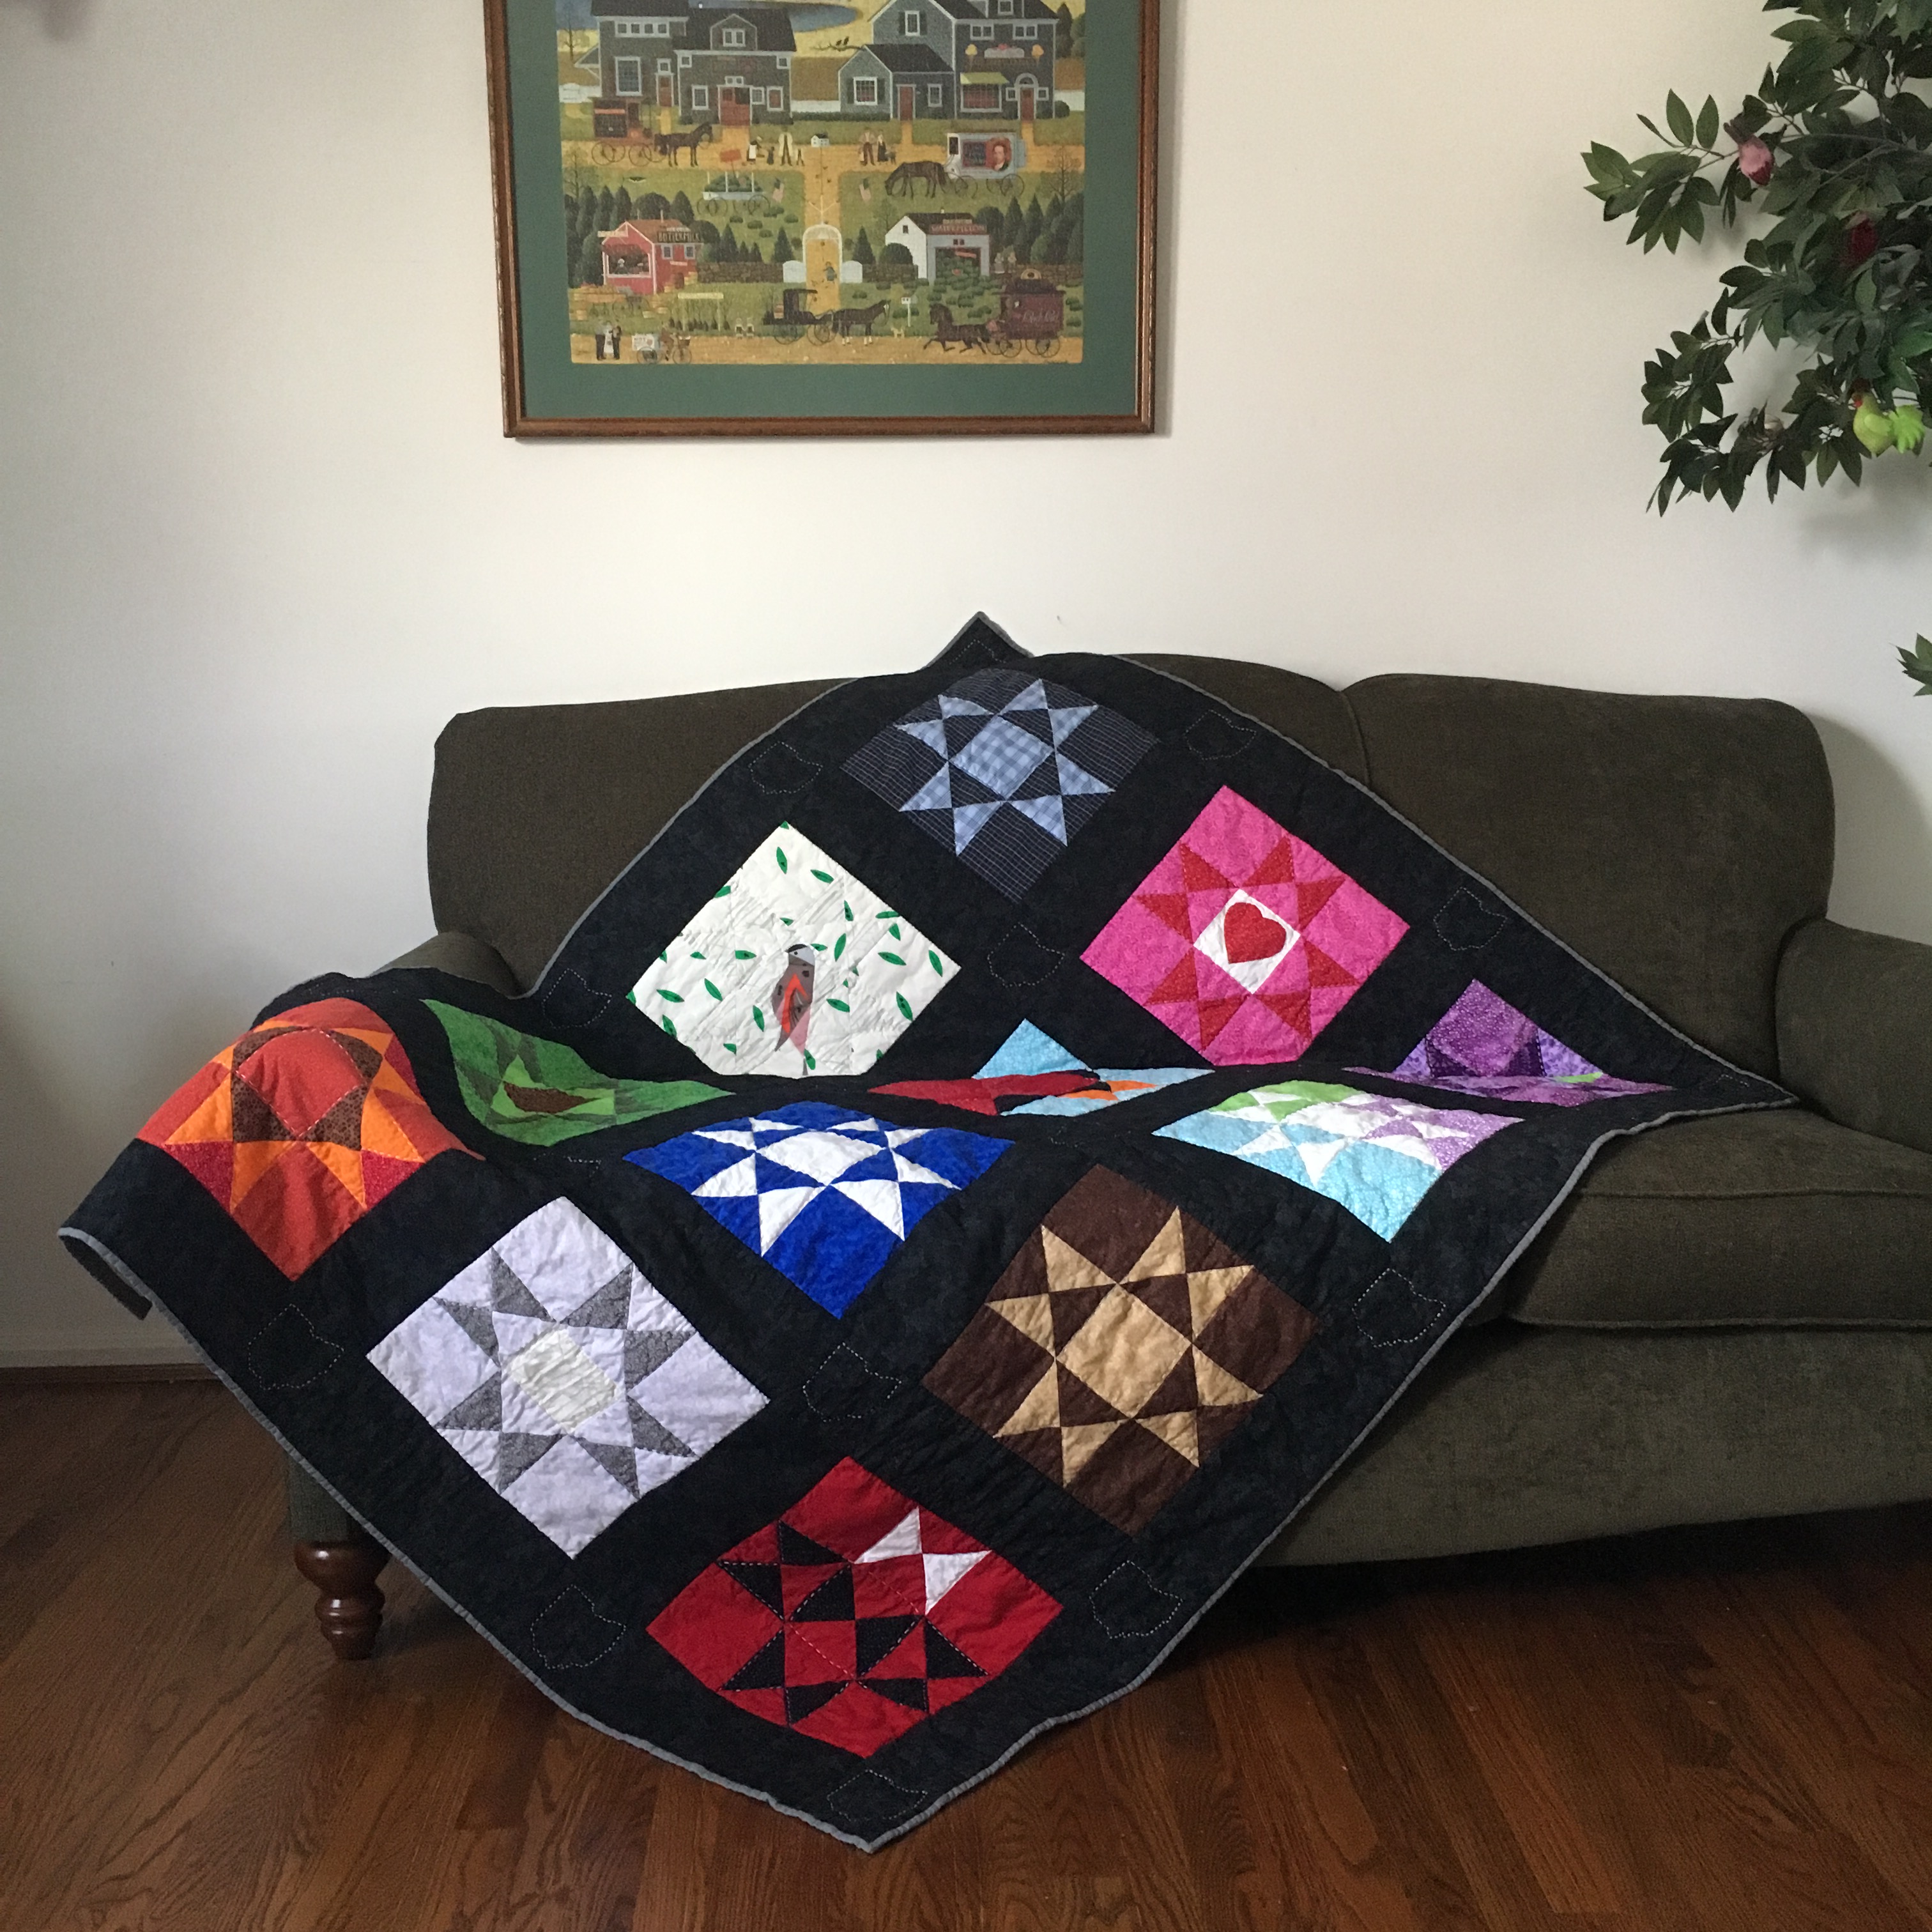
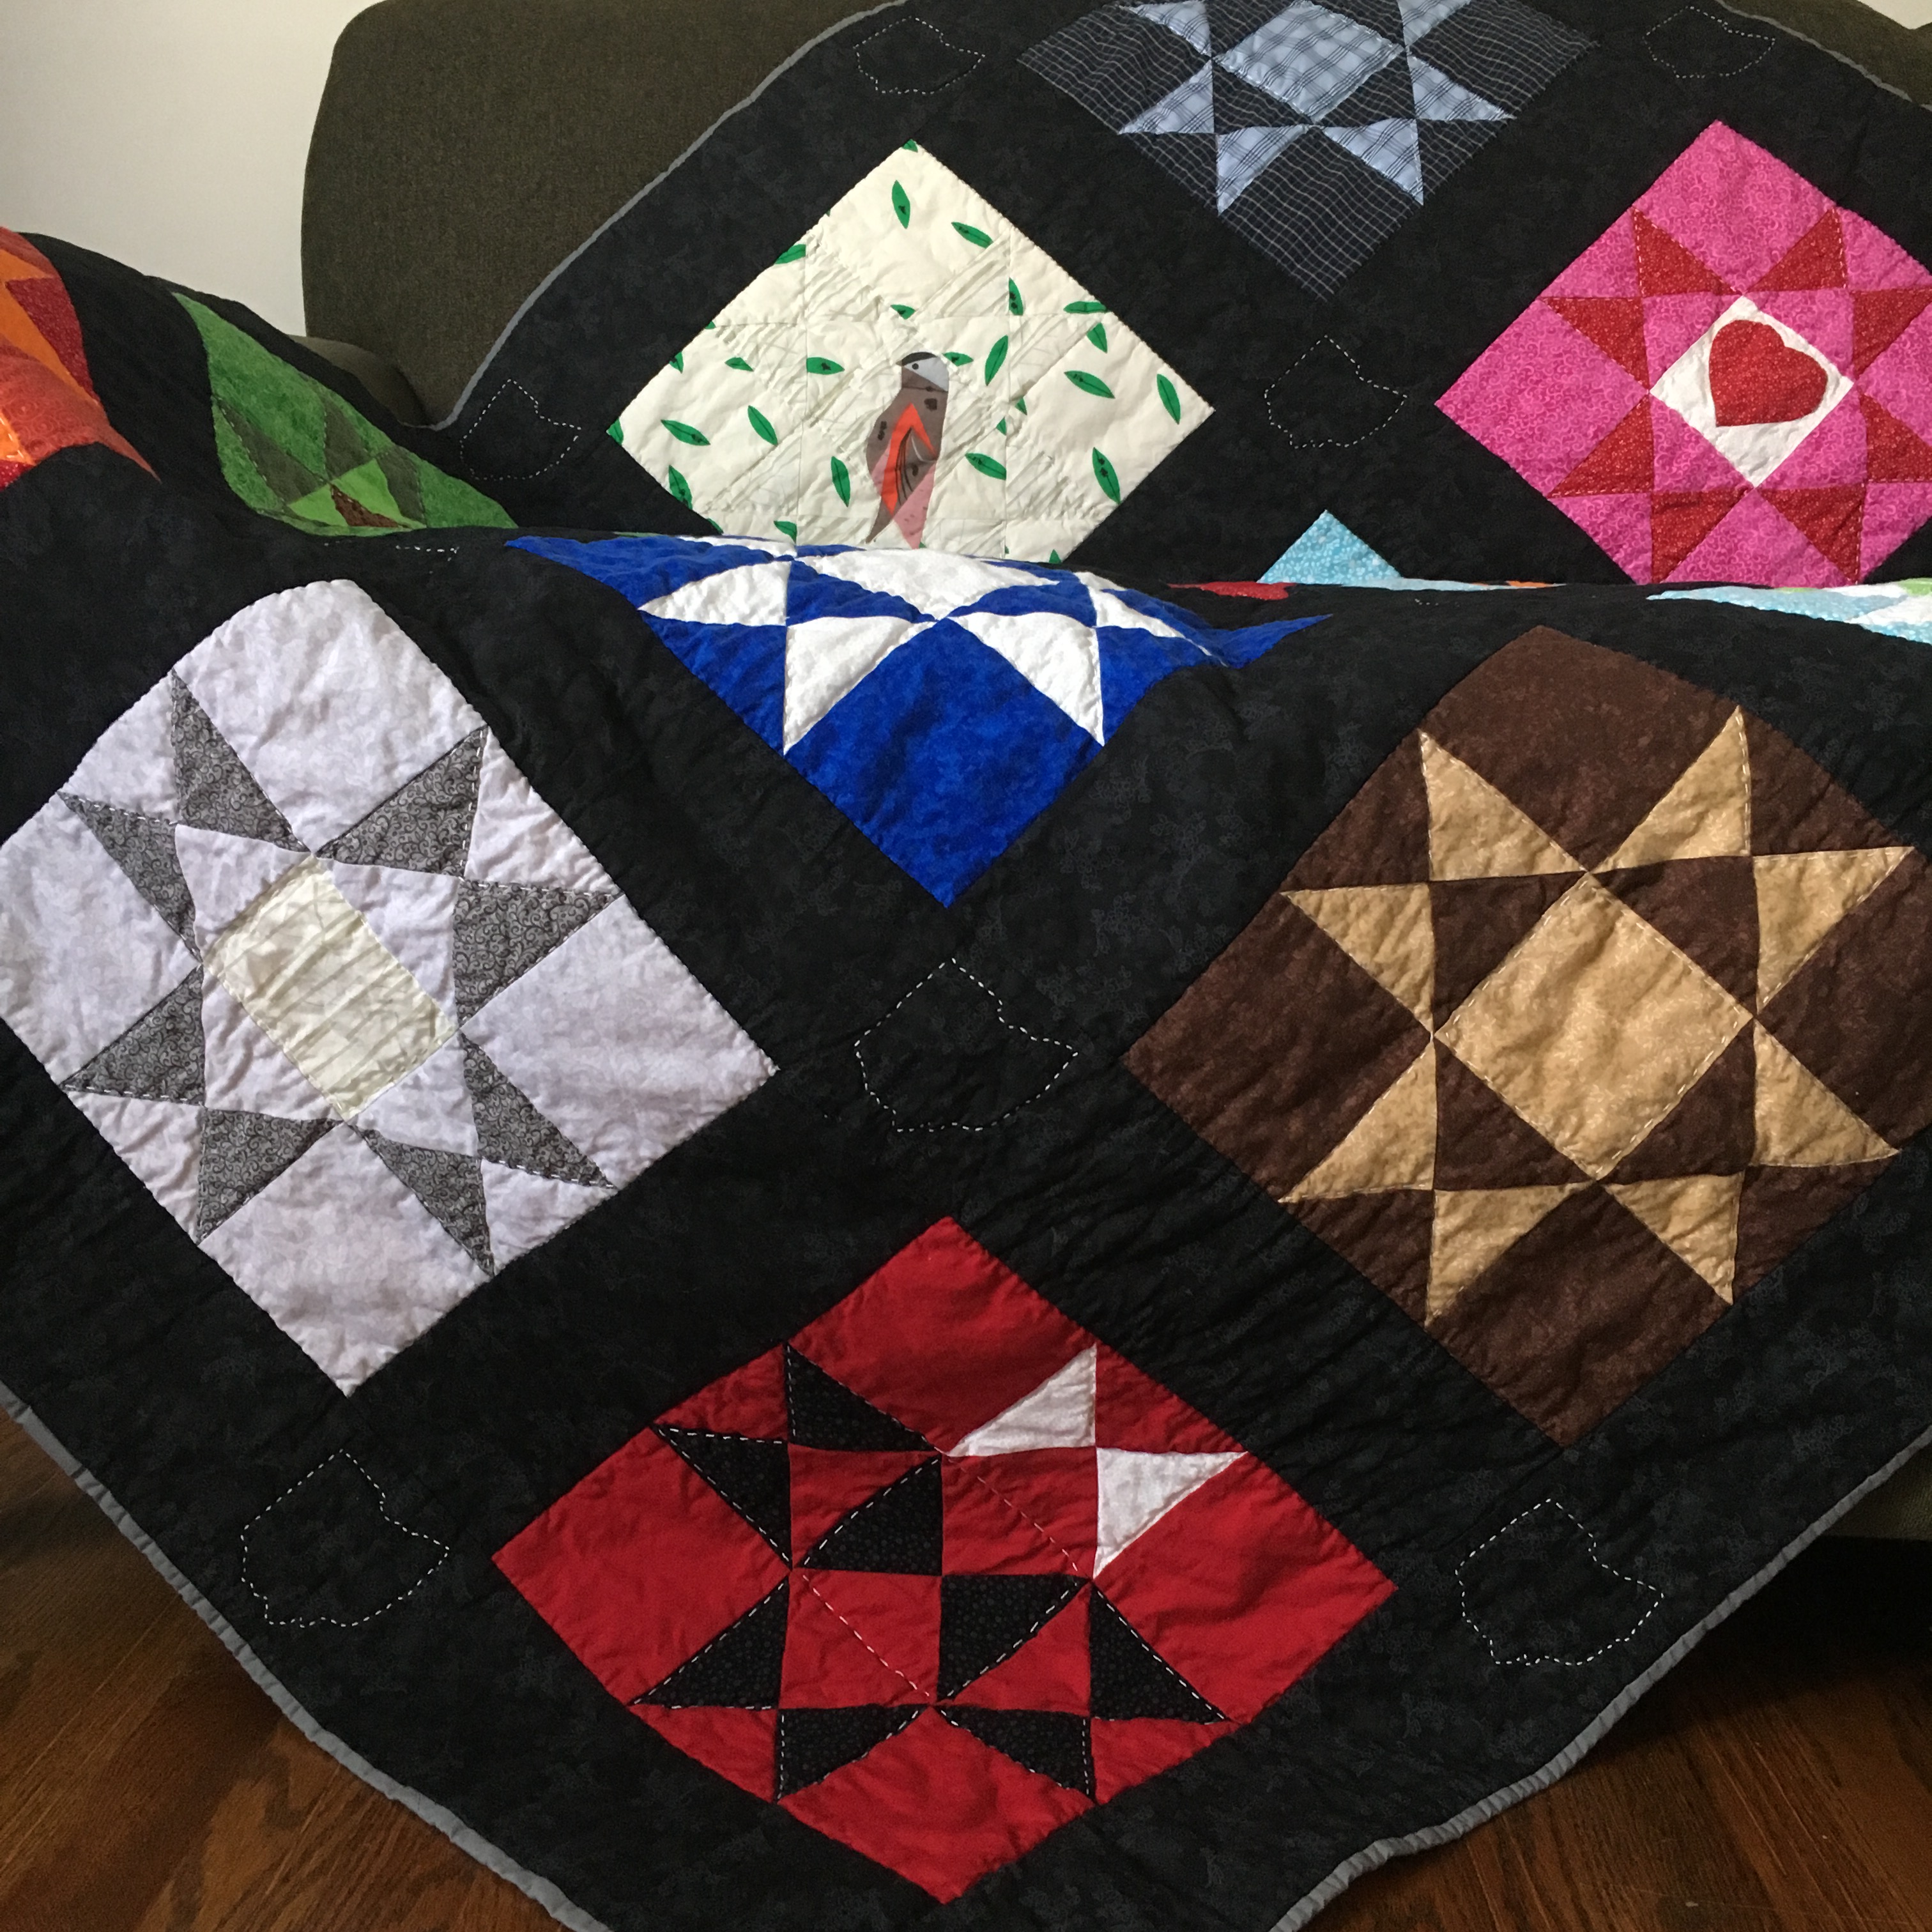
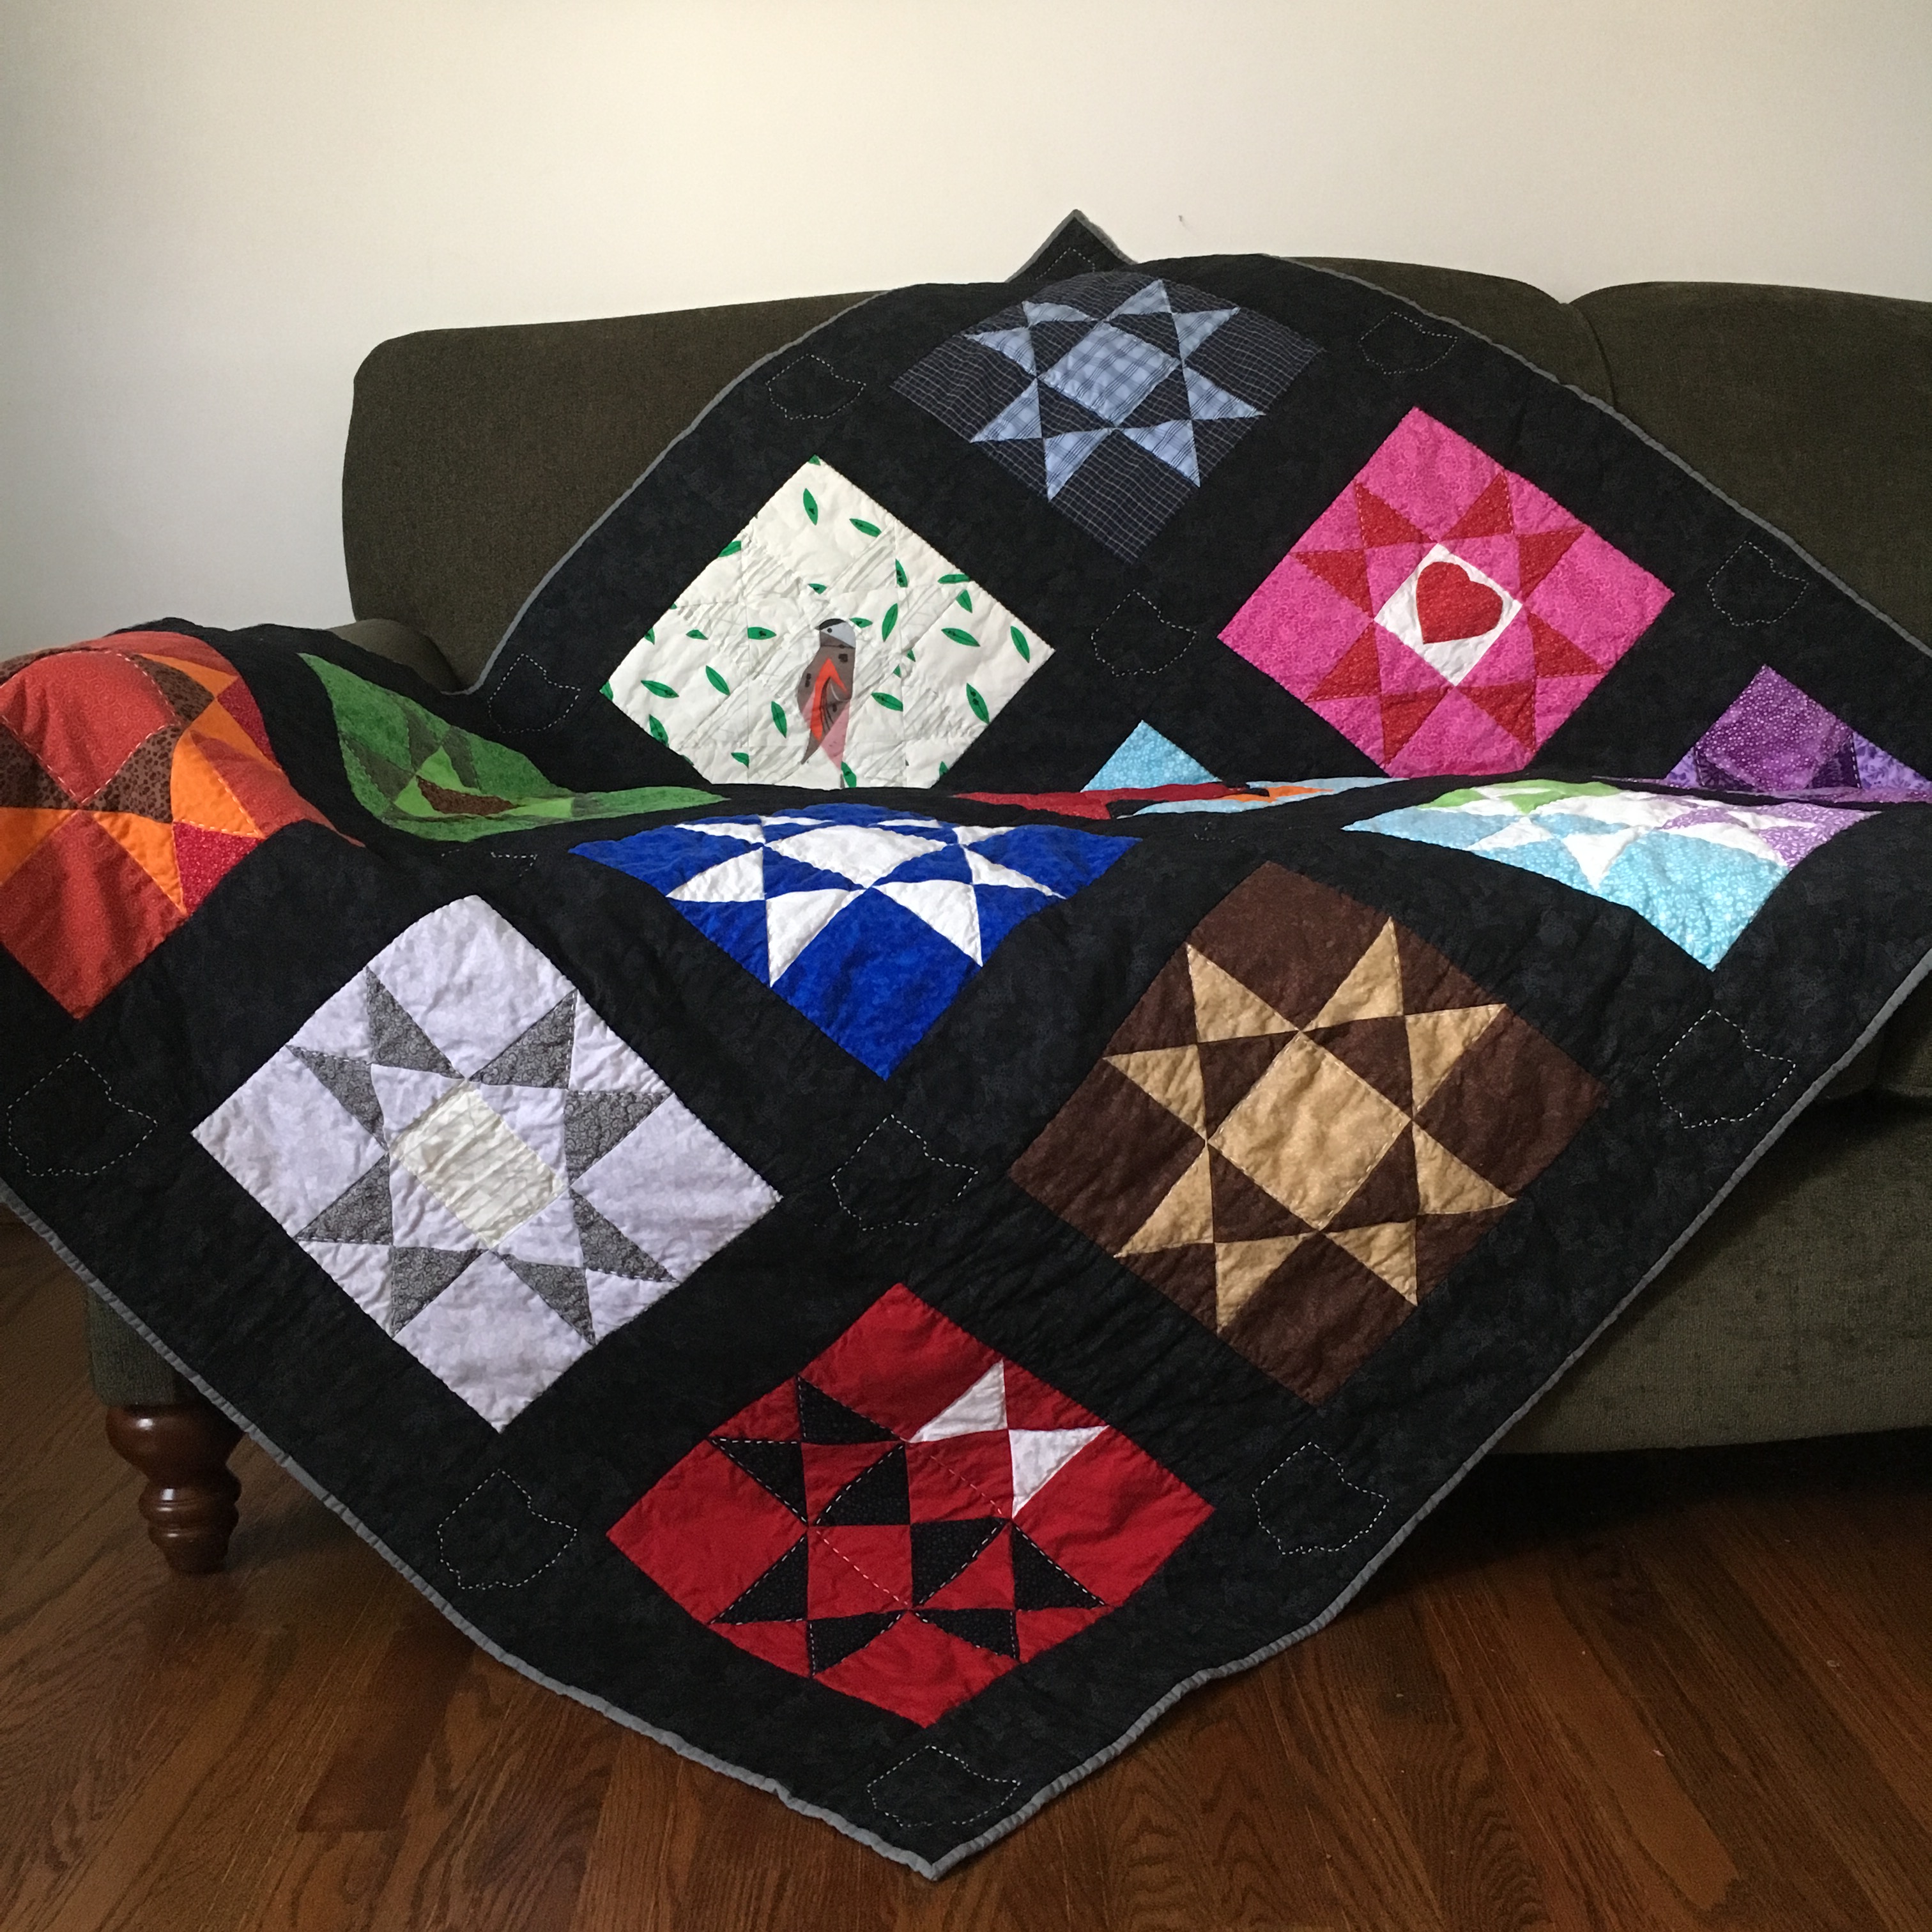
Welcome Blanket Quilt

Welcome Blanket Quilt

This quilt was the quickest I think I’ve ever made anything of this size (approximately 45″ square). I couldn’t dawdle, though, because there was a deadline to participate in the Welcome Blanket project. I love how this quilt came out and how simple it was to make. The hardest part of giving away a quilt anonymously is that you don’t know if it’s being used and if it’s bringing the comfort you imagine and hope it will. Read more about this one here.


Repurposed Handkerchiefs

Handkerchiefs made from an old flannel bedsheet.

I don’t know if this one really belongs on this list, but it took me just about a whole day to stitch up these handkerchiefs fashioned from an old bedsheet. And, I was just hemming each side! It’s a reminder that not all sewing is glamorous, but it still has purpose and is enjoyable. Read more about the “why” and “how” here.


Sea Glass Pop Mini Quilt

Sea Glass Pop Mini Quilt

This 5” x 7” quilt went to the 2018 Secret ArtWorks fundraiser that raised funds for ArtWorks, a local organization that promotes arts in this area. The title came after a brainstorming session with my sister and expresses how the trio of orange triangles pop like pieces of sea glass on a beach. (If you look closely, the light blue fabric has a sand dollar print and the dark blue fabric has a seaweed-inspired print.) Again, this quilt I gave away and I have no idea how it was received!


Library Totes

This year, I joined my local chapter of the Modern Quilt Guild. In November, we exchanged names for a gift swap. I decided to make a tote—um, my first one! I purchased another member’s pattern from Craftsy. (Unfortunately, I can’t find the pattern anymore. Craftsy just went through some major changes.) I decided to make two simultaneously. This project highlighted the fact that I am very much a batch sewist. If I’m going to take the time to sew up one thing, I might as well make two, because, really how much more effort will it require? I have the supplies and tools already out! Ha!

I loved making these. I gave the green/blue triangle tote to my fellow member and kept the bird one for myself. It works very well and I see myself doing more bag making.


Zipper Pouches

In fact, I’ve already done more bag making! After finishing the totes, I had a little bit more time dedicated for sewing, so I whipped up a zipper pouch using a pattern by Sotak Patterns. I was amazed at how easy it was! So, I decided to make 10 more. Batch sewist, indeed! I had my young daughter help pick out fabrics and choose who got each pouch for Christmas. It was a fun project and, again, I see myself making more bags!

Now, on to tackle my 2019 to-make list!

Mending a Fast Fashion T-Shirt

Mended fast fashion t-shirt.

I recently patched a hole in a t-shirt I purchased at Target this past summer. Sure, the shirt only cost about $8, but it was new: I didn’t want to pitch it or toss it into the rag pile.

I’ve become interested in mending and repairing clothing, but it’s rare that I wear a garment until it starts to come apart. (I’ll make an exception for the “chub rub” holes that appear in my well-loved jeans!) I figure it’s probably rare for a lot of people to wear their clothes until they need mending. Also, in some settings, it’s gauche to wear mended clothing. I don’t think wearing patched clothes would be a professional look at work. It may not be right, but it’s where we are.

So, my new t-shirt was laying on the floor of the closet and came into contact with the vacuum, ripping a hole. I wasn’t ready to let the shirt go—I had just bought it! I had another fast fashion t-shirt that I had worn for several years, but it was pilling and it didn’t fit well anymore because of, ahem, some weight gain. That shirt became my patch material.

The first step I skipped was researching how to properly repair a hole in a knit fabric. From my memory of what reverse appliqué looks like and works, I decided to use that method—or at least how I figured the technique works! Instead of using a circle or square just large enough to cover the hole, I went with a heart shape.

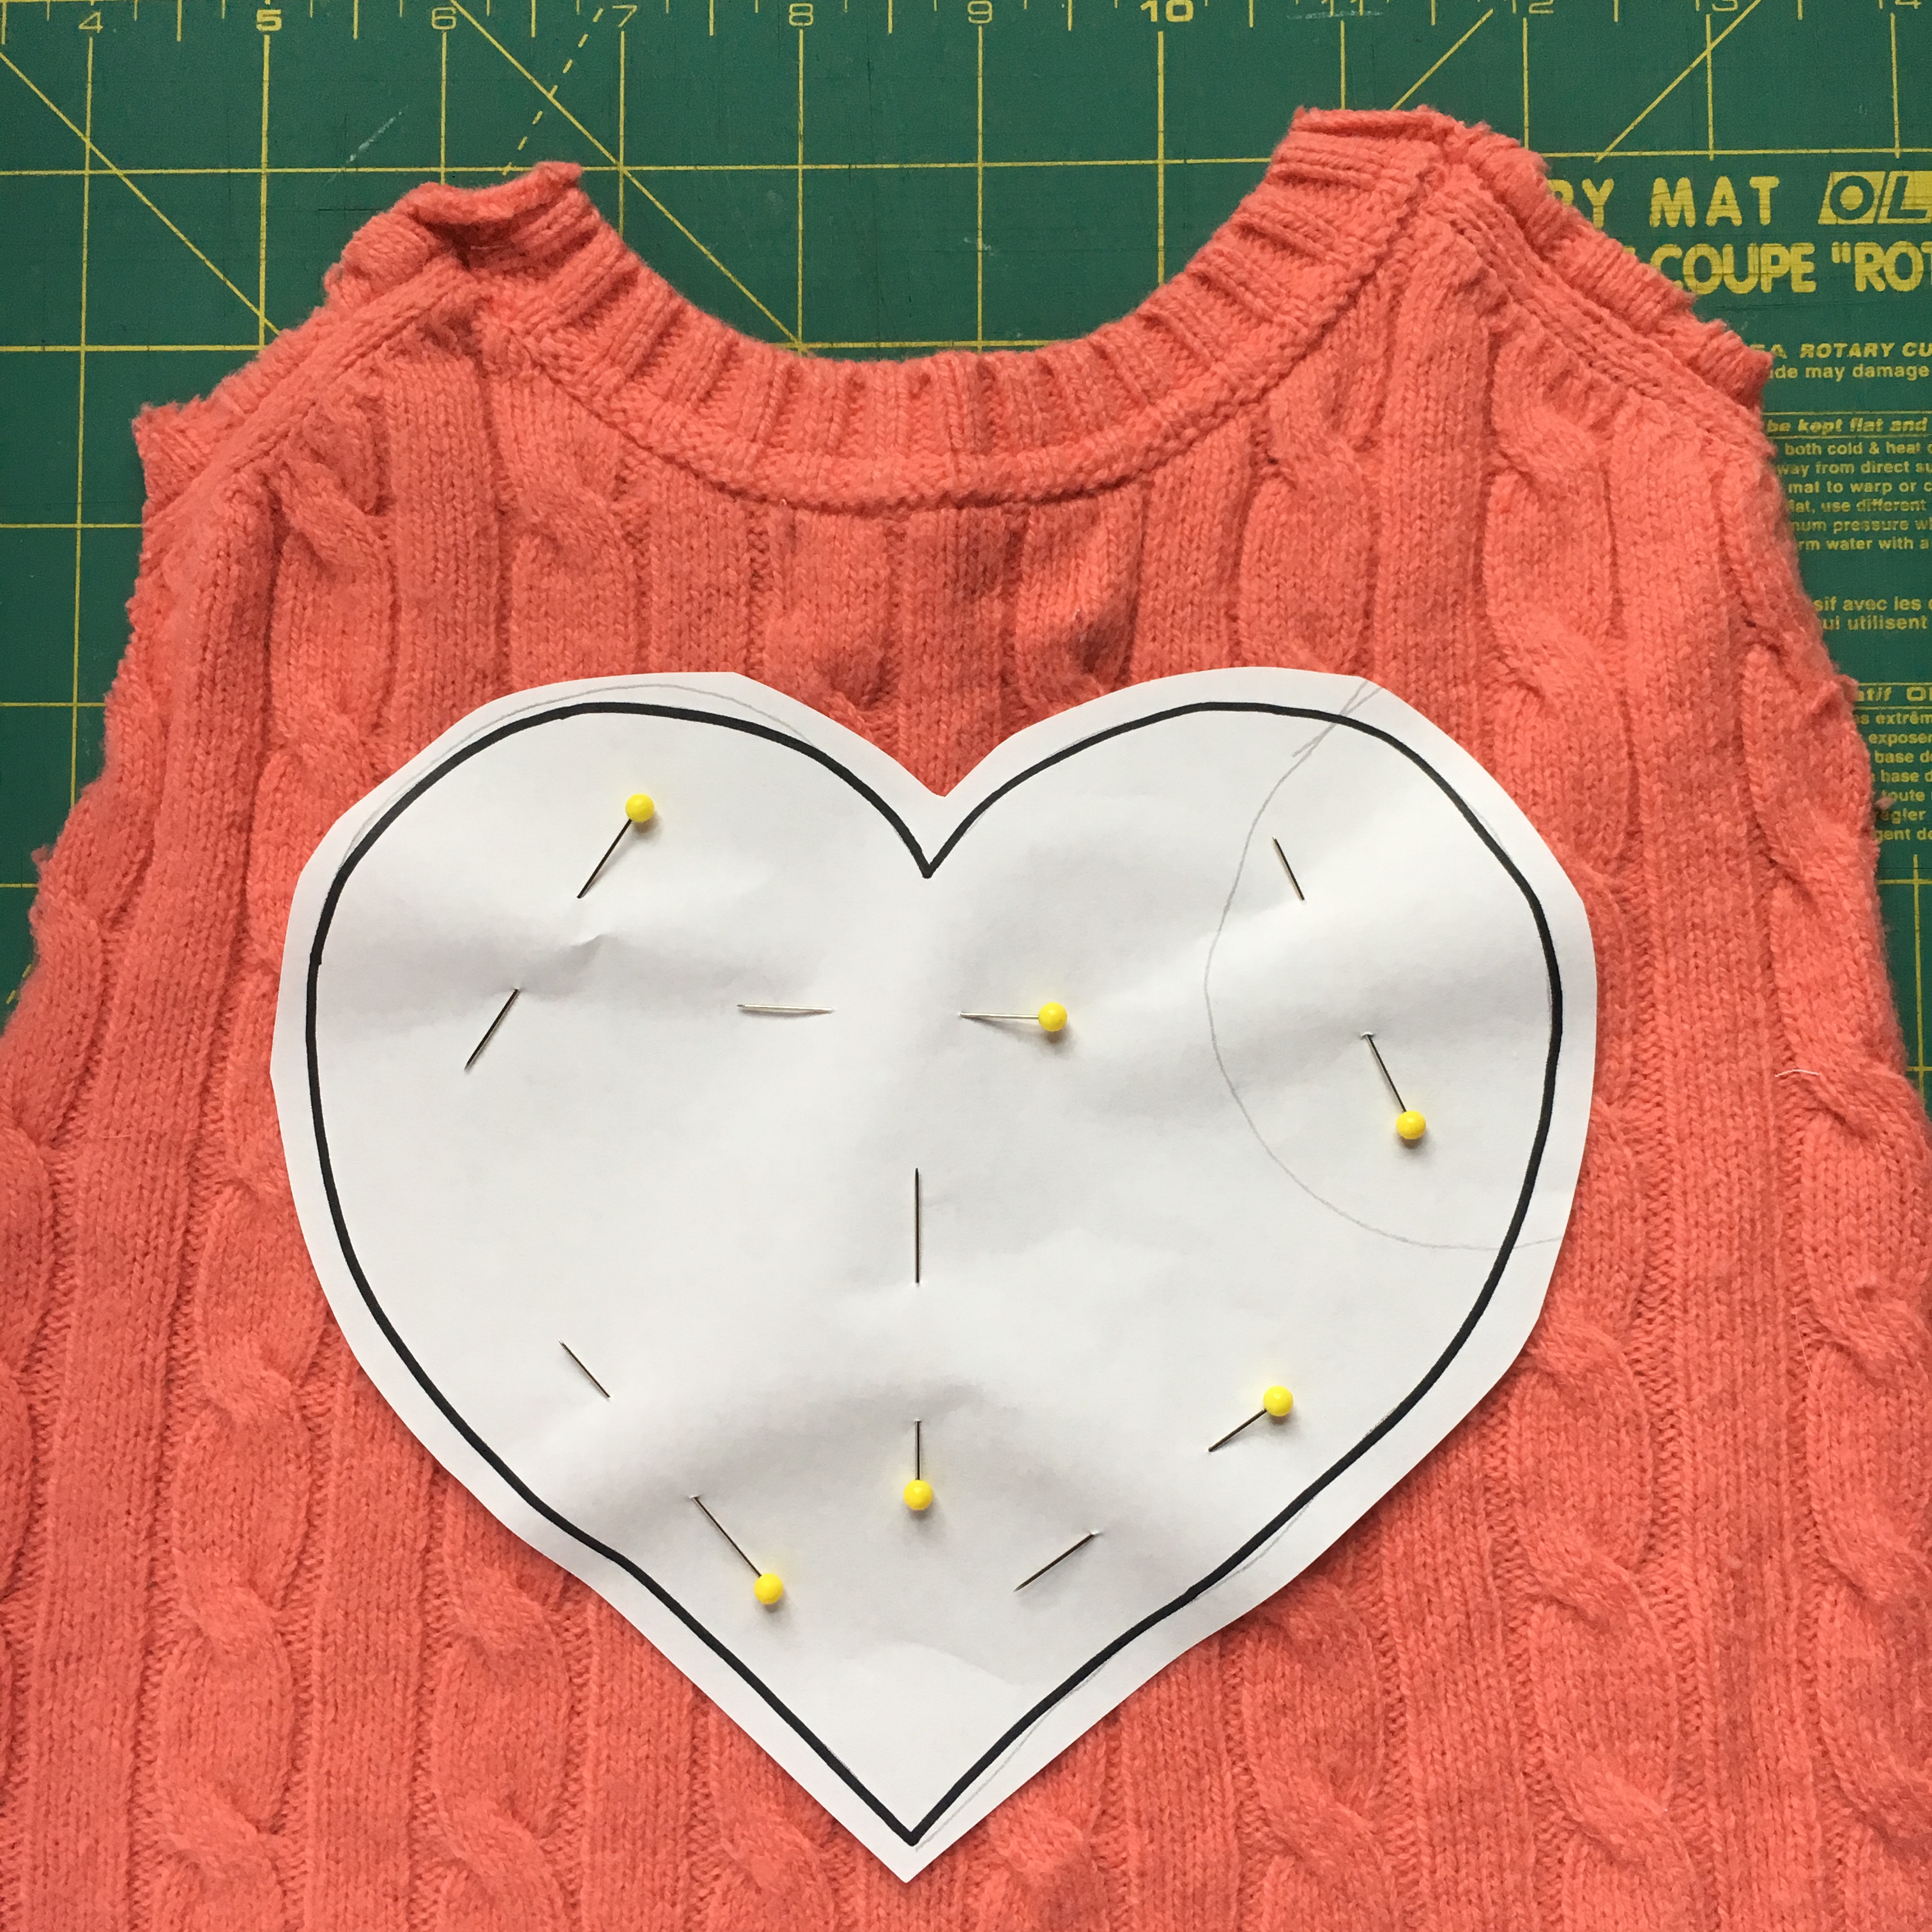
Heart shape drawn; patch pinned; needle threaded.

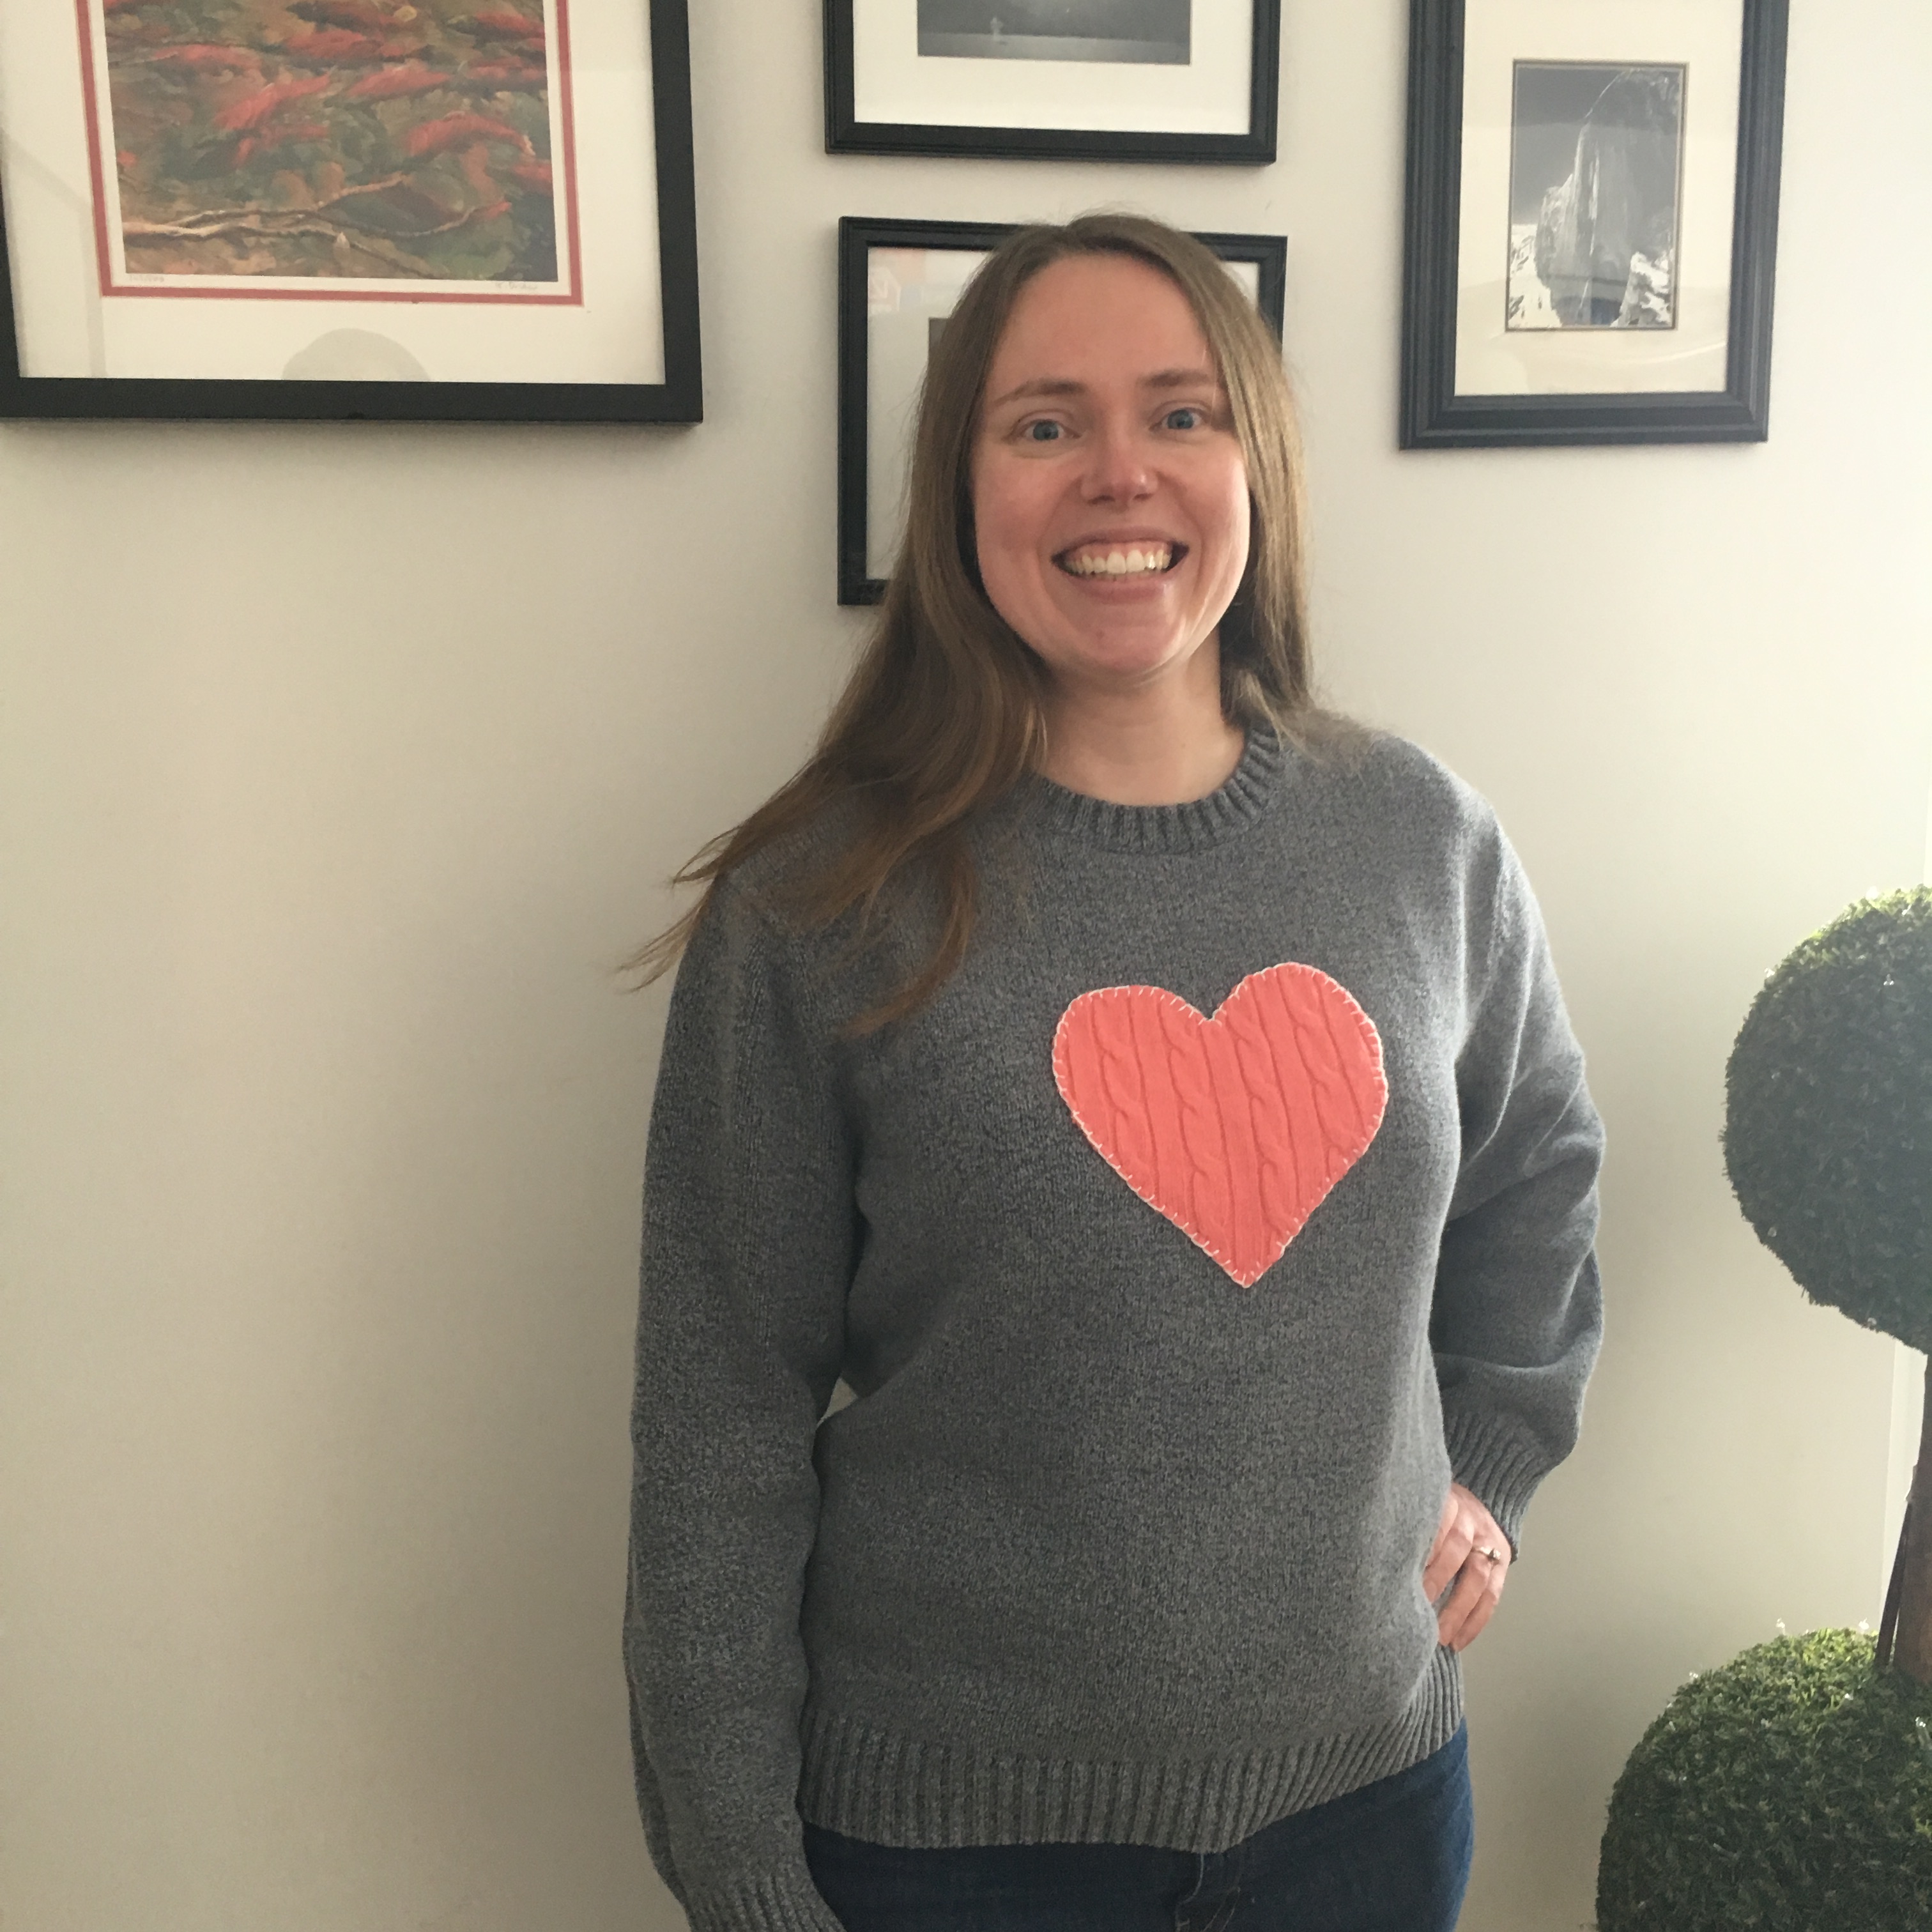
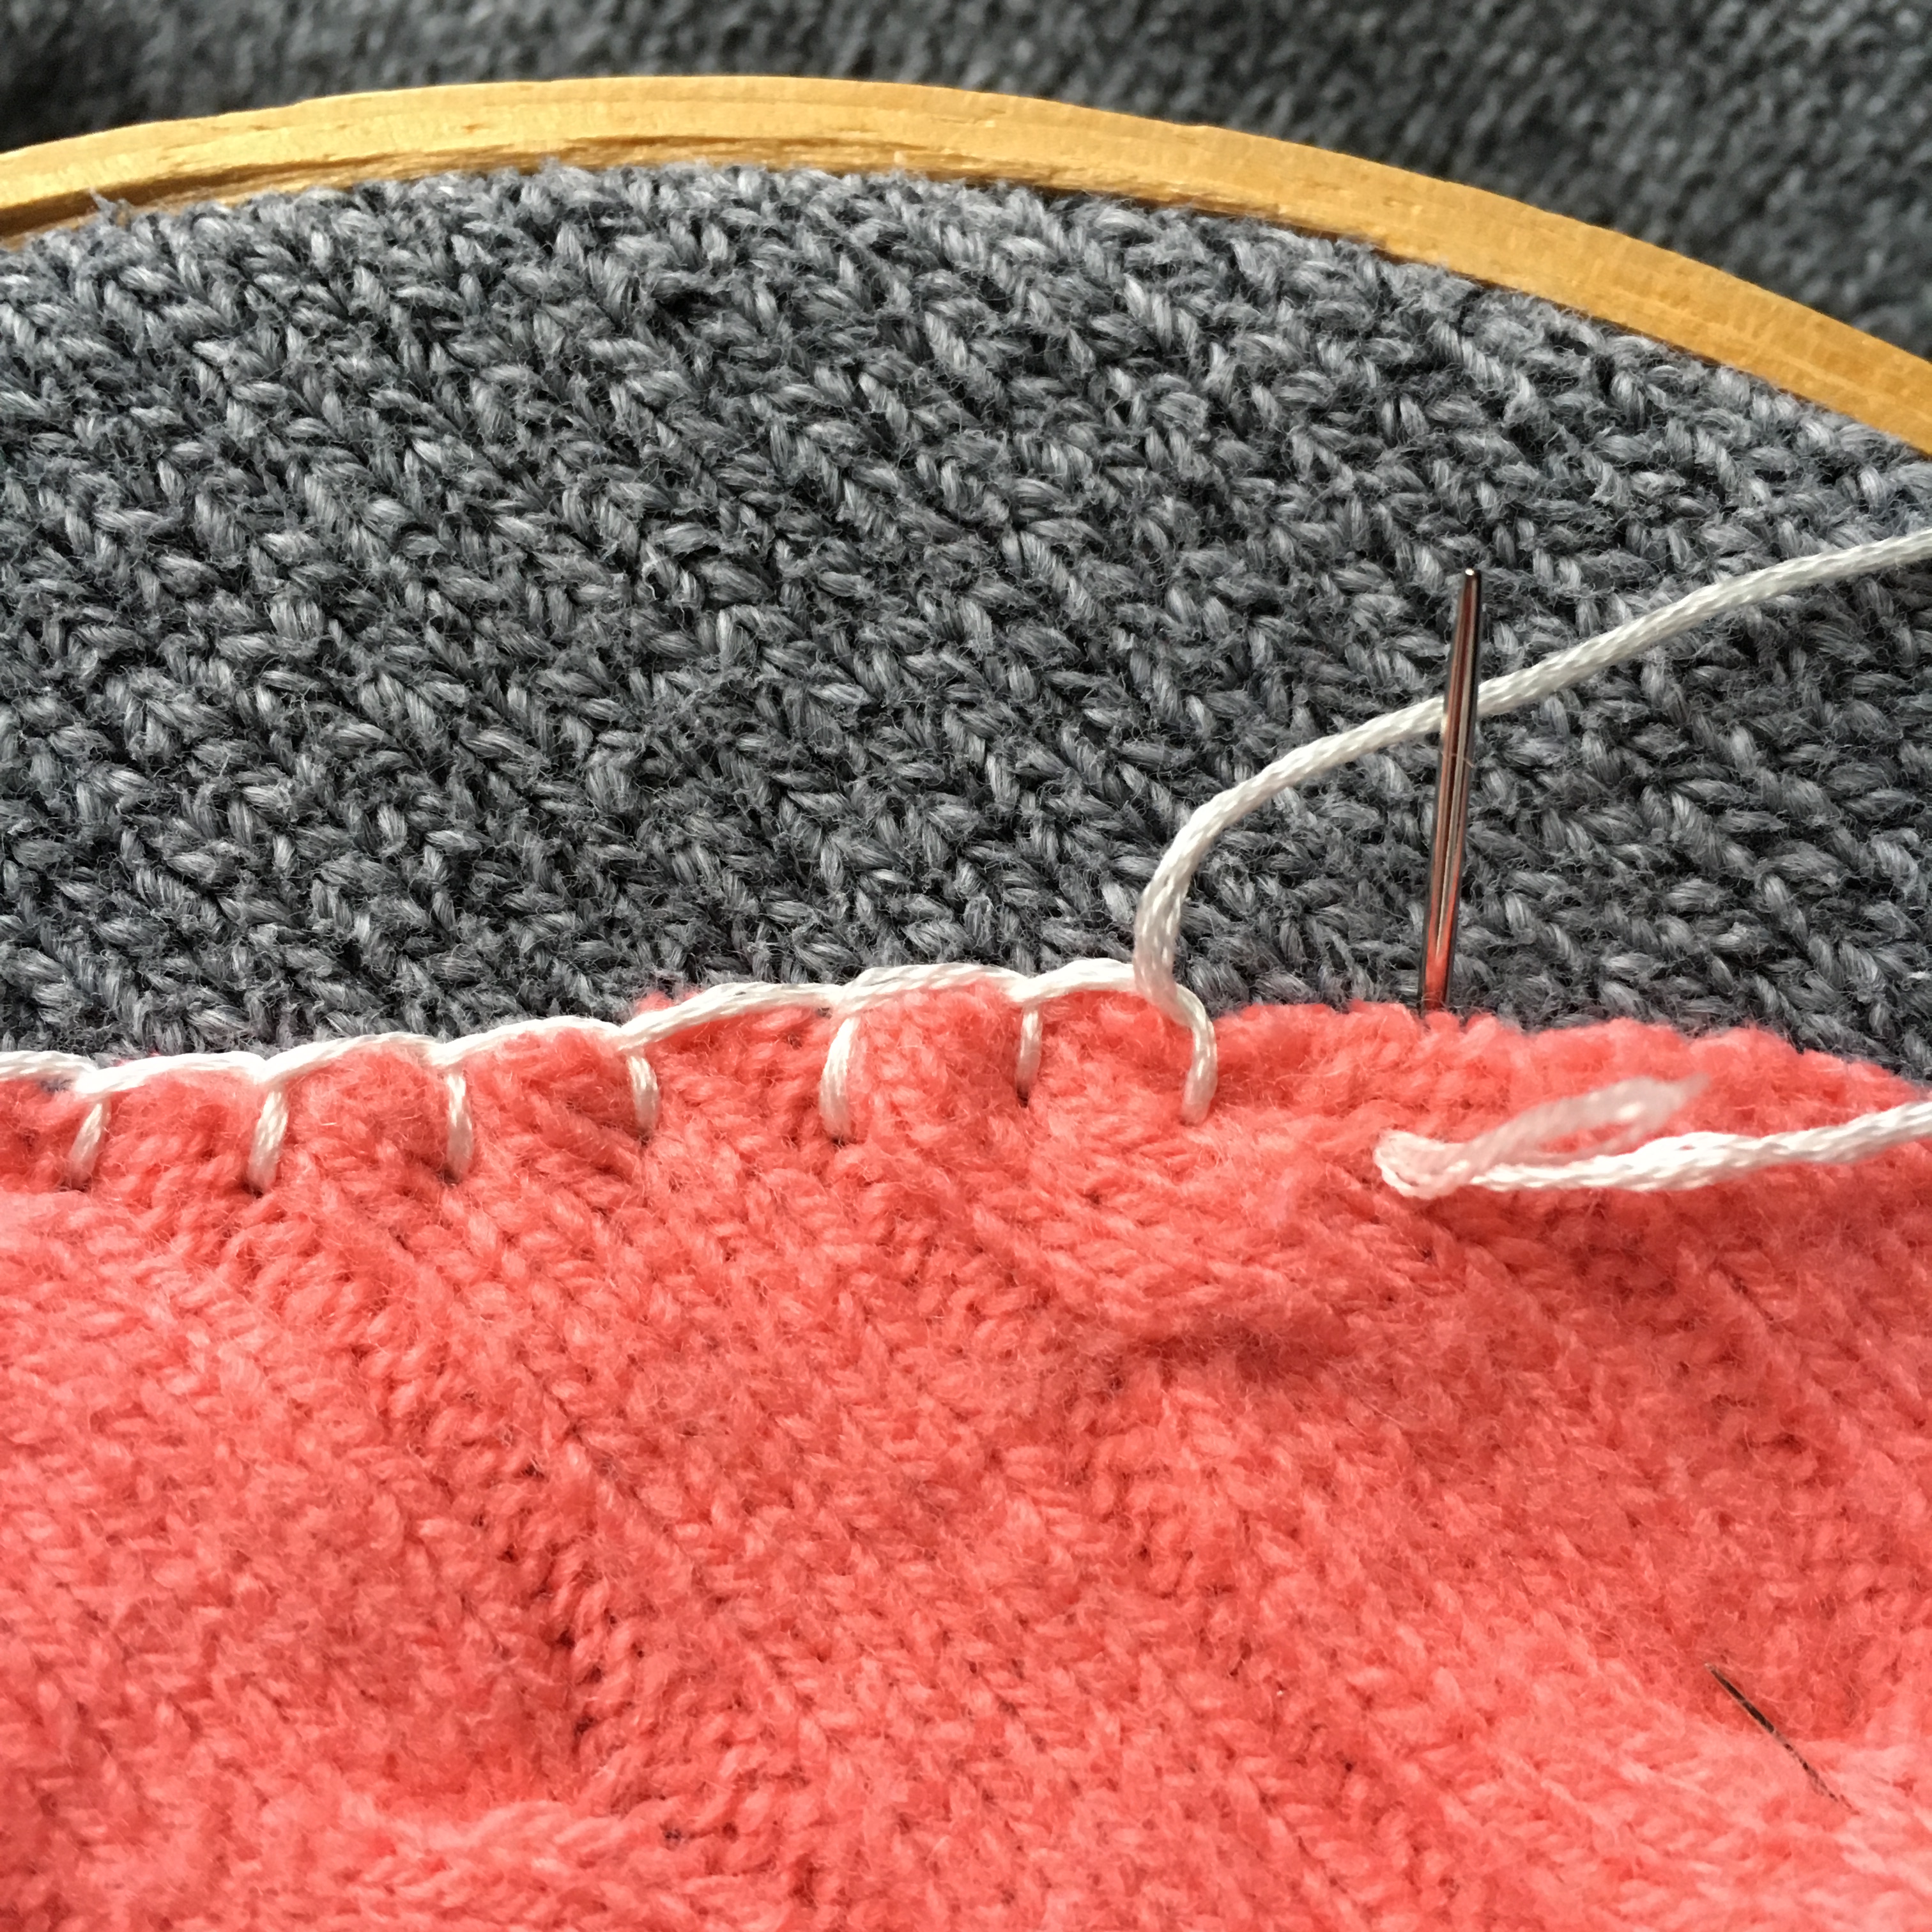
I drew a heart around the hole with a water-soluble pencil and then pinned the patch to the wrong side of the shirt. Using embroidery thread of a complementary color, I stitched around the heart through both the shirt and the patch.

Stitching finished.
The wrong side of the patch, before trimming.

I trimmed the patch about ¼” outside the stitching. Then, I trimmed the shirt about ¼” inside the stitching.

Shirt and patch trimmed. Ready to wear!

The heart lands on the hip.

Not the best place for a contrasting patch, but hey! I didn’t choose where the vacuum tore a hole!

And, just for funsies, I appliquéd a tiny heart on the inside of the left sleeve so that when I flip it up, the heart is visible. Get it? Get it? I’m wearing my heart on my sleeve!

Fun! I want to do something similar with other shirts.

I don’t plan to wear the shirt anywhere fancy. It’s a weekend-type shirt. But, that’s what it was before I patched it anyway. I’m just happy I can still get some wear out of it!

Dazzling Pineapple Patch Quilt Update

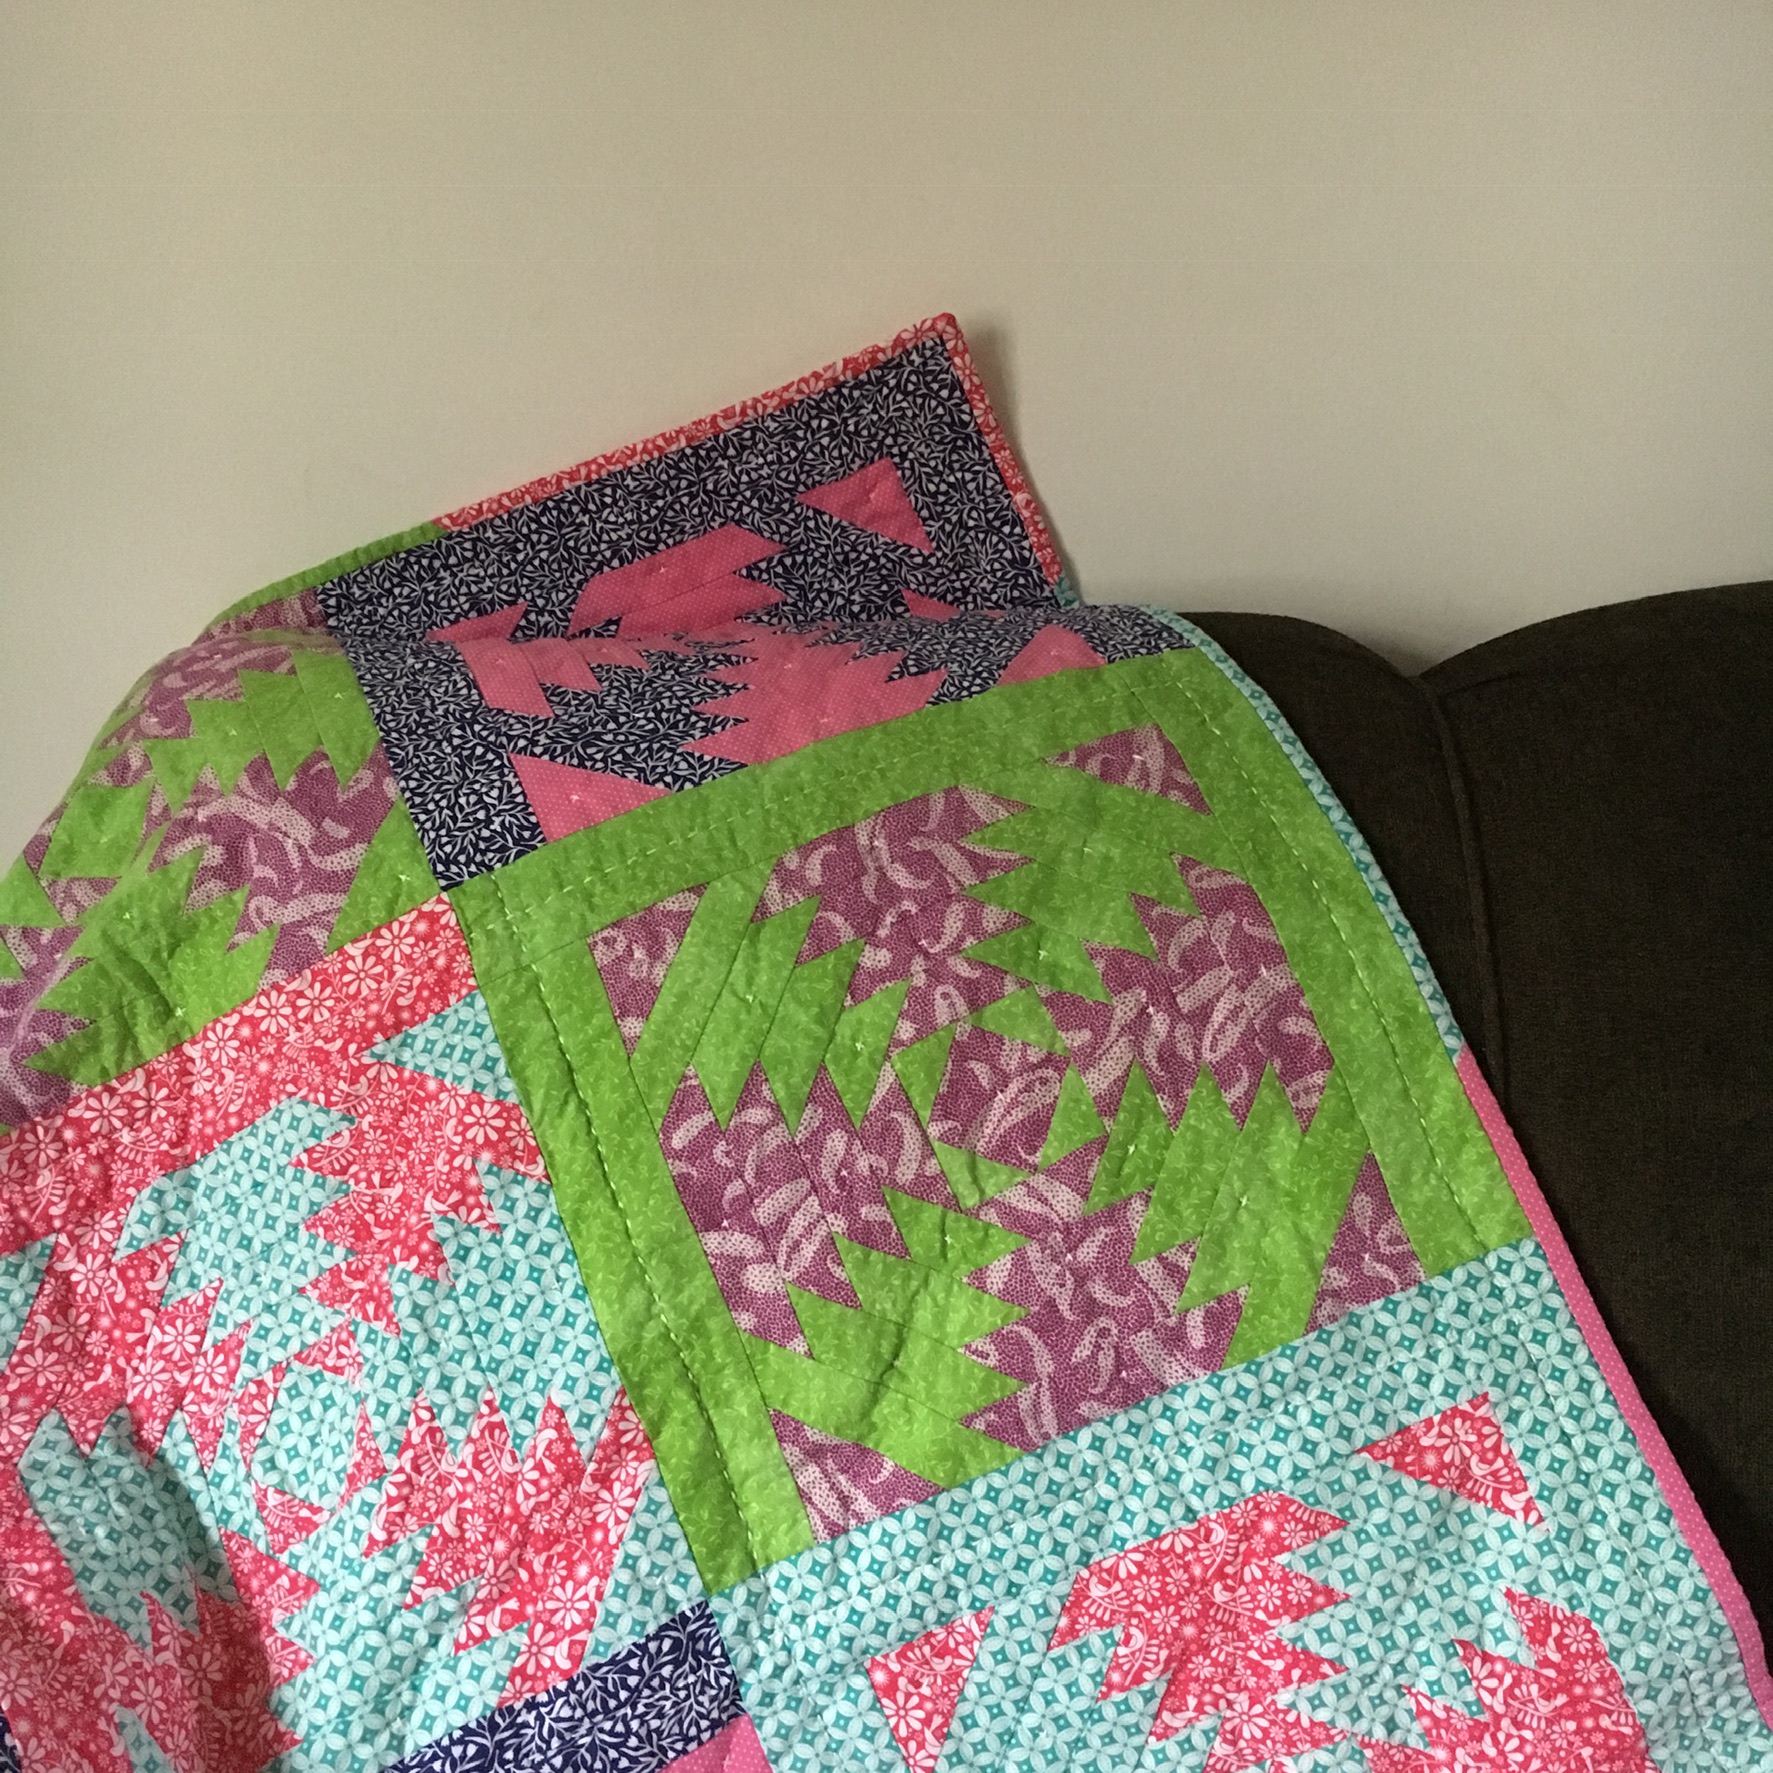
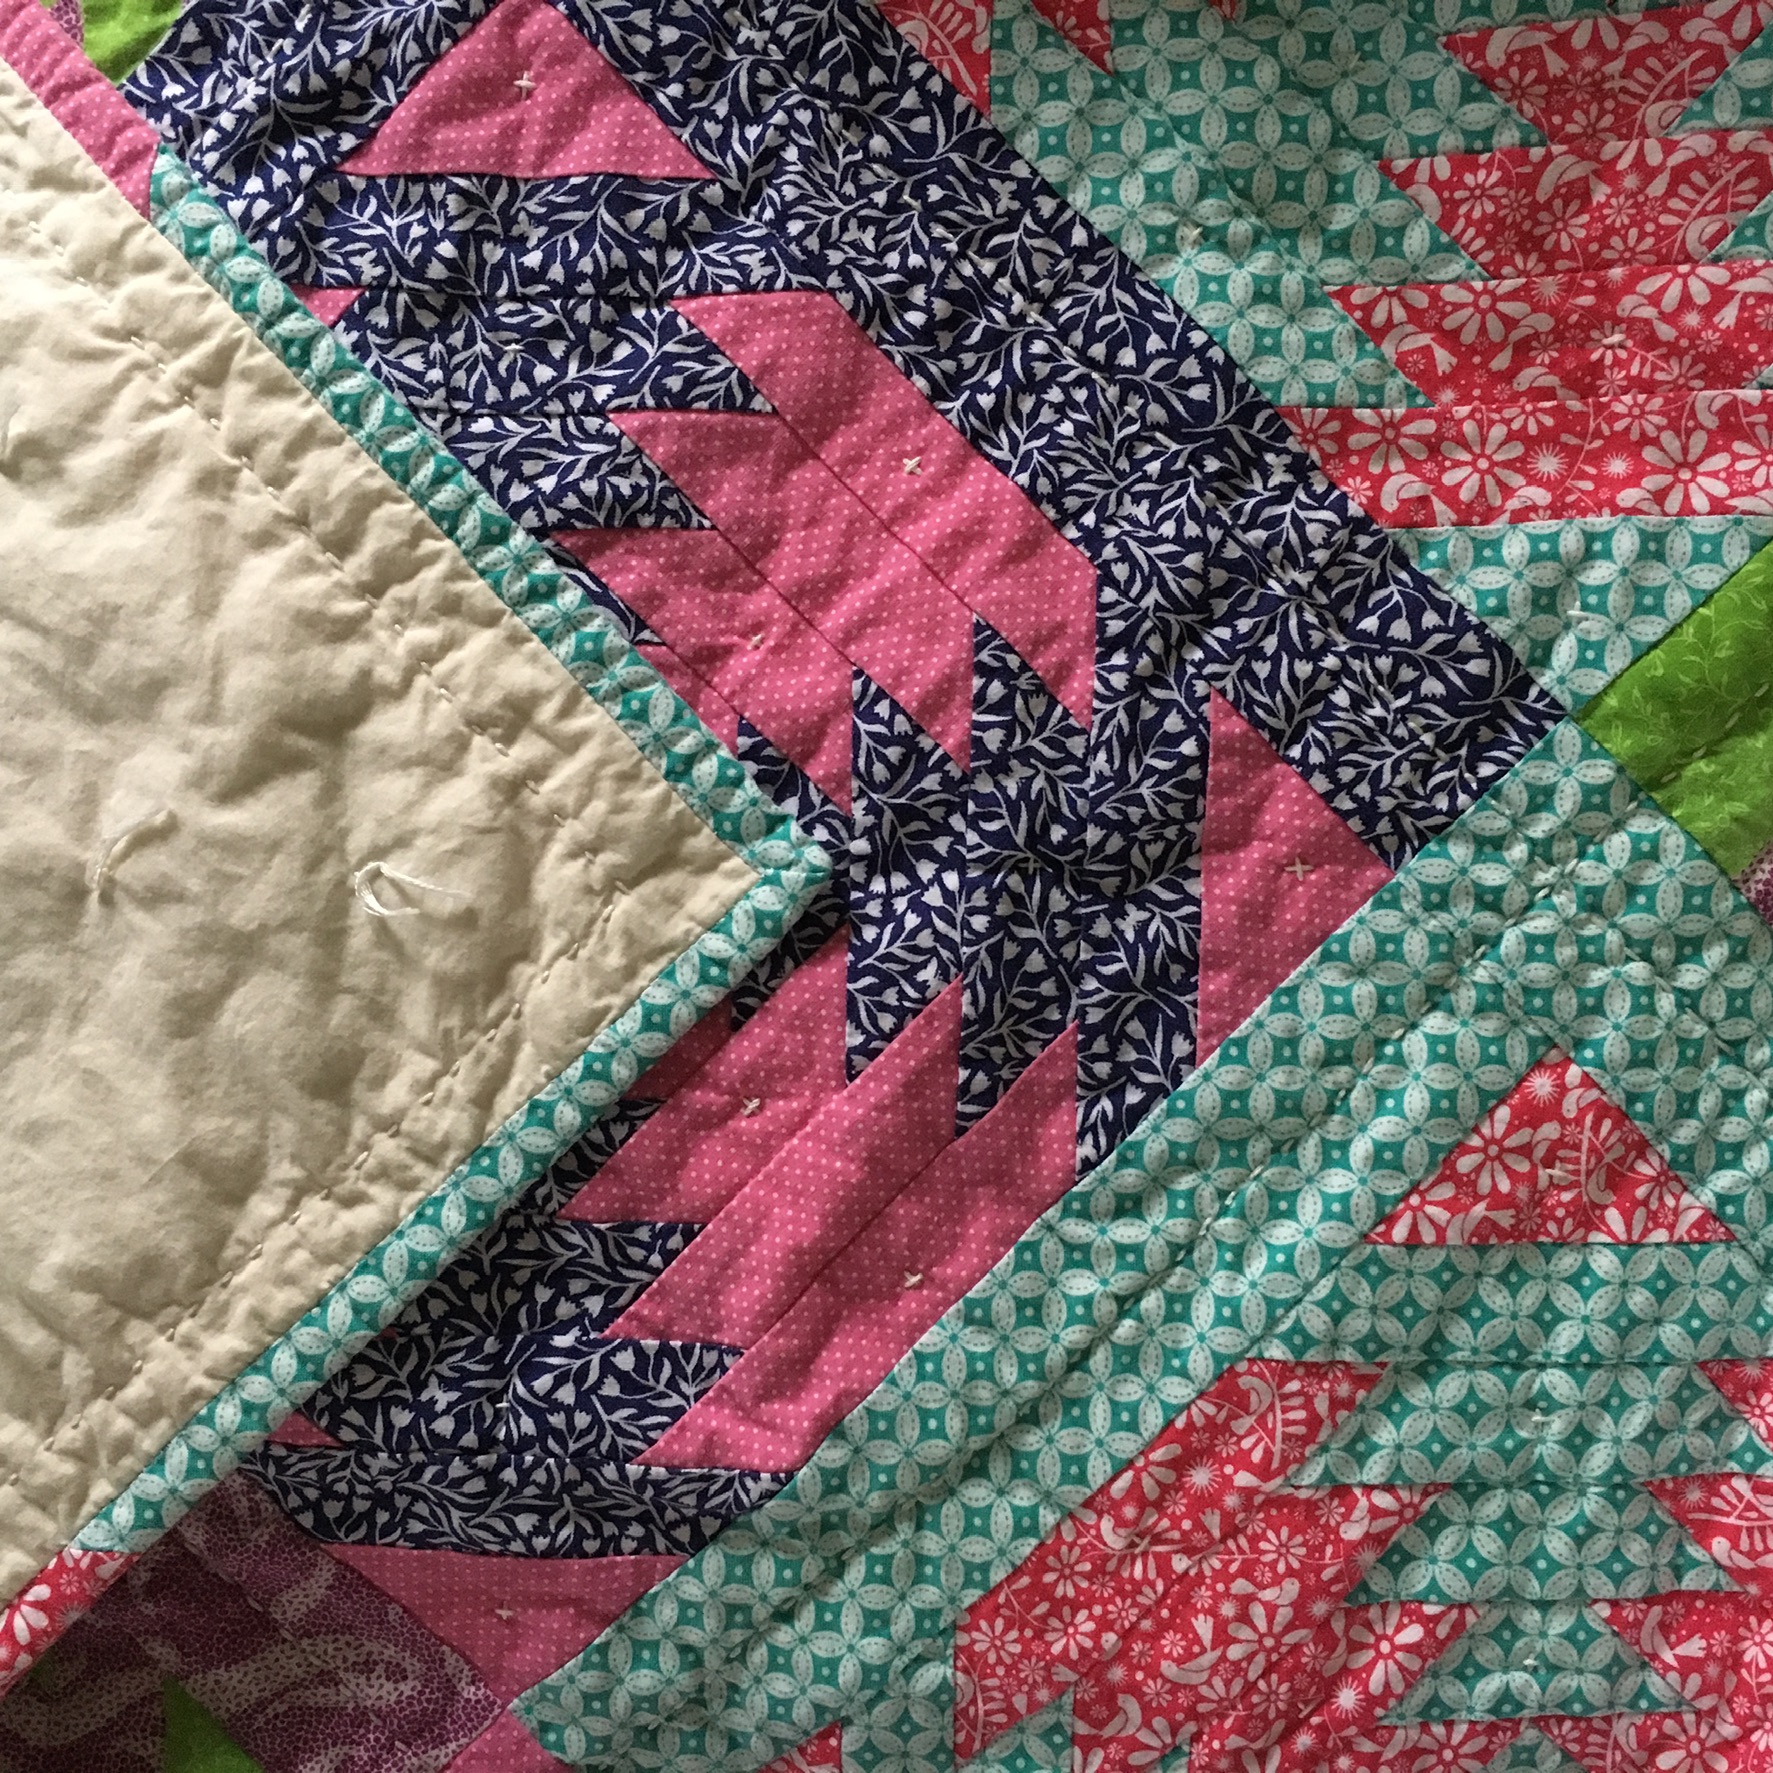
Completed top to my Dazzling Pineapple Patch Quilt

A couple of weeks ago, I finished the top to my Dazzling Pineapple Patch Quilt, the quilt inspired by my obsession with pineapple motifs. Because I have an eye for everything pineapple, my mom sent me a couple of pineapple block templates. I made a mini pineapple quilt as a study to see how the block worked and whether I liked it or not. Well, I loved it and jumped right in.

I wanted to do the block in colors that make my eyes pop. I started with leftover fabric from my mother-daughter matching outfits and some fabric I already had in my stash. After making my first block, I decided that doing less than 4 blocks at a time was too tedious. (There’s a lot of cutting and sewing involved in a single block!) So, I made 4 red and aqua blocks.

First set of pineapple blocks in red and aqua.

Then, I was inspired by nightshirt, which resulted in a batch of navy and pink blocks.

Second set of pineapple blocks in navy and pink.

I felt like I needed one more batch of blocks. Digging around my stash, I found the perfect combination of purple and lime green. Again, eye-popping colors.

Third and final set of pineapple blocks in purple and green. Here, the borders are sewn on.

Because I was working with limited yardage of each fabric and I didn’t want to introduce yet another color, I added a border of contrasting fabric to two sides of each block. Then, I arranged the blocks until I was happy with the layout. I added more borders as necessary to give it a finished look. As you can see, I worked from left to right, top to bottom, so the blocks on the right and bottom have more borders of the same fabric.

Completed top to my Dazzling Pineapple Patch Quilt

I think I’ll machine quilt it with a large grid and diagonally. It’s not as large as I would like it to be—it’s a throw or large baby size—but after making 13 pineapple blocks, I’m ready to set my templates aside. I can’t wait to keep working on it, but I have other quilts I want to finish first!

Finding Fresh Color Inspiration for Quilts

Inspiration for the color palette of a new quilt project can come from a variety of unexpected sources. Look to items that were thoughtfully designed, from packaged food wrappers to clothing.

Pink and Navy Pineapple Quilt Blocks

I recently gave color selection some thought after I heard a fellow quilter lament that she had a hard time selecting and coordinating fabrics for quilts and that she ended up just using a lot of bundles of coordinating fabric. And, you know what? There’s no shame in that game! But, I think one of the easiest, eye-pleasing sources of color inspiration is designed objects, like clothing, beauty products, and furniture—anything that has been thoughtfully designed. That is, a designer (or team of designers) have spent a lot of time thinking through and trying different colors for the object. These objects are anything and everything, like packaging, clothing, etc. They’re readily available—pretty much everything you purchase or use on a daily basis has been designed. The colors used for a quilt project don’t have to match the designed object exactly. The colors on the object are for inspiration, not for copying, so this isn’t a meticulous way to go about choosing colors. Once you start seeing the colors used on everyday objects, you’ll discover there are endless sources of eye-catching inspiration.

First, designed objects have been, well, designed. A lot of thought and study went behind choosing the best graphics, colors, and words for the item. A shampoo bottle, button-front shirt, cereal box and more have all been carefully designed. This includes the colors that were and were not included in the design. The designer spent countless hours finessing the colors before it ever got into your hands. Even if it is something as simple as a candy wrapper, the person who designed it knows their stuff. They’ve studied color before and every other facet of graphic design. I know because I have worked at a design agency and sat through many meetings where just the right color was selected. Trust me, they’ve put thought into every detail, especially the color. So, why not use an object that has been professionally designed as a source of color inspiration for your next quilt?

These objects are everywhere. If you’re a quilter, or a crafter/creator of any sort, you have a sense of style. Chances are, if you head to your closet, vanity, or even your pantry, you’ll find an item that you love simply for its design. I’ve bought boxes of tissues because I liked the pattern on the box! You don’t have to go to a specialty or high-end store to find things you love—head to the beauty aisle of your grocery store and you’re sure to find a tube of hand cream with colors that speak to your taste. But, be forewarned, just because someone spent time designing it, doesn’t mean it is “beautiful.” Sometimes designers take a specific approach not because it’s eye-pleasing, but because there’s already a brand of shampoo with a green bottle sold in stores. Or they have to put “VALUE PACK” in giant, bright red font smack dab in the middle. (I speak from past work experience here!) Choose your inspiration carefully.

Finally, the fabrics chosen for a quilt that are inspired by a designed object don’t have to match exactly. Inspiration is a starting point, not directions to be followed or the quilt will self-destruct. Plus, there’s no way to ever find the exact match of colors, even if you’re a fan of solids and love using those little bitty swatches to plan colors. But this is one of the joys of creating: the freedom to break the rules, follow your gut, and find joy in it all.

Pink_Navy_Pineapple_Inspiration
Liz Claiborne Pink and Navy Nightshirt

I recently made a set of four quilt blocks for my Dazzling Pineapple Patch Quilt using color inspiration from a designed object, specifically a nightshirt I recently purchased. I’m a function over form kind of gal when it comes to my nighttime attire. I found a Liz Claiborne night tee on clearance at JC Penny. I liked it first for the function: a loose, comfortable silhouette in a soft jersey knit. The pattern of the fabric was icing: a tropical print in navy blue and pink-salmon colors. I found this color combination to be surprising. I’ve never thought to pair navy blue and pink. But, a designer at Liz Claiborne thought to put them together! So, when I needed a second colorway for my pineapple quilt, I decided to use this nightshirt as inspiration and purchased fabric in similar colors. As you can see, the colors in my blocks don’t match the shirt exactly (I don’t think my iPhone capture the true colors of the shirt either). That’s okay. The quilt blocks have a similar eye-popping effect as the shirt.

Next time you’re stumped choosing colors for a quilt, use a designed object as inspiration. These objects are meticulously designed by a person who makes a living putting the principles of good design into practice. And, these objects are all around us! From home décor to the wrapper on a granola bar. Precision isn’t a requirement. Use the designed object as inspiration and feel the freedom of not having to use exact color matches. You just may find yourself using colors and combinations you’ve never thought to before!

Organizing My Quilts

New storage bins filled with 2 of my in-progress quilts.

I recently decided that my office/sewing/crafting room needs to be about 1000x more organized than what it is. I’m slowly, but surely, tackling this task.

First up was organizing my in-progress quilts. I have 3 quilts that are in different stages of completion. One is clearly in need of being finished first and I have moved it to the front burner. The other two have been pushed to the back burners—or should I say, into storage bins? My Dazzling Pineapple Patch Quilt and my Down the Rabbit Hole Quilt are neatly tucked into these bins, but they won’t be forgotten!

The bins have EVERYTHING I need for these quilts. The Down the Rabbit Hole Quilt has an extensive pattern and lots of templates. All of this is at the bottom of the bin. All of the fabric I’ve been using is in the bin. The partially finished top and partially finished, unattached borders are in the bin. Ditto for the Dazzling Pineapple Patch Quilt—everything is in the bin.

My quilting/sewing notebook.

To make it easier to quickly pick back up where I left off with these quilts, I started a quilting/sewing notebook. I’ve written each quilt or project at the top of a page and listed out what needs to be done. Sometimes I write steps out, work on the quilt, and then re-prioritize the steps. Not a big deal. These are just quick notes to jump-start progress when I’m ready.

My notes on what needs to be done next with my Dazzling Pineapple Patch Quilt.

Organizing the rest of the room is going to be a slow process, but it has inspired a couple of things. First, I now feel a new motivation to HURRY UP AND FINISH a handful of projects that are in various stages of completion. (This, of course, doesn’t apply to those 2 quilts sitting quietly in their bins—ha!) I have an afghan that needs to be repaired. I have a quilt with binding that is falling off. I have half a dozen painted secondhand picture frames that just need to be reassembled. For some good old-fashioned organization, I’m ready to start seriously tackling these projects and moving them out of the room.

Also, I have discovered that I’m at willing to put a lot of other crafts on hold indefinitely. That is, I’ve always dabbled in this and that—paper crafting, painting objects, knitting/crocheting—but, I’m ready to simplify to make more time and space for quilting. Not that I have a ton of that kind of stuff, but it’s enough. Of course, this is a chicken-egg situation: did my desire to organize spawn the willingness to reduce my craft supplies; or is my craft-downsizing motivating my organization? I don’t know, but I’m rolling with it!