Why I Love Using Muslin for Quilt Backs

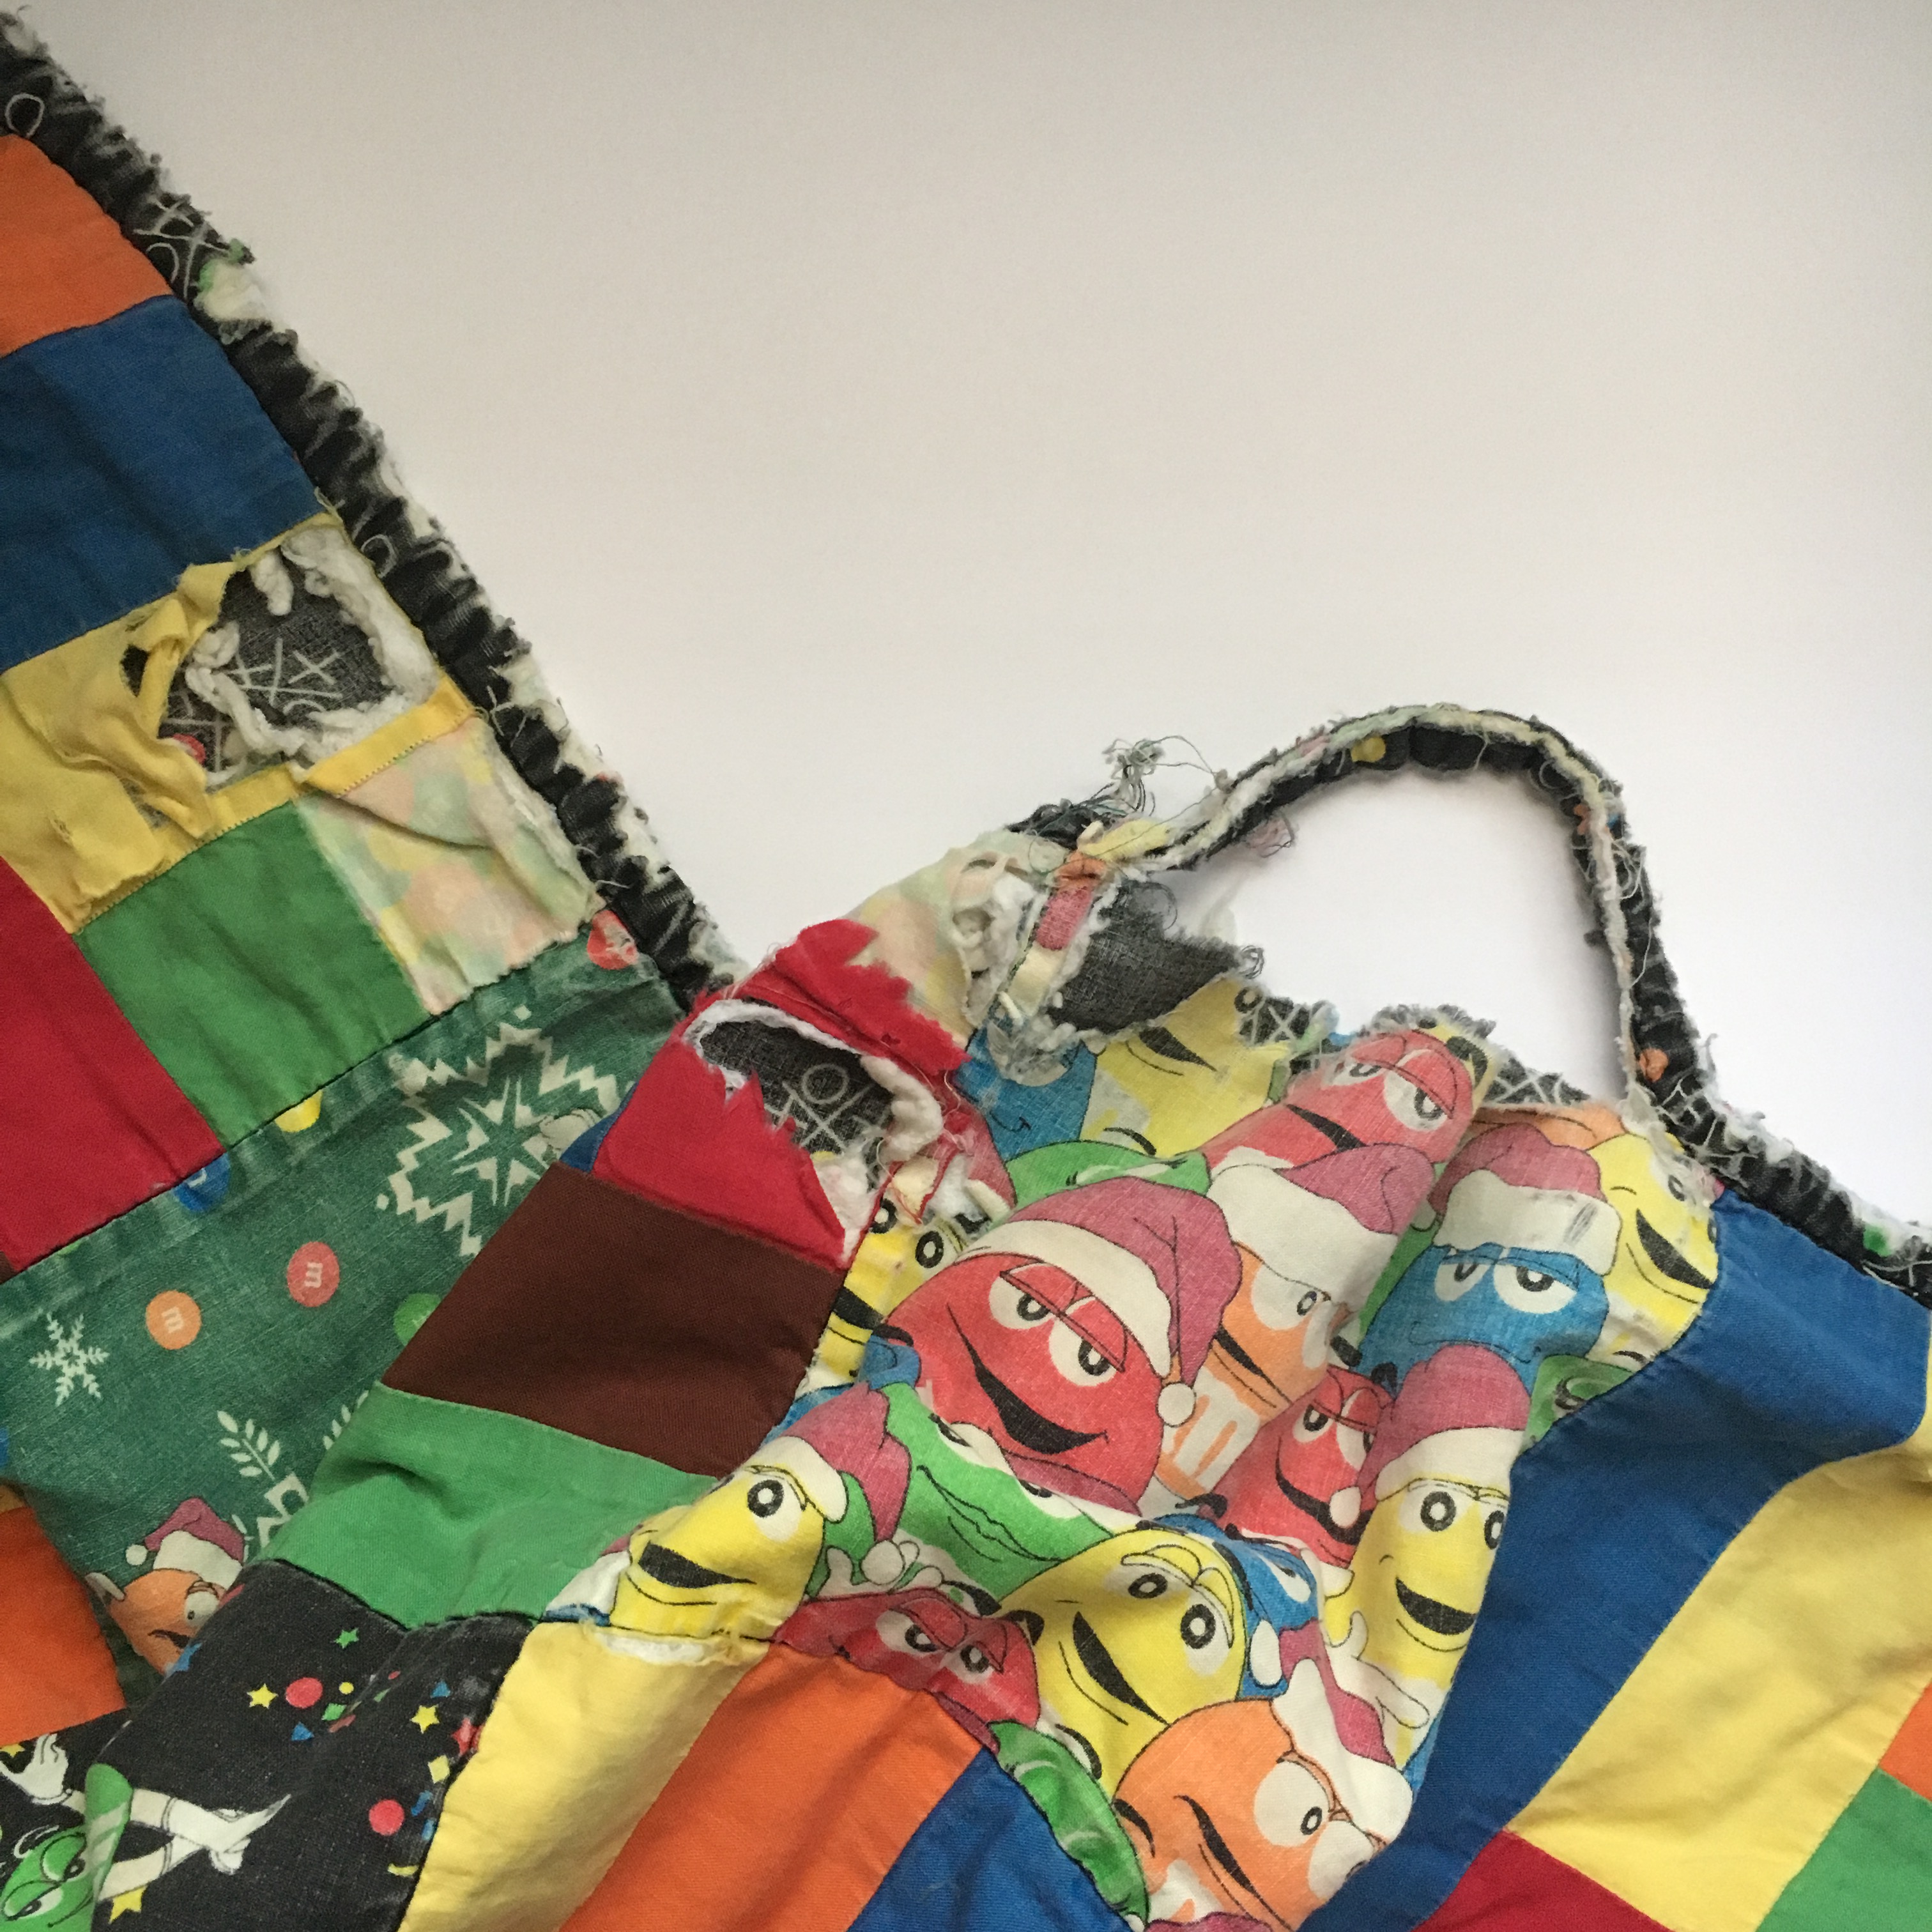
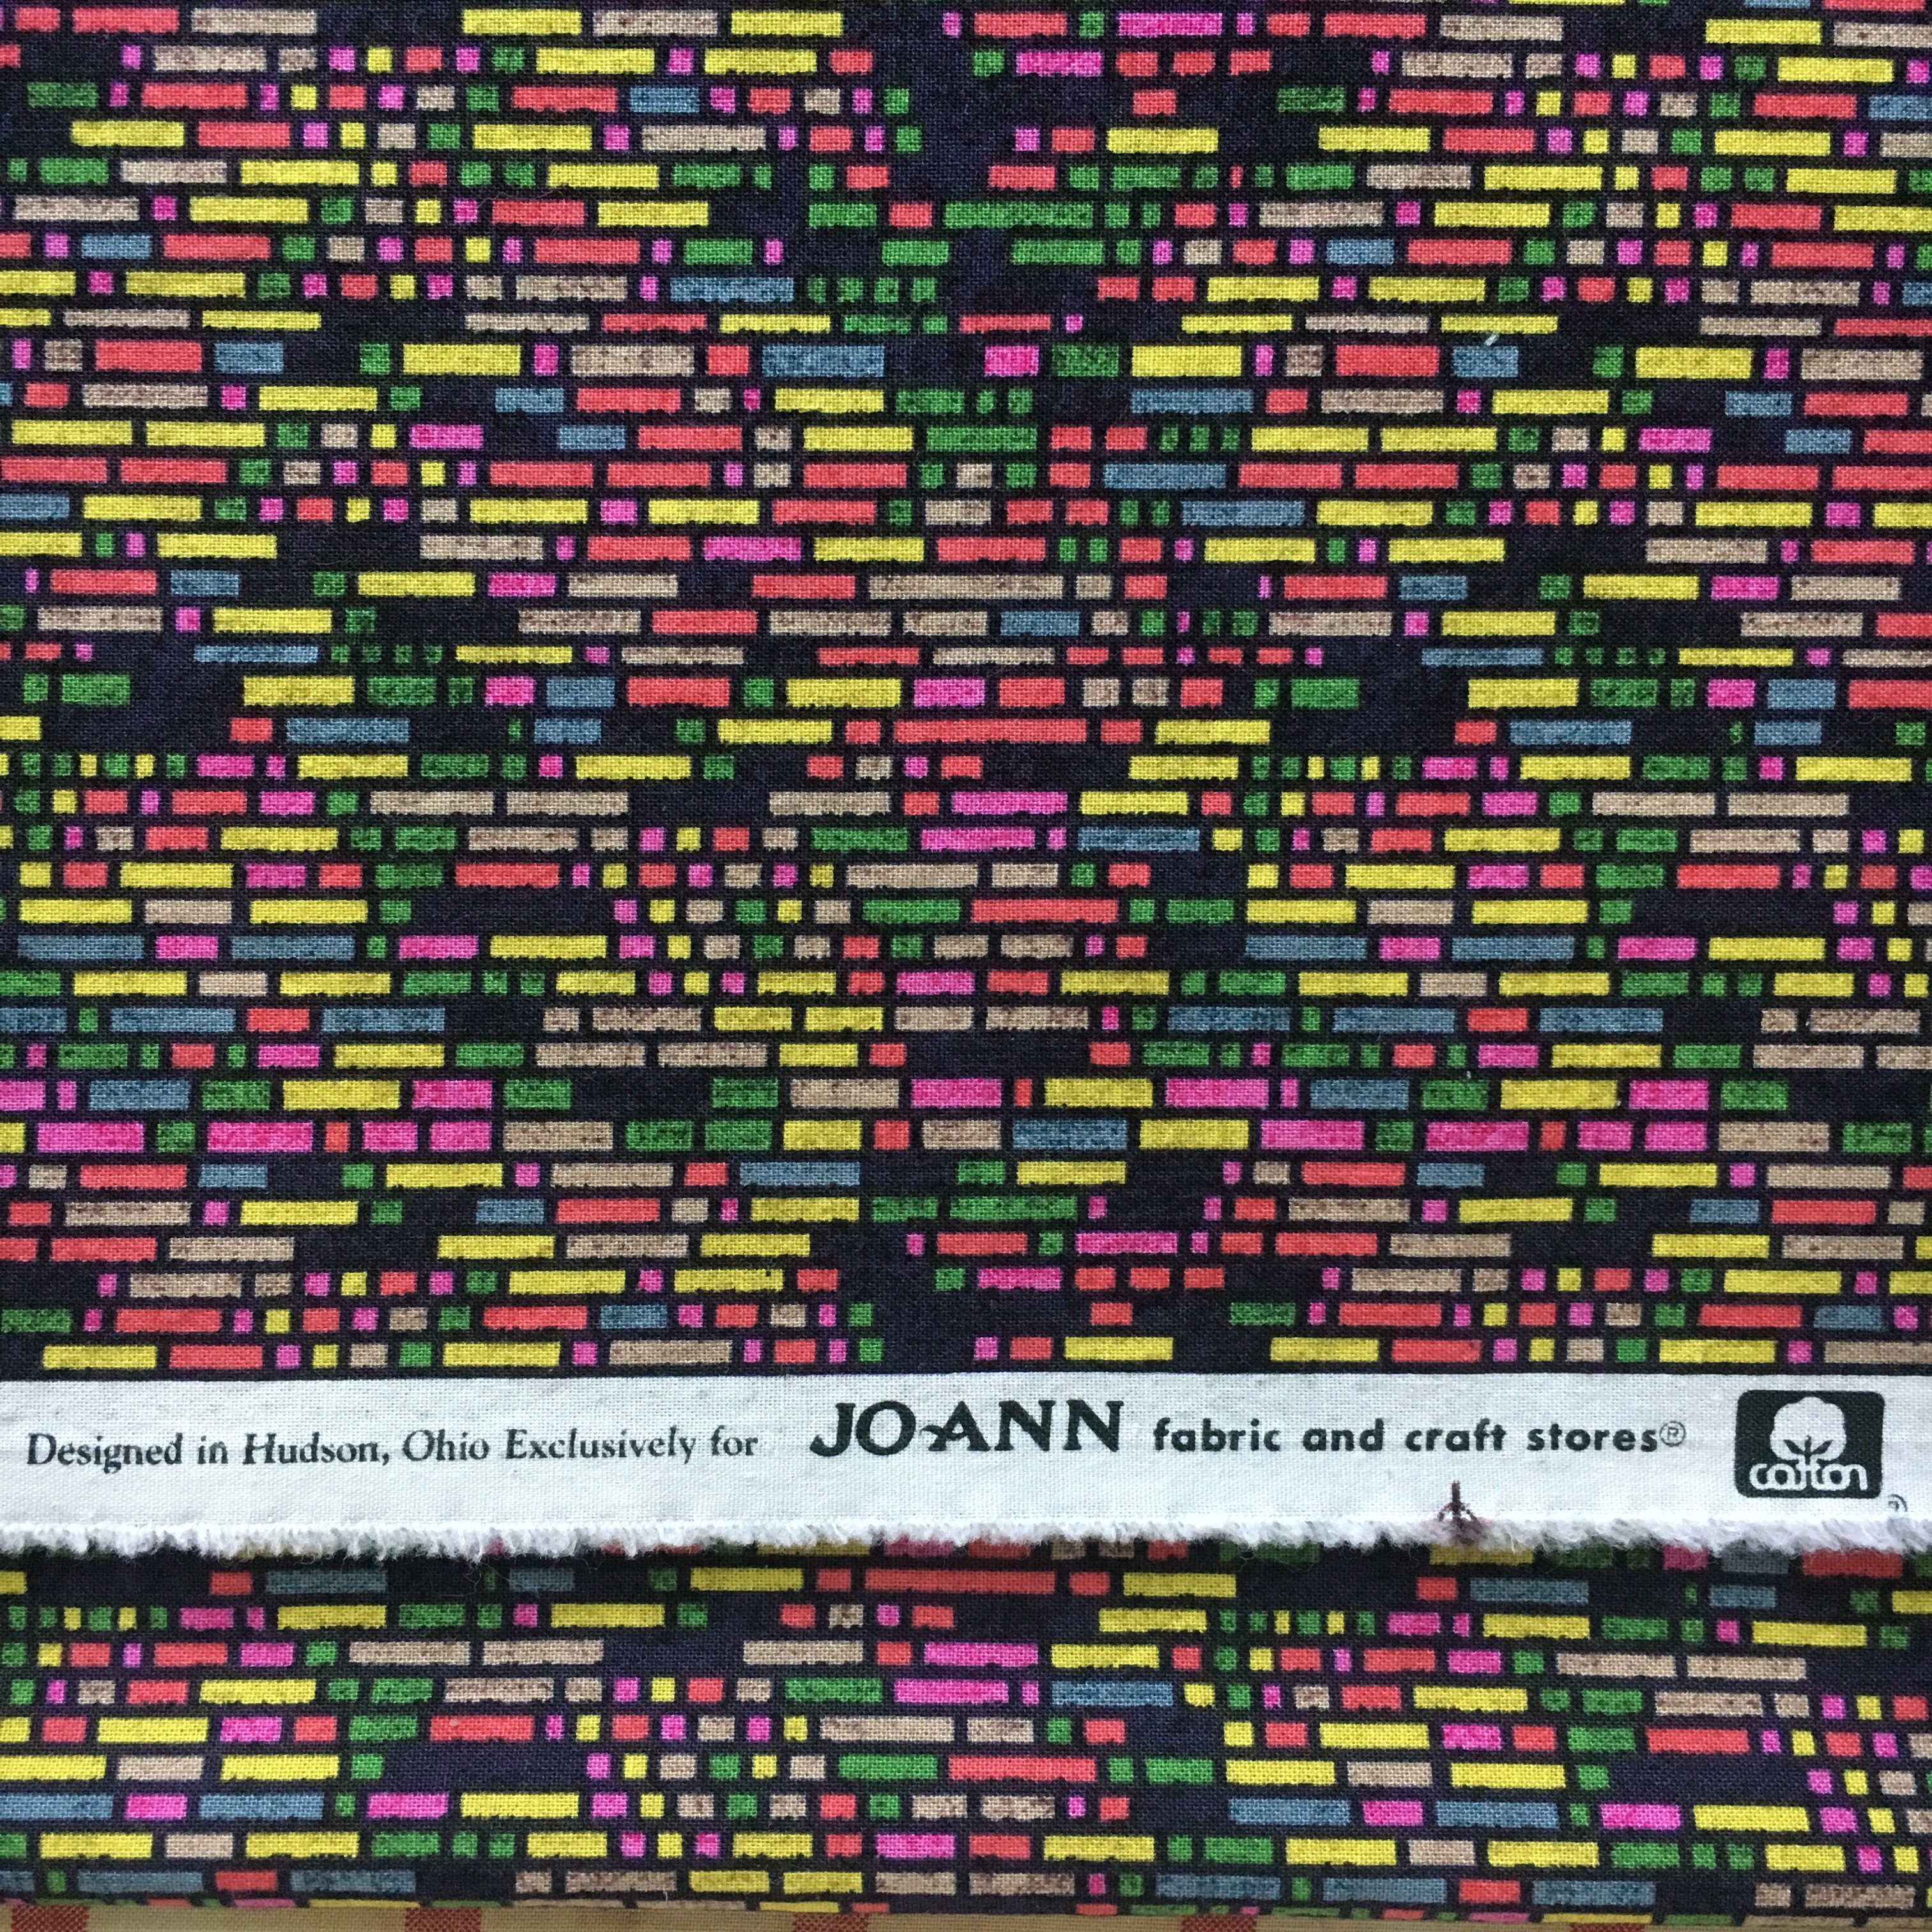
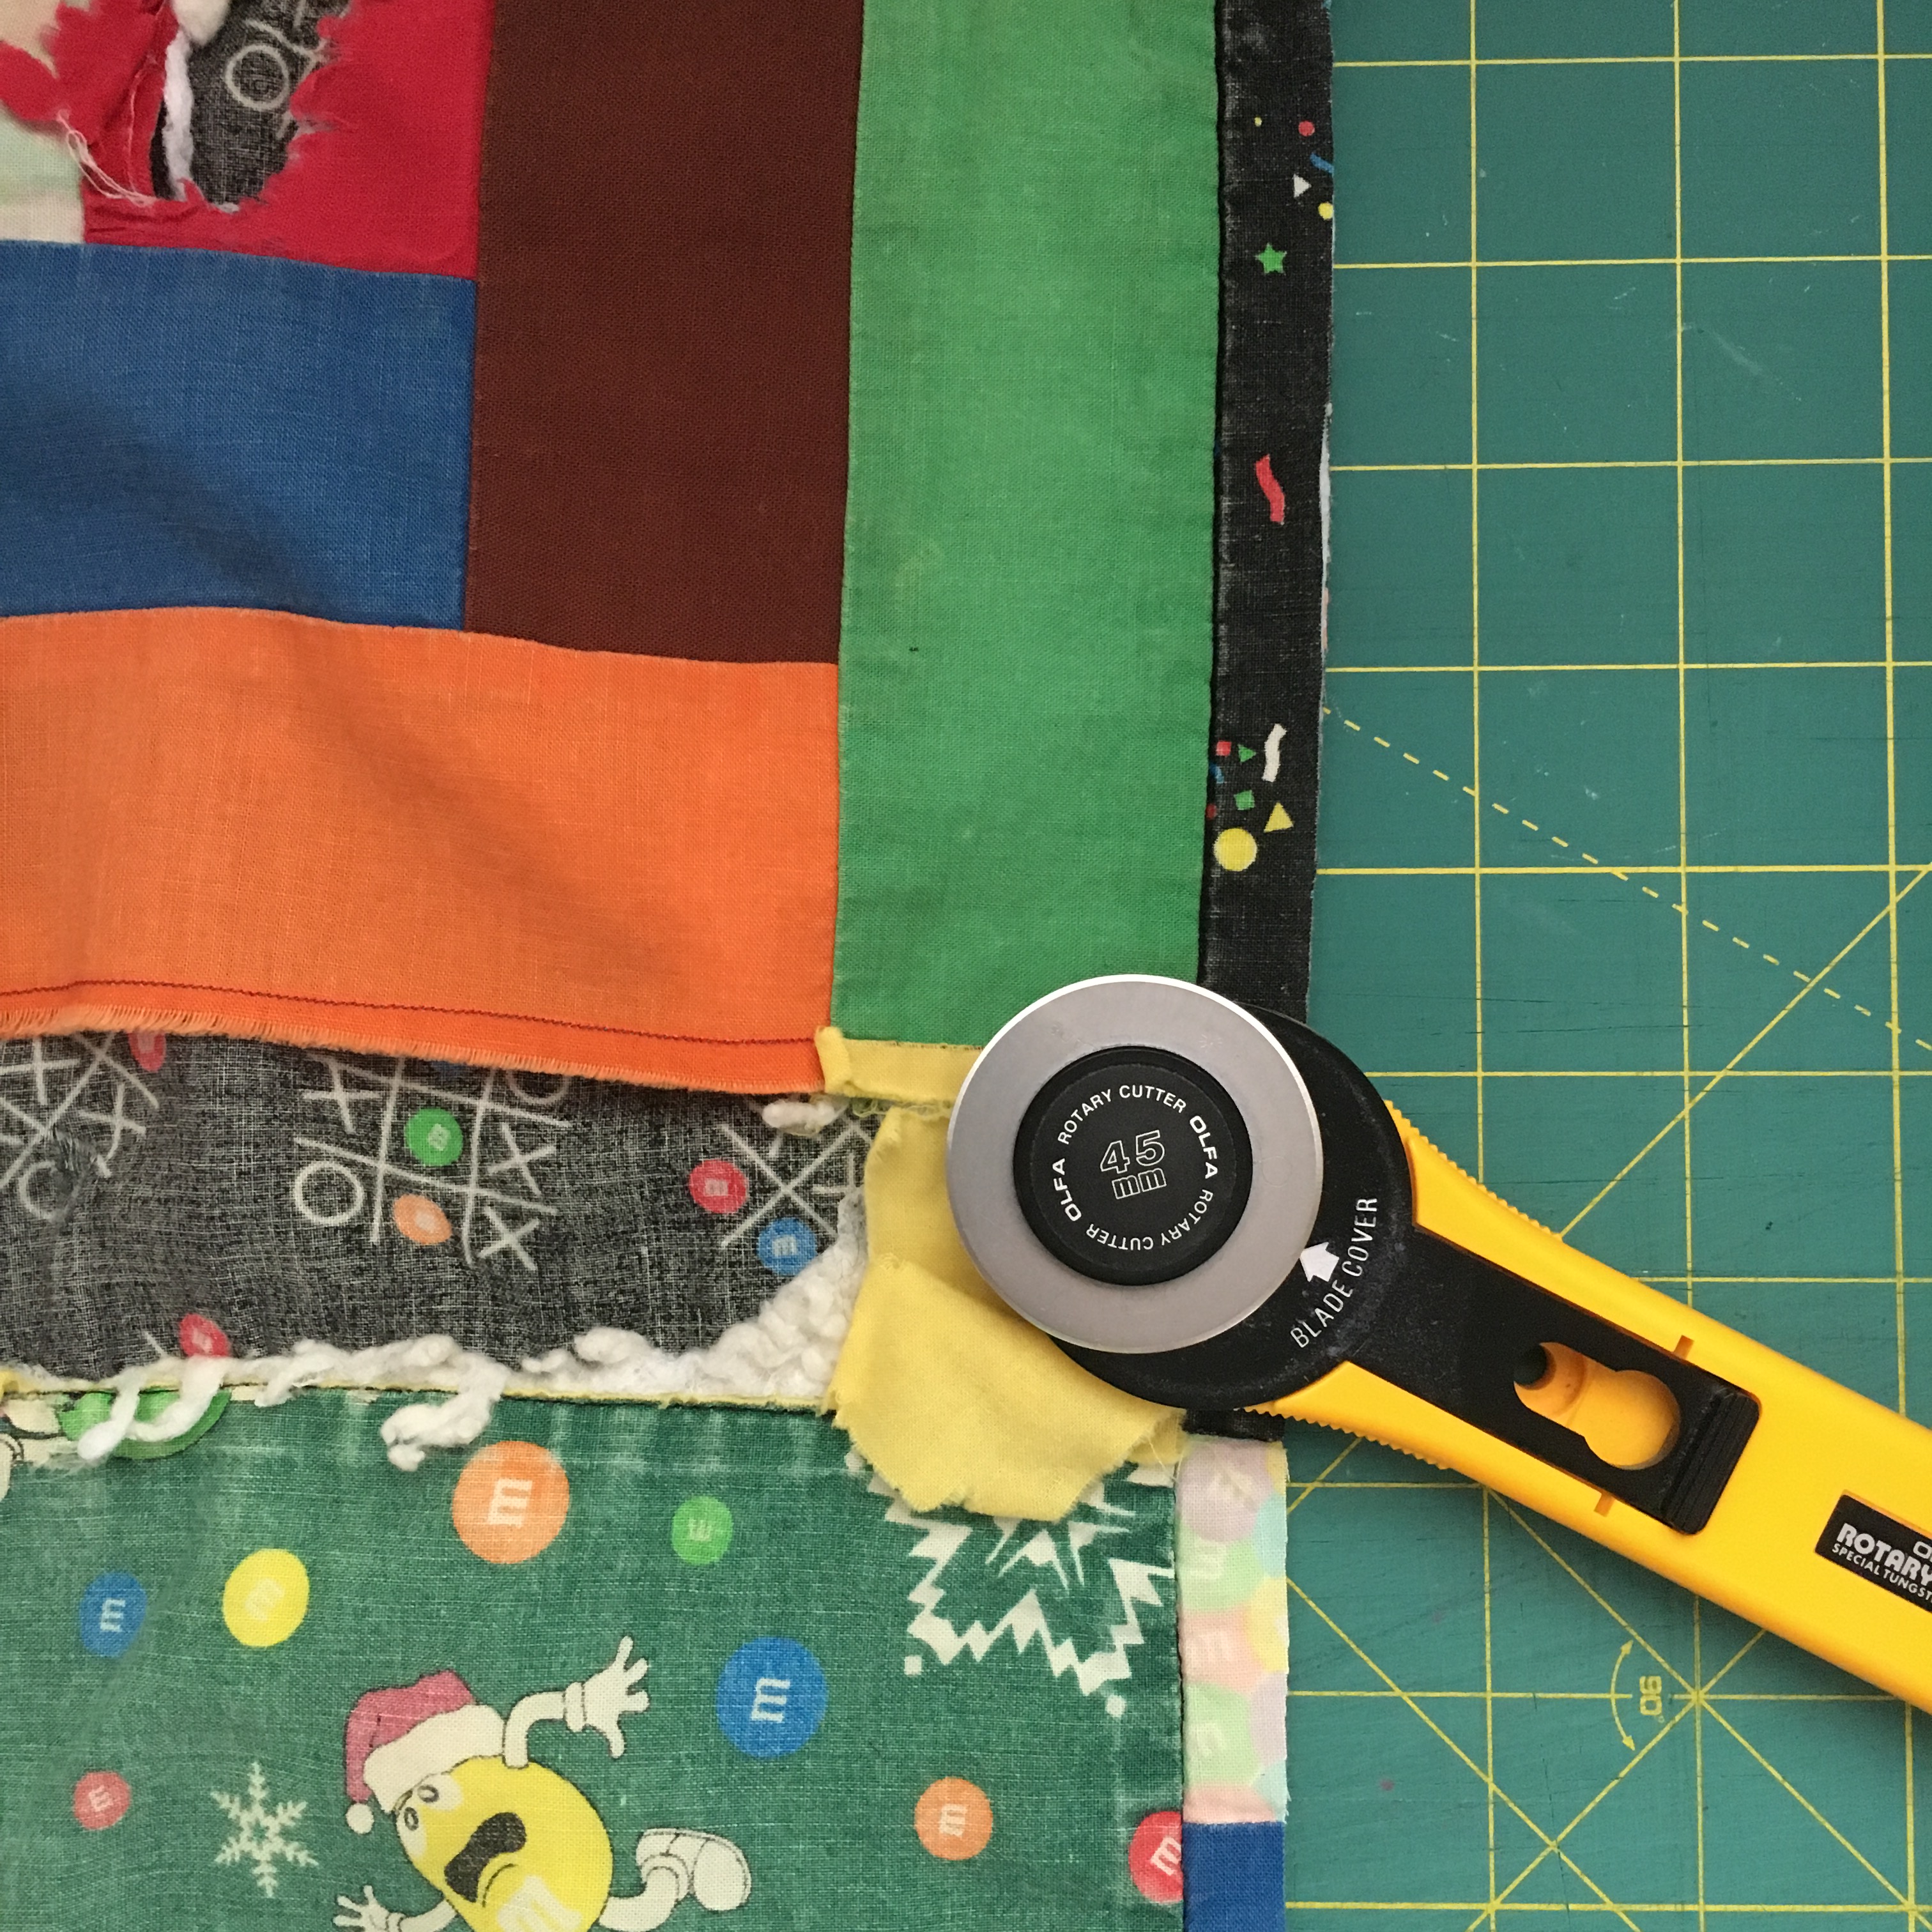
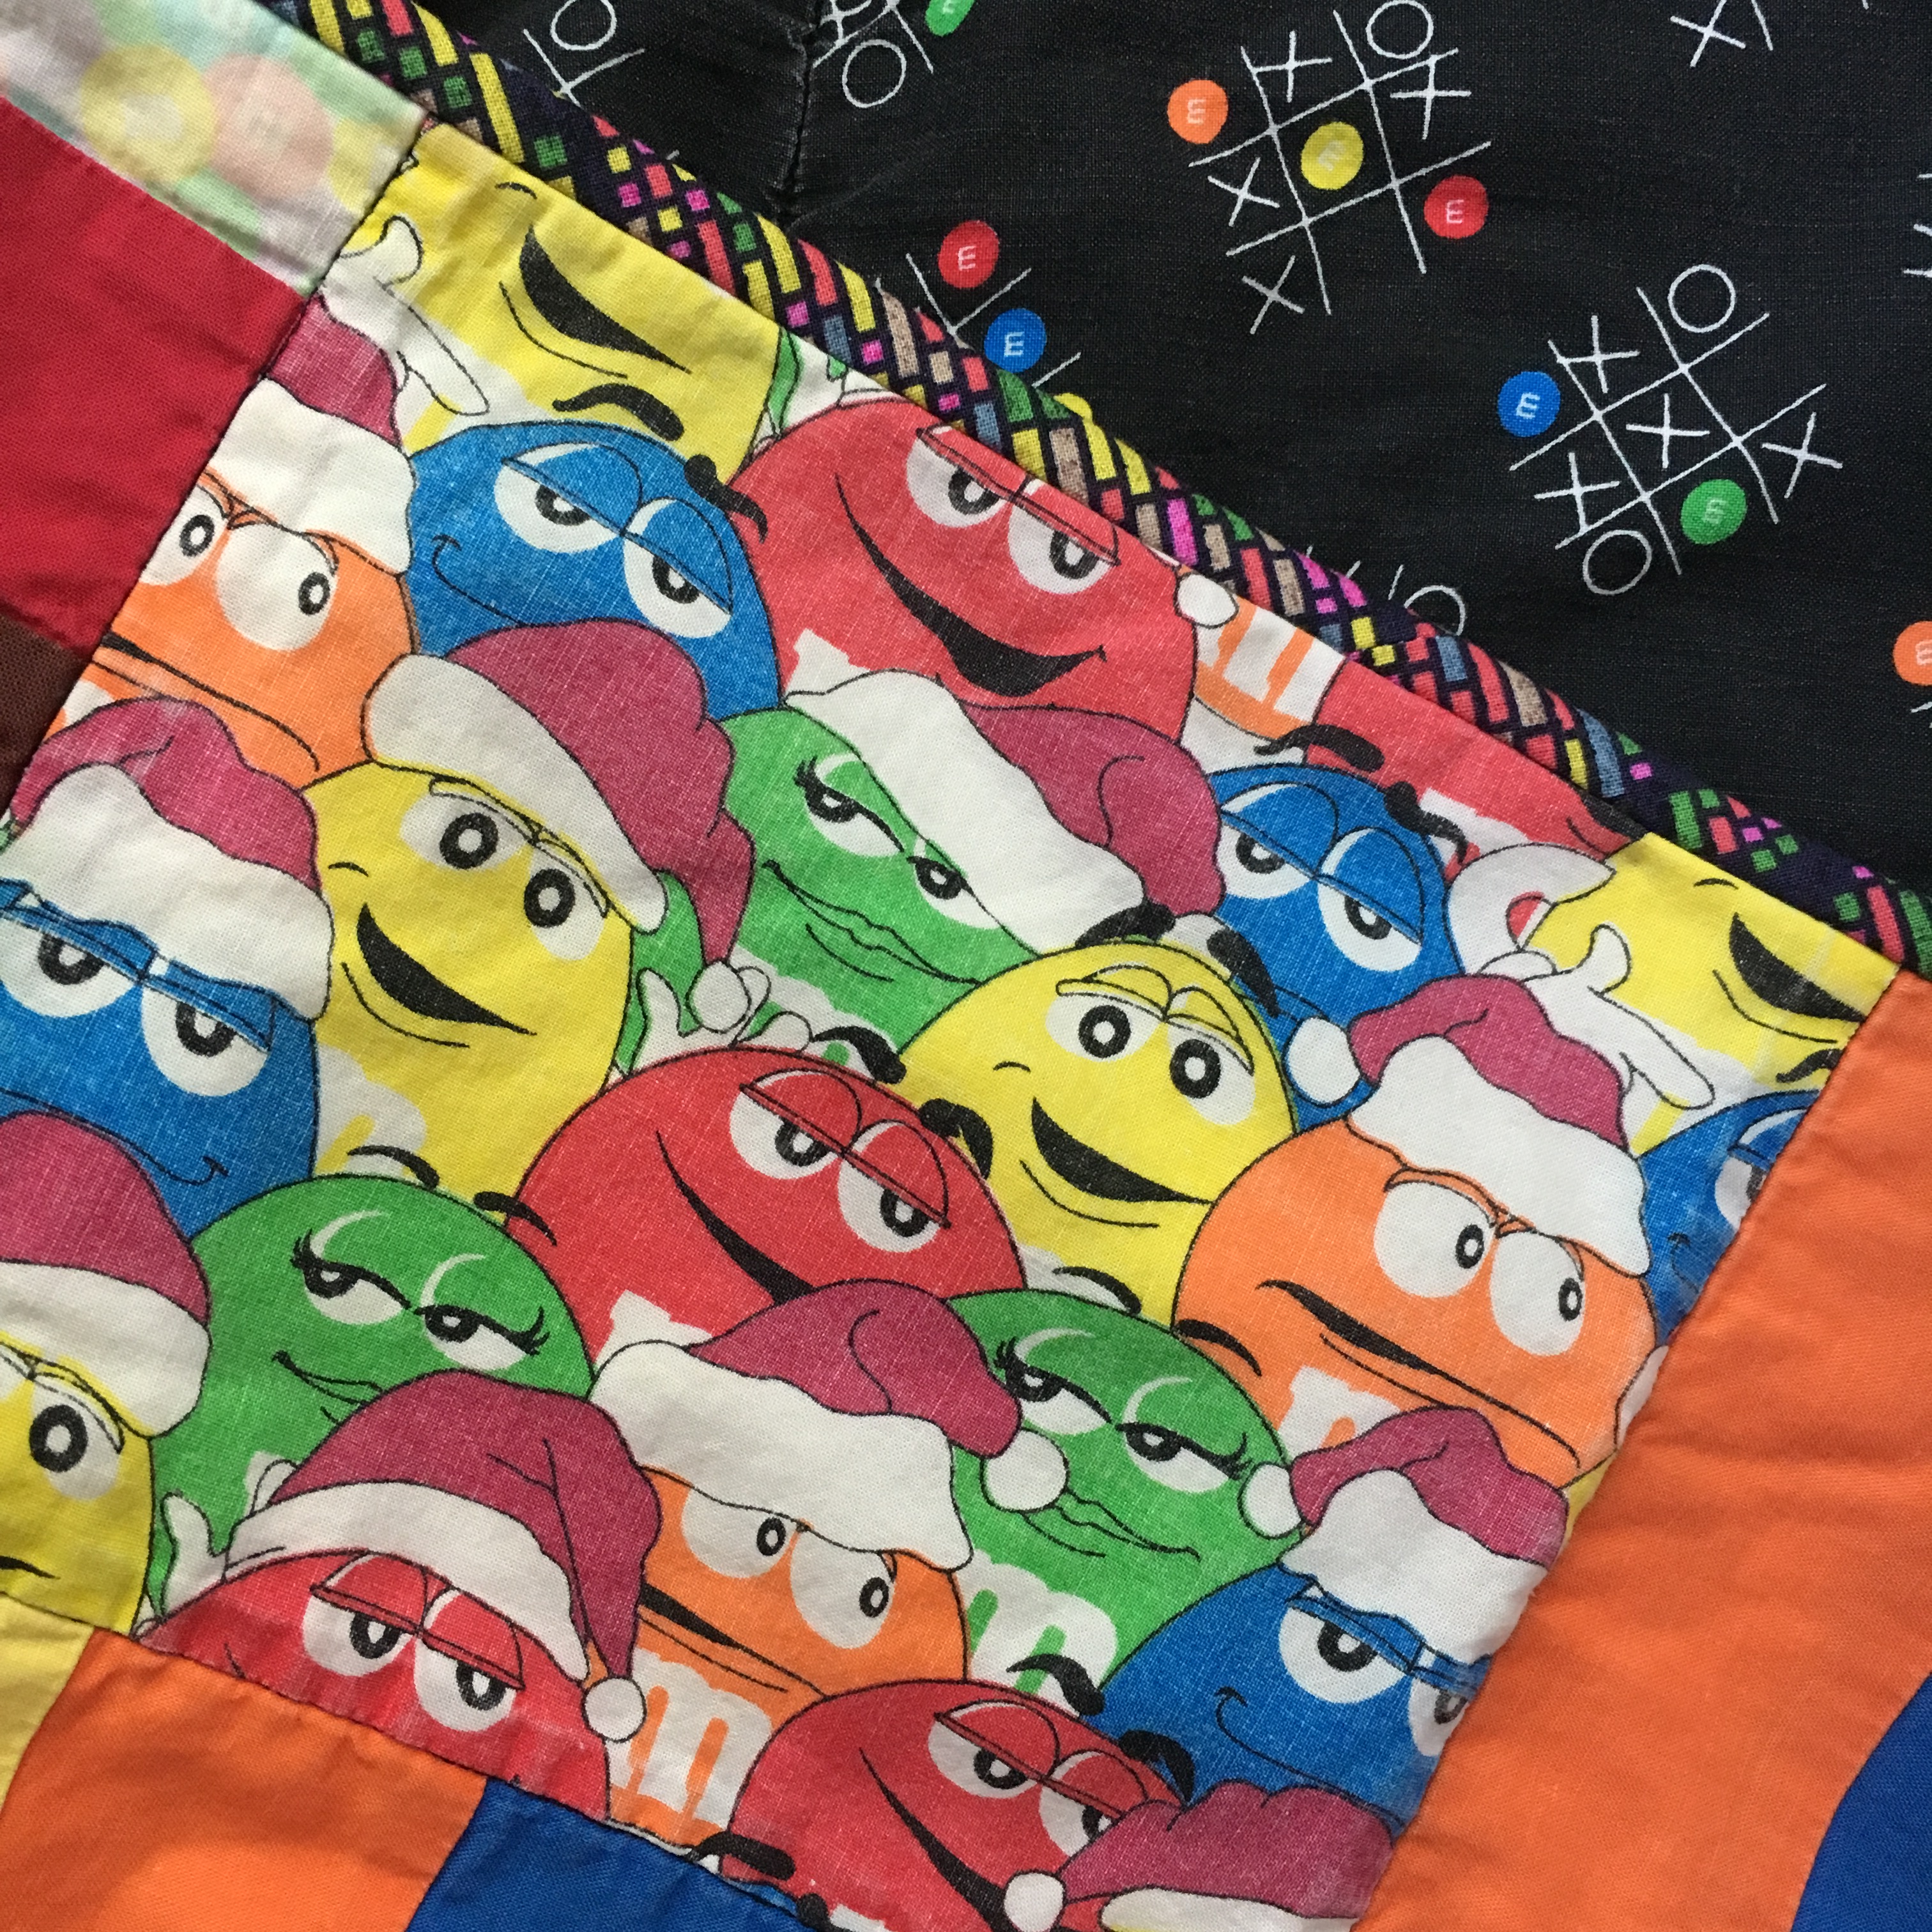
Back of My Ohio Star Quilt

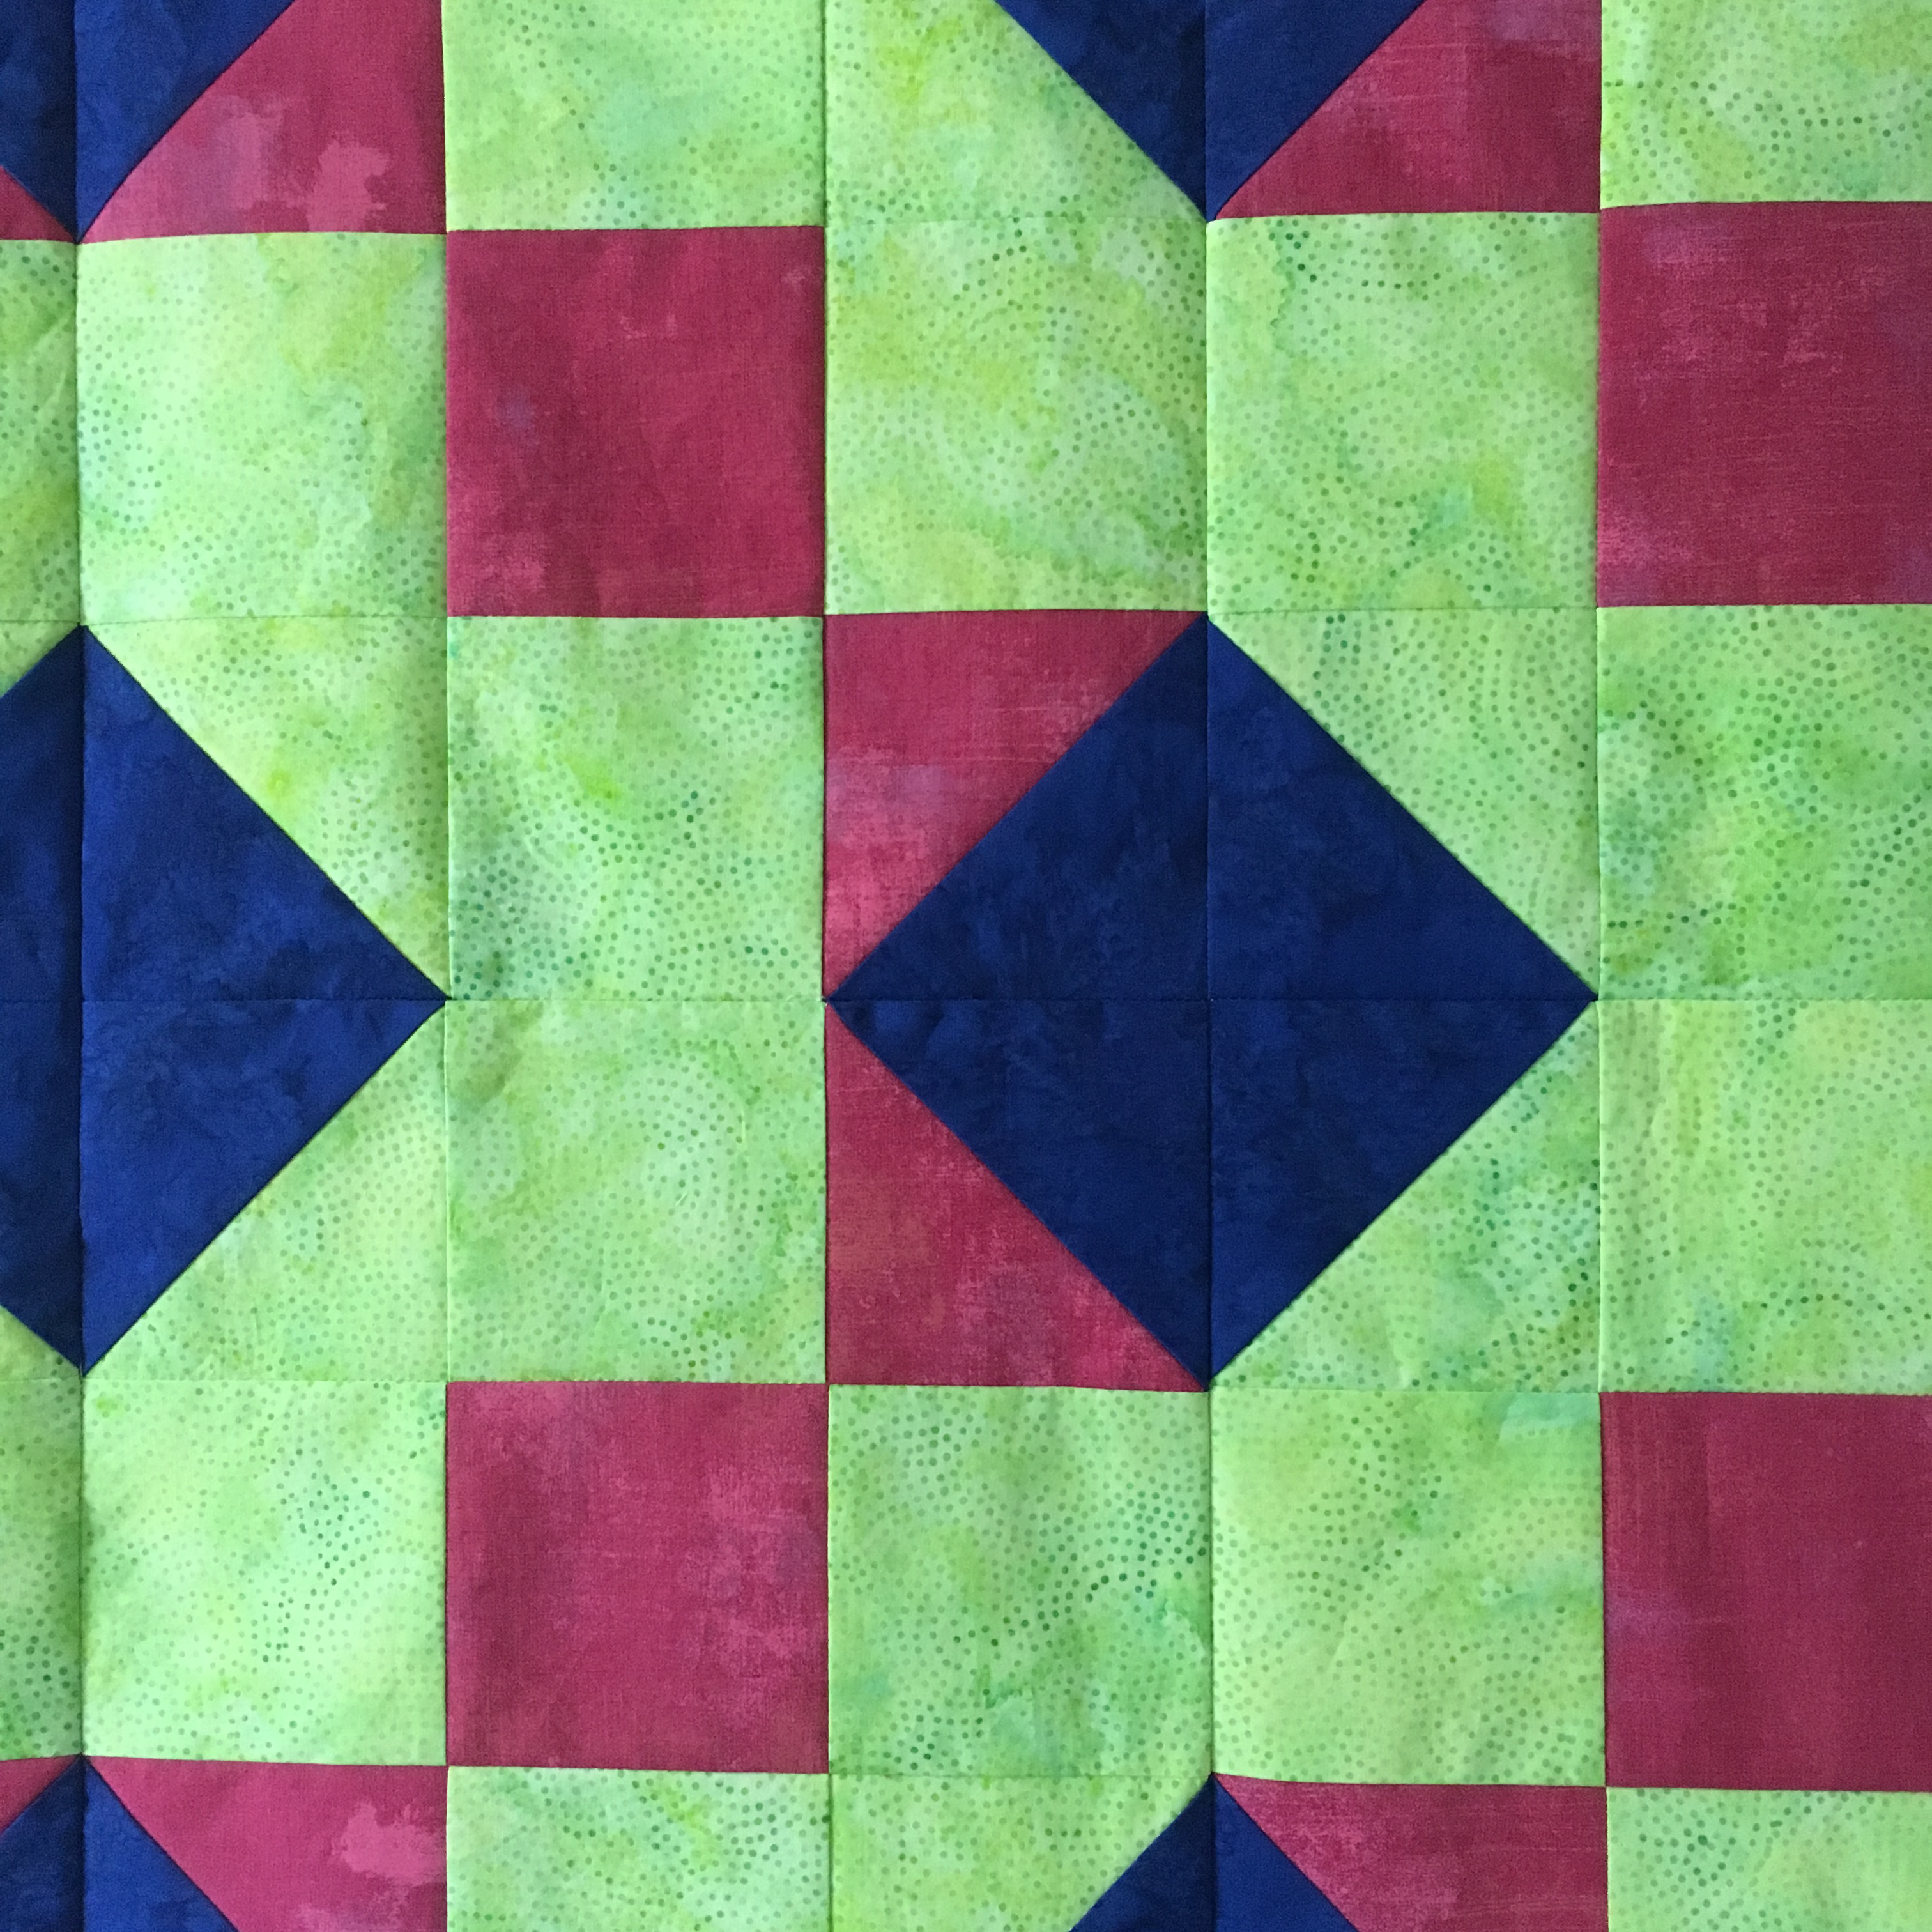
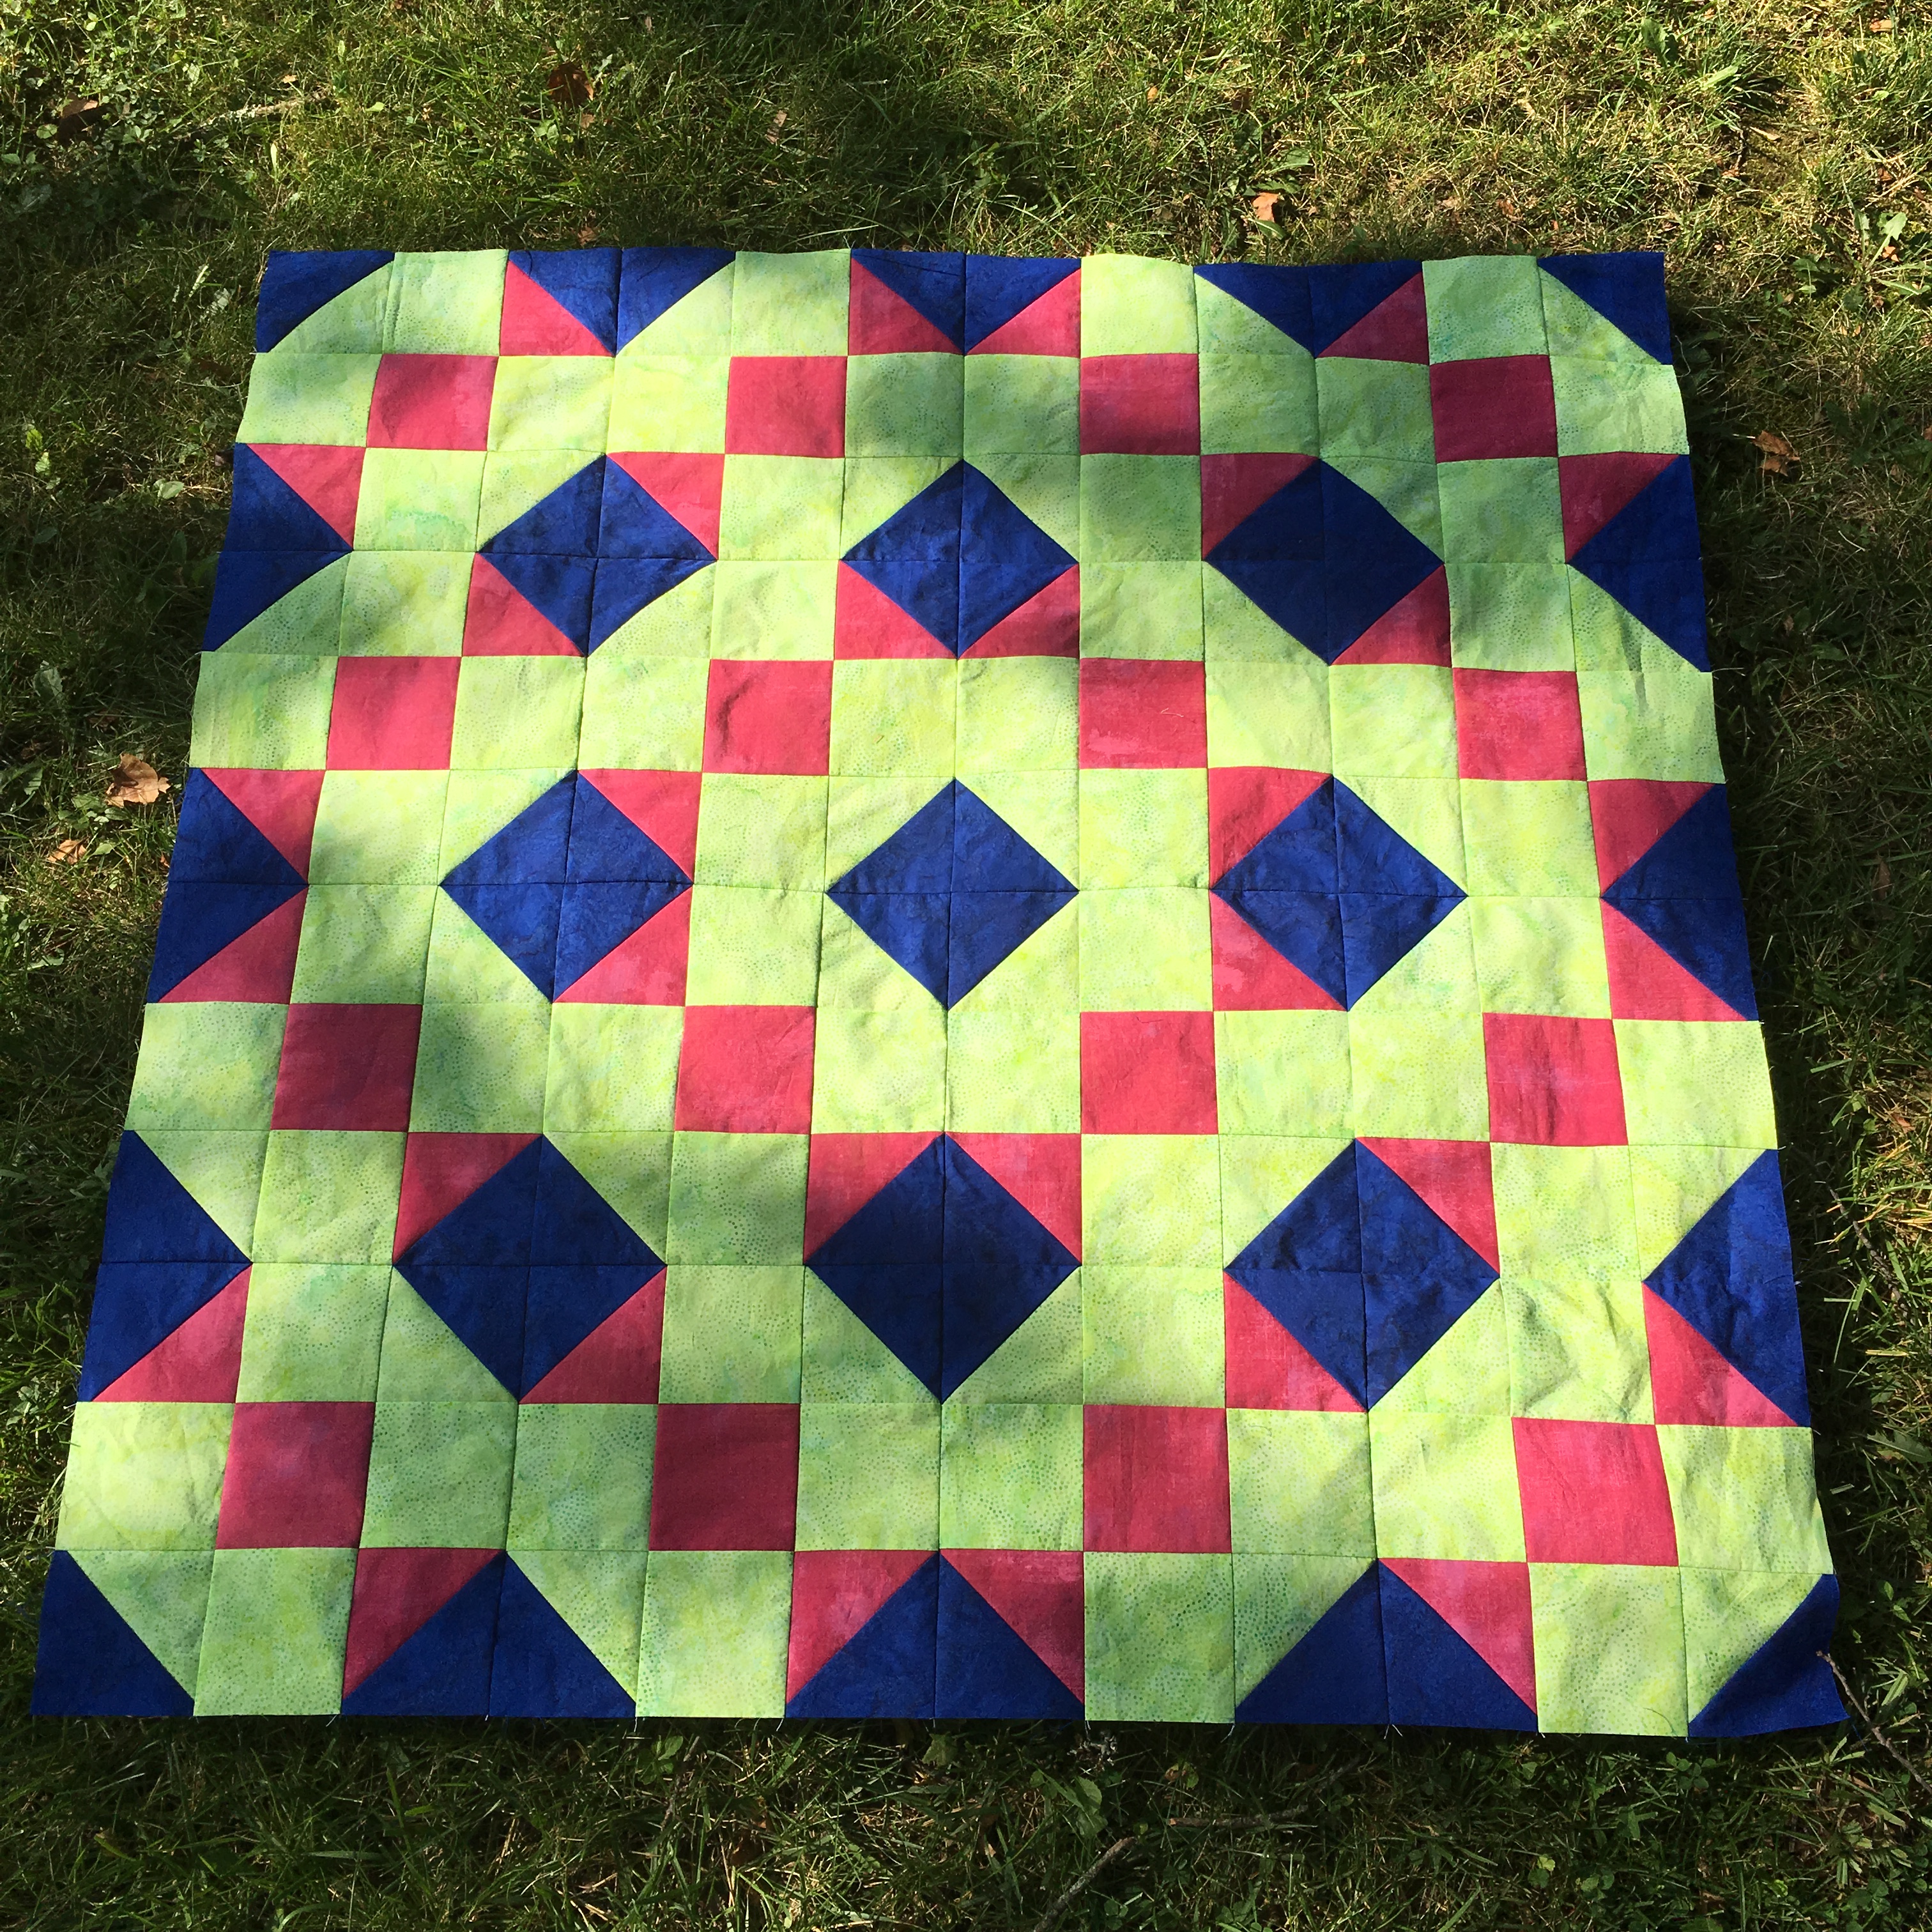
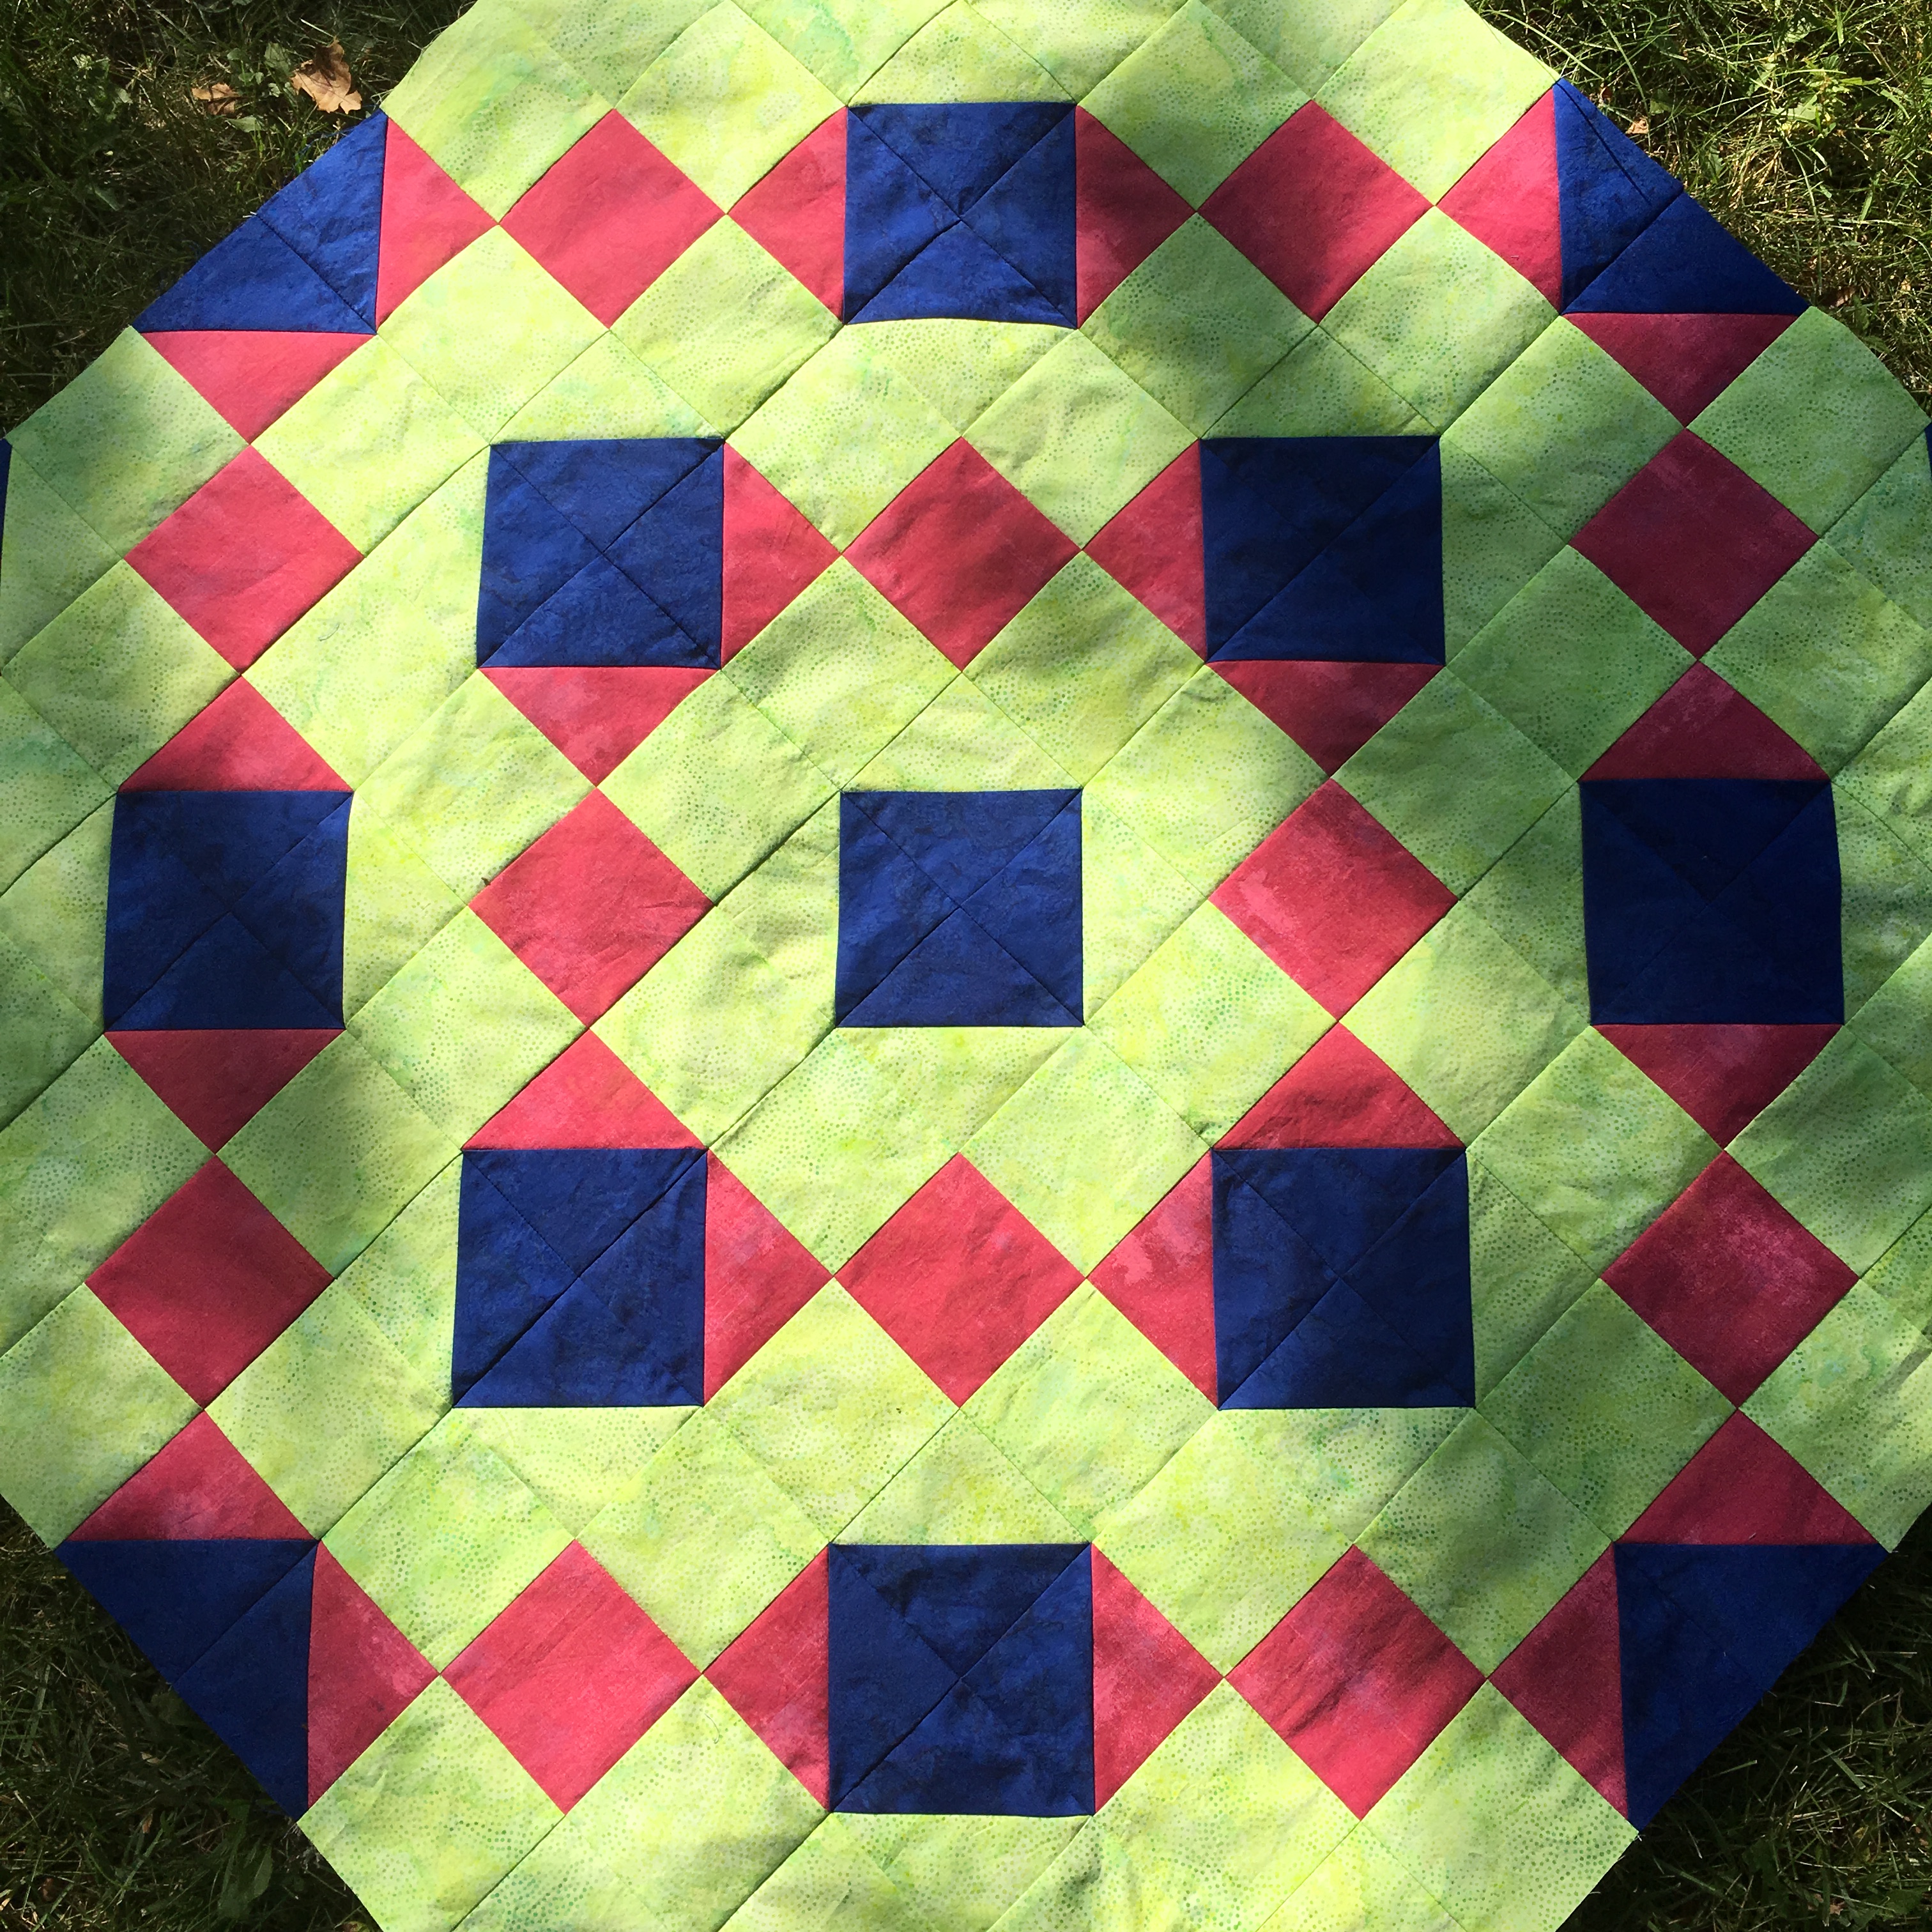
I love, love, love using muslin for the back of a quilt. I know, it’s not on-trend and I’ve even read a bit about a quilter who wasn’t interested in making quilts until she saw one WITHOUT a muslin back. But there are a few reasons why I personally love muslin quilt backing.

First, I’m not sure I’ll ever be able to separate the art of quilts from the function of quilts. I believe quilts are meant to sleep under. They go on your bed. Quilts are meant to keep you warm. You need to stay warm to survive! Okay, so we can buy comforters and mass-produced blankets and quilts at a variety of brick-and-mortar stores and online sites. I don’t need to make a quilt in order to sleep comfortably. And, yes, I have, and will probably again, make a quilted wall hanging. Maybe I’ll make a quilt I love so much that I won’t want to have it on a bed every day and have it eventually wear down. (Yes, quilts wear down and get holes in them—they’re not invincible if you use them!) But, I will always sleep under a quilt (or two), because I believe in the functionality of quilts and I want my quilts to be beautiful and comfortable. Good muslin fabric is light and soft. It feels fabulous. It’s perfect for sleeping under. There’s a reason you can find muslin swaddle blankets (FOR BABIES)—it’s a soft and comfortable fabric.

Detail of the back of my Ohio Star Quilt

Another part of my function reason is the cost of muslin. It’s relatively inexpensive compared to other quilting cottons. There’s a sense of economy when making your own quilt for use. I know, I know. Those mass-produced blankets/quilts/comforters are waaaay cheaper than making your own quilt these days. But, for me, there’s a nod to being fiscally efficient when I use muslin backing. If you’re a garment sewer, you may make test garments out of inexpensive muslin. You “make a muslin” before you cut into your really nice and expensive fabric.

Back of Dazzling Pineapple Patch Quilt

My second reason for loving muslin for quilt backs is the aesthetics. A “blank back” provides visual relief from a well designed and pieced front. If a quilt is a piece of art, the viewer’s eye gets a break when they take a look at the back—nothing to see there! Or, maybe the quilting is highlighted by the solid color of the fabric. The focus remains on the front of the quilt. All the meaning can be stitched there, without being confused or misunderstood by another side. In contrast, a patterned or pieced back can add another level of meaning and overall style to a quilt. Muslin backing, like any other fabric, patterned or pieced, is an artistic choice.

Detail of the back of Dazzling Pineapple Patch Quilt

I know better than to say “never,” but for now, I’m content on using natural muslin for my quilt backs. And, I love it.

What quilt backing can you just not get enough of?

Completed Dazzling Pineapple Patch Quilt

Completed Dazzling Pineapple Patch Quilt

My Dazzling Pineapple Patch Quilt has been through quite an evolution. At first, I was going to make a series of single-block mini quilts and tie them with sequins. I know! Sequins and quilts! All the heart eyes! (I did a study, which you can see here.) I started with 3 color combinations that looked snazzy on their own: aqua and teal; navy and pink; lime green and purple. The only thing that links these fabrics is the white print on most of them. Before I had all 12 blocks done (the pineapple block takes a long time), I decided to stitch them together into a single quilt.

These colors are so much fun in a single quilt, even though I’m not convinced they “go together.”

Once the top was done, I figured I would machine quilt it. I wanted to hand quilt it, but there are a lot of seams and that makes hand quilting pretty difficult. But, once I had it basted, I screwed the walking foot onto my machine and all I got were uneven stitches. I literally didn’t have enough time to fiddle with my machine (I had to pick up my kids), so I set it aside. In the meantime, my mind casually wandered to the apocalyptic: WHAT IF MY SEWING MACHINE IS BROKEN, NEVER TO MAKE ANOTHER STITCH AGAIN?!?! (If you’re me, this is a very rational and logical question to ask after unpicking about 2 feet of uneven quilt stitches.)

I bound the quilt with fabric from each block to maintain the jumbled sense of colors.

I did my best to think through the problem. Hand quilting was out of the question, but what about doing ties? Like those textural crisscrosses with the tie on the back? Like I did on my Welcome Blanket? Ooooh! I liked it and didn’t look back.

I left the ties long on the back of the quilt.

On a family outing, I convinced my husband to stop at a craft store where I jumped out of the car, ran inside, snagged more than enough skeins of embroidery floss, put on my blinders and walked straight to the registers, paid, and made it back out to my family in truly the 5 minutes I said it would take. (From this point on, I worked on this quilt with the same sense of urgency: I wanted to get it done, but I needed to get it done.)

As I was tying the quilt, I thought, hey, there aren’t too many seams in the sashing. Oh, the gears were turning. I could do a running stitch in the sashing! And so I did. With the same thick embroidery floss I used for the ties. I got the texture I wanted in the beginning when I lamented there were too many seams to do hand quilting.

Since popping a knot of embroidery floss into the fabric would have been hard while hand quilting, I left the knots on the outside. The knots just look like another tie.

I am so, so, so glad that my sewing machine and walking foot didn’t cooperate! The Quilting Goddess was surely looking out for me that afternoon: it was mean to be. I love how this quilt turned out!

Completed Dazzling Pineapple Patch Quilt

How to Make an Ohio Star Cardinal Quilt Block

Ohio Star quilt block made to look like the profile of of a cardinal, Ohio’s state bird.

The cardinal block of my Ohio Star Quilt is one of my favorites, so I wanted to improve the design, make it larger, and turn it into a pillow cover. The cardinal is Ohio’s state bird and I love spotting them. It makes sense to me to sew a traditional Ohio Star quilt block to look like the iconic bird.

When I first made my Ohio Star Cardinal block for my Ohio Star Quilt, I used this tutorial. It’s a really good tutorial, but because the cardinal colors don’t fit into the traditional pattern, I had to unpick a lot of pieces to make it work. This time, I wanted to make a larger block (16” vs. 12”) to fit a pillow form I had on hand, and I didn’t want to unpick anything. It’s important to me to maintain the Ohio Star piecing. That is, to have 4 blocks that are made from quarter square triangles. In my block, you’ll see that there is an opportunity to make 2 sky QSTs into one larger triangle, but this would break the traditional pattern.

Let’s get started!

Ohio Star Cardinal 16” Quilt Block

Fabric:

Sky: 3 x 5 7/8” squares & 2 x 6 5/8” squares

Black: 1 x 6 5/8” square

Orange: 1 x 6 5/8” square

Red 1: 1 x 5 7/8” square & 1 x 6 5/8” square

Red 2: 1 x 5 7/8” square & 1 x 6 5/8” square

OhioStarCardinal_01WM
Fabric needed for one 16″ block.

Seam allowances are ¼”.

1. Cut all of the 6 5/8” squares diagonally twice so that you have 4 triangles from each square.

OhioStarCardinal_02WM
Cut larger squares diagonally into 4 triangles each.

2. Arrange the triangles and 5 7/8” squares as shown to create a cardinal profile. You’ll have some spare triangles.

OhioStarCardinal_07
Layout of Ohio Star Cardinal block
OhioStarCardinal_06
Leftover triangles. Save them for a future cardinal or add them to the scrap pile.

Side note: I didn’t have enough of one of my preferred red fabrics to cut a full 6 5/8” square. I thought that orange-brown, feather-like print would work. Nope. I didn’t like it at all once I cut it out. I MacGuyvered a template by laying a triangle ruler I have (with a 90-degree angle) over one of the triangles I had cut, and placing masking tape where the bottom of the triangle was. I then moved the template over to my preferred fabric and lined the masking tape up with the edge of the fabric. I was able to fussy cut all of my Red 2 triangles. Give it a try if you need to fussy cut your fabric!

OhioStarCardinal_04
I lined up the template on the triangle, then placed the masking tape. I put the tape on the side opposite of the printing, just in case it would remove it.
OhioStarCardinal_05
I lined up the tape with the edge of the fabric and fussy cut the triangle.

3. Sew the first set of triangles together as shown below. Press the seams

OhioStarCardinal_07WM
If you align all of the sewn triangles the same way and press the seams in the same direction, they’ll nest nicely in the next step.

4. Sew the larger triangles together as shown below. Press the seams.

OhioStarCardinal_08WM
Nest the seams if possible for nice center points.

5. Sew the squares together as shown below. Press the seams.

OhioStarCardinal_09WM
This is the point when things start to really come together!

6. Sew the rows together. Press the seams.

OhioStarCardinal_10WM
So close to seeing the final block.

7. Look at you! You have an Ohio Star Cardinal!

OhioStarCardinal_11
So pretty! Pat yourself on the back!

Bonus! To make it into a quilted pillow cover with an envelope closure:

1. Baste the block using your preferred batting and backing and method. I’m a fan of pin basting. I used cotton batting here because it is what I had on hand, plus, it is thin. I used natural muslin for the backing, which I use for a lot of my quilts, but note that your backing here will not be visible once the cover is completed.

OhioStarCardinal_12
Pin-basted Ohio Star Cardinal block

2. Quilt it! I machine quilted it along the 9-patch and then on the inside of the star. Since I maintained the traditional Ohio Star piecing, outlining the star with quilting emphasizes the pattern.

OhioStarCardinal_13
I used a fabric pencil to mark 1/4″ inside the star.

3. Trim it up!

4. Cut 2 panels of fabric that measure 10 ¼” x 16 ½”. I chose to use my sky fabric for the back.

5. Hem one 16 ½” end of each of the back panels by pressing ¼” down and then over again and stitching down.

OhioStarCardinal_14
Hemmed back panels

6. Align the 16 ½” unfinished ends of the back panels with the top and bottom of the block. The correct sides of the back panels and the cardinal block should be facing each other, as if the pillow cover is inside out. The panels will overlap by a few inches, which will create the envelope closure.

OhioStarCardinal_15
Envelope closures are simple to stitch.

7. Stitch around the entire block using a ¼” seam allowance.

8. Turn that thing inside out and stuff it with a pillow form!

OhioStarCardinal_16
Finished front
OhioStarCardinal_17
Finished back. Slipping the pillow form in is easy peasy.

9. Admire your fancy, made-by-you throw pillow.

There is such satisfaction in making something with your hands.

Completed Ohio Star Quilt

My completed Ohio Star Quilt

It gives me great satisfaction to write that my Ohio Star Quilt is DONE!

I made a block for each month of 2018 to celebrate my 10th anniversary of living in Ohio.

I don’t know what else to say about this quilt! I’m so happy it’s done. I wrote a lot about this quilt over the last year. Maybe I’m also happy that I’m not going to write about it anymore? I finished the quilt this month a lot sooner than I thought I would. That final knot in the binding is so satisfying. Stitching on the label? My favorite part. I love how the fabric and the batting and the stitches seem to settle into each other after a spin in the washer and dryer.

I machine-pieced the top and hand quilted it. I stitched in the ditch around each block, stitched around the outline of each star, and added outlines of Ohio in the sashing.

The little Ohio outlines are one of my favorite details. There’s no denying that this quilt is about Ohio!

Teeny hand-stitched Ohios! I love them!

Overall, I’m very happy with this quilt. There are a lot of personal stories in this quilt. I learned a lot and practiced new skills. Here’s to more years in Ohio and many, many more quilts!

My Ohio Star Quilt

Easy Upcycled Valentine’s Day Sweater

My new Valentine’s Day sweater made from thrifted/upcycled sweaters!

It recently dawned on me that if I can have a festive Christmas sweater, why can’t I have an equally festive Valentine’s Day sweater? I love my Lands’ End red and white Fair Isle Christmas sweater and have been wearing it since I purchased it in college. (I’m fully aware that it’s corny. I love what I love and can’t help it!) Because I’ve been dabbling in making my own clothes and repurposing/upcycling clothes, I set out to create my own design with thrifted sweaters.

My quest started at the thrift store and my stash of material. First, I found a sweater at the thrift store. I specifically was looking for sweater in a neutral color, made from natural fibers. I scored a dark gray, 100% cotton sweater—perfect! Then, I hit my stash for material for a heart appliqué. For my daughter’s first birthday, I made her stuffed chicken toys from a pinkish-orange, cable-knit thrifted sweater. I knew I had scraps leftover, and dug them out.

I traced a heart onto a sheet of computer paper. (I could have gotten fancy with tissue paper, but the shape was so simple, a plain sheet of paper worked fine.) I trimmed around the heart leaving a little bit of paper around the edges. I did this because I wanted to make the cut of the heart from the sweater scrap itself.

I used paper from my printer to trace a heart shape, trimmed it, and pinned it to the sweater scrap to cut out the appliqué.

I was careful to line the pattern on the sweater scrap so that the cable knit pattern was somewhat symmetrical. After the pattern was pinned on, I carefully cut the heart out.

I used a ruler (and a lot of fussing) to place the heart on the gray sweater.

Placement is always tricky—I wanted to have the heart in a good place vertically and centered horizontally. I tried the sweater on, placed the heart where I thought it looked good, and marked the sweater so I could see where I had placed the heart after taking off the sweater. I folded the sweater in half (shoulder to shoulder) so I could find the horizontal center and placed a pin to mark it. Really, I just fussed with the heart until I was happy.

A blanket stitch is pretty simple (once I remembered how to do it) and creates a crafty style.

A little bit of washable glue stick and several pins later, I was ready to stitch! I used a blanket stitch with white embroidery floss I had on hand to secure the heart to the sweater. (Side note: it’s not until I actually have needle to fabric that I can remember how to do a blanket stitch. I have such a hard time visualizing it in my head. I think this is why I can’t parallel park. Haha!)


Detail of the completed heart.

Voilà! I now have a cheery Valentine’s sweater to wear in the weeks leading up to the big day! I love it! One of my favorite things about it is the contrast of the smooth, plain knit of the gray sweater and the textured, cable knit of the appliquéd heart.

Oh, say! This is a nice sweater. I just may wear it all winter long!

Full disclosure: I haven’t washed it yet. Eeep! So, I don’t know how it will fare. But! If the heart starts to come off, I have confidence that I can fix it or redecorate the sweater altogether.

Now, if you’ll excuse me, I have some Valentine’s Day cheer to spread!

My new Valentine’s Day sweater made from thrifted/upcycled sweaters!