Fixing My Chicken Wall Hanging

Sometimes my first attempt isn’t my best. (Surprise!) Five years after making it, I have finally fixed the droopy top of the chicken wall hanging in my kitchen.

Sagging top–you can even see the middle hook!

I started this chicken wall hanging back in 2012 and maybe finished in 2013. It’s all a little hazy. The pattern is “Ditzy Chicks” by Sharon Berna of Redbird Designs. I love the pattern because I love chicken décor in my kitchen. I enjoyed starting this wall hanging because I began when my mom was visiting and we picked out the fabric together and she even helped me do the appliqué. Buuuut, this felt way more like a craft project than a quilt, probably because I wanted chicken décor for my kitchen, not because I necessarily wanted to make a quilt. (I have since changed, of course.)

As an amateur, I stitched plastic rings to the top of the back “wherever seemed good” and then stuck a trio of Command hooks on my kitchen wall. Well, the top 2-3” have always drooped. It took me so long to complete the darn thing and a whole lot of motivation, I just ignored it, until recently, when I decided to remedy the droop—or, at least, decided to attempt to remedy.

The plastic rings before: stitched on only at the bottom.

First, I took the wall hanging off the hooks. It was dusty—hello, it hadn’t been touched in 5 years! So, I popped it into the washer. Luckily, I’m in the prewash camp, so I didn’t have to worry about colors bleeding or shrinkage. Of course, it still came out a bit wrinkly. That just adds charm, right?

Next, one by one, I snipped off each plastic ring and raised it so that the top of it was about 0.75” from the top of the wall hanging. (I did a bit of measuring, math, and testing to ensure that the wall-mounted hooks wouldn’t show after the wall hanging was up.) I stitched the rings down at three points: 90, 180, and 270 degrees. (I feel hella-fancy describing it in that manner, by the way.)

The plastic rings after: stitched down at 3 points.

After all the plastic rings were repositioned, I added one more thing: one of my brand-new quilt labels! Sure, this is NOT my best work (please don’t look at the quilting—what was I thinking?!), but I think it’s important to label your work. For me, it feels even more so, since I have kids. My 3-year-old son immediately noticed that this wall hanging was gone when it was in the wash. He asked why I took down the chickens. This piece of handmade décor is being ingrained in his childhood memories. With any luck, I’ll get to hand it down to one of my kids.

Here’s hoping this chicken wall hanging will stay up on the wall another five years when I decide to wash the dust off again!

Ta-da! The non-droopy, not sagging wall hanging. Of course, now it’s a bit wrinkly from the wash. I’m going to consider that “charm”…at least until I’m motivated to steam it. 😉

Handkerchiefs from a Repurposed Bedsheet

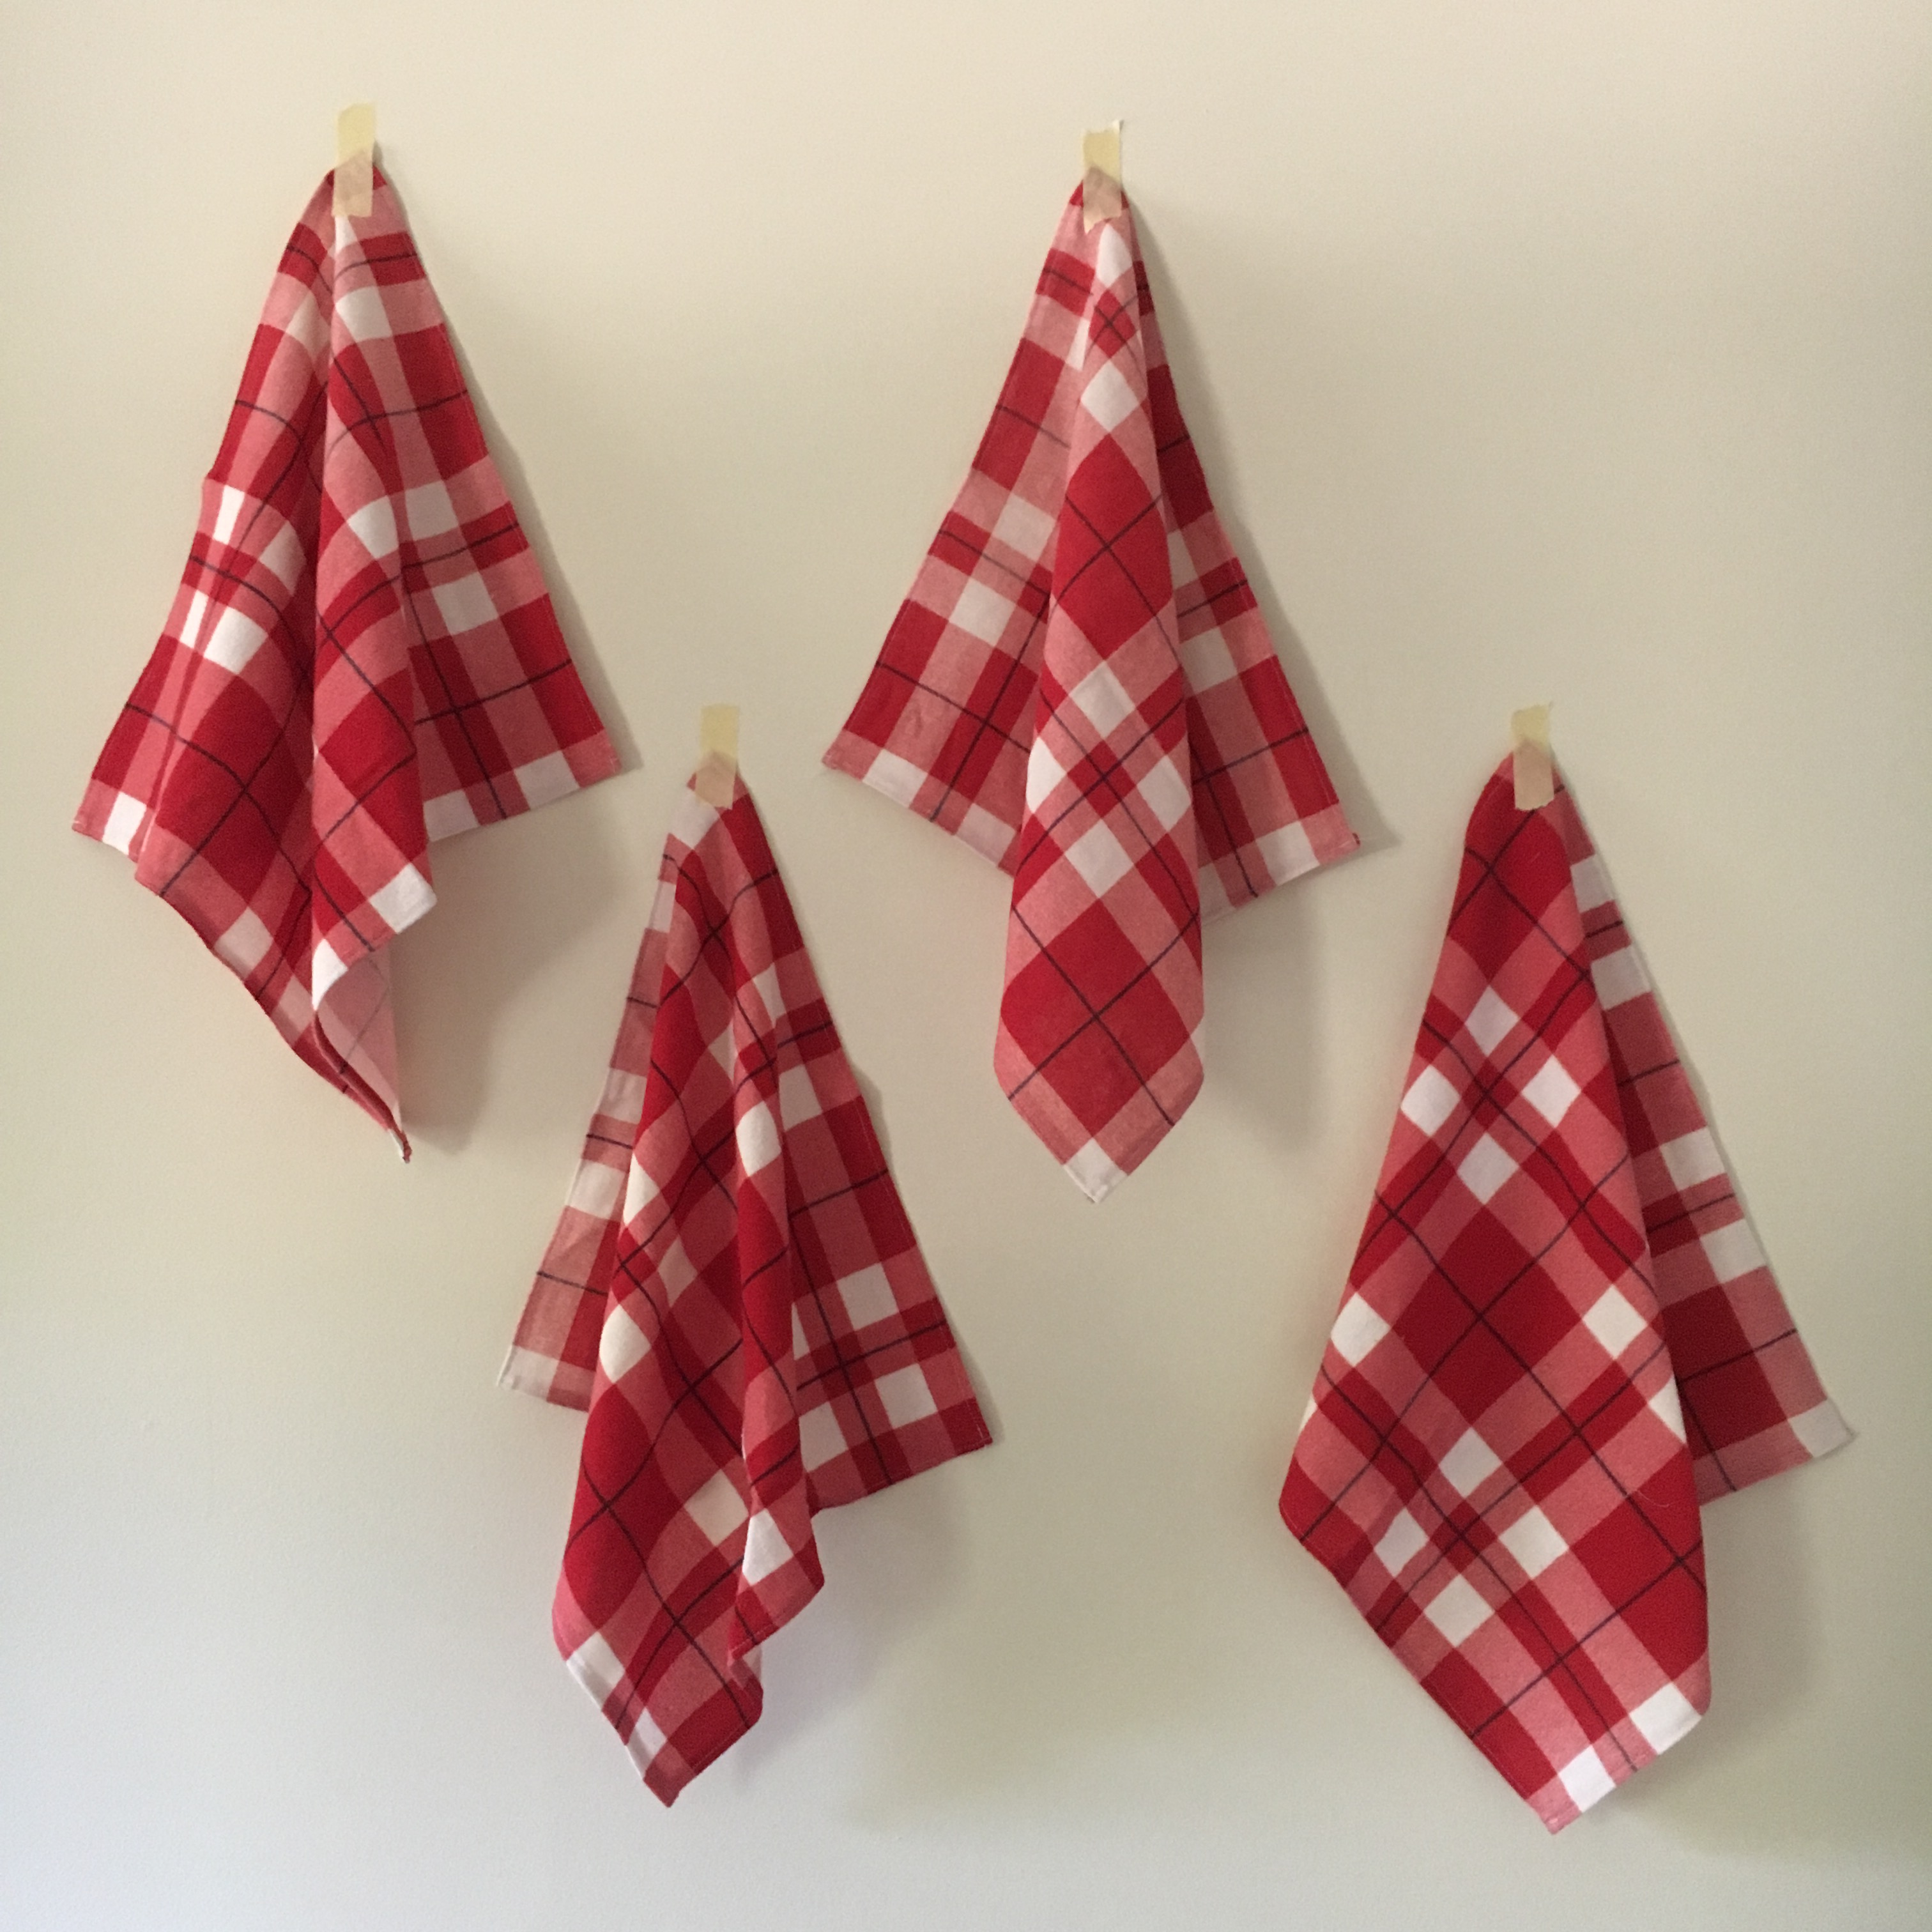
Handkerchiefs made from a torn bedsheet.

Not all sewing is glamorous and Insta-worthy. Nope. Sometimes I’m stitching things I need or making the most out of some fabric so it doesn’t end up in a landfill.

Apparently, I like to run marathons in my sleep, because I wore a hole in a flannel fitted sheet. Now, to my defense, these are fast home décor (think fast fashion, but with home décor). We’ve only had the sheets for a couple of years (and use them seasonally because they’re flannel), but still, a hole showed up.

To my credit, I made the hole larger so that I WOULD NOT MISS IT and try to put it back on the bed.

The sheet is queen-size. That’s a lot of fabric without a hole. I washed the sheet and kept it because I knew I’d think of something to use it for. Finally, I decided on handkerchiefs. I grew up using handkerchiefs, or hankies, when I had a cold. Granted, they’re gross. You blow your nose on them. And, you don’t throw them away like you would with a tissue. But, because you DON’T throw them away, you always have one handy. Also, you don’t have to remember to buy tissues or use toilet paper.

Because this sheet was to become hankies, I wasn’t too worried about how they looked in the end. I mean, they’re going to wipe up snot. I simply cut out as many squares as I could by cutting along the plaid pattern. Further evidence of this sheet being fast home décor? The plaid isn’t yarn-dyed, it’s piece-dyed (piece-printed?). Most plaids are yarn-dyed. Go to your closet and check out your favorite plaid shirt and flip it over to the reverse side. The reverse should look like the front and not plain. The reverse of this sheet is white, not plaid: piece-dyed. Because of this, cutting along the plaid pattern didn’t necessarily result in true square pieces. But, whatever—snot.

Plaid on one side; plain on the reverse.

I took the time to press a ¼” hem on two opposite sides of each hankie. Then, I stitched it down. I was going to press the remaining two sides, but it took a long time the first round. I decided to wing it and just fold the hem over as I stitched, because boogers. It worked! They didn’t turn out too shabby—for hankies.

Artsy shot of a snot rag.

The result is 20 or so hankies for my family to use. And, bonus! I came down with a cold only a week or so after I finished making these. I used them and I’m satisfied with how they turned out. One sheet saved from the landfill and a house of happy noses!

Stitched. Folded. Stacked. Ready for boogers.


Tips & Tricks for Starting Avocado Pits

My first 5 pits that I potted.

At the end of 2017, I decided I was going to try my hand at growing an avocado tree in 2018. You know, just for fun. But I also challenged my siblings and parents to grow one, too. I started 10 pits. (Because avocado pits take a long time to start, I’m eager, and I wanted to increase my odds of getting a new, fun houseplant—I’m well aware avocado trees don’t grow in Ohio!)

My avocado seed setup: 8 in water bottles; 2 in AvoSeedos. First they split, send out roots, and then grow a shoot.

Right now, 7 are in pots; 1 is sending up a shoot (and will need to be potted within a few weeks); 2 have rooted. I’m at the point of giving away some of the trees because I can’t possibly keep 7 avocado trees—I just want 1 or 2, maybe 3.

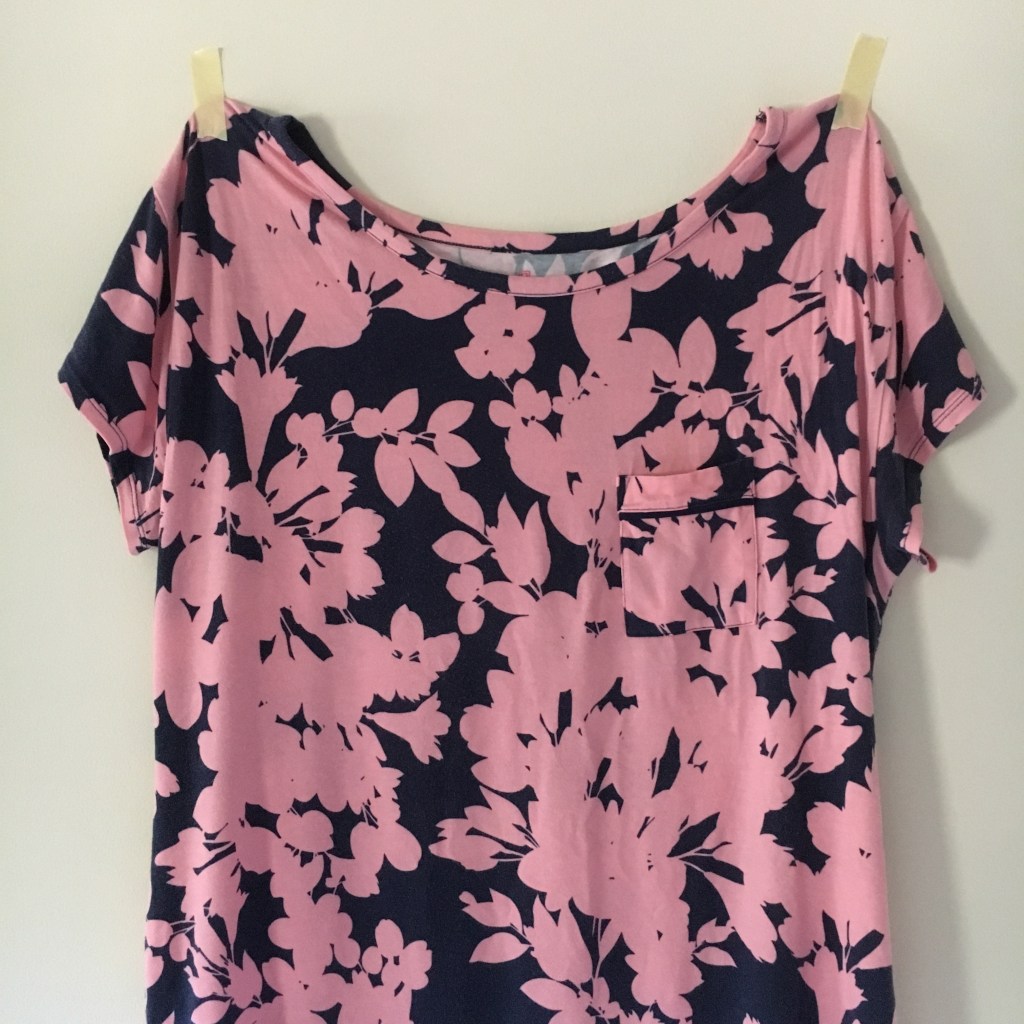
I’ve been chronicling my avocado journey on Instagram and dare I say that it has become my “thing.” As in, friends and family are starting to gift me avocado-related items. A friend gave me some snazzy socks and I received a funny “Avocado-holic” t-shirt from family.

I can’t wait for cooler weather so I can start sporting my avocado socks again!
The shirt doesn’t lie. And, it’s comfortable!

When it comes to growing plants and caring for them, I tend to not be too scientific with it. I wing it—go with my gut, for better or worse. But, because of aforementioned challenge, I actually researched this endeavor—a little bit—and then created my own piecemeal method. I’d say 7 out of 10 pits potted ain’t too shabby. Almost 80% successfully grown into trees and who knows what’s going to happen with those last 2?

So, I figured, I’d share with you how I’ve done it. My method sprouts avocado seeds without toothpicks, which is a common technique. I started with the soaking technique in this video:

But! I only soaked my pits until the peel came completely off (with my help). As soon as they were peeled, I transferred them to water bottle starters that I learned to make with this video:

I kept the bottles filled with enough water so the bottom half of the pit was always submersed.

My 2 AvoSeedos and the cup I soaked my pits in.

Here, I’m going to tell you that I tried 2 AvoSeedos. While they’re very innovative, I liked the water bottle starters better. The main benefit of the AvoSeedo is that you don’t have to worry about the water level getting too low and your pit drying out. While I DID have to check the water bottle starters daily, I found that one of the pits in my AvoSeedos didn’t send up a viable shoot until I kept the water level very high, checking it every day. It could have been because I was using a small-ish bowl to float the AvoSeedo in. I don’t know. The other one did just fine. You make the choice, as you start your own avocado journey.

Ready for dirt.

Once a pit sent up a shoot and a few leaves unfurled (it takes months), I transferred it to a pot of dirt. I have a bunch of 32 oz. yogurt tubs stashed in my basement for gardening purposes, so I was all set. I punched holes in the bottom of them to allow water to drain, put a few rocks in the bottom, added some potting soil, and tucked in the avocado tree, covering the pit about halfway with dirt.

Happy and healthy in its new home.

Okay, so from there, I dunno. Ha! A follower on Instagram told me to pinch the top of the tree off to make it bushier. I did that with the first tree I potted. It hasn’t done much since. It’s still healthy, but I’ve yet to see new growth. It makes me hesitant to pinch other trees juuuust yet.

Are you a step ahead? Have you already done this and have an avocado tree in your home—or garden? Tell me your secrets!

Welcome Blanket Quilt

Welcome Blanket Quilt

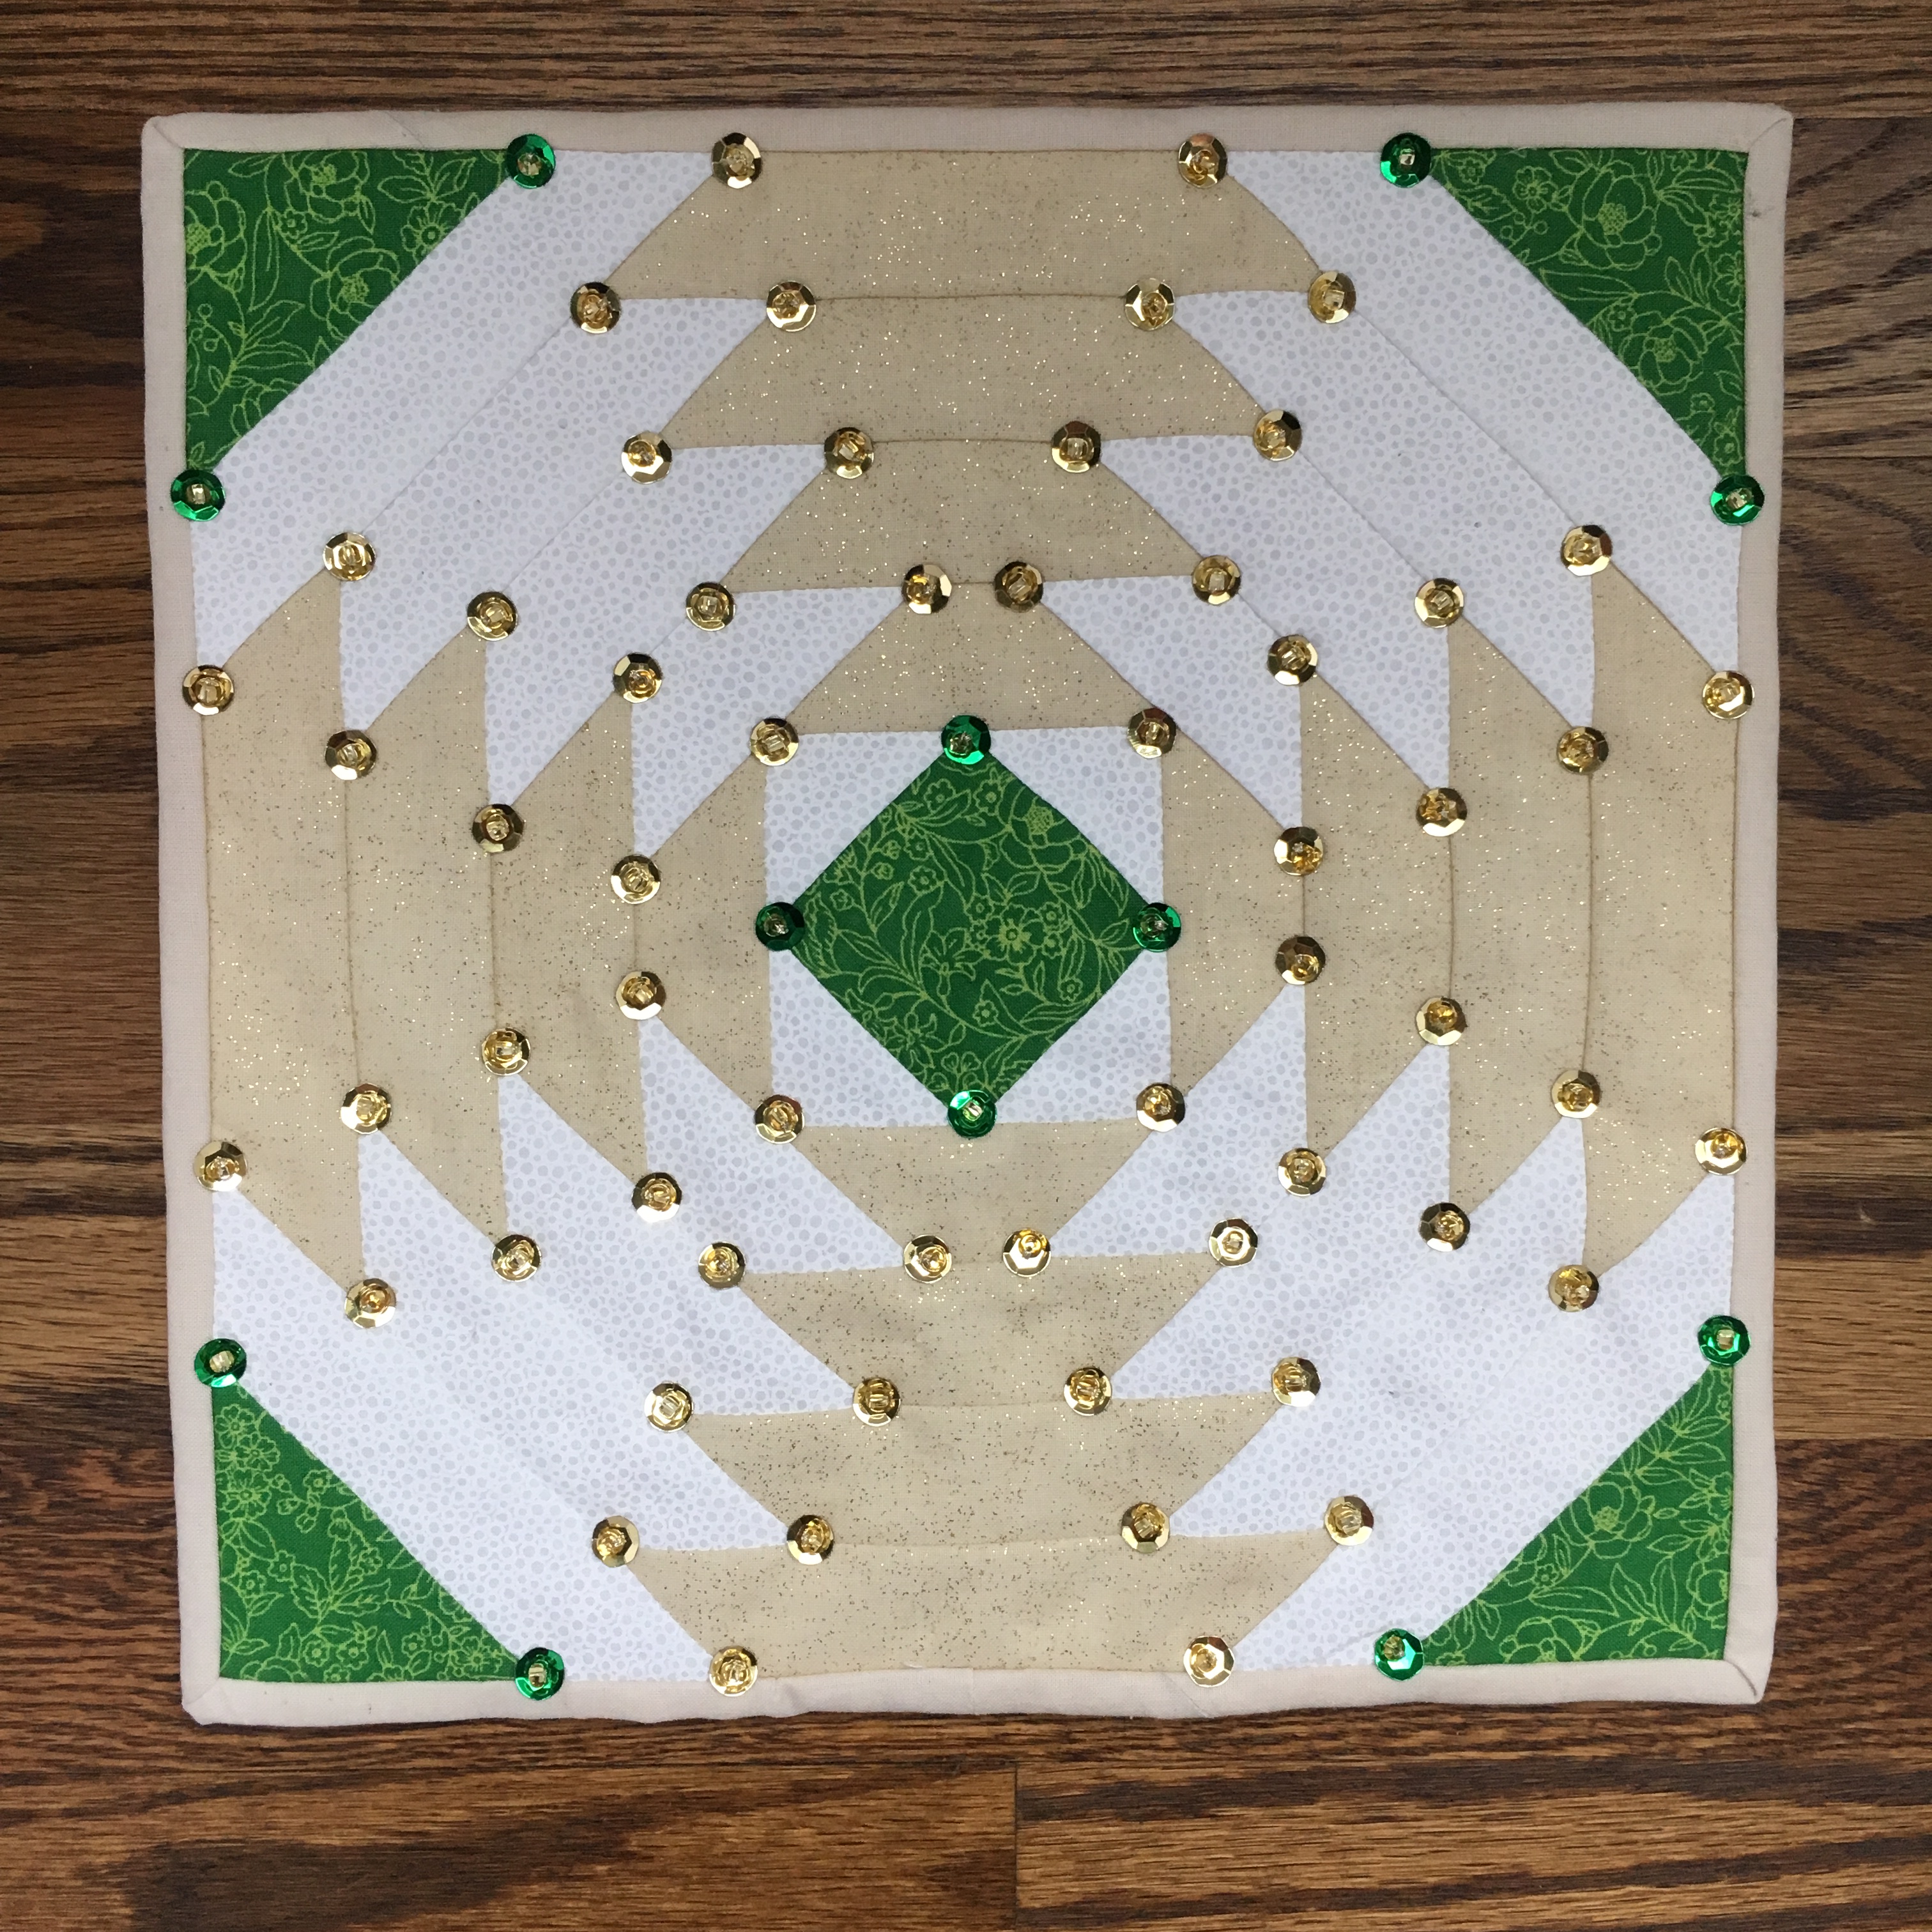
After seeing pictures of children sleeping under foil blankets at the border, I knew I had to participate in the Welcome Blanket project. This quilt, and others made by different crafters, will eventually be distributed to refugees and other immigrants through resettlement organizations after being displayed as part of MODA’s exhibit, “Making Change: The Art and Craft of Activism.”

I know it’s not going to the children sleeping under foil blankets, but the sentiment is the same. I started to quilt because I wanted to ensure that my family members always have quilts to sleep under. As the daughter of a quilter, I have slept under nothing but handmade quilts. I think I get better sleep, plus, knowing that someone loves you enough to put that much work into a quilt for you is one of the best feelings. Refugees and immigrants deserve to feel this, as do all human beings.

TLC Quilt Label

Crisscross Tie

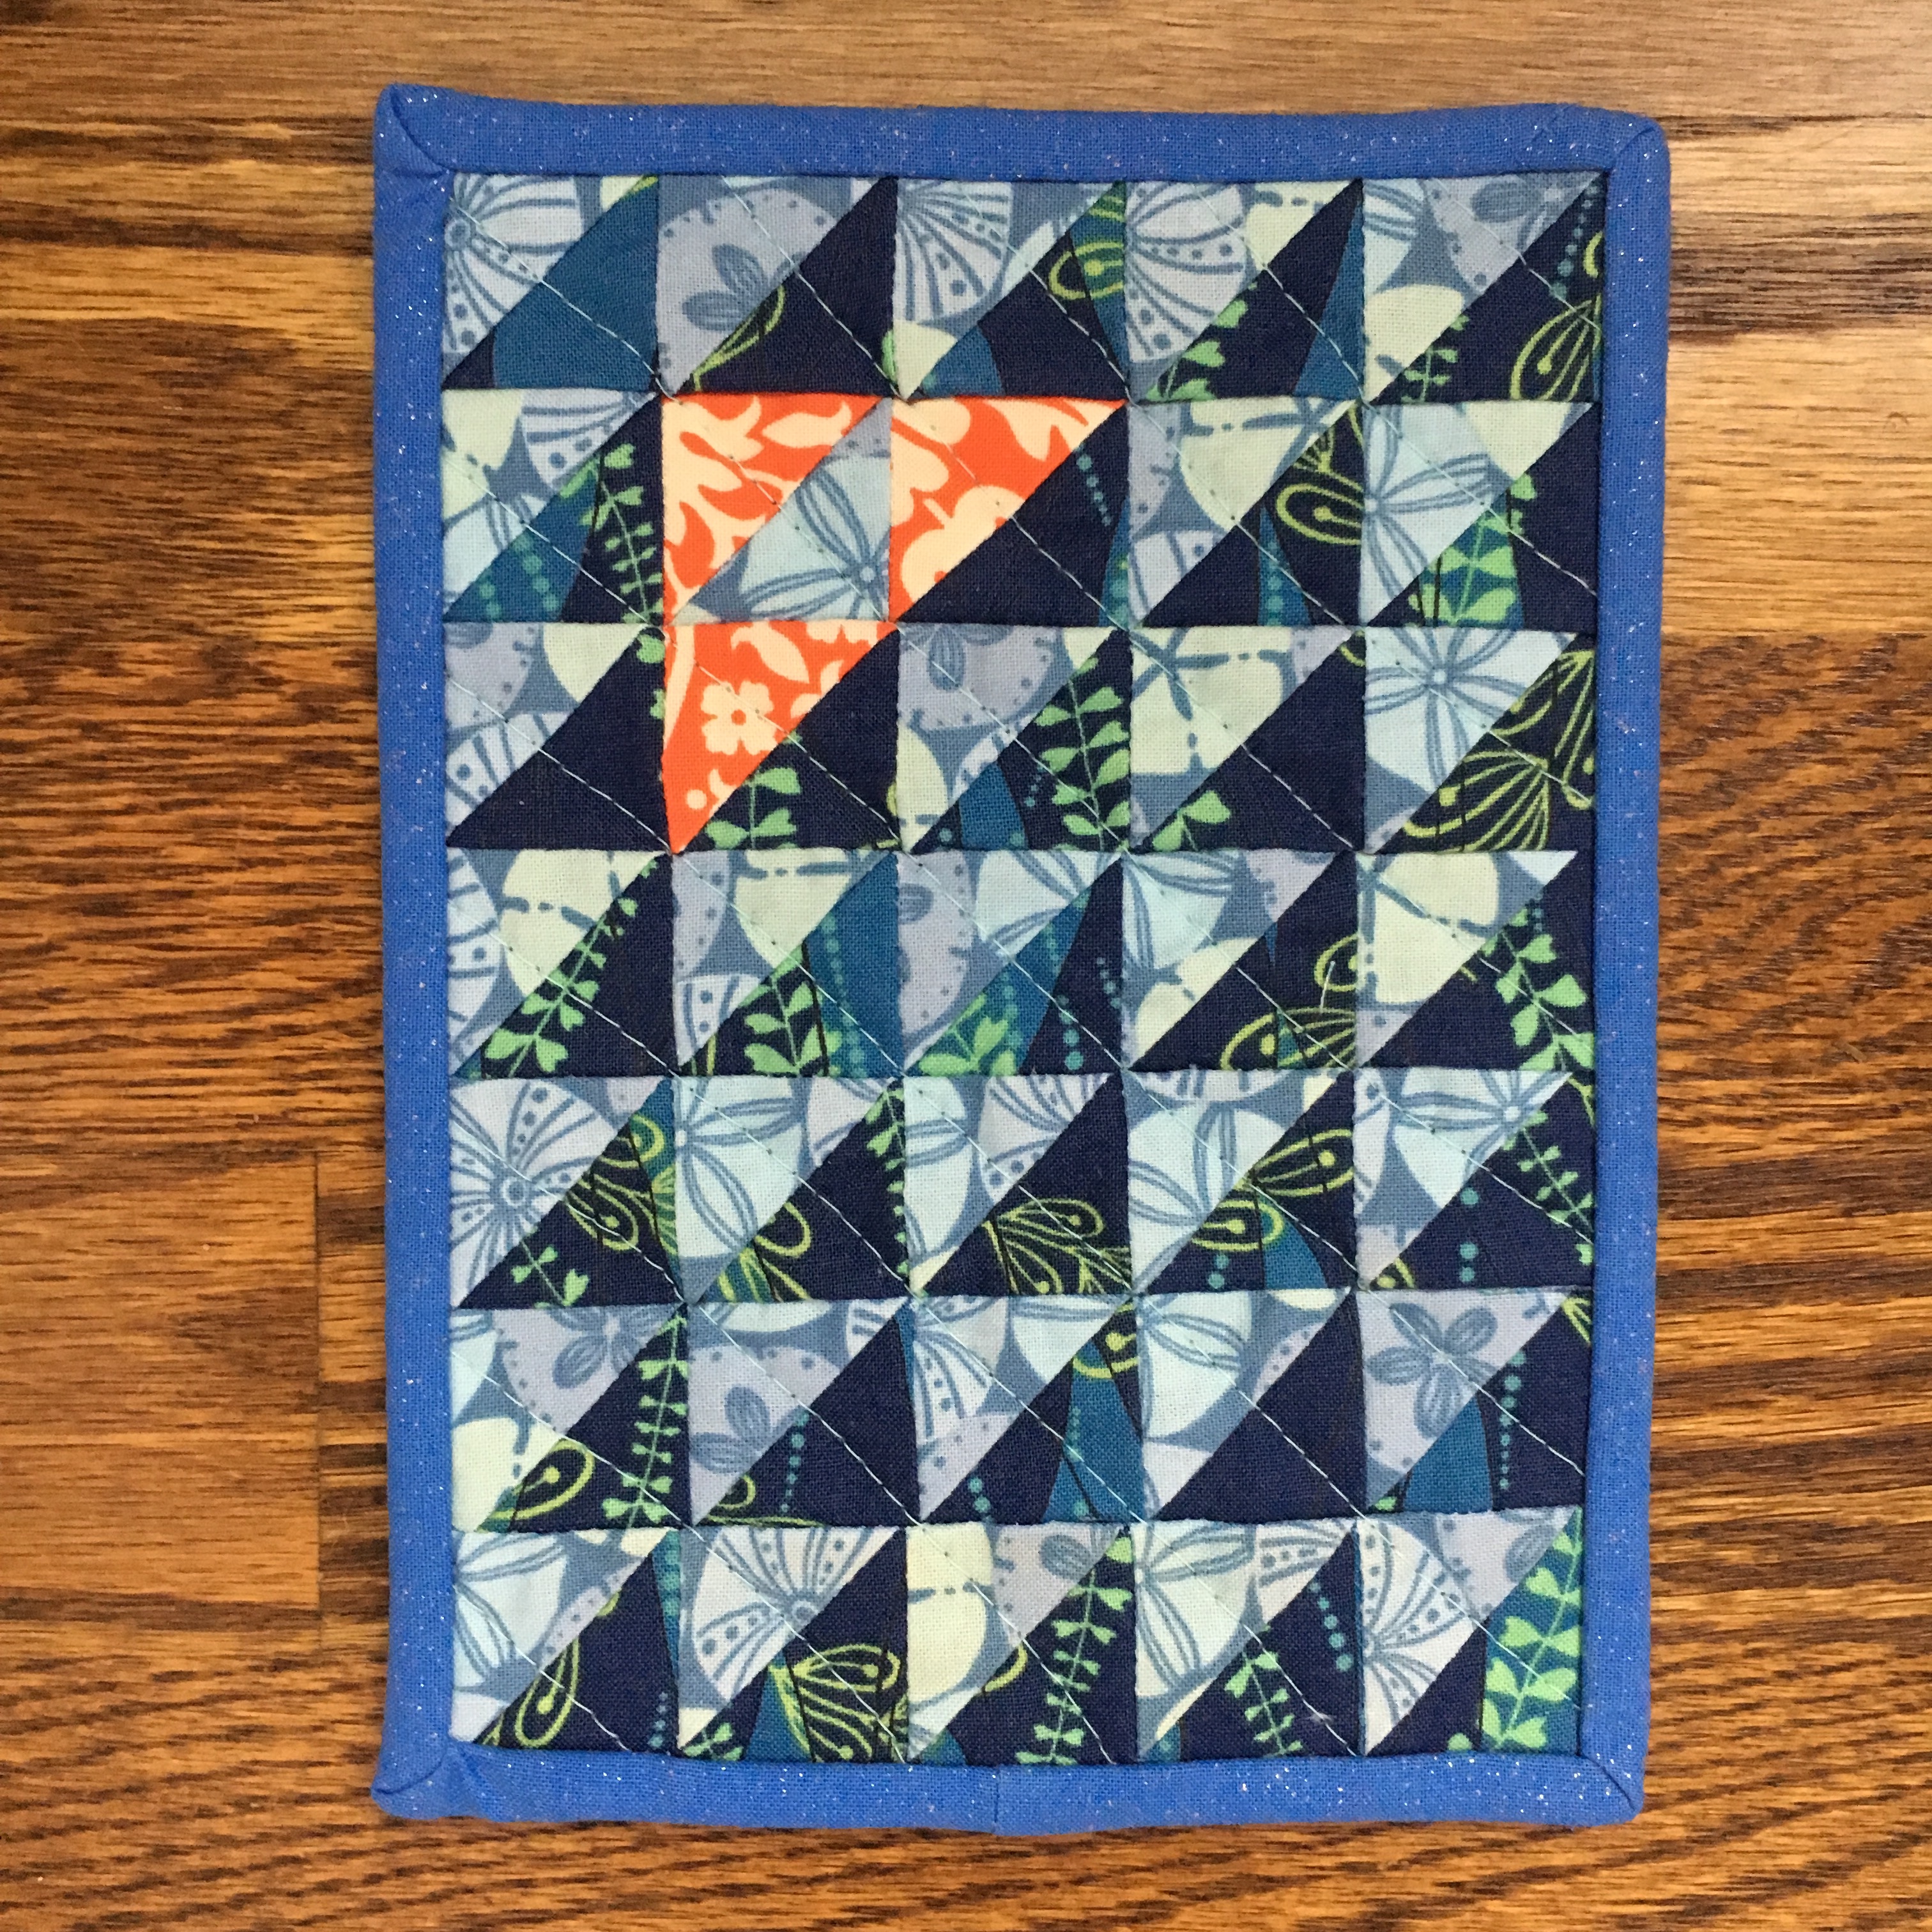
The design is my own, after miscalculating how much fabric I would need and making do with the fabric I had. I wanted to play with half square triangles, and after I had them made, I arranged them until I was happy with the layout. I tied the quilt with an “X” (crisscross) on the front and the knot on the back.

Knots on the back.

I hope that it adds a bit of warmth and happiness to someone’s American experience!

Welcome Blanket Quilt

Mom & Daughter Matching Outfits

I did it! I made a dress for my daughter and a shirt for me out of the same fabric! I’ve been wanting to do this since March of last year. I’ve been doing a lot of sewing lately, like the Reds shirt I made from a baby bodysuit, and Grainline Studio’s Scout Tee recently caught my eye, so I decided I was ready to jump in!

My daughter and I went to the fabric store where we picked out Simplicity pattern #2241. It’s a “Learn to Sew” pattern, so I figured it’d be easy for me since I definitely a beginning garment maker. We also picked out some fabric—that we both liked. Obviously, I’m all about wearing a shirt that matches a 4-year-old’s dress, but I wanted it to be appropriate for both of us. Later, I ordered the Scout Tee pattern.

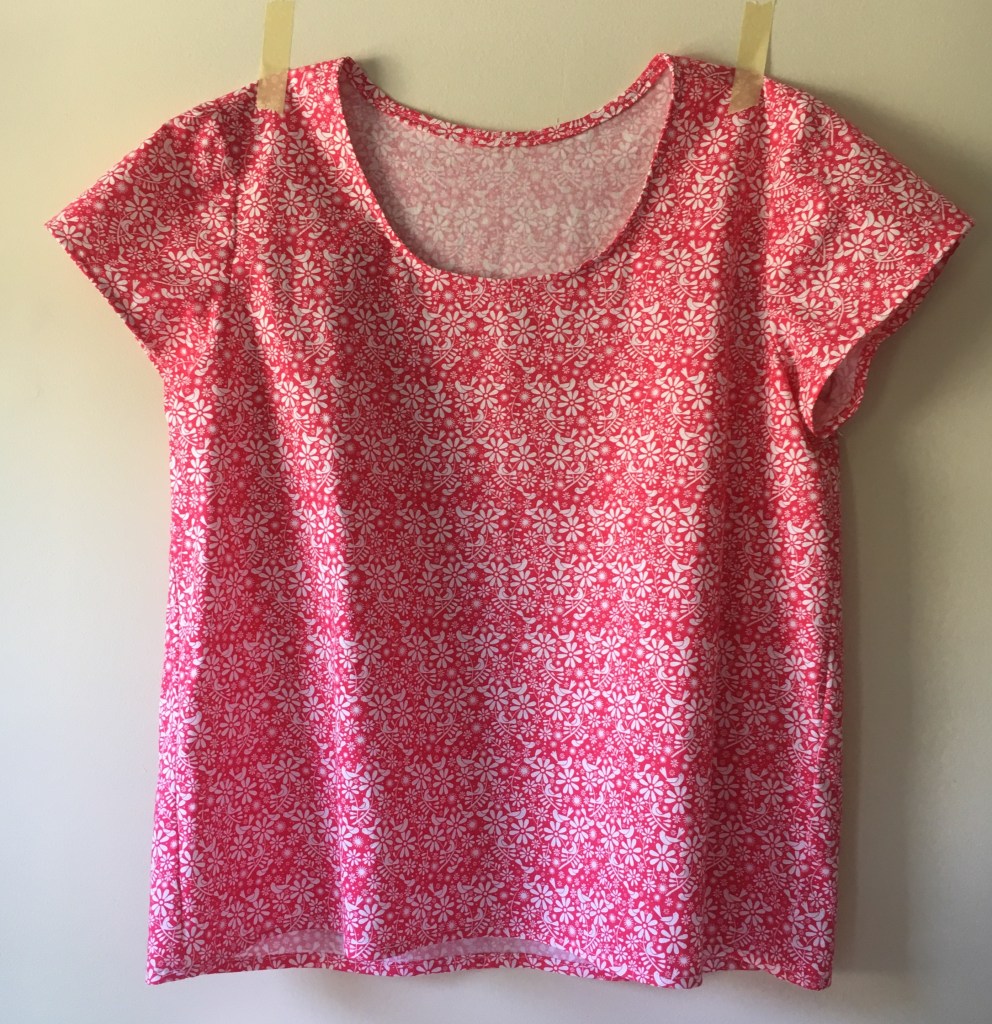
I made the Scout Tee first since after reading both patterns it was the simpler garment. It was so easy to put together! And, the fit is fantastic. I’m already scheming to make more.

Grainline Studio’s Scout Tee

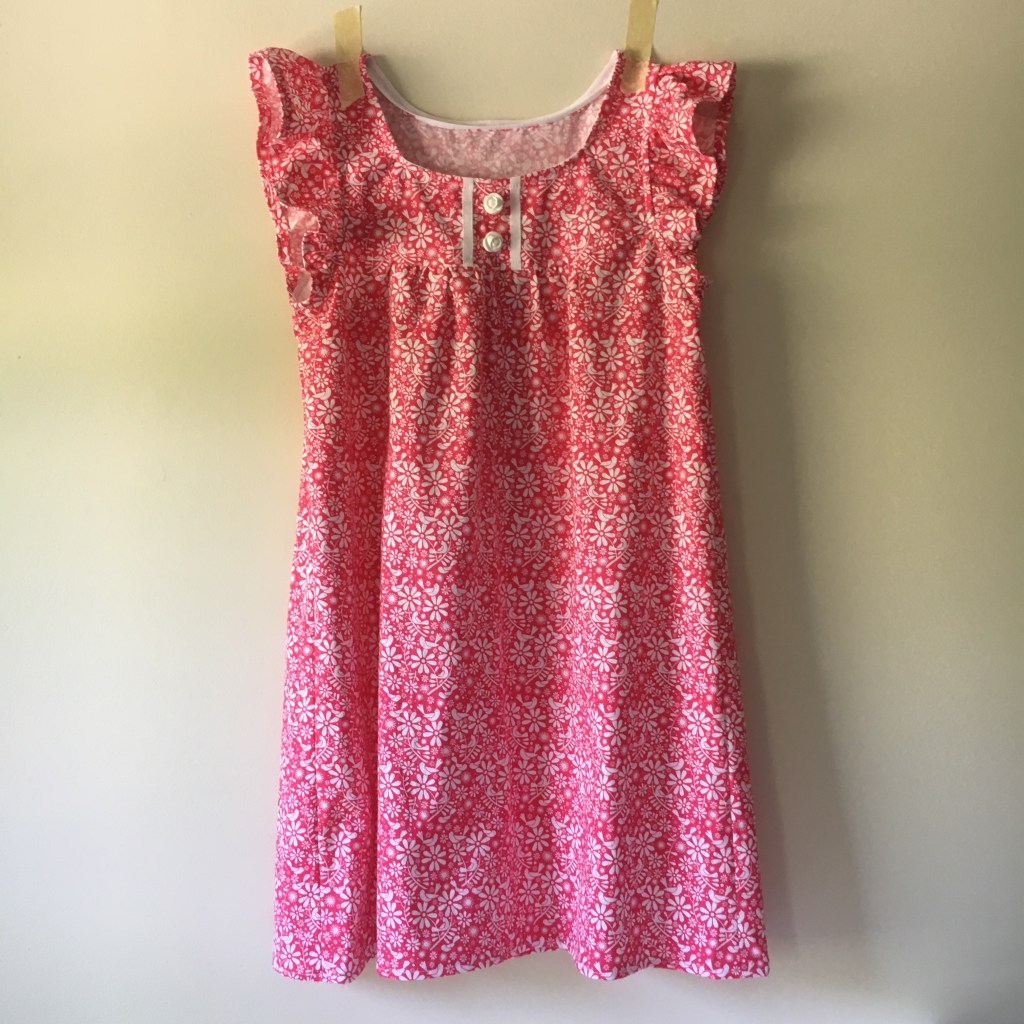
The experience with the Scout Tee really helped me make the dress. With the tee I learned how to make gathers and use bias tape to finish the neckline. I did both of these things with the dress, which has gathers on the front and back and both the neckline and armholes are finished with bias tape. The only thing I would change is the bias tape I used for the dress. The pattern called for single-fold bias tape, which I purchased. The Scout Tee had directions for making my own. For the dress, I should have just made and used my own. I think it would have come out better.

Simplicity Pattern #2241

We actually haven’t worn our new clothes yet. I’m saving them for Mother’s Day when we’ll get together with family. I’m not sure how the dress will go over with my daughter, because 4-year-olds can be fickle. But, if I can get one decent (again, fickle) picture of us together, well, I’ll be happy!

MomDaughter_01WM
Wearing my new Grainline Studio Scout Tee