Organizing My Quilts

New storage bins filled with 2 of my in-progress quilts.

I recently decided that my office/sewing/crafting room needs to be about 1000x more organized than what it is. I’m slowly, but surely, tackling this task.

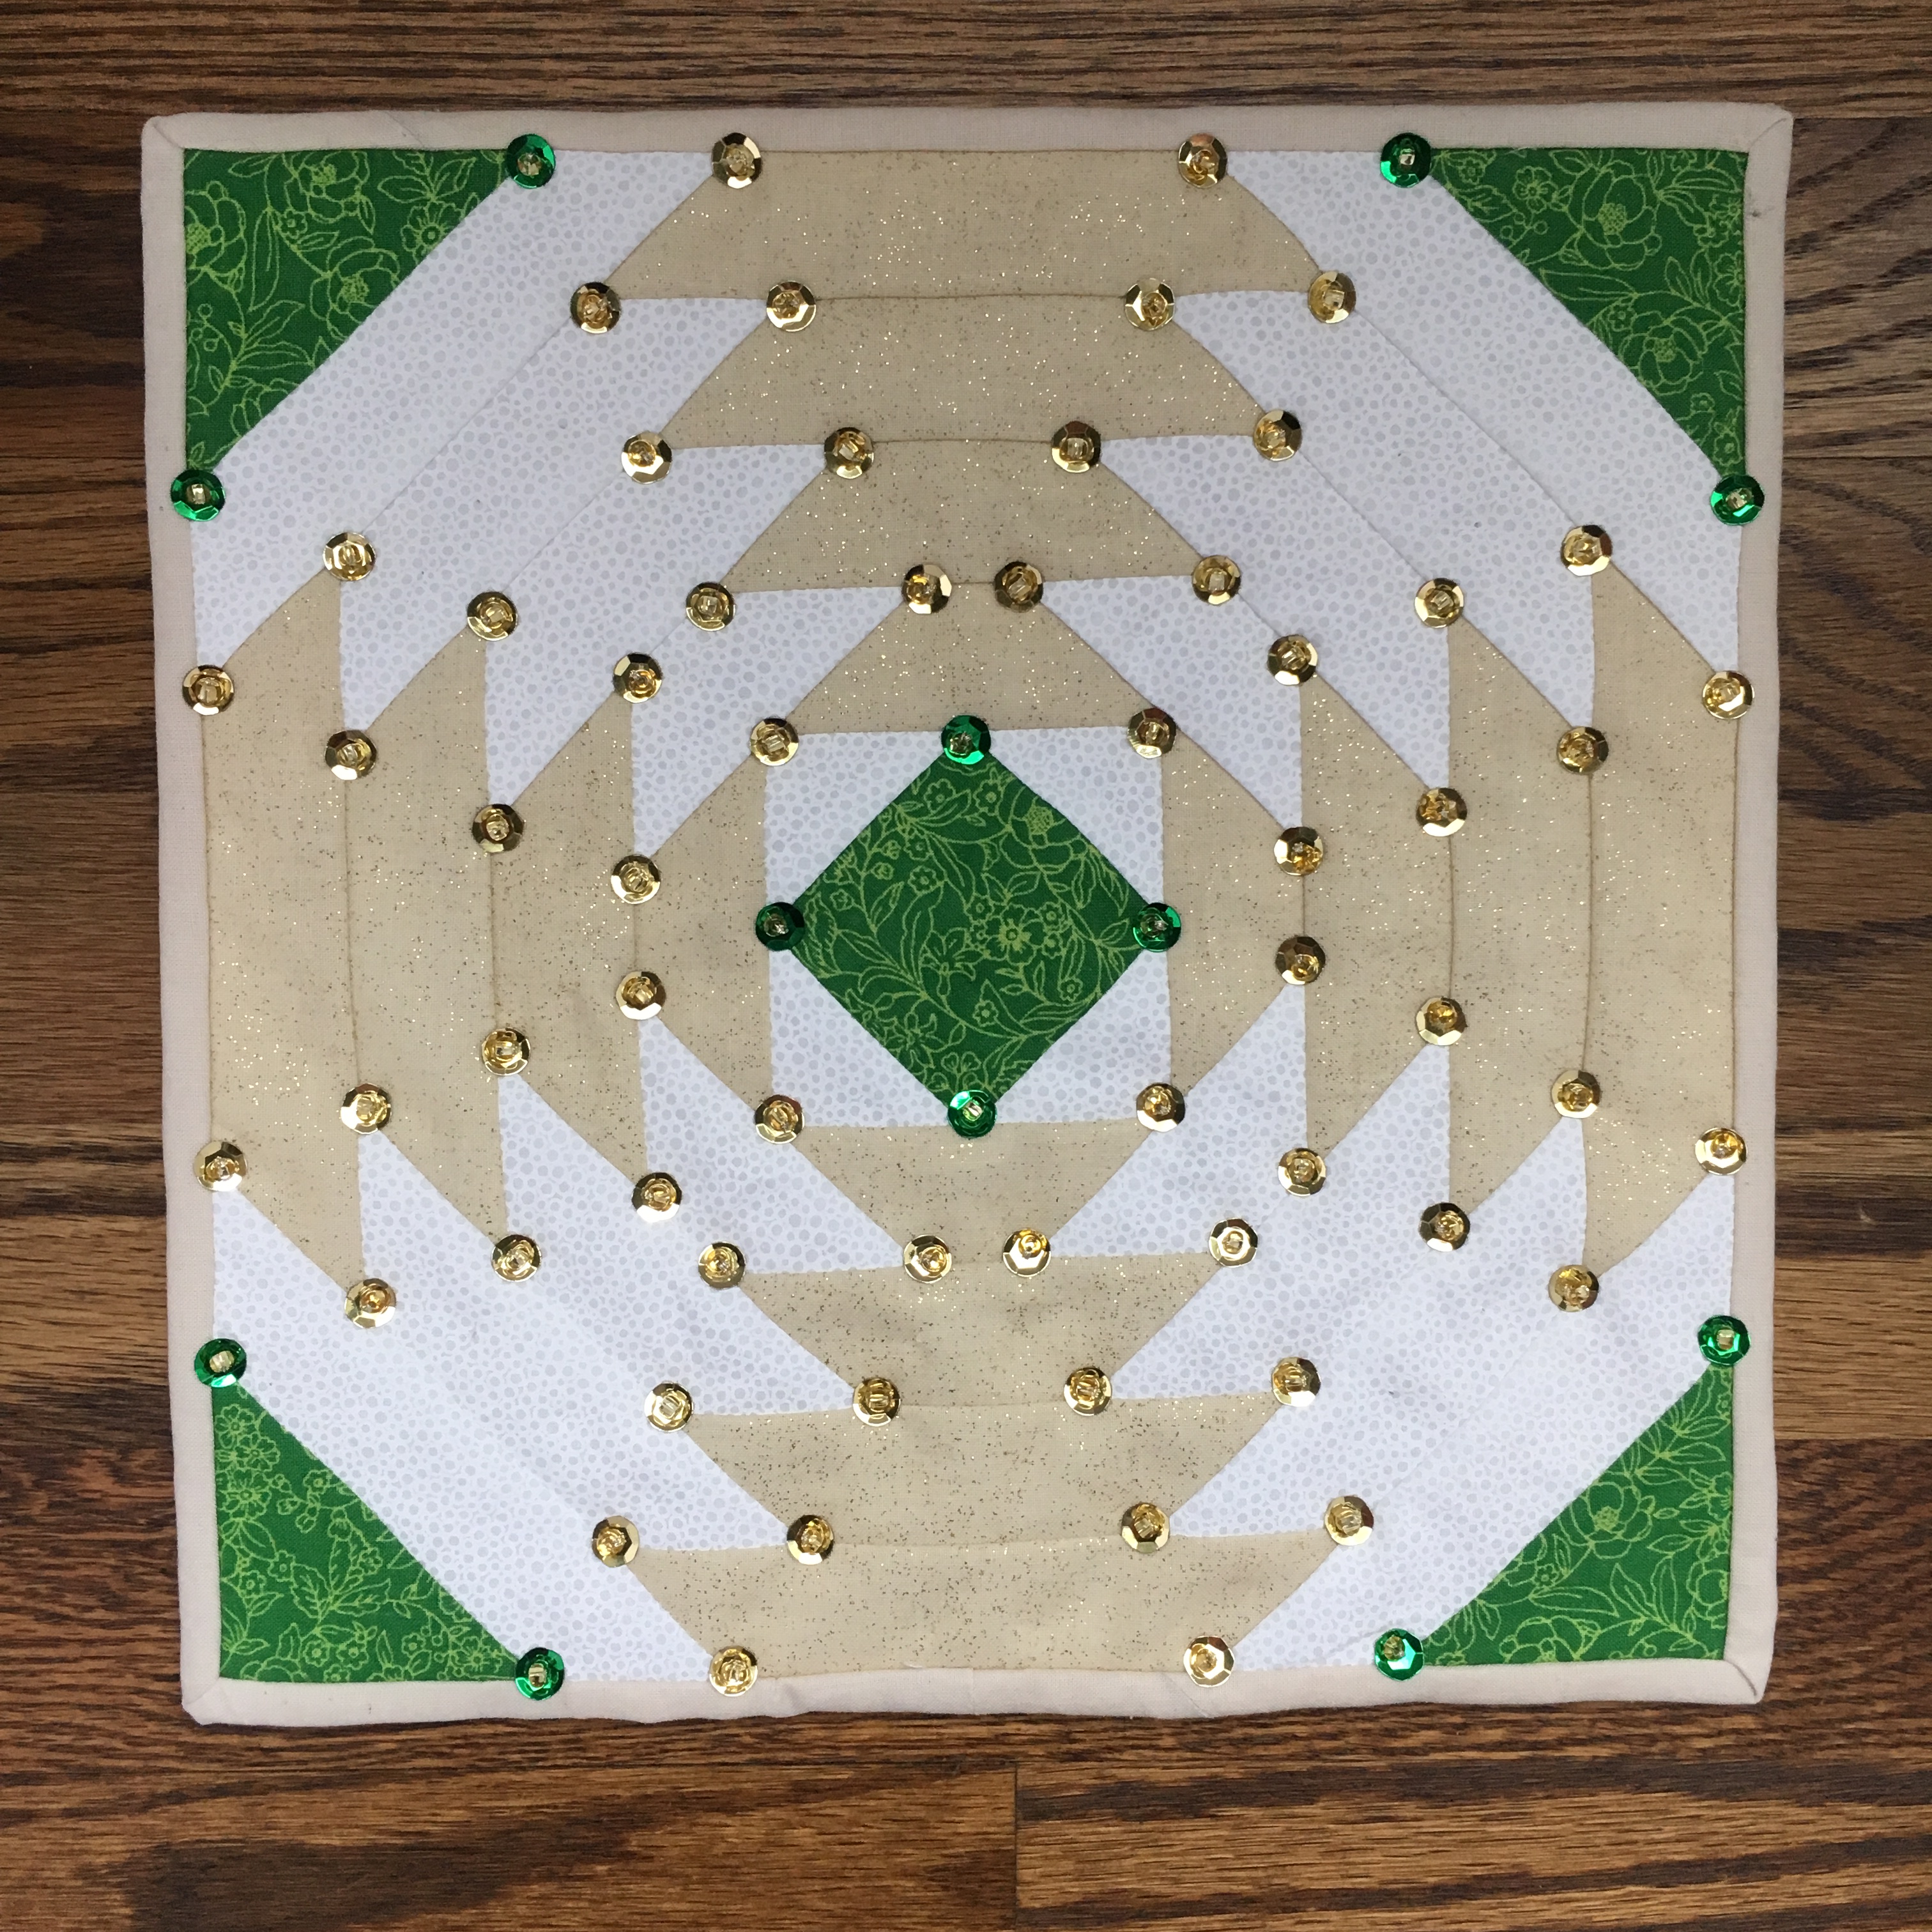
First up was organizing my in-progress quilts. I have 3 quilts that are in different stages of completion. One is clearly in need of being finished first and I have moved it to the front burner. The other two have been pushed to the back burners—or should I say, into storage bins? My Dazzling Pineapple Patch Quilt and my Down the Rabbit Hole Quilt are neatly tucked into these bins, but they won’t be forgotten!

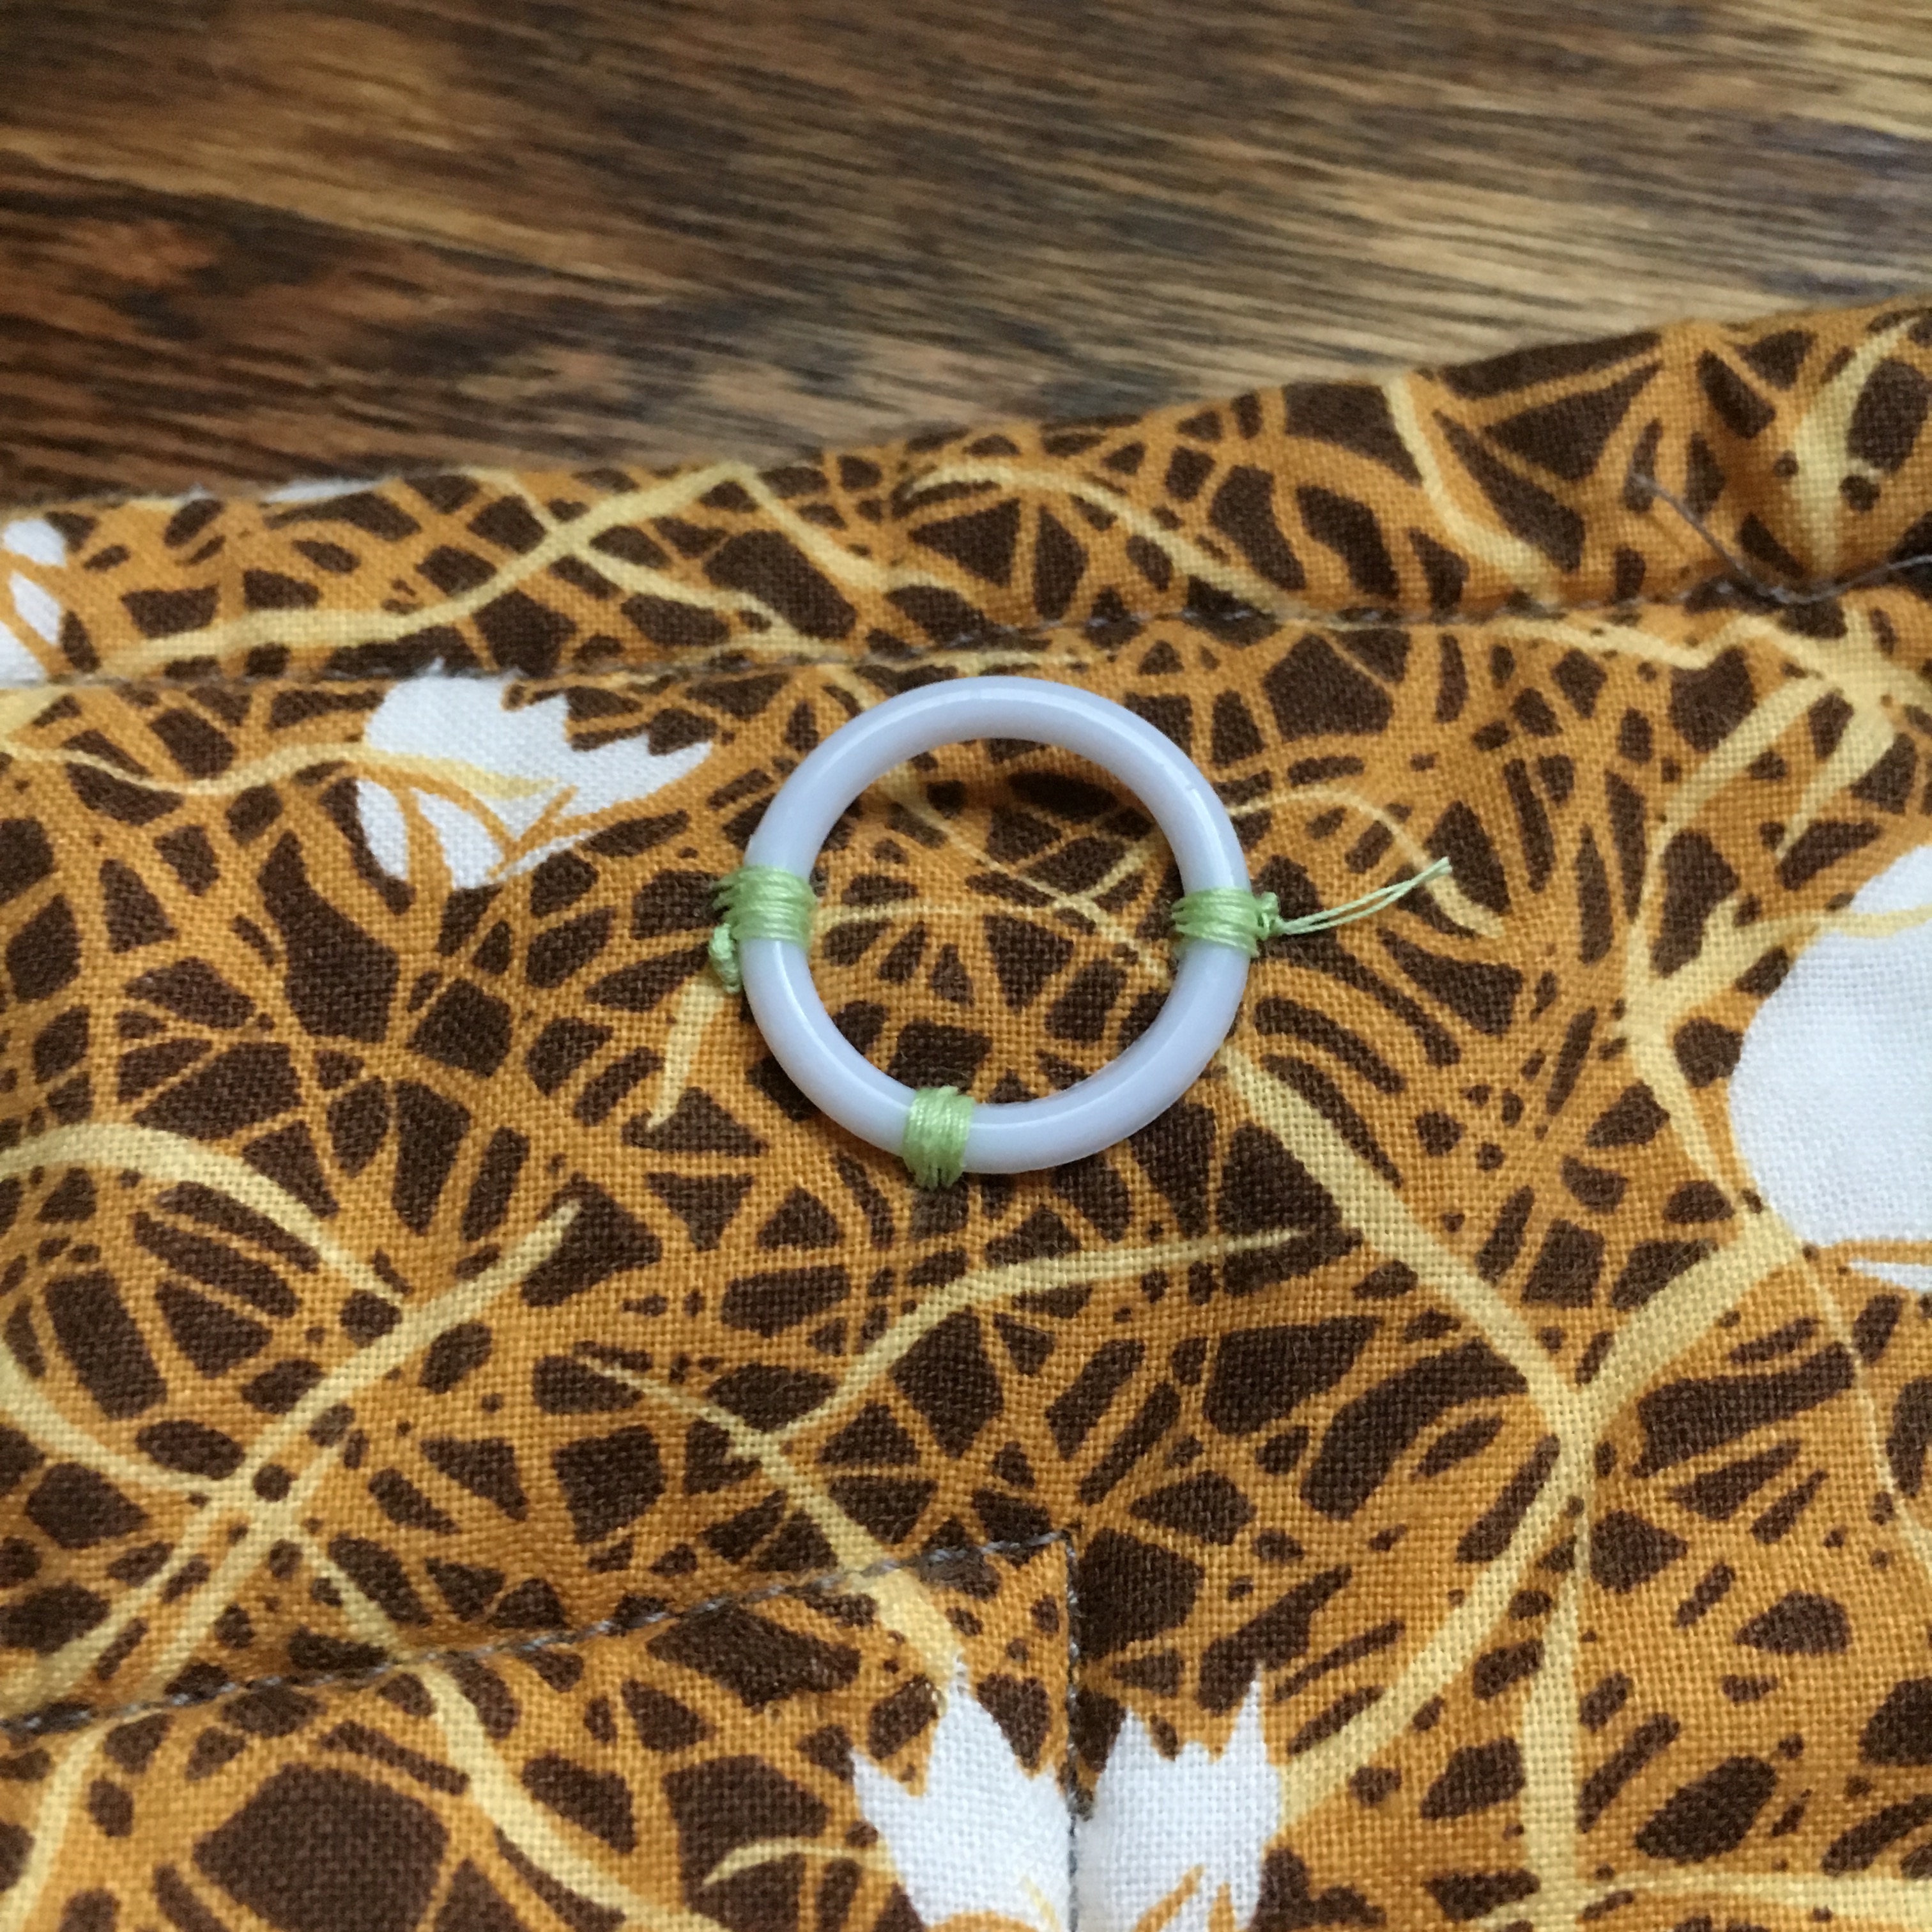
The bins have EVERYTHING I need for these quilts. The Down the Rabbit Hole Quilt has an extensive pattern and lots of templates. All of this is at the bottom of the bin. All of the fabric I’ve been using is in the bin. The partially finished top and partially finished, unattached borders are in the bin. Ditto for the Dazzling Pineapple Patch Quilt—everything is in the bin.

My quilting/sewing notebook.

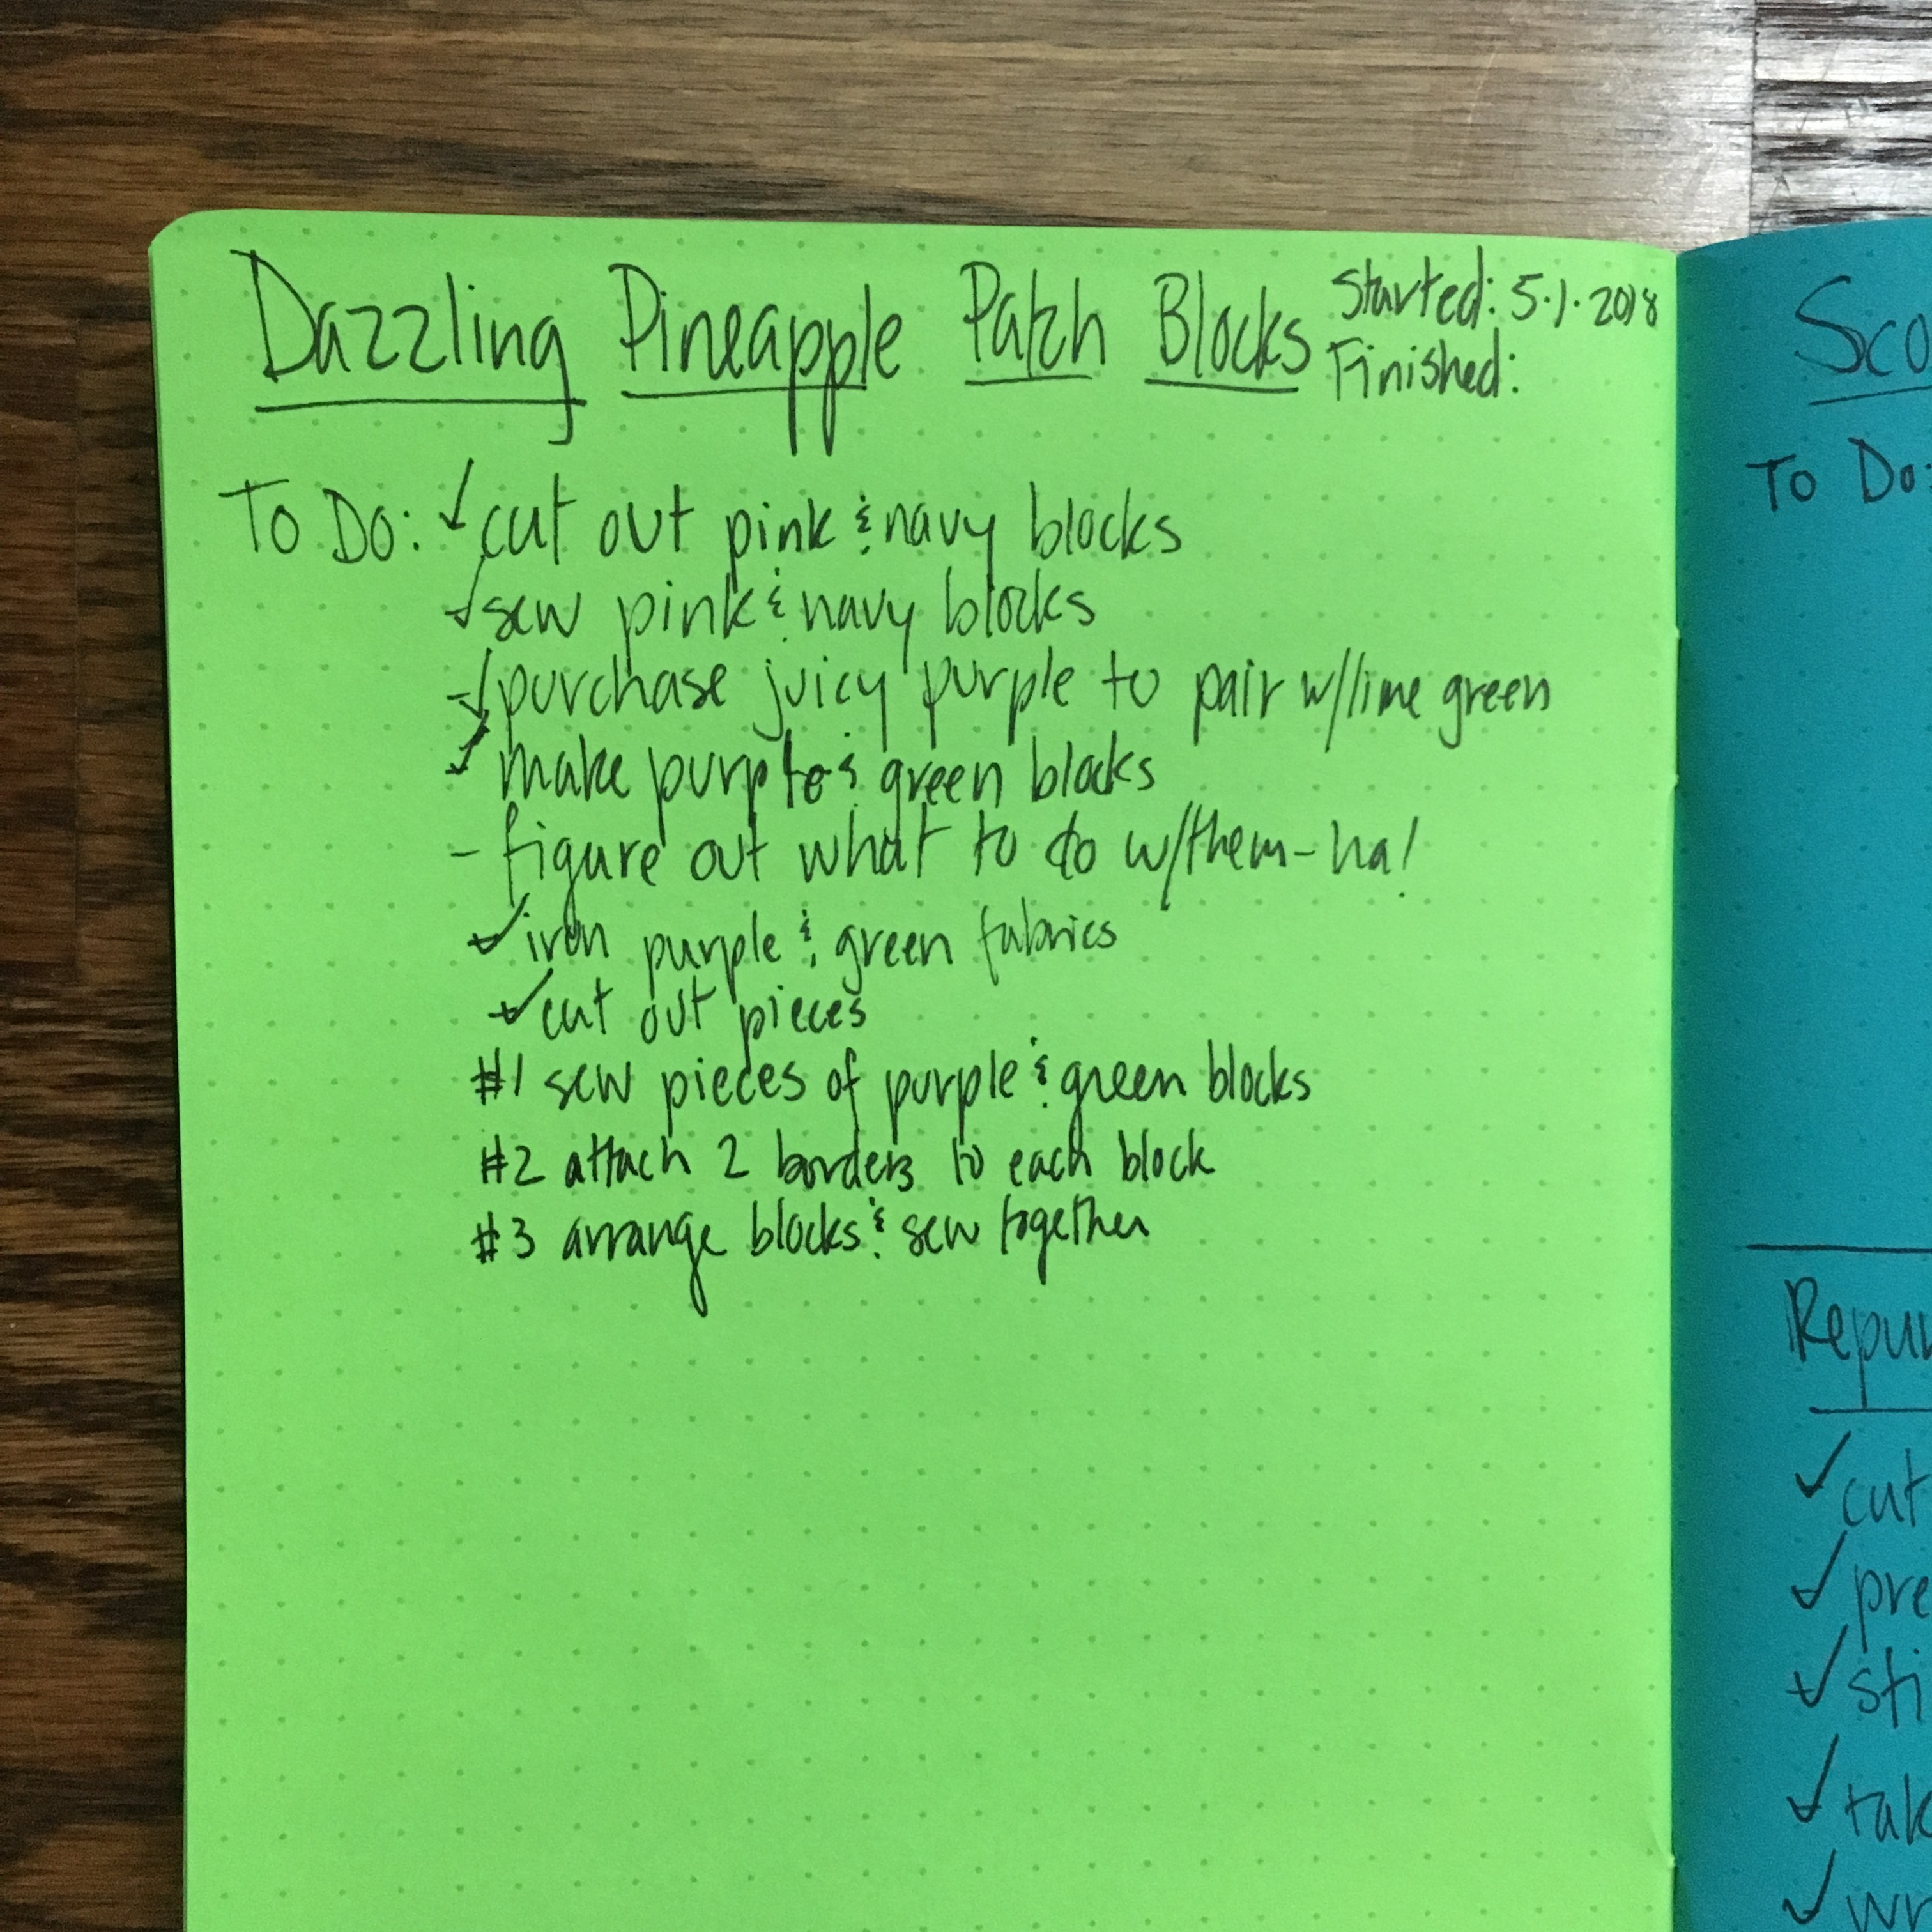
To make it easier to quickly pick back up where I left off with these quilts, I started a quilting/sewing notebook. I’ve written each quilt or project at the top of a page and listed out what needs to be done. Sometimes I write steps out, work on the quilt, and then re-prioritize the steps. Not a big deal. These are just quick notes to jump-start progress when I’m ready.

My notes on what needs to be done next with my Dazzling Pineapple Patch Quilt.

Organizing the rest of the room is going to be a slow process, but it has inspired a couple of things. First, I now feel a new motivation to HURRY UP AND FINISH a handful of projects that are in various stages of completion. (This, of course, doesn’t apply to those 2 quilts sitting quietly in their bins—ha!) I have an afghan that needs to be repaired. I have a quilt with binding that is falling off. I have half a dozen painted secondhand picture frames that just need to be reassembled. For some good old-fashioned organization, I’m ready to start seriously tackling these projects and moving them out of the room.

Also, I have discovered that I’m at willing to put a lot of other crafts on hold indefinitely. That is, I’ve always dabbled in this and that—paper crafting, painting objects, knitting/crocheting—but, I’m ready to simplify to make more time and space for quilting. Not that I have a ton of that kind of stuff, but it’s enough. Of course, this is a chicken-egg situation: did my desire to organize spawn the willingness to reduce my craft supplies; or is my craft-downsizing motivating my organization? I don’t know, but I’m rolling with it!


Fixing My Chicken Wall Hanging

Sometimes my first attempt isn’t my best. (Surprise!) Five years after making it, I have finally fixed the droopy top of the chicken wall hanging in my kitchen.

Sagging top–you can even see the middle hook!

I started this chicken wall hanging back in 2012 and maybe finished in 2013. It’s all a little hazy. The pattern is “Ditzy Chicks” by Sharon Berna of Redbird Designs. I love the pattern because I love chicken décor in my kitchen. I enjoyed starting this wall hanging because I began when my mom was visiting and we picked out the fabric together and she even helped me do the appliqué. Buuuut, this felt way more like a craft project than a quilt, probably because I wanted chicken décor for my kitchen, not because I necessarily wanted to make a quilt. (I have since changed, of course.)

As an amateur, I stitched plastic rings to the top of the back “wherever seemed good” and then stuck a trio of Command hooks on my kitchen wall. Well, the top 2-3” have always drooped. It took me so long to complete the darn thing and a whole lot of motivation, I just ignored it, until recently, when I decided to remedy the droop—or, at least, decided to attempt to remedy.

The plastic rings before: stitched on only at the bottom.

First, I took the wall hanging off the hooks. It was dusty—hello, it hadn’t been touched in 5 years! So, I popped it into the washer. Luckily, I’m in the prewash camp, so I didn’t have to worry about colors bleeding or shrinkage. Of course, it still came out a bit wrinkly. That just adds charm, right?

Next, one by one, I snipped off each plastic ring and raised it so that the top of it was about 0.75” from the top of the wall hanging. (I did a bit of measuring, math, and testing to ensure that the wall-mounted hooks wouldn’t show after the wall hanging was up.) I stitched the rings down at three points: 90, 180, and 270 degrees. (I feel hella-fancy describing it in that manner, by the way.)

The plastic rings after: stitched down at 3 points.

After all the plastic rings were repositioned, I added one more thing: one of my brand-new quilt labels! Sure, this is NOT my best work (please don’t look at the quilting—what was I thinking?!), but I think it’s important to label your work. For me, it feels even more so, since I have kids. My 3-year-old son immediately noticed that this wall hanging was gone when it was in the wash. He asked why I took down the chickens. This piece of handmade décor is being ingrained in his childhood memories. With any luck, I’ll get to hand it down to one of my kids.

Here’s hoping this chicken wall hanging will stay up on the wall another five years when I decide to wash the dust off again!

Ta-da! The non-droopy, not sagging wall hanging. Of course, now it’s a bit wrinkly from the wash. I’m going to consider that “charm”…at least until I’m motivated to steam it. 😉

Welcome Blanket Quilt

Welcome Blanket Quilt

After seeing pictures of children sleeping under foil blankets at the border, I knew I had to participate in the Welcome Blanket project. This quilt, and others made by different crafters, will eventually be distributed to refugees and other immigrants through resettlement organizations after being displayed as part of MODA’s exhibit, “Making Change: The Art and Craft of Activism.”

I know it’s not going to the children sleeping under foil blankets, but the sentiment is the same. I started to quilt because I wanted to ensure that my family members always have quilts to sleep under. As the daughter of a quilter, I have slept under nothing but handmade quilts. I think I get better sleep, plus, knowing that someone loves you enough to put that much work into a quilt for you is one of the best feelings. Refugees and immigrants deserve to feel this, as do all human beings.

TLC Quilt Label

Crisscross Tie

The design is my own, after miscalculating how much fabric I would need and making do with the fabric I had. I wanted to play with half square triangles, and after I had them made, I arranged them until I was happy with the layout. I tied the quilt with an “X” (crisscross) on the front and the knot on the back.

Knots on the back.

I hope that it adds a bit of warmth and happiness to someone’s American experience!

Welcome Blanket Quilt

Dazzling Pineapple Mini Quilt

Sparkly Pineapple Mini Quilt

My first finish for 2018 is a mini pineapple block quilt. But, it’s not just any pineapple quilt, because instead of quilting it or tying it in a traditional manner, I tied it with gold sequins and Czech glass beads, using metallic thread of course. I consider this a “study” as I want to make more in snazzier colors!

Best decision was to sew the binding on and then add the last few sequins and beads. I love the overlap.

Even though I have 2 other quilts going right now (Down the Rabbit Hole & Ohio Star Quilt), I just had to stitch up this mini. You are aware that I have a pineapple obsession, right? So, my mom sent me templates to quickly cut out the pieces for this pattern. And, I’ve had a sack of sequins burning a hole in my pocket, so to speak. I was waiting for just the right project. When I saw the Suzy Quilts tutorial on tying a quilt with a modern twist (an ‘X’), a light bulb when off for me. I skipped the “X” and went straight for the sequin and bead–a sparkly option! (By the way, I learned to tie quilts with the knot on the top–and nothing decorative, just a knot. Suzy’s tutorial blew my mind!)

PineappleBlock_03WM
I clipped the threads so they’d be longer than necessary to keep as much shine as possible.

I know sparkle and shine may not be everyone’s jam, but I was pleased as punch with the process and the outcome–I love it!

For the backing and binding, I used muslin from my stash. It is understated compared with the metallic thread and lustrous sequins.

Stats:
+ Measures: 10.75″ x 10.75″
+ 100% cotton fabric and batting
+ 72 sequins (60 gold/12 green)
+ 72 Czech glass beads
+ Spot clean only (Bwahaha! Can you tell that I’ve written about home décor before?)

The finished mini pineapple block.

I can’t wait to dig in and make some more in different colors!

Update: 2017 Sarah Fielke Down the Rabbit Hole Block of the Month

SarahFielkeBlockoftheMonth_December
Sarah Fielke Block of the Month Quilt

I don’t know what month I’m on of my Down the Rabbit Hole quilt, because I’m so, so far behind. But, this is where I am. There’s no way I’m going to be done by the end of 2017. Or even within the first few months of 2018.

I’ve been purposely avoiding this quilt because I have a few month’s of patterns and instructions piled up. One day last week, though, I decided to applique my last sunflower leaf. After I did, I spread out the quilt to see my progress.

The pattern! The colors! Instantly, I was re-energized and I want to work on this quilt RIGHT NOW! Alas, it’s the end of the year and, more importantly, the holidays. My quilting/crafting time is being spent on other projects.