
Sometimes my first attempt isn’t my best. (Surprise!) Five years after making it, I have finally fixed the droopy top of the chicken wall hanging in my kitchen.

I started this chicken wall hanging back in 2012 and maybe finished in 2013. It’s all a little hazy. The pattern is “Ditzy Chicks” by Sharon Berna of Redbird Designs. I love the pattern because I love chicken décor in my kitchen. I enjoyed starting this wall hanging because I began when my mom was visiting and we picked out the fabric together and she even helped me do the appliqué. Buuuut, this felt way more like a craft project than a quilt, probably because I wanted chicken décor for my kitchen, not because I necessarily wanted to make a quilt. (I have since changed, of course.)
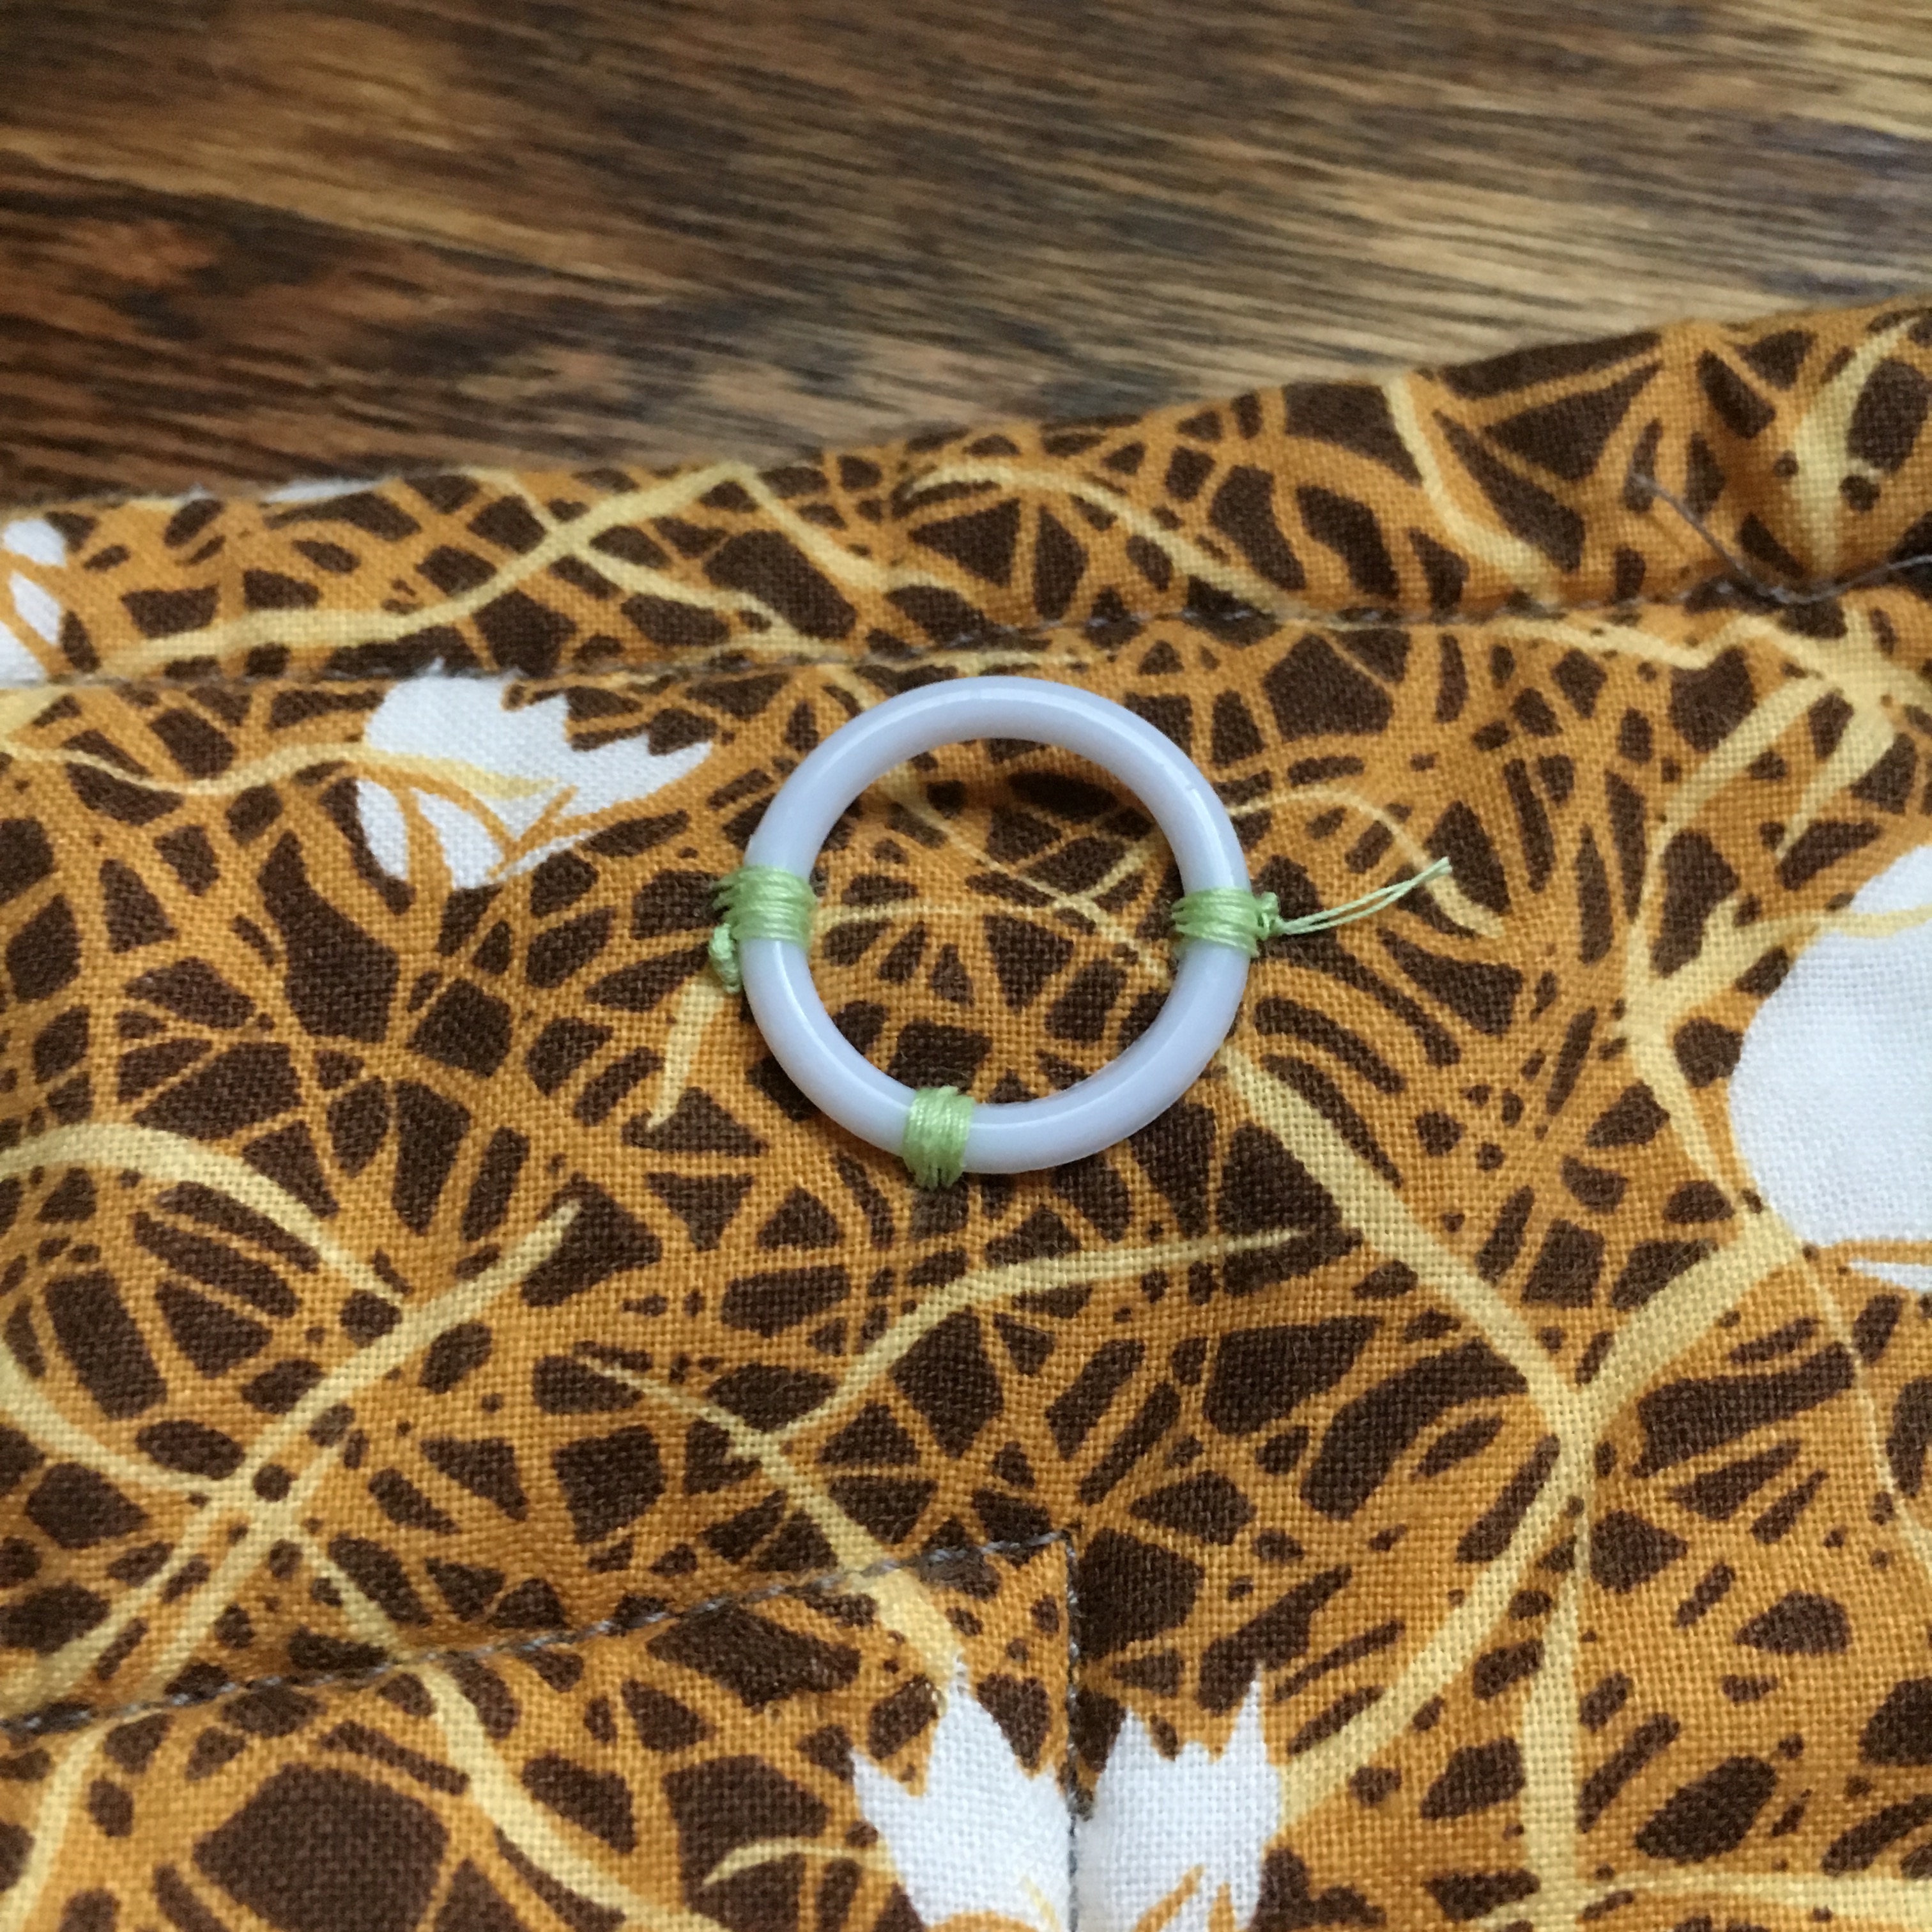
As an amateur, I stitched plastic rings to the top of the back “wherever seemed good” and then stuck a trio of Command hooks on my kitchen wall. Well, the top 2-3” have always drooped. It took me so long to complete the darn thing and a whole lot of motivation, I just ignored it, until recently, when I decided to remedy the droop—or, at least, decided to attempt to remedy.

First, I took the wall hanging off the hooks. It was dusty—hello, it hadn’t been touched in 5 years! So, I popped it into the washer. Luckily, I’m in the prewash camp, so I didn’t have to worry about colors bleeding or shrinkage. Of course, it still came out a bit wrinkly. That just adds charm, right?
Next, one by one, I snipped off each plastic ring and raised it so that the top of it was about 0.75” from the top of the wall hanging. (I did a bit of measuring, math, and testing to ensure that the wall-mounted hooks wouldn’t show after the wall hanging was up.) I stitched the rings down at three points: 90, 180, and 270 degrees. (I feel hella-fancy describing it in that manner, by the way.)
After all the plastic rings were repositioned, I added one more thing: one of my brand-new quilt labels! Sure, this is NOT my best work (please don’t look at the quilting—what was I thinking?!), but I think it’s important to label your work. For me, it feels even more so, since I have kids. My 3-year-old son immediately noticed that this wall hanging was gone when it was in the wash. He asked why I took down the chickens. This piece of handmade décor is being ingrained in his childhood memories. With any luck, I’ll get to hand it down to one of my kids.
Here’s hoping this chicken wall hanging will stay up on the wall another five years when I decide to wash the dust off again!


Pingback: Why I Label My Quilts – T-Bud Co. Creative