I have a quilt that is about 15-years-old and had started to deteriorate on one side. I mended it by sandwiching the worn area between two layers of fabric and quilting it with big stitches.

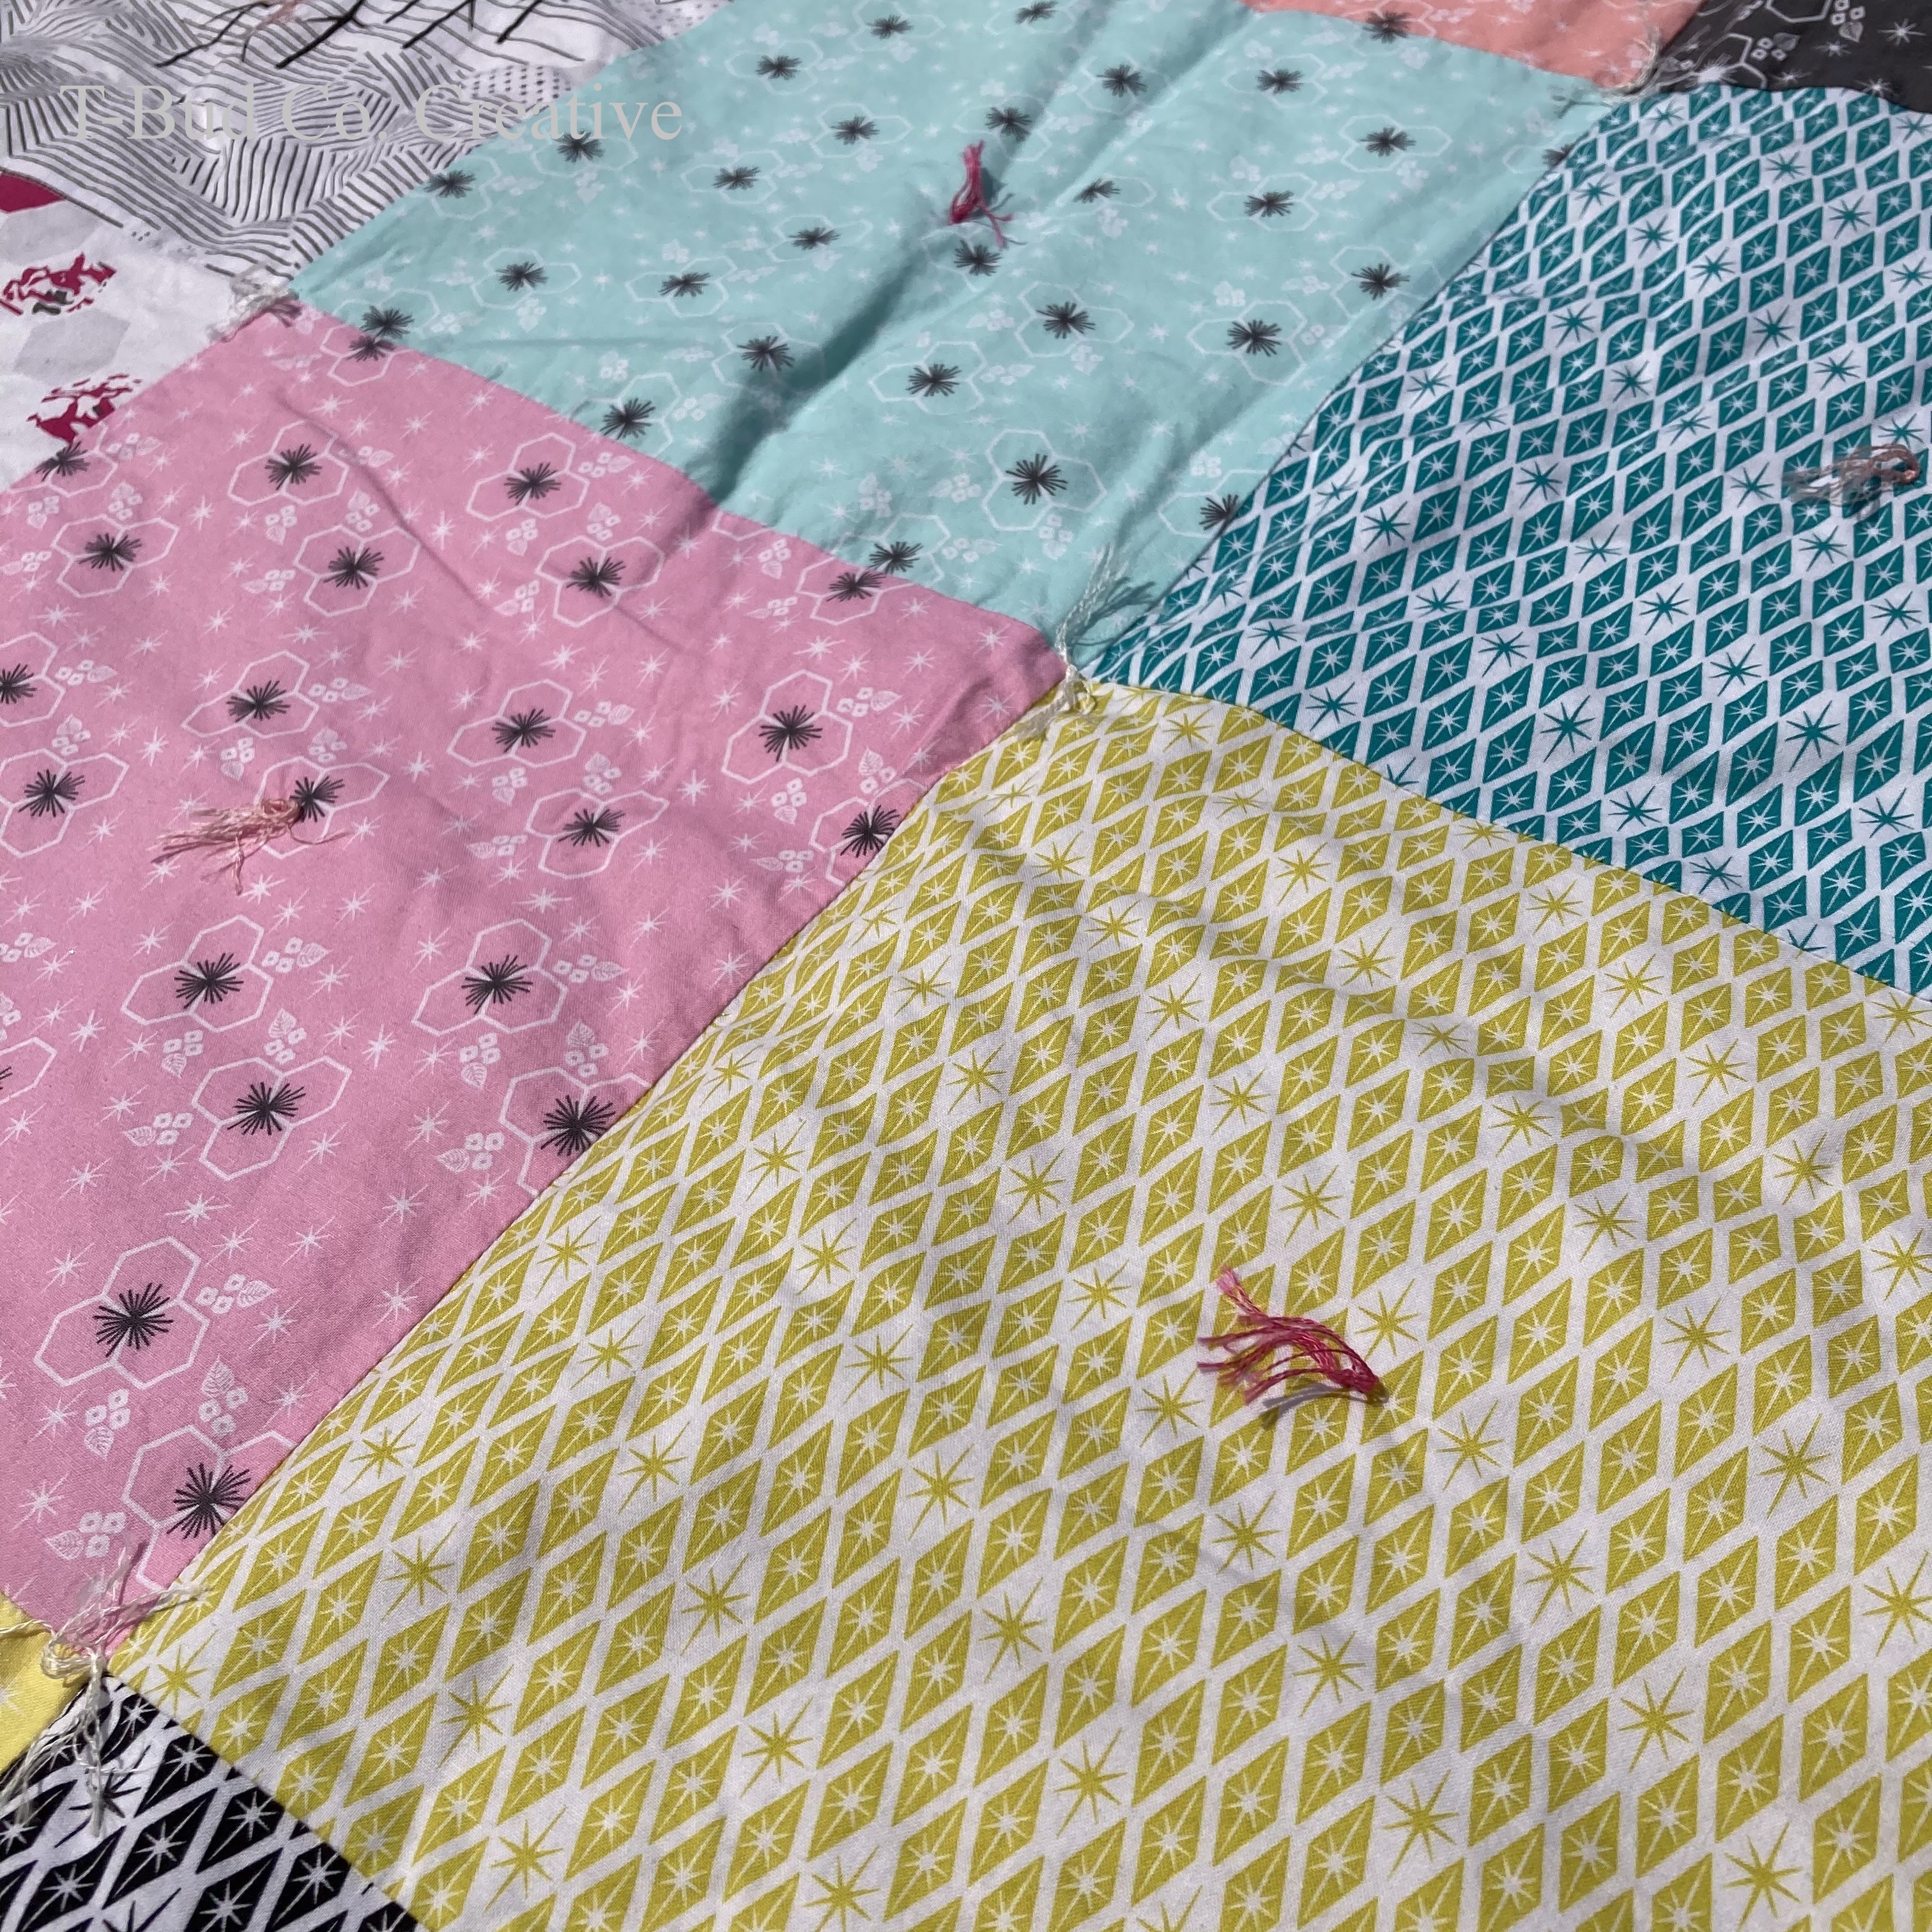
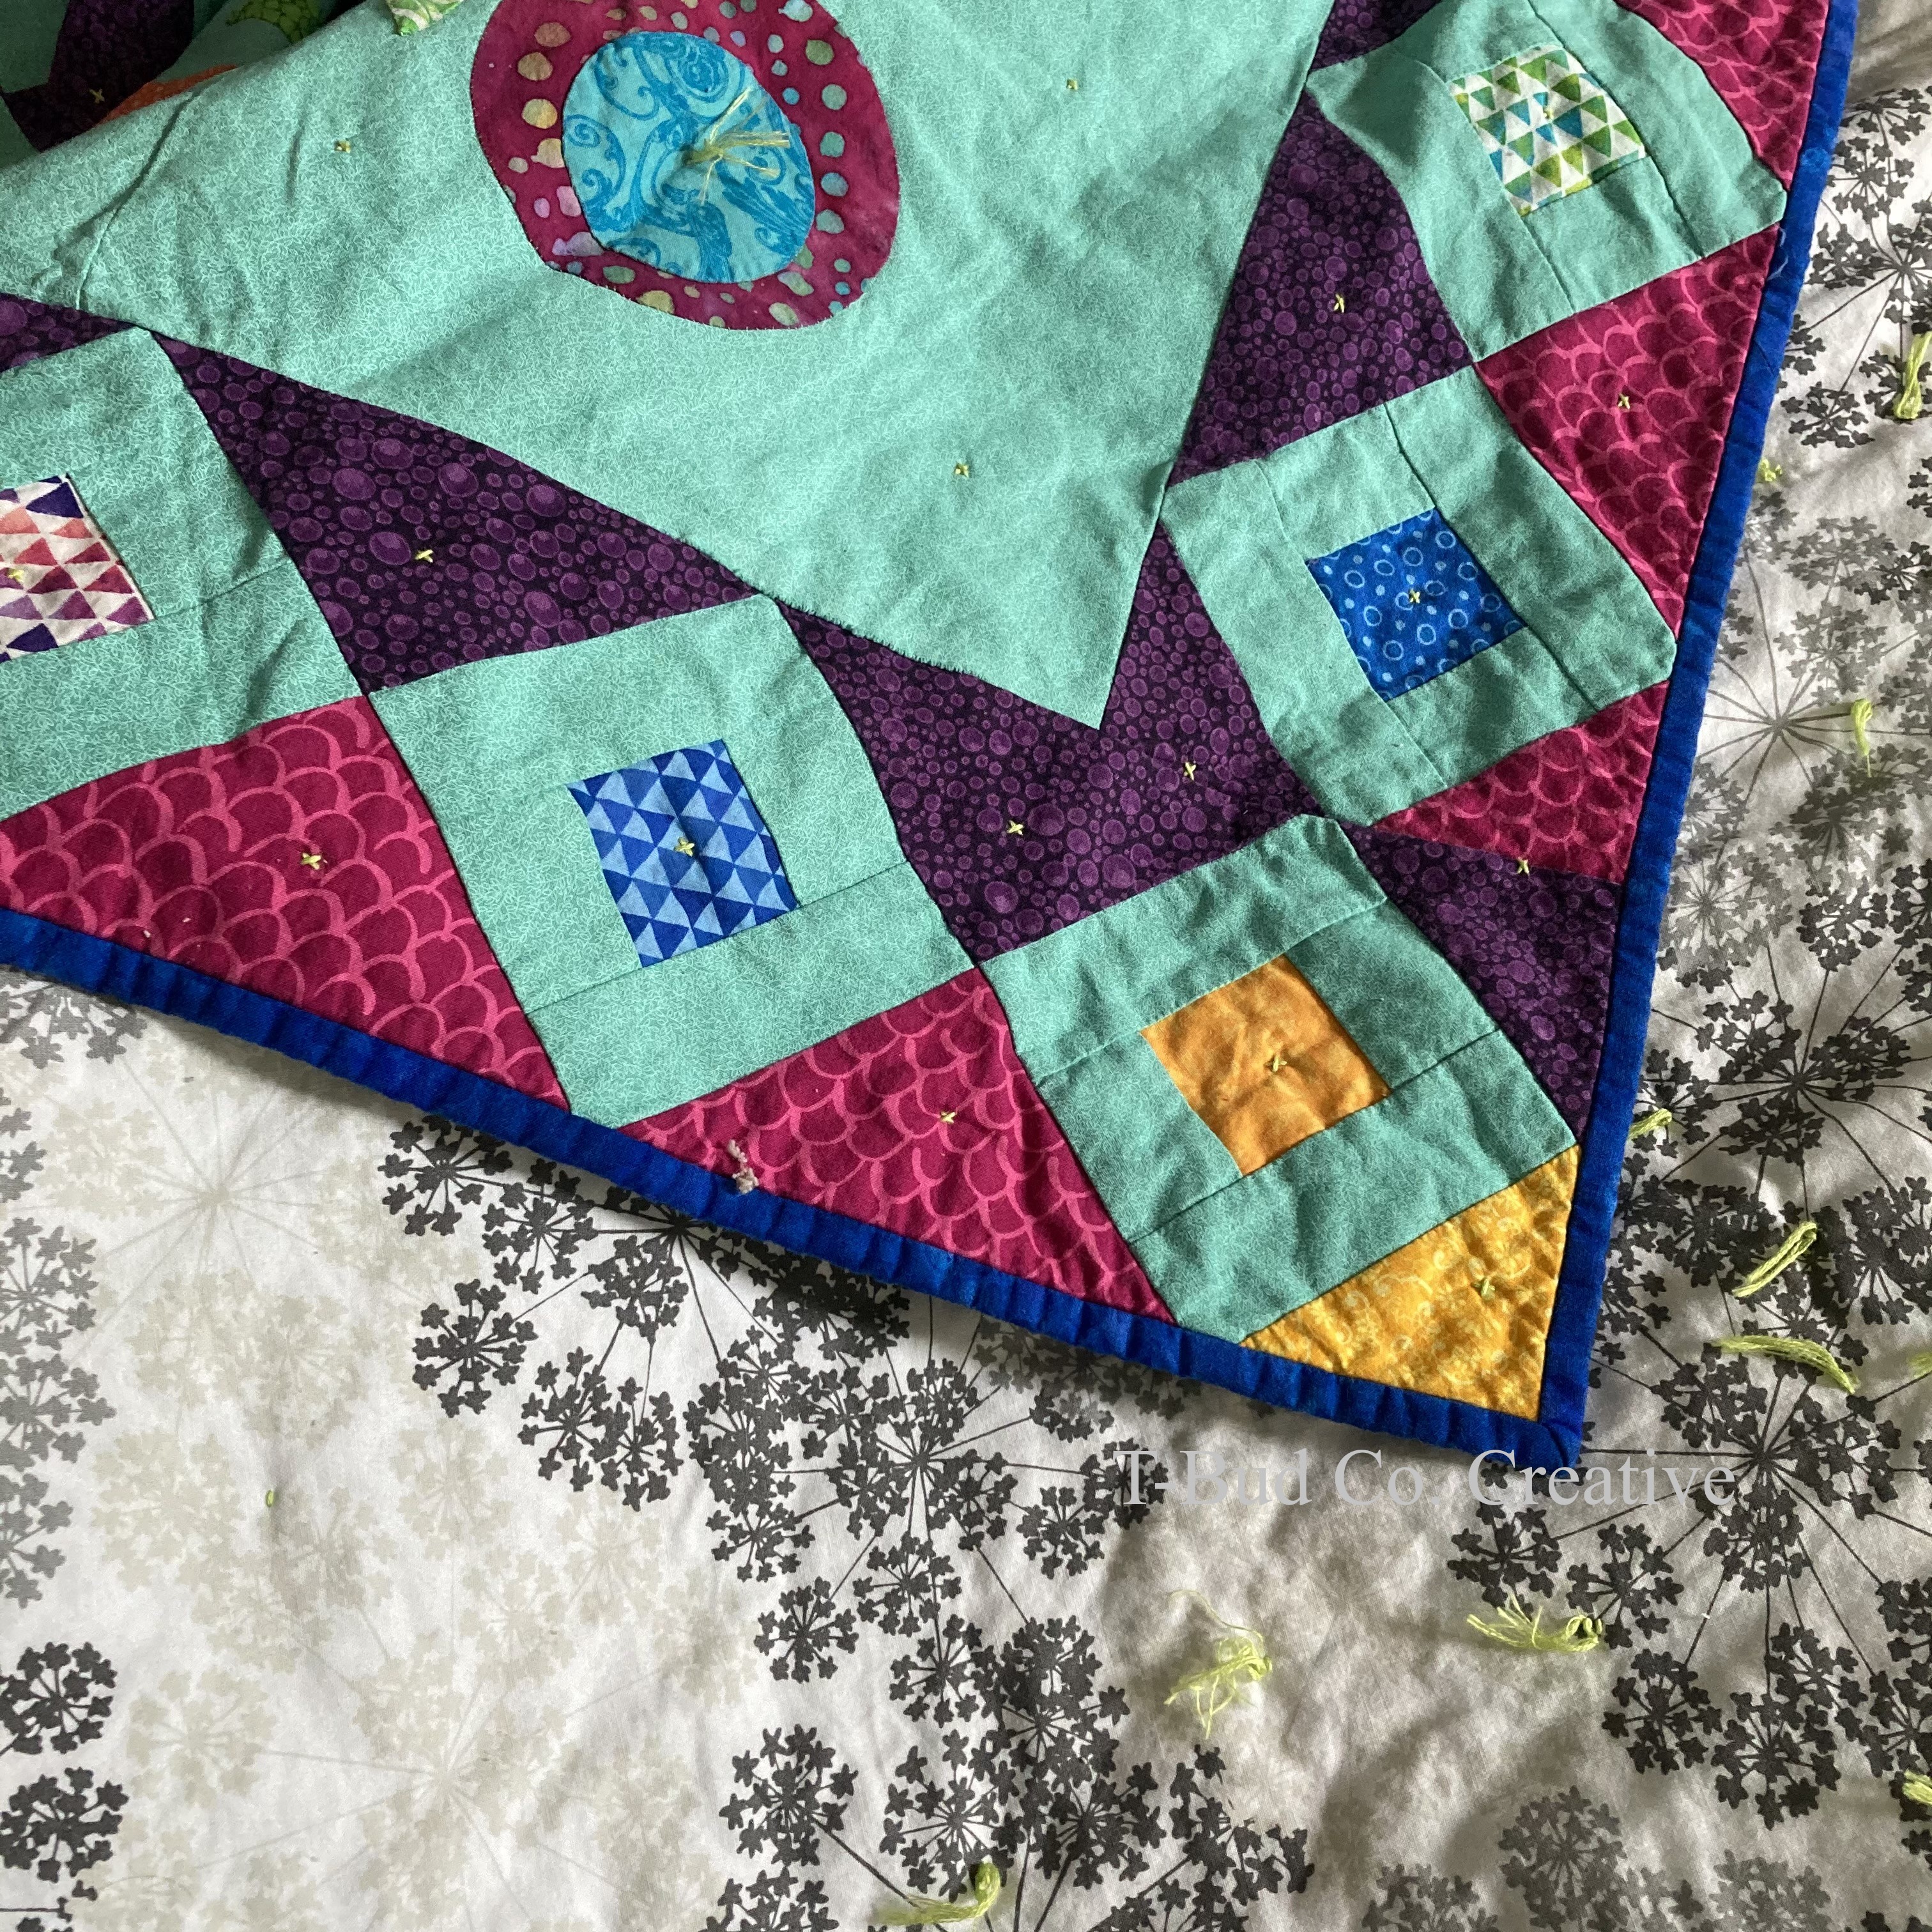
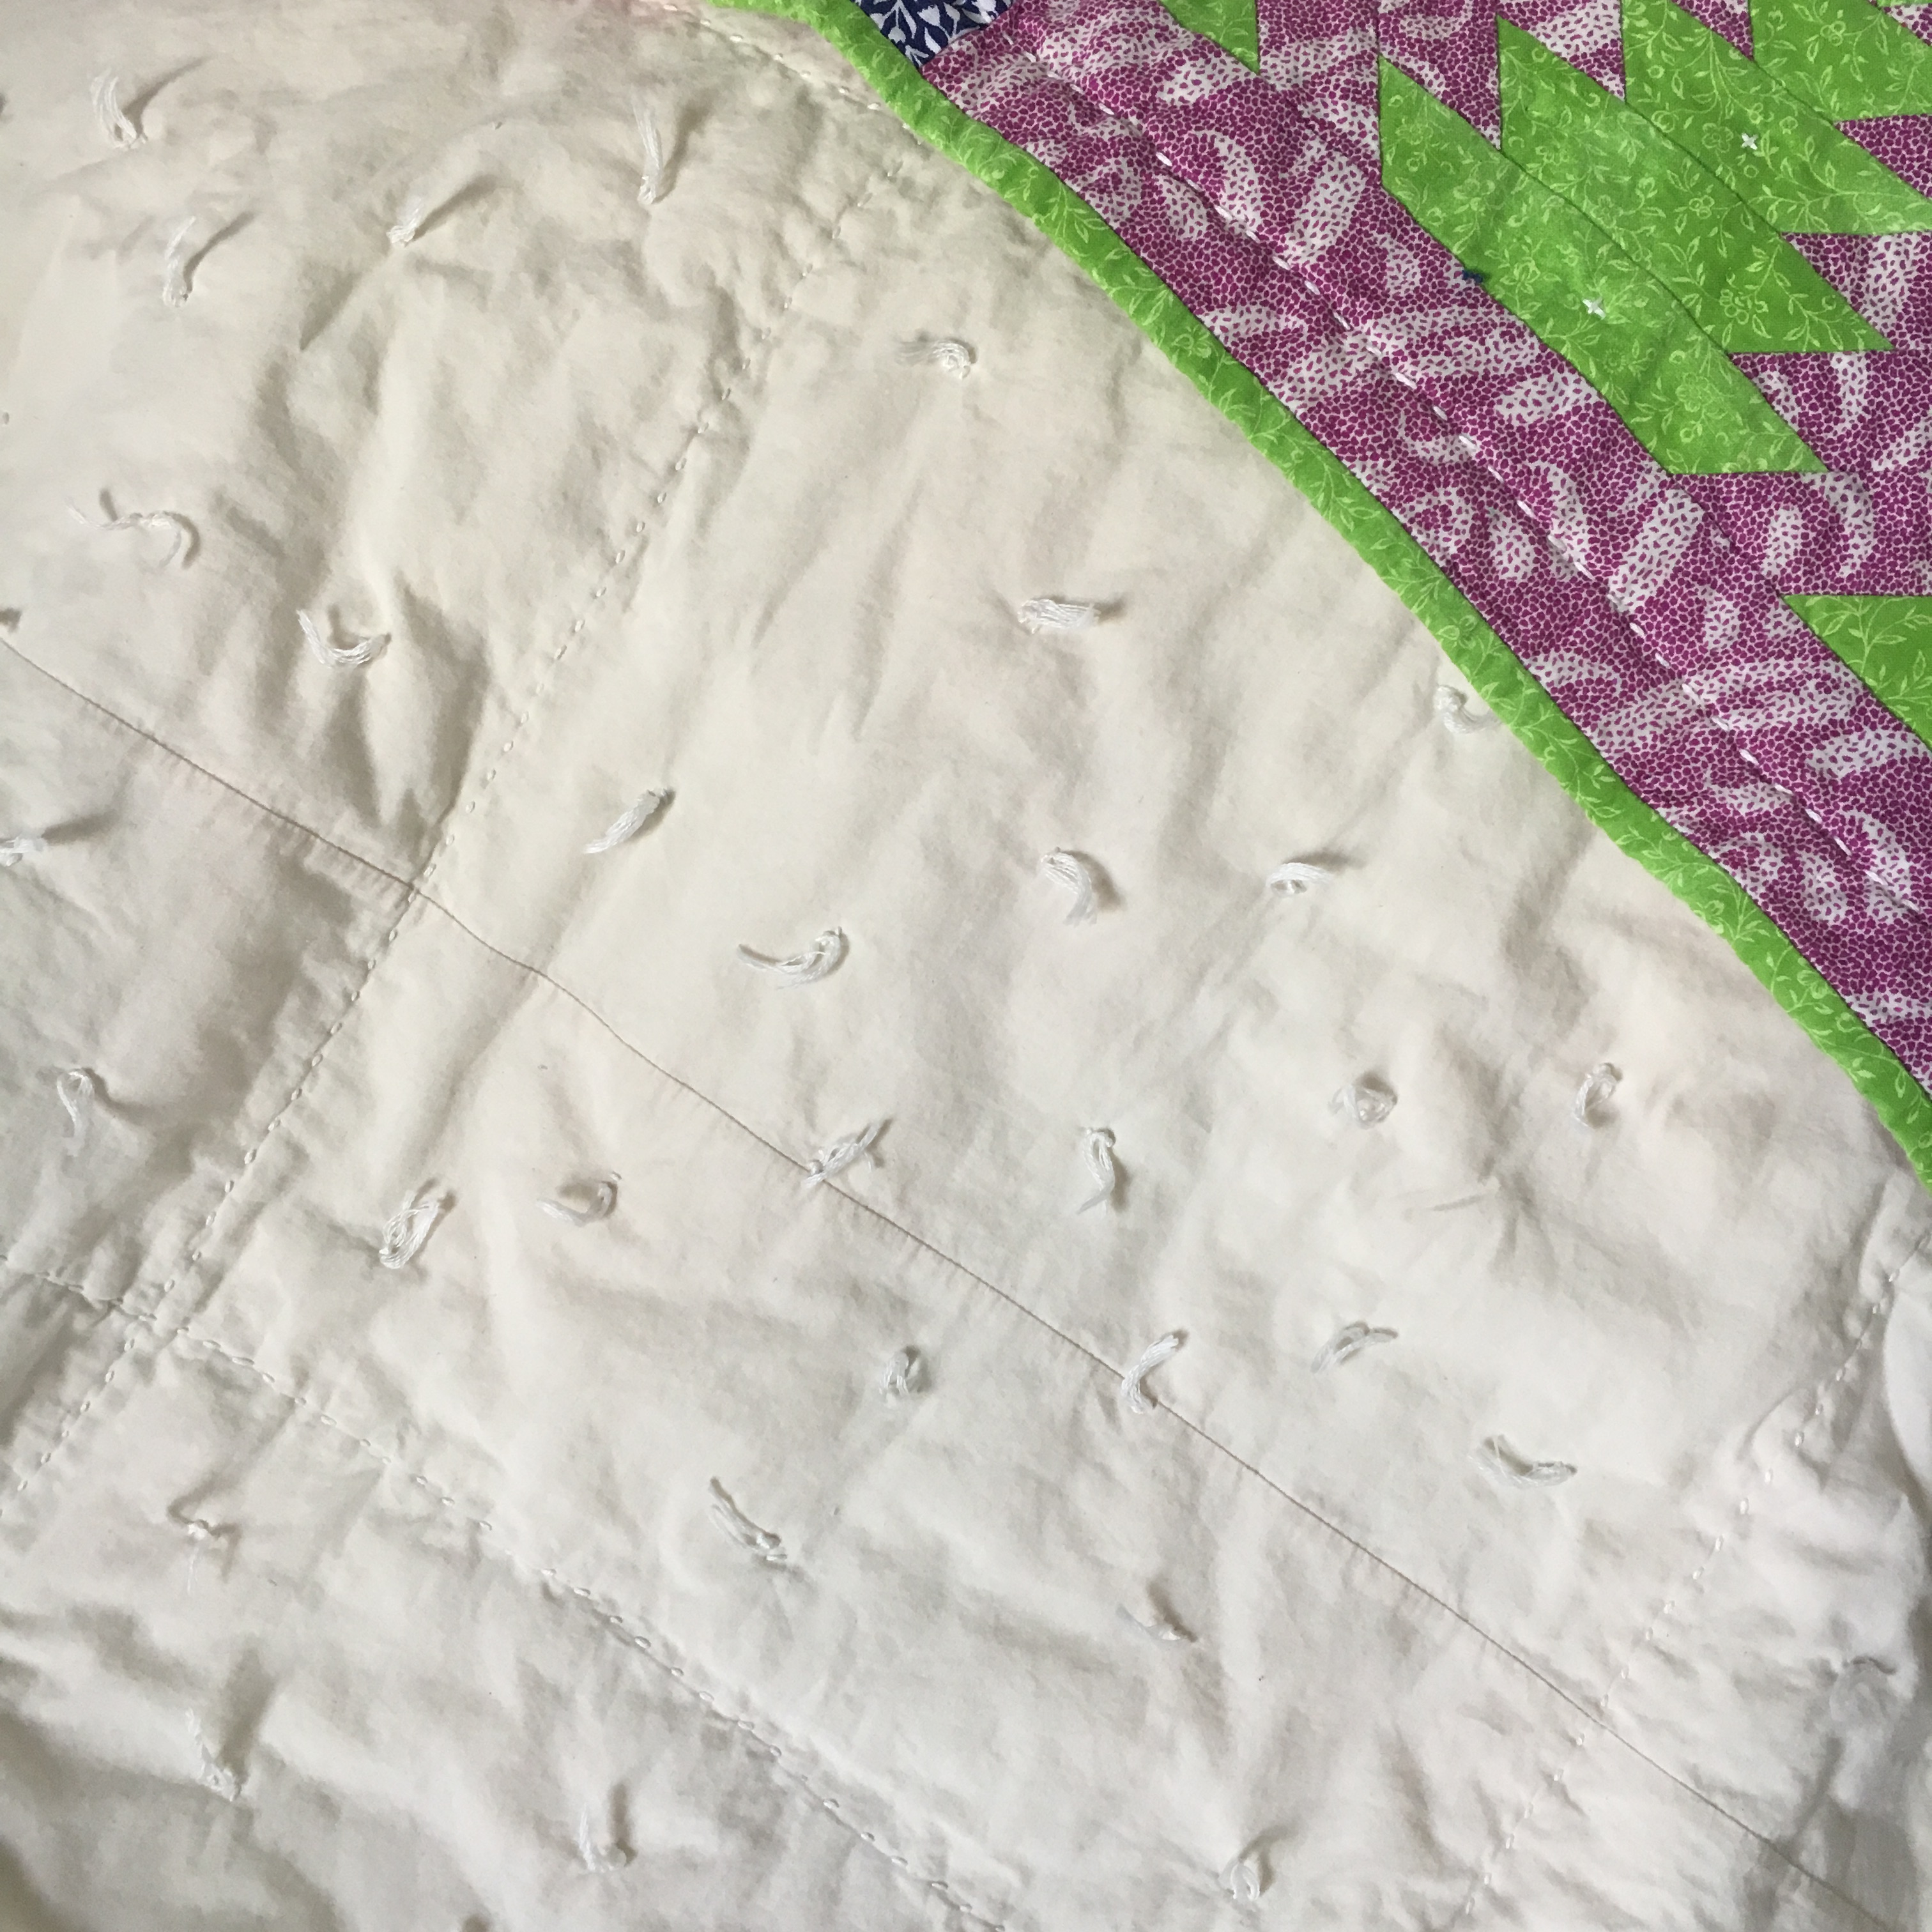
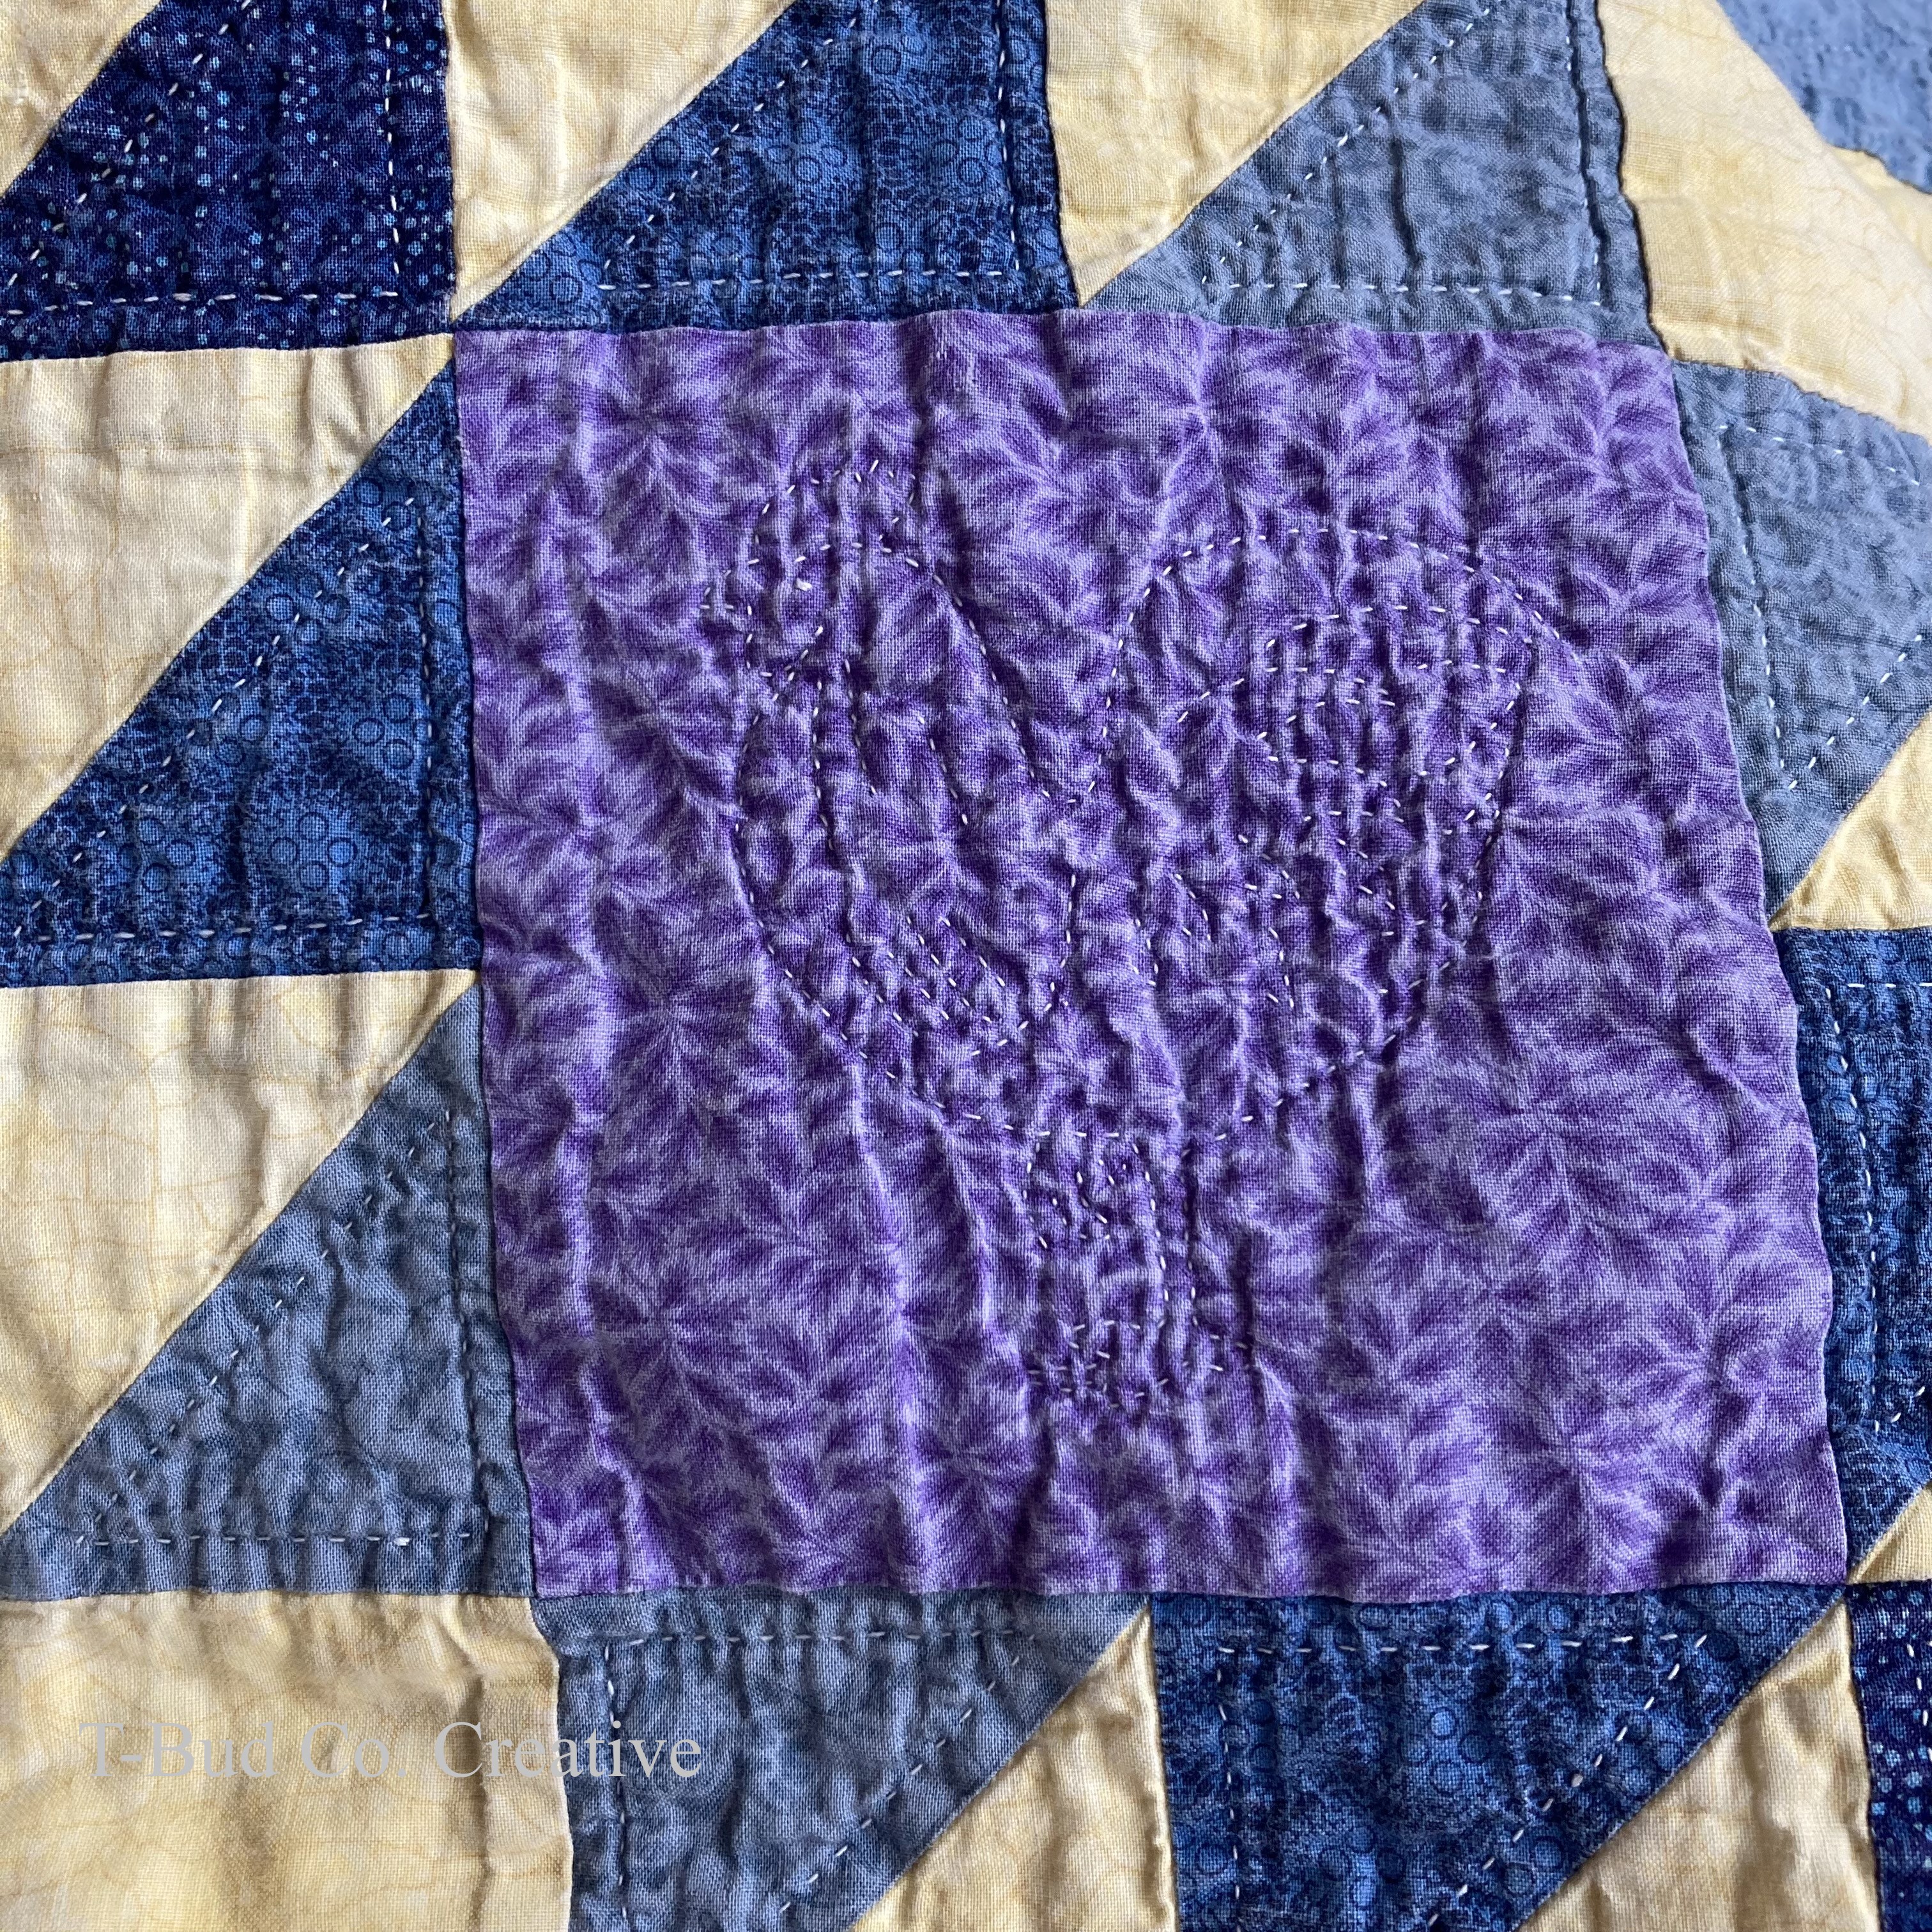
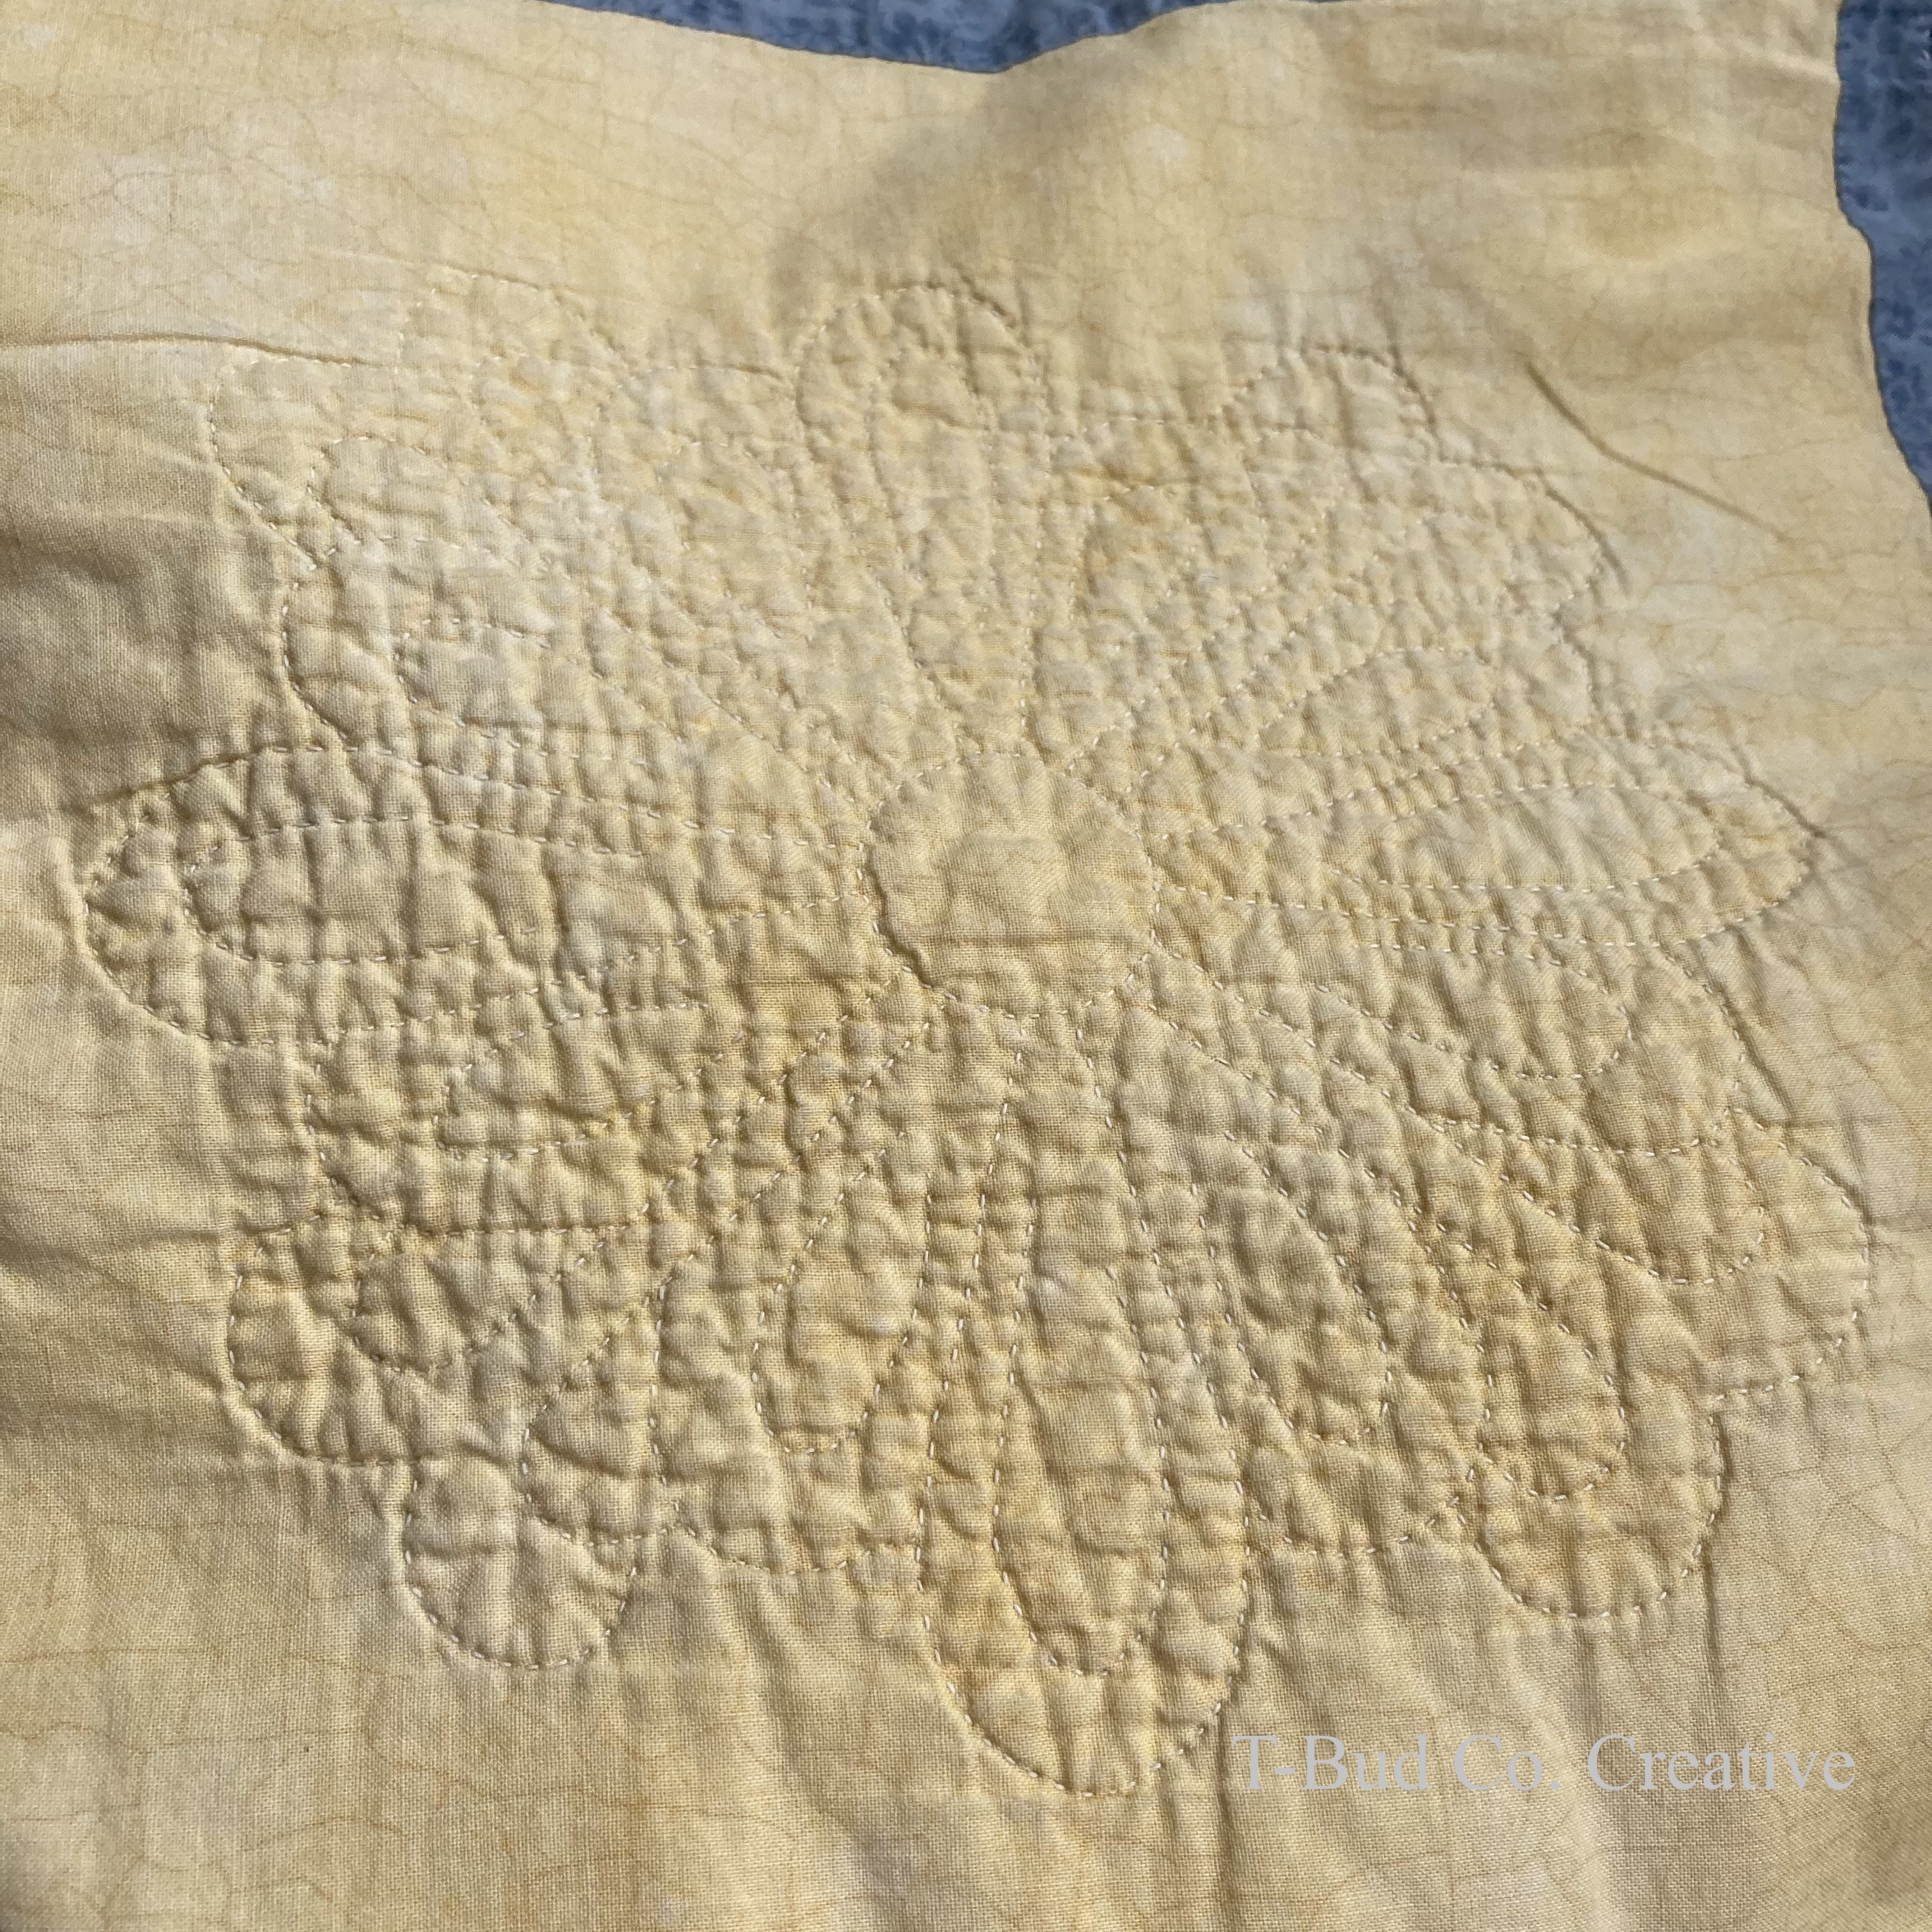
A little history on this quilt: my mom made this quilt from a block-of-the-month quilt kit she got from Joann Fabrics & Crafts circa 2000. In 2006 or 2007, she mailed it to me as a college graduation gift (I graduated in 2005). Readers, this quilt is hand quilted. It has a muslin backing that is so soft. (Y’all know I love a muslin backing.) I love this quilt.

Unlike my M&M’s quilt that I mended by simply cutting off the worn area and re-binding the cut side, I didn’t want to lose size with this quilt. Inspired by Japanese Sashiko and Boro methods and aesthetics, I decided to reinforce the worn area of this quilt. Head over to Upcycle Stitches to learn more about Sashiko and Boro and to be inspired.

Since the worn area was about 6” wide along one side of the quilt, I simply cut a 13” x 72” strip of complementary fabric—at least the fabric in my stash that matched the best and that I had enough yardage of—ha! And, I had to cut and stitch together a couple of pieces to get a patch that size.
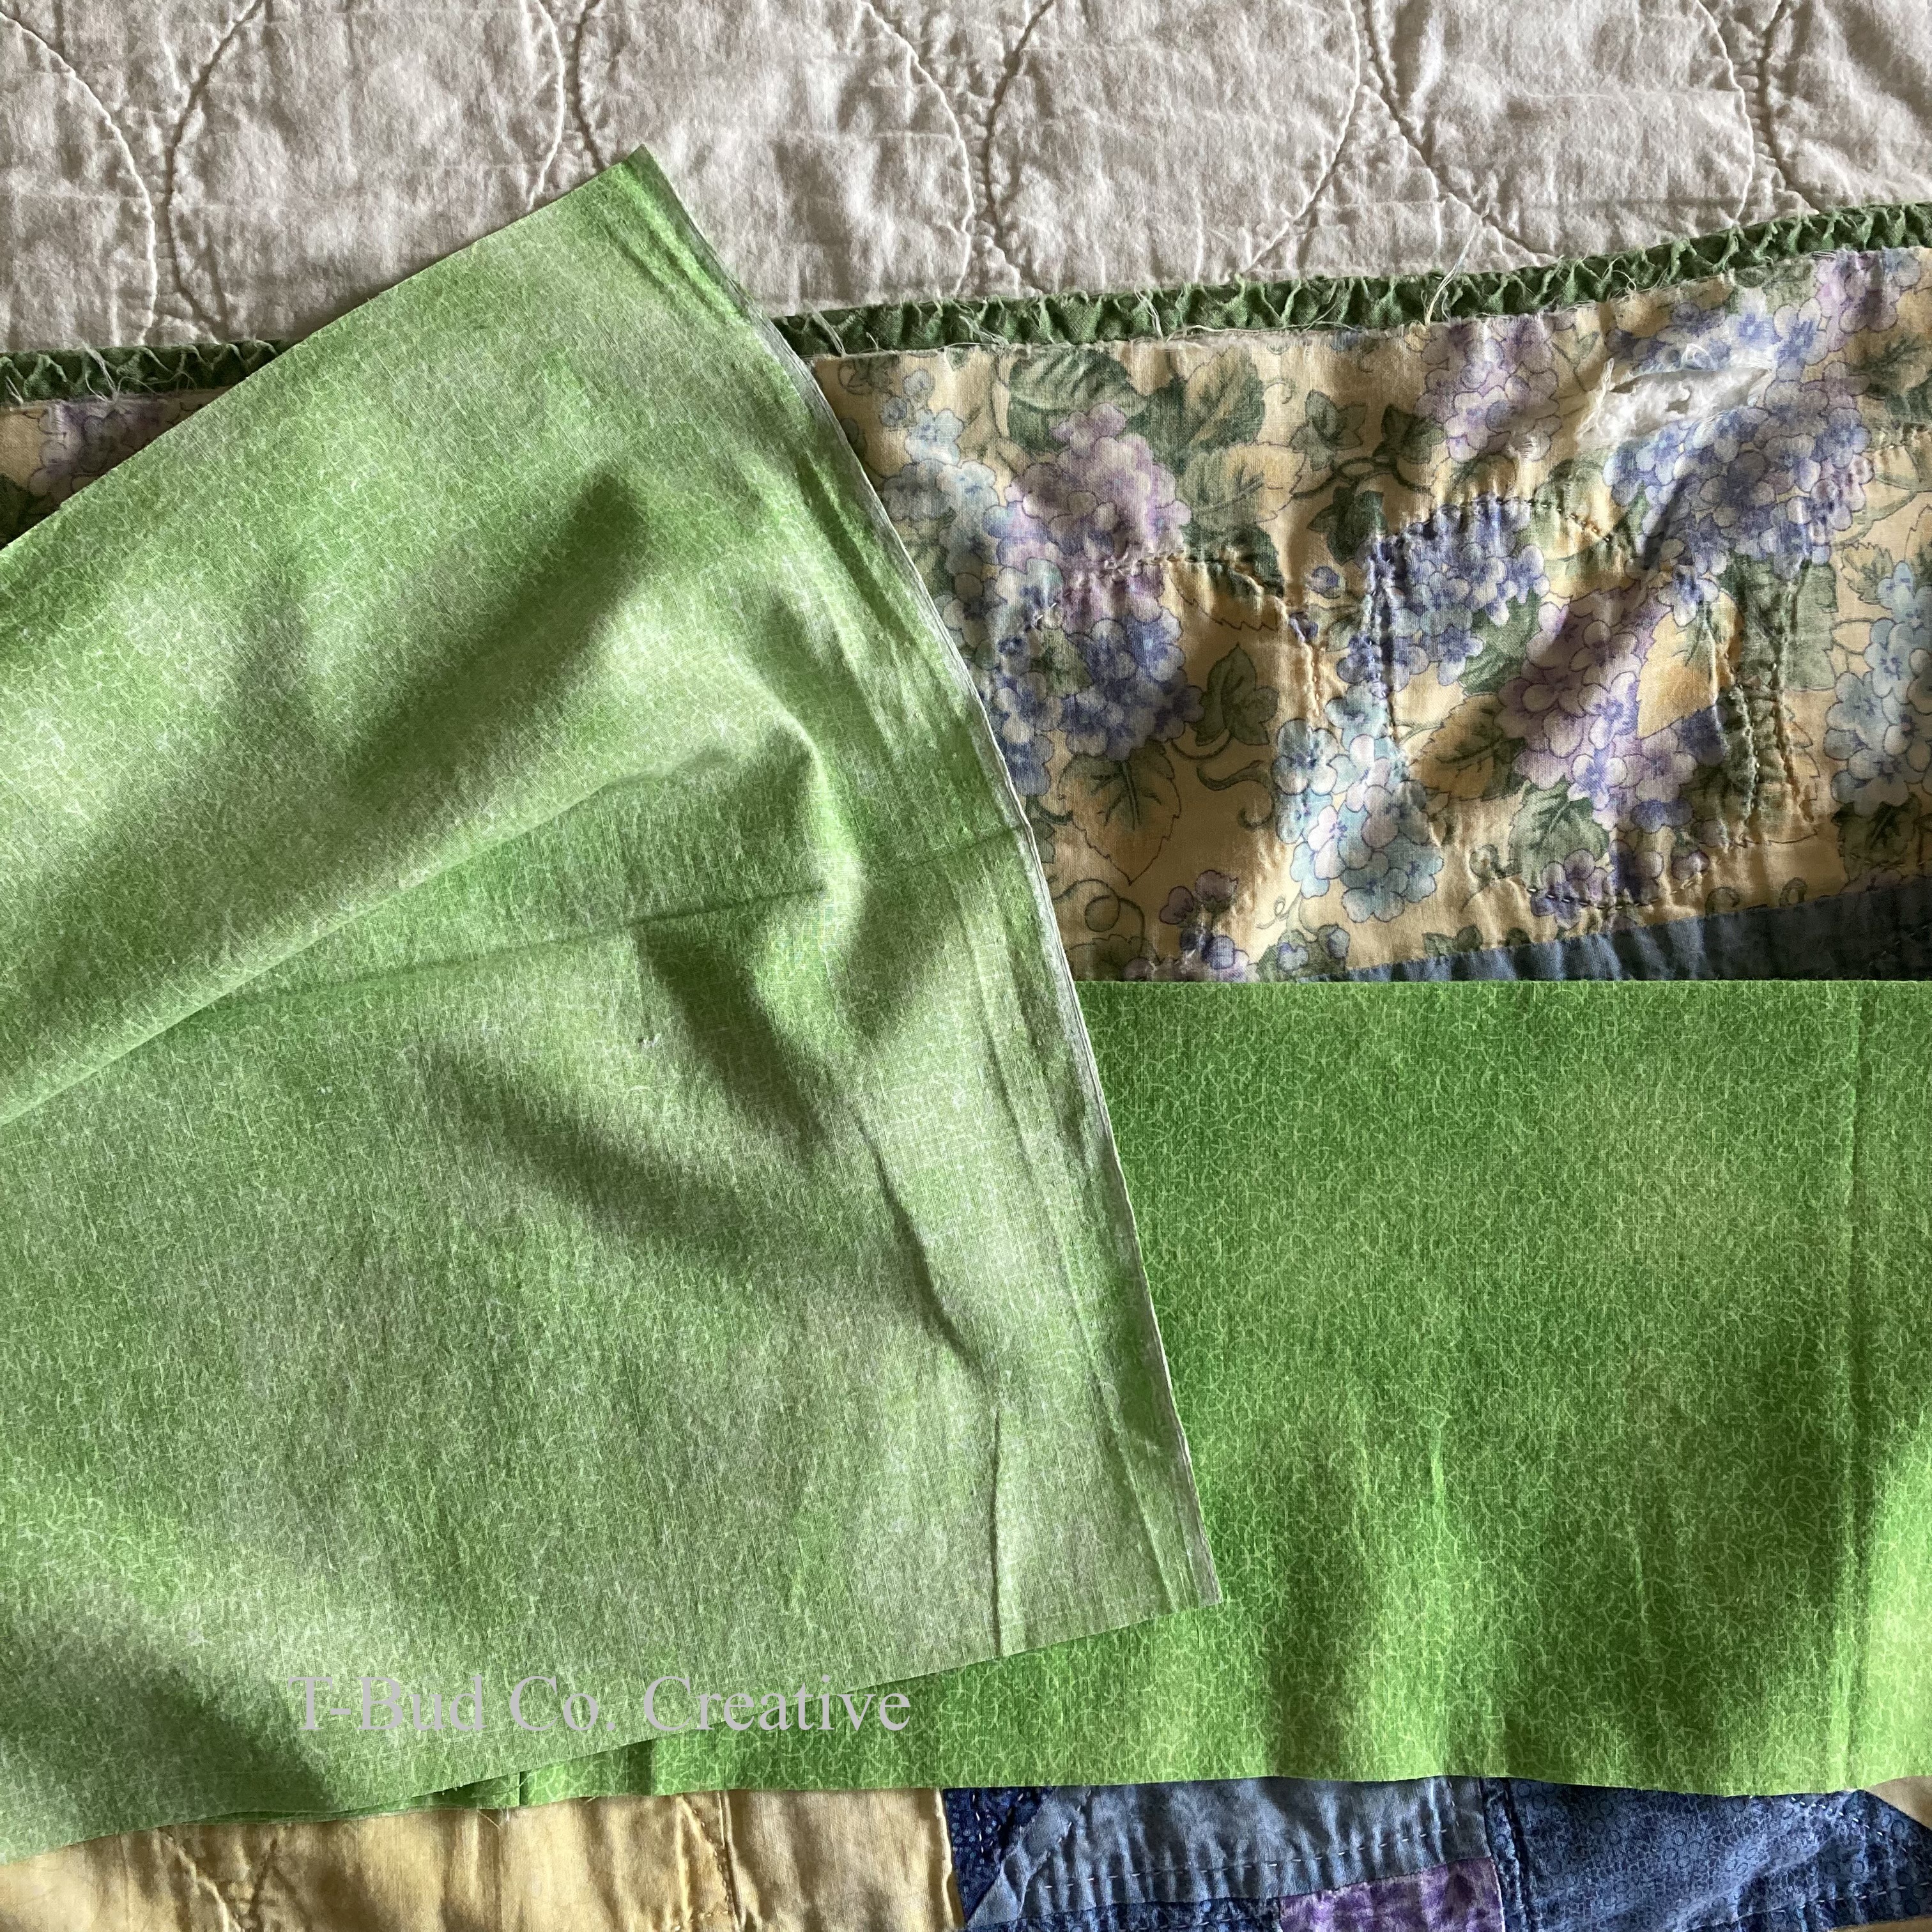
I then folded the fabric patch in half, longwise (wrong sides together) and ironed it. The ironed fold allowed me to see the halfway mark along the patch, which I wanted to land right on the original binding.

Next, I pinned the fabric to the quilt (right sides together), machine-stitched it down with my quilting foot, and then folded it over and gave it a little iron. Think of this patch going on like a really wide binding.

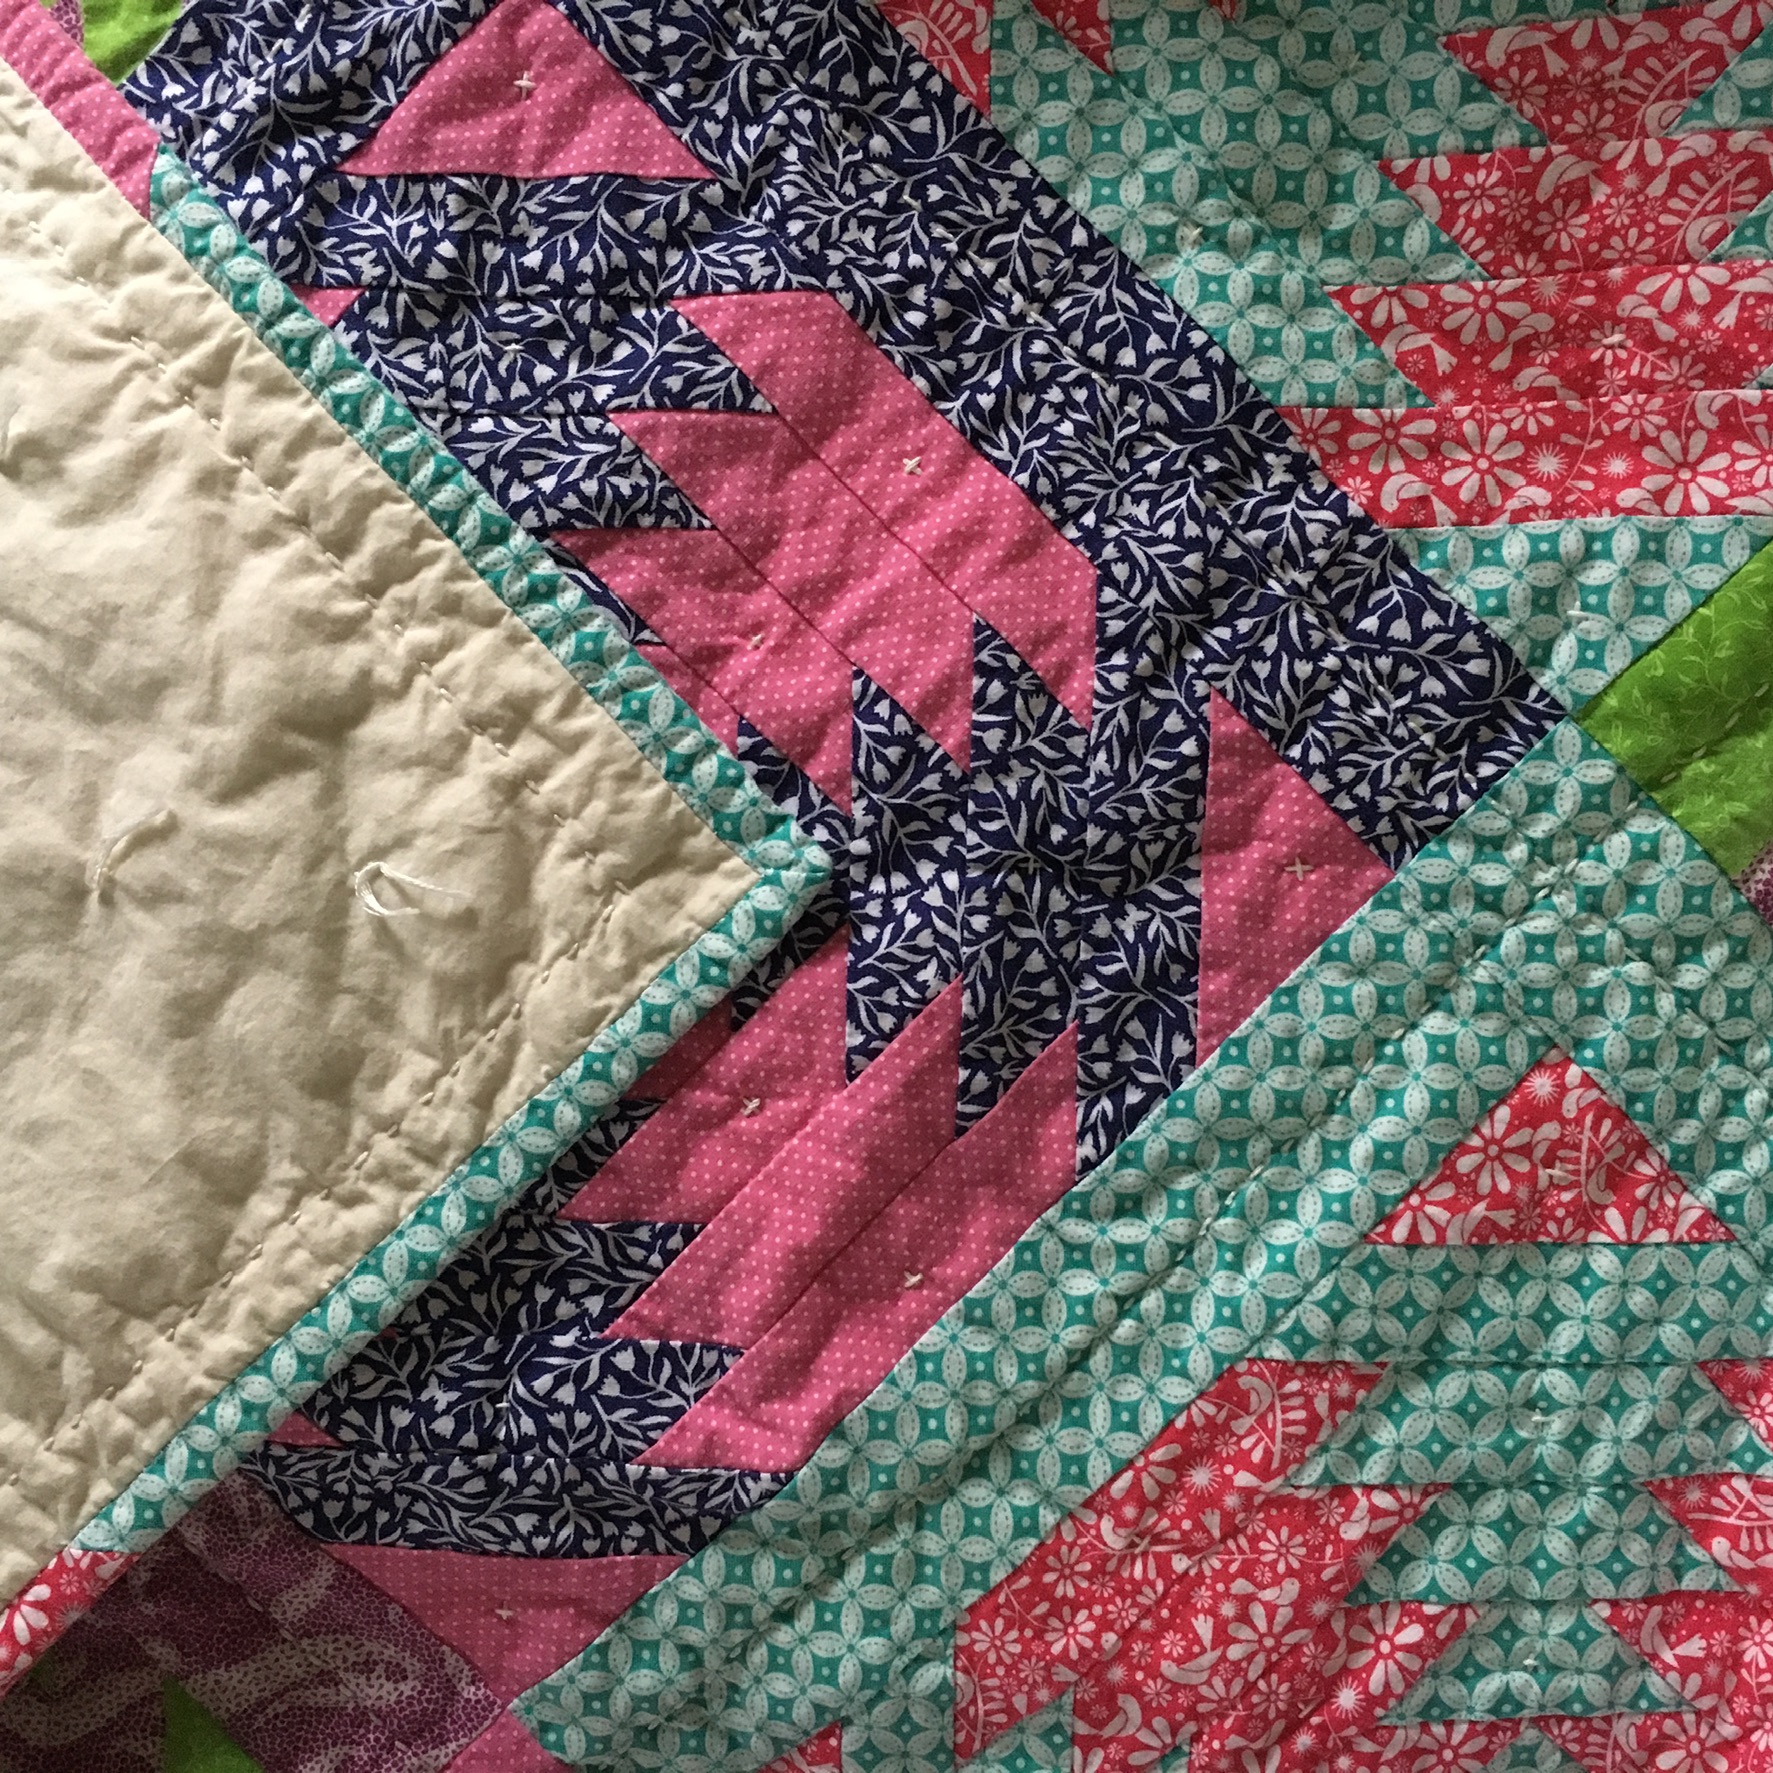
This is where it got a bit tricky, because I needed to quilt the fabric down before attaching the edge of the backside of the patch. I pin-basted the patch in place. Once that was done, I went to town with stitching big stitches in pearl cotton thread.

Finally, I stitched down the short sides and the edge of the backside using a needle-turn appliqué technique. I folded back and tucked in about a ¼” of the edge of the fabric and stitched the patch down right at the fold.

So, the repair is like a wide single-layer of binding that I quilted with big stitches and attached like an appliqué.

Is it perfect? No. Is this the proper way to repair a quilt? Probably not. Is the quilt now usable and back on my bed? Absolutely! Does it sleep like a dream? You know it! And, really, isn’t that all that matters?
Now, let’s take an appreciation tour of my mom’s original quilting:

How do you repair your quilts? Leave a comment if you’ve got a tip or trick that I just gotta know!