I repurposed a cut and sew panel intended to be a fabric book into a quilt. Each page became a quilt block and coordinating fabric was used for sashing and borders.
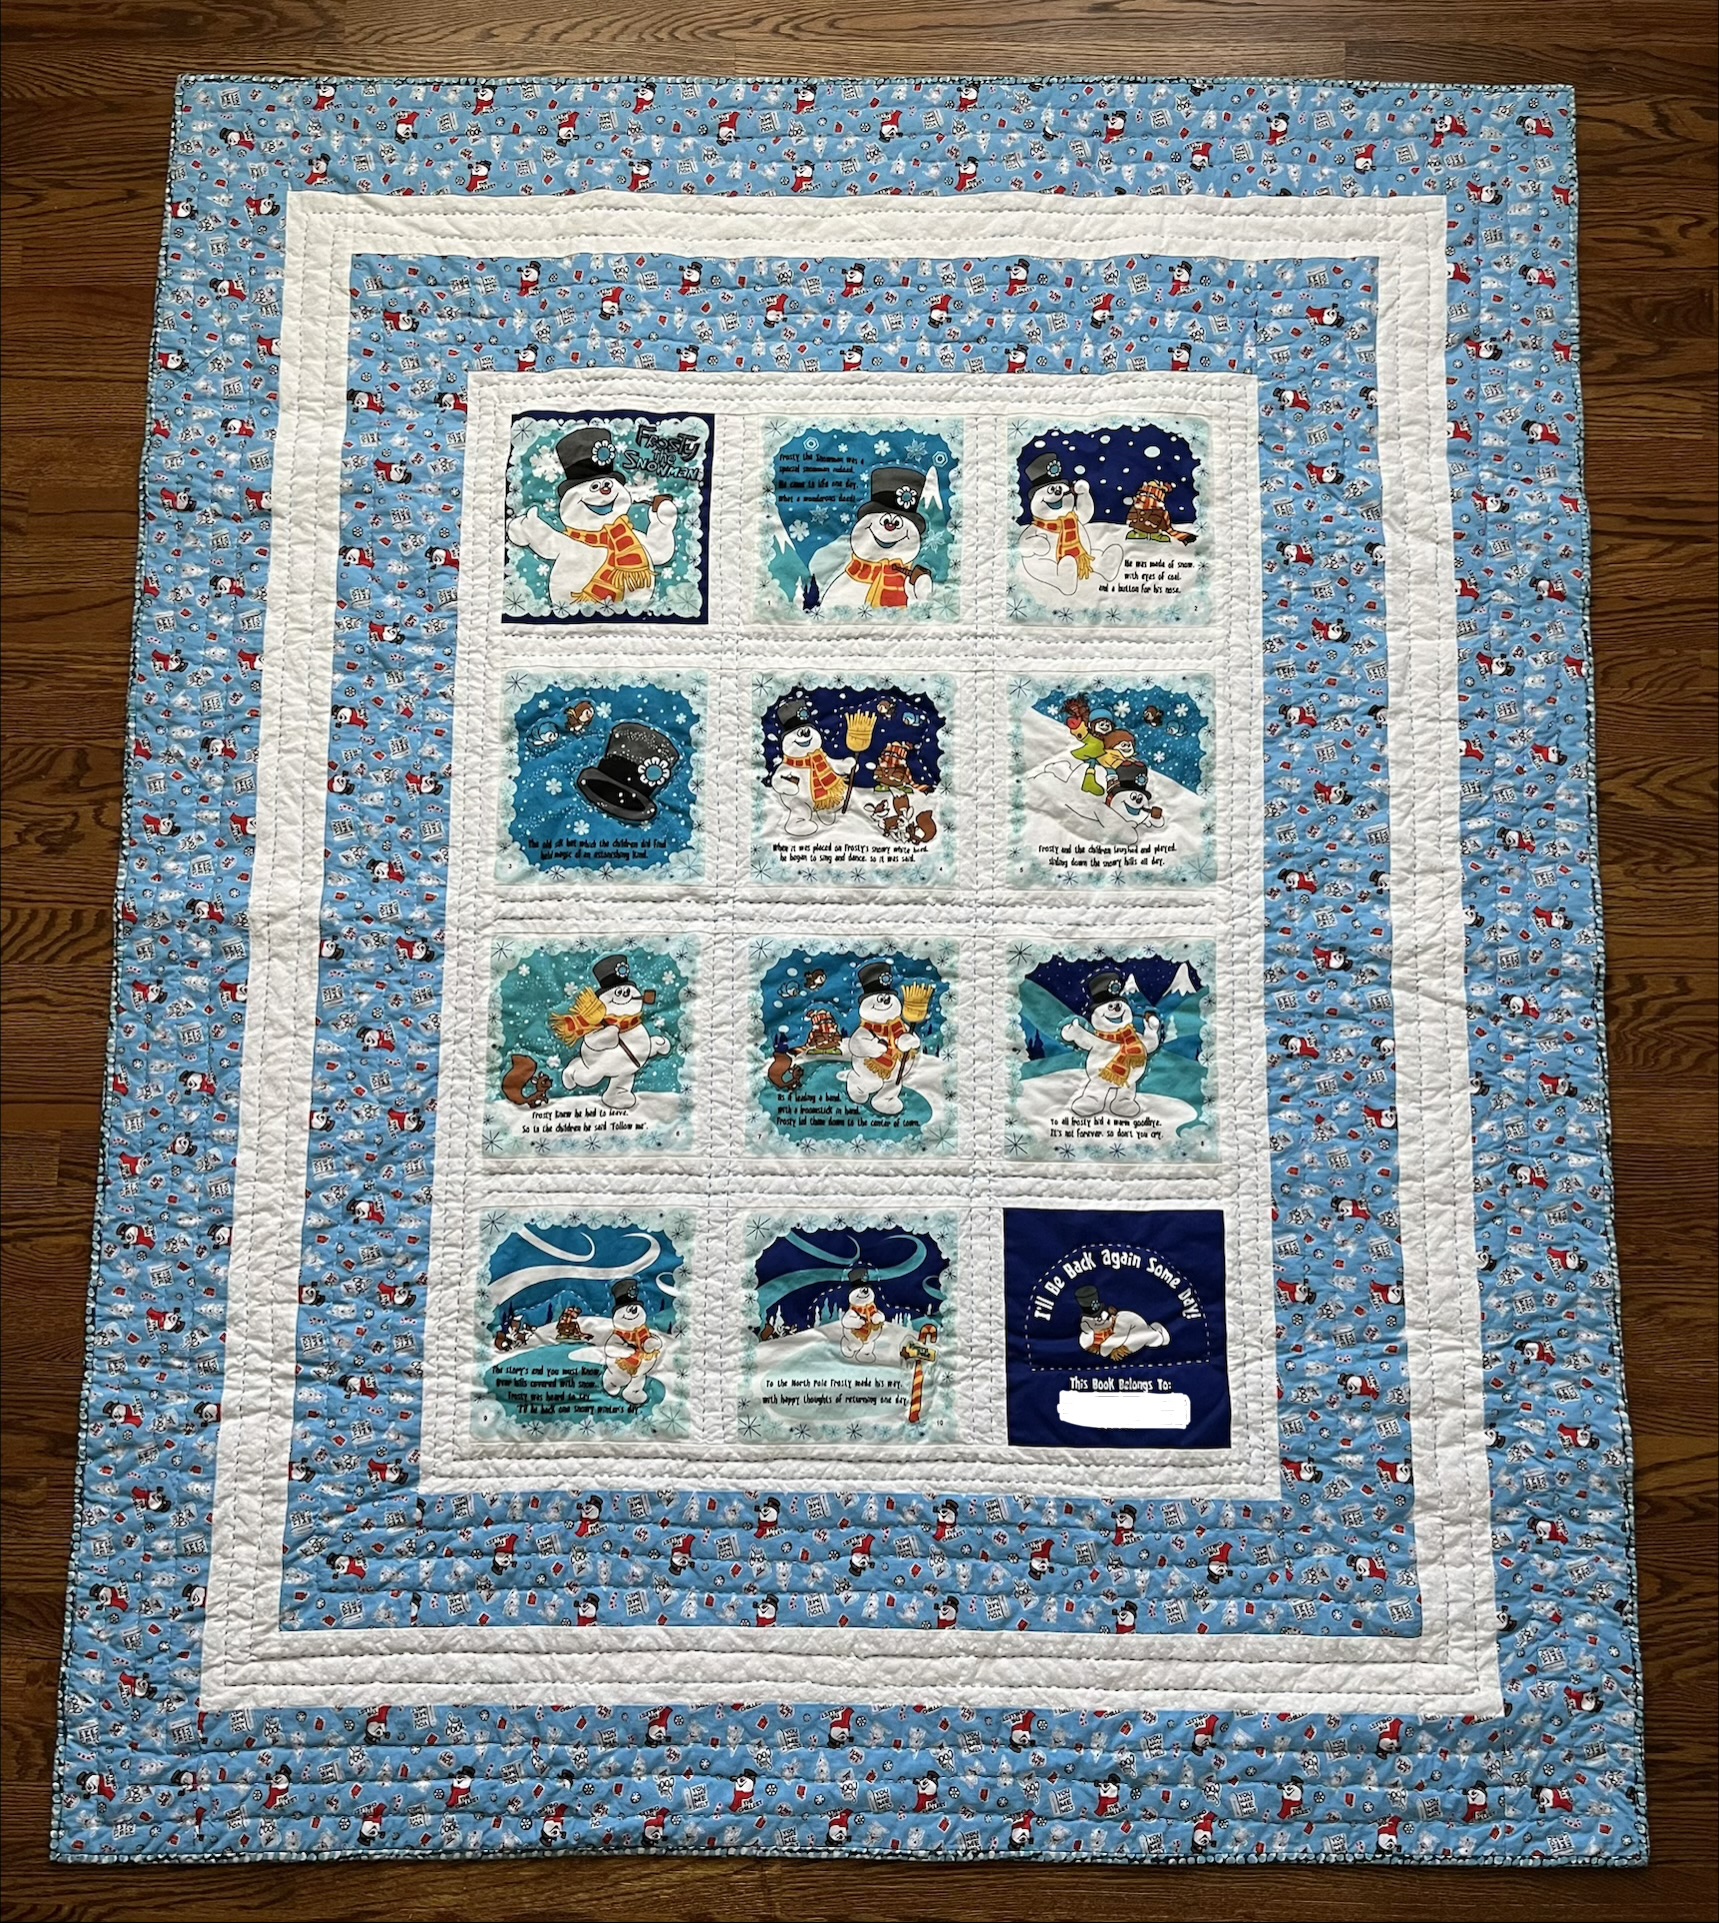
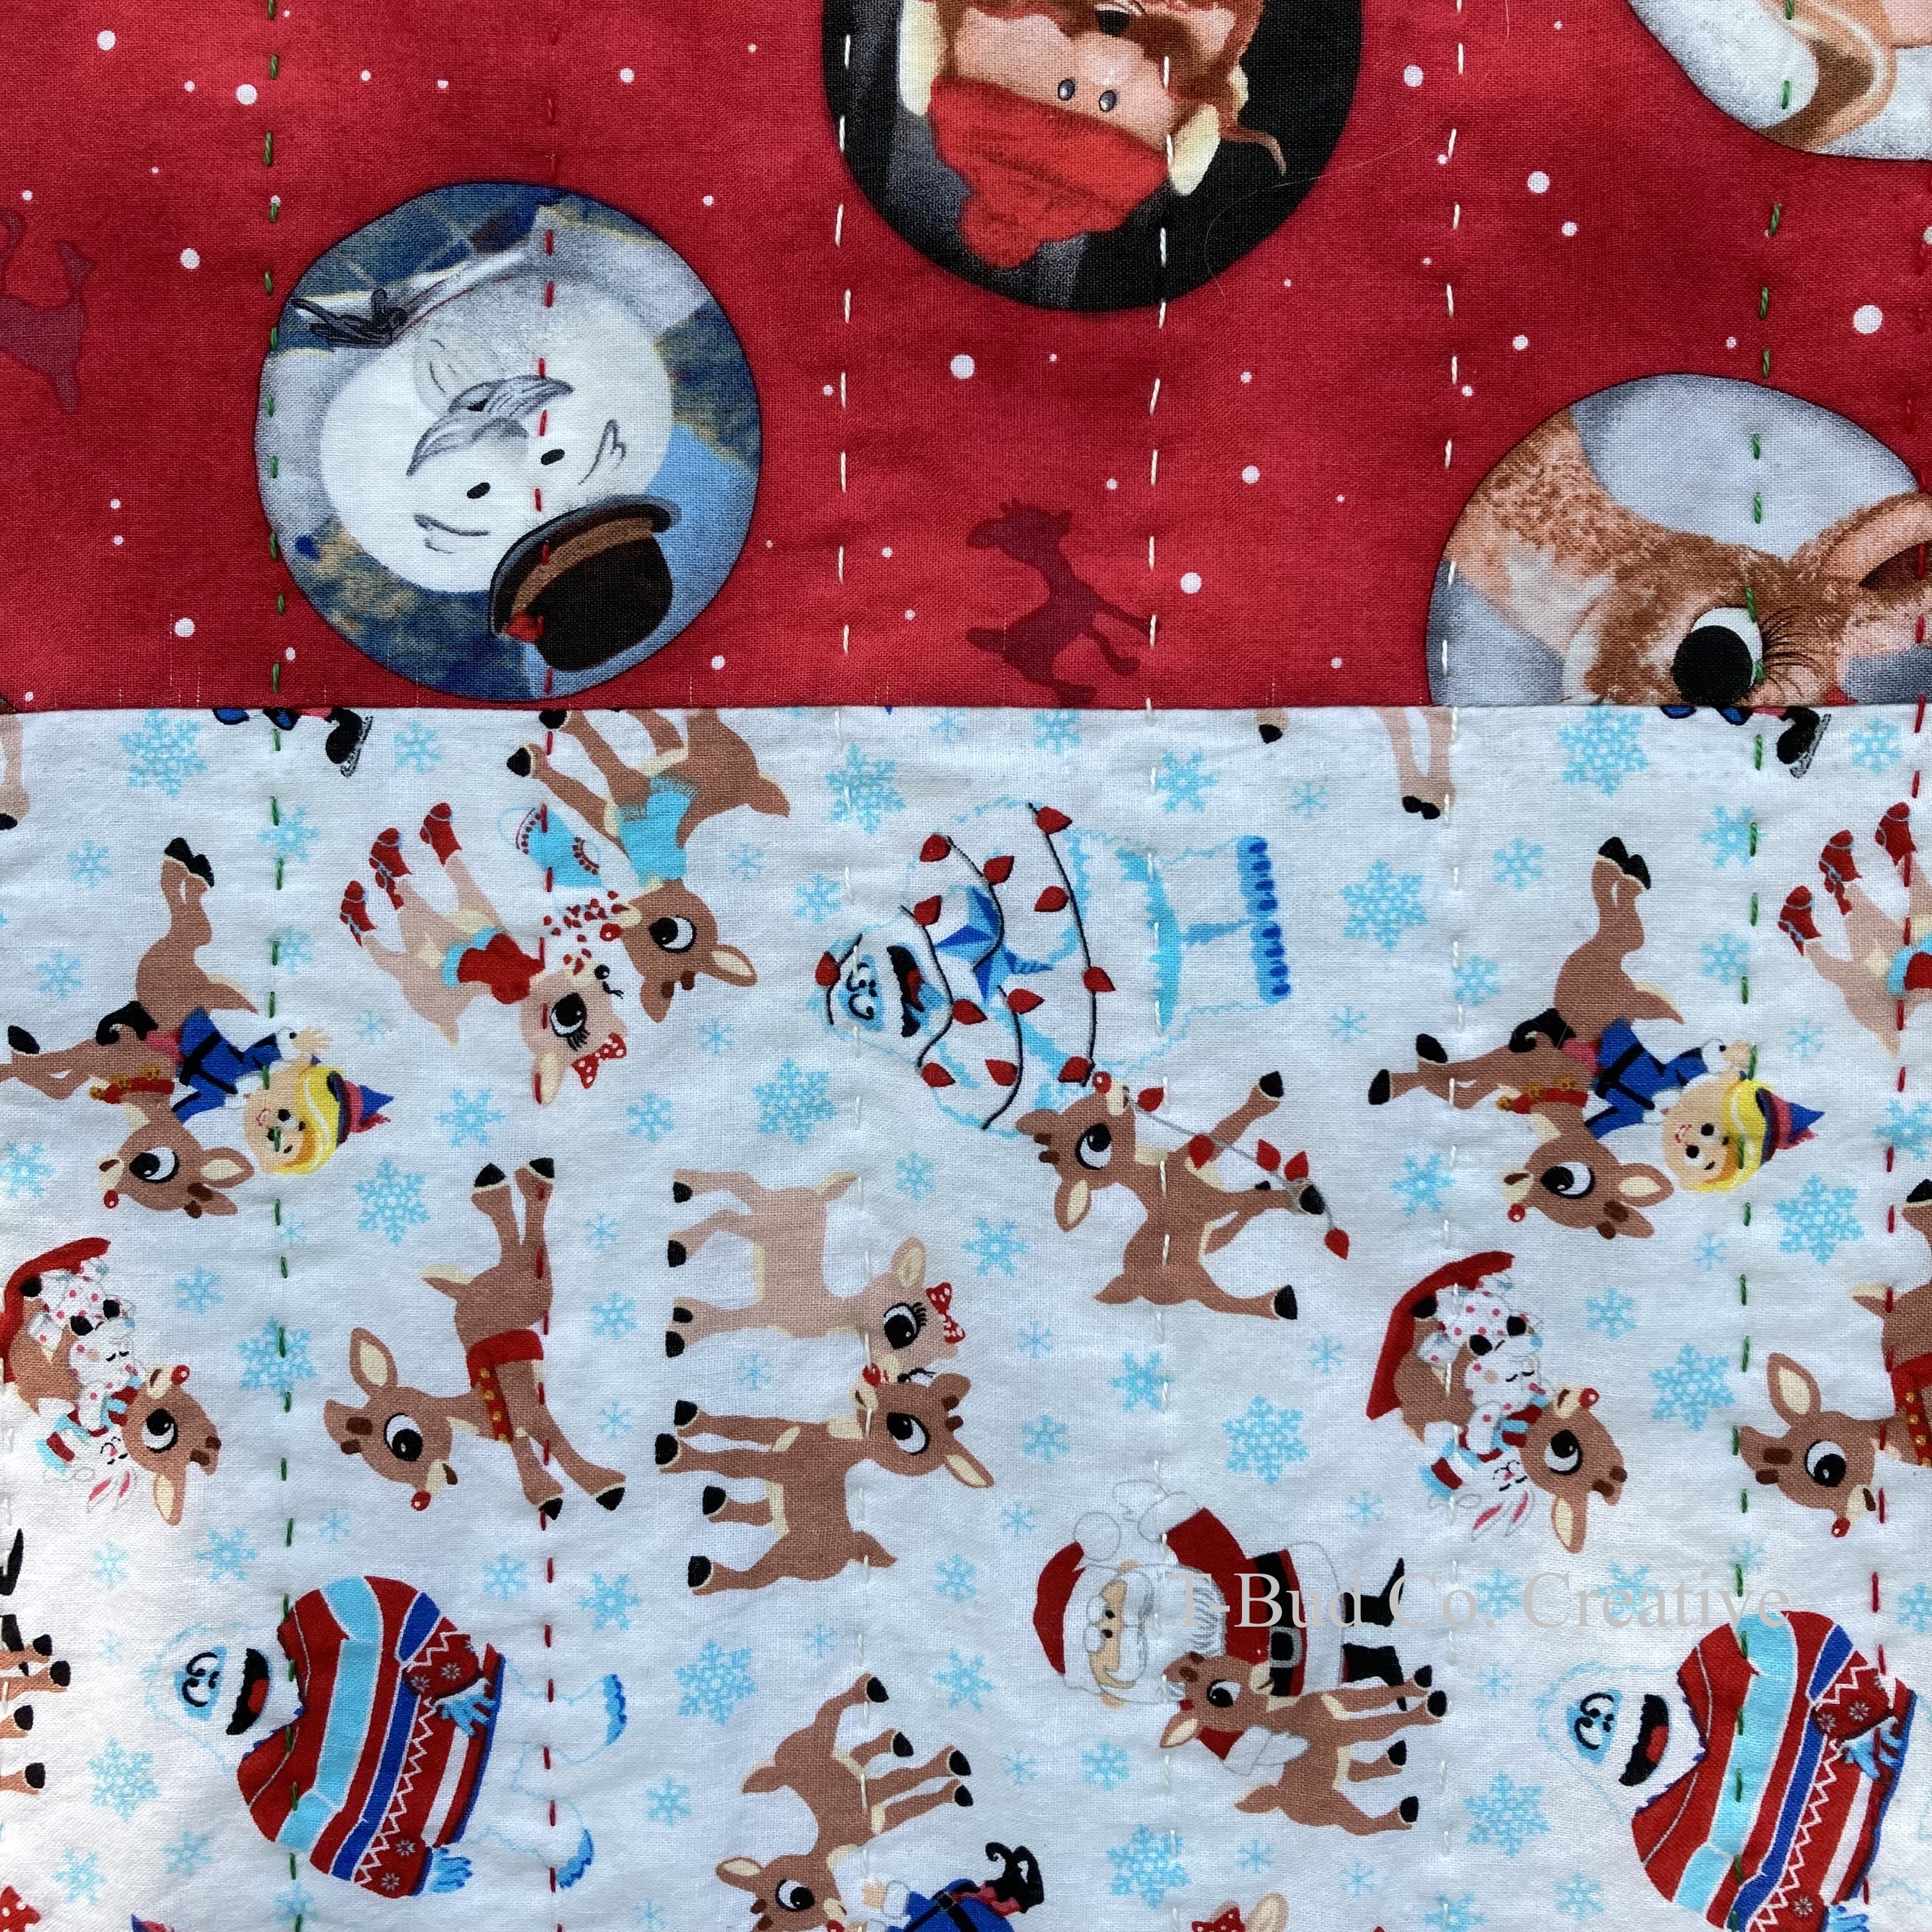
My Frosty the Snowman Christmas Quilt is based on my Rudolph the Red-Nosed Reindeer Christmas Quilt. When I found a cut-and-sew fabric book panel for the story of Frosty the Snowman that was similar to the Rudolph panel I used for that quilt, I knew I wanted to make another quilt. The Rudolph Quilt is one of my family’s favorites and is out on our couch year-round.
The construction of the Frosty Quilt is almost identical to the Rudolph Quilt. In fact, I measured the sashing and borders on the Rudolph Quilt and made my Frosty sashing and borders the same size.
This quilt was a breeze to put together. I had had the fabric for a few years. It was only when I made a promise to myself that I would focus on one quilt at a time that I worked my way through one unfinished quilt top and a started, yet unfinished row-by-row quilt that it was finally time for Frosty! Once started, it came together quickly.
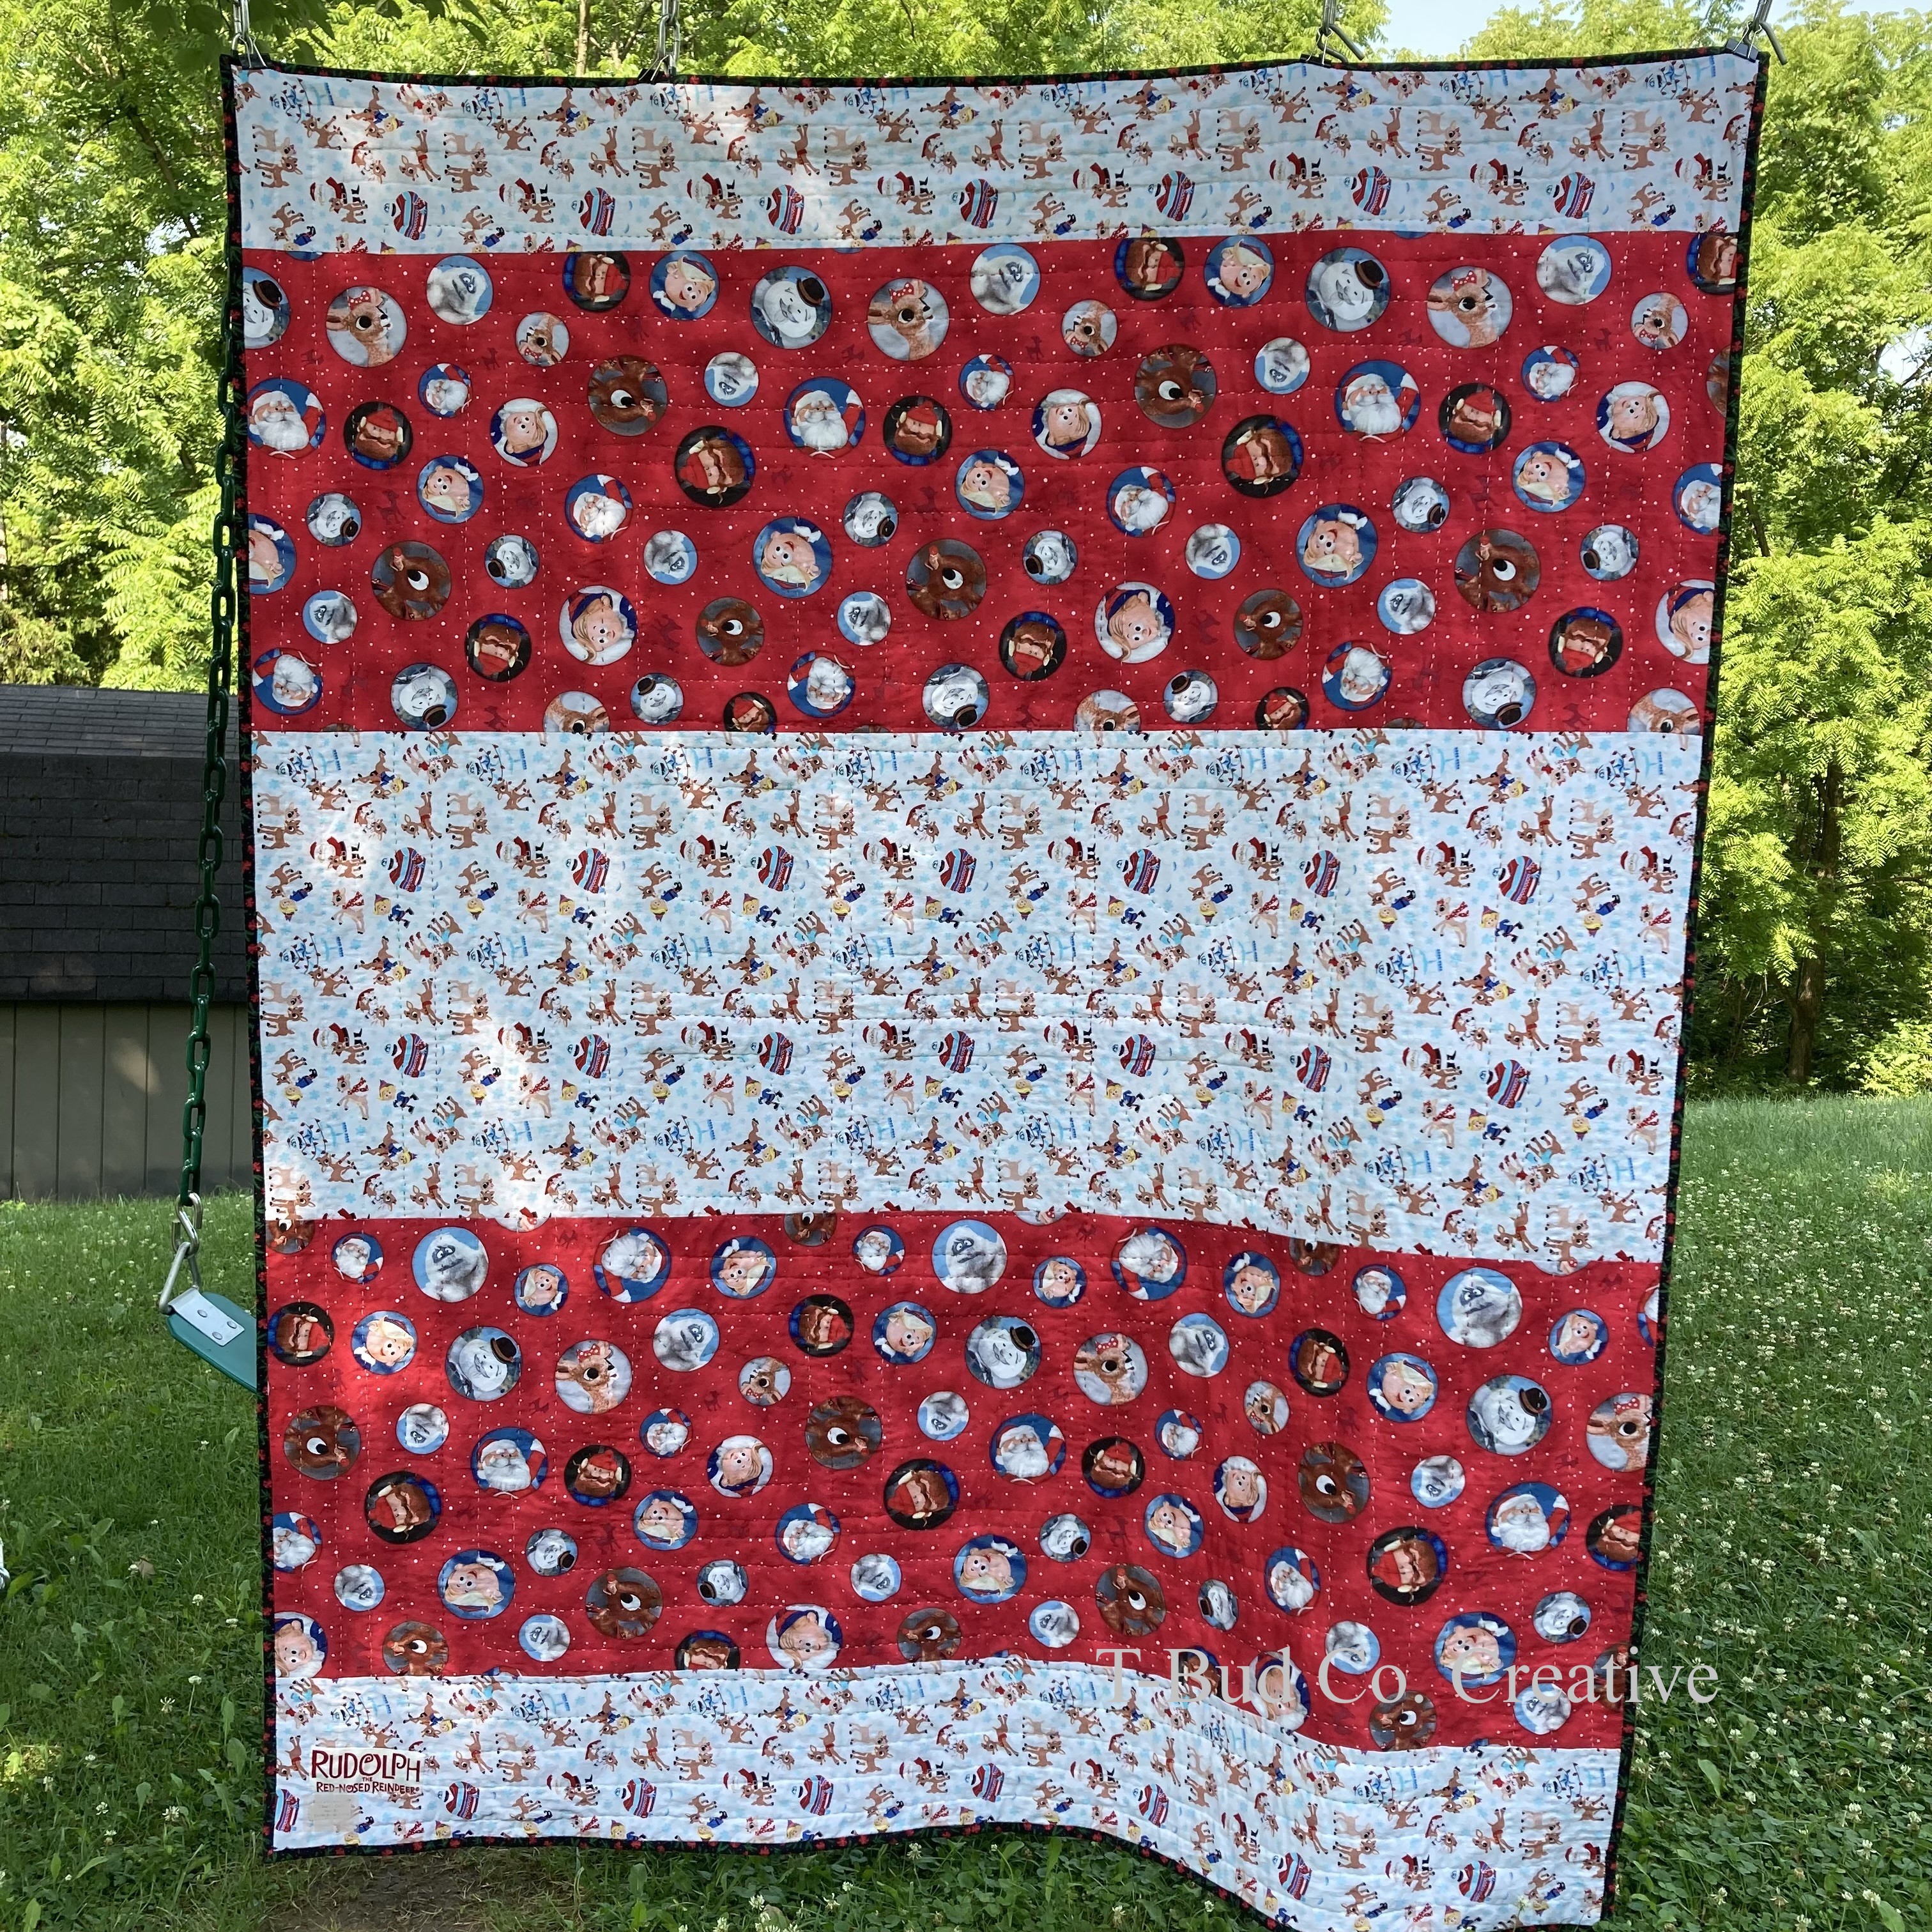
Honestly, the hardest part was the backing. See, our dear Joann Fabrics and Crafts shut down and left not only a hole in our hearts, but the fabric market, too. I didn’t have enough Frosty hexagon fabric to be a complete back. Even with leftover Frosty fabric from the front, I didn’t have enough. So, I just kept adding more and more fabric—the white-on-white print from the front, and then some peppermint print fabric (that I had originally purchased from Joann). This is the most pieced backing I’ve ever made. If Joann Fabrics and Crafts was still in business, I would have zipped on over and purchased enough fabric of some Frosty/Christmas/winter theme to complement that hexagon pattern. I couldn’t do that and I didn’t want to order fabric online, so I made do.
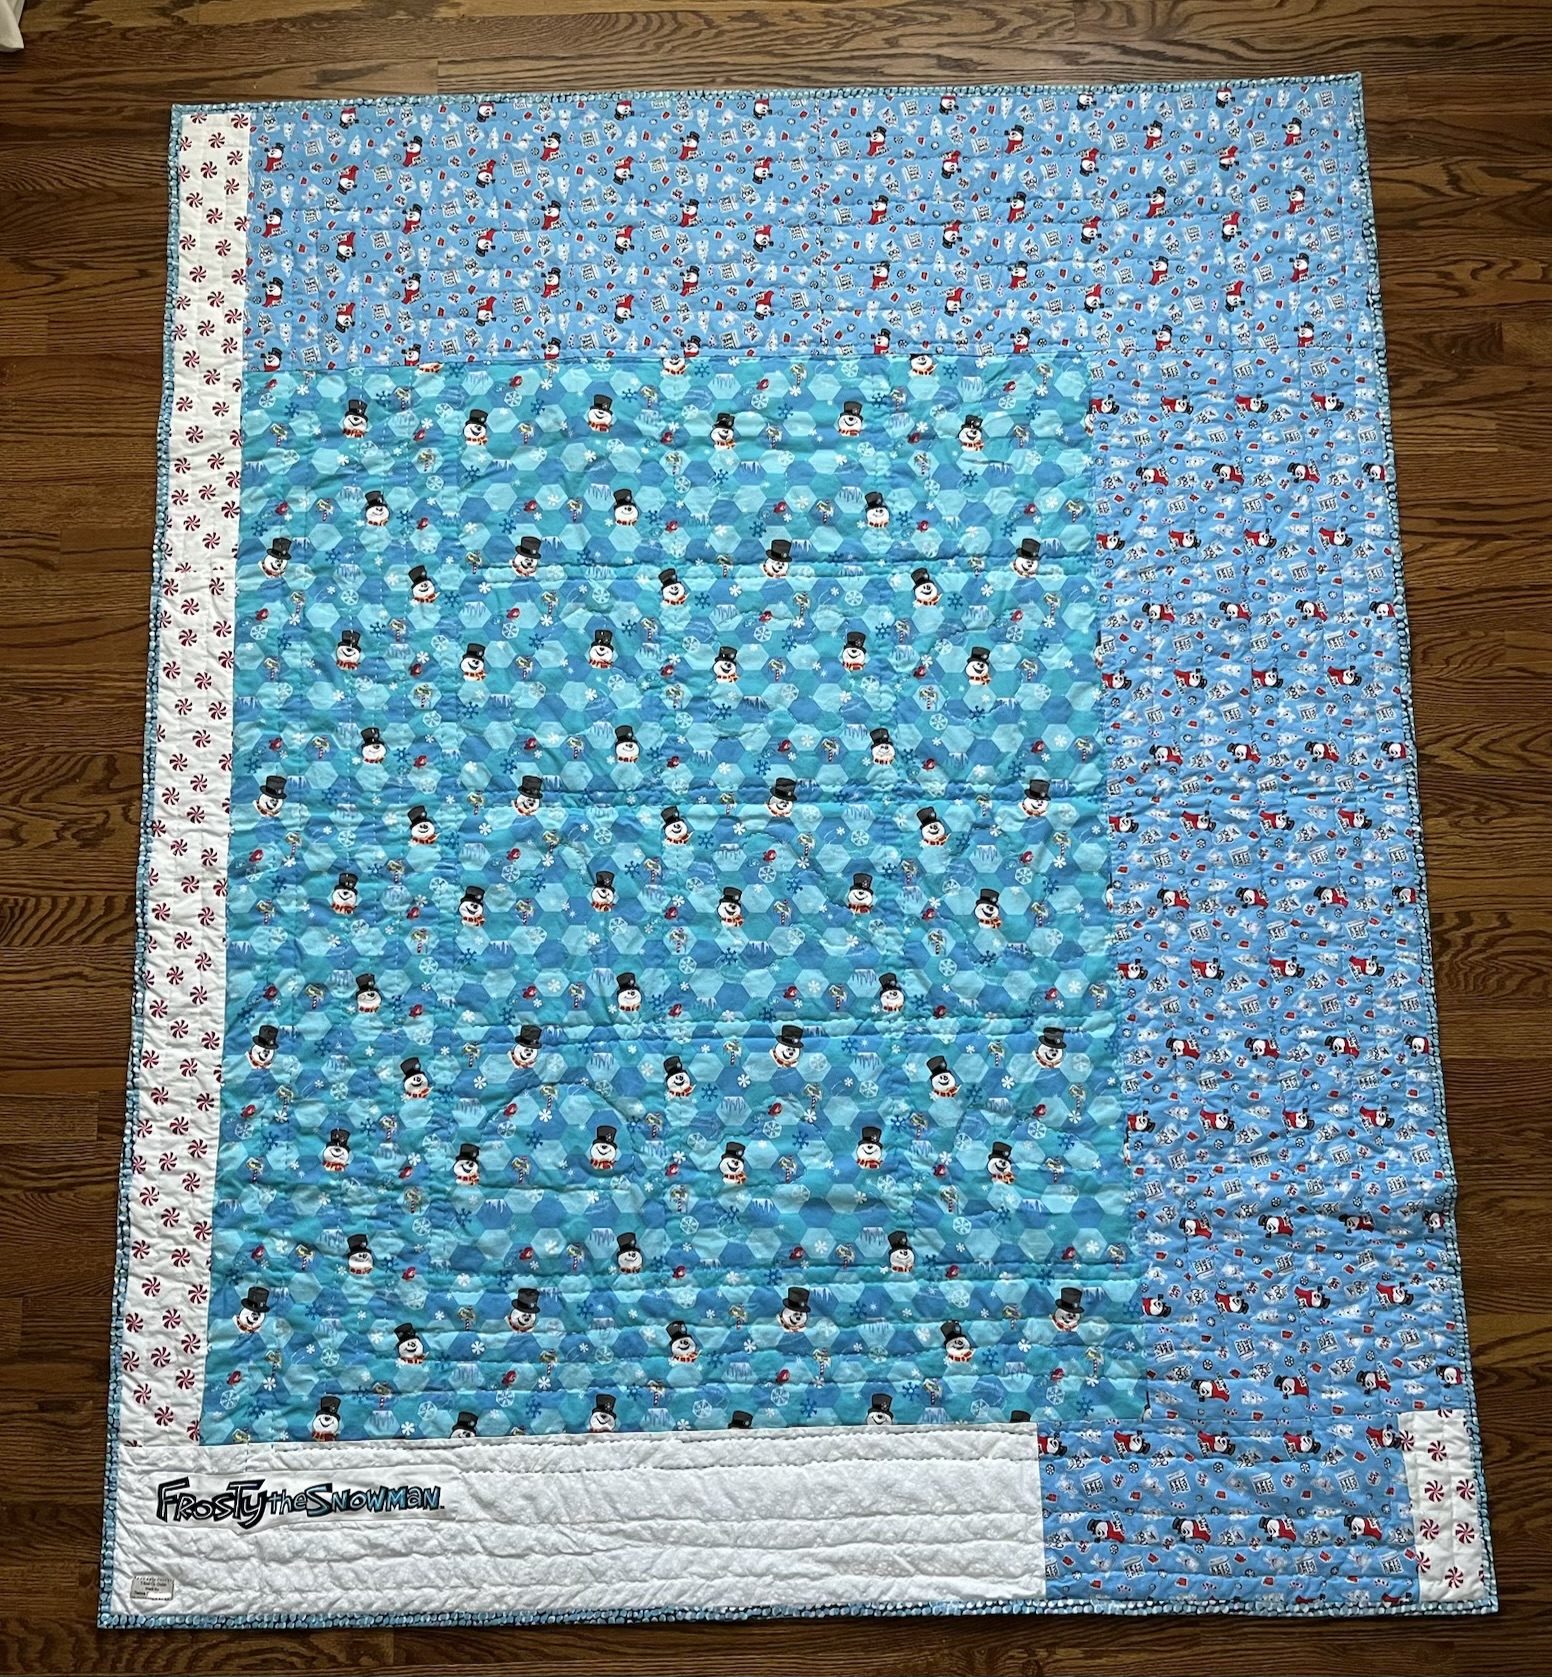
The backing is alright. And, it is straighter and squarer with the edges of the quilt than I thought I was going to get it. Because of the layering of backing, batting, and top during the basting process, it is hard for me to line everything up.
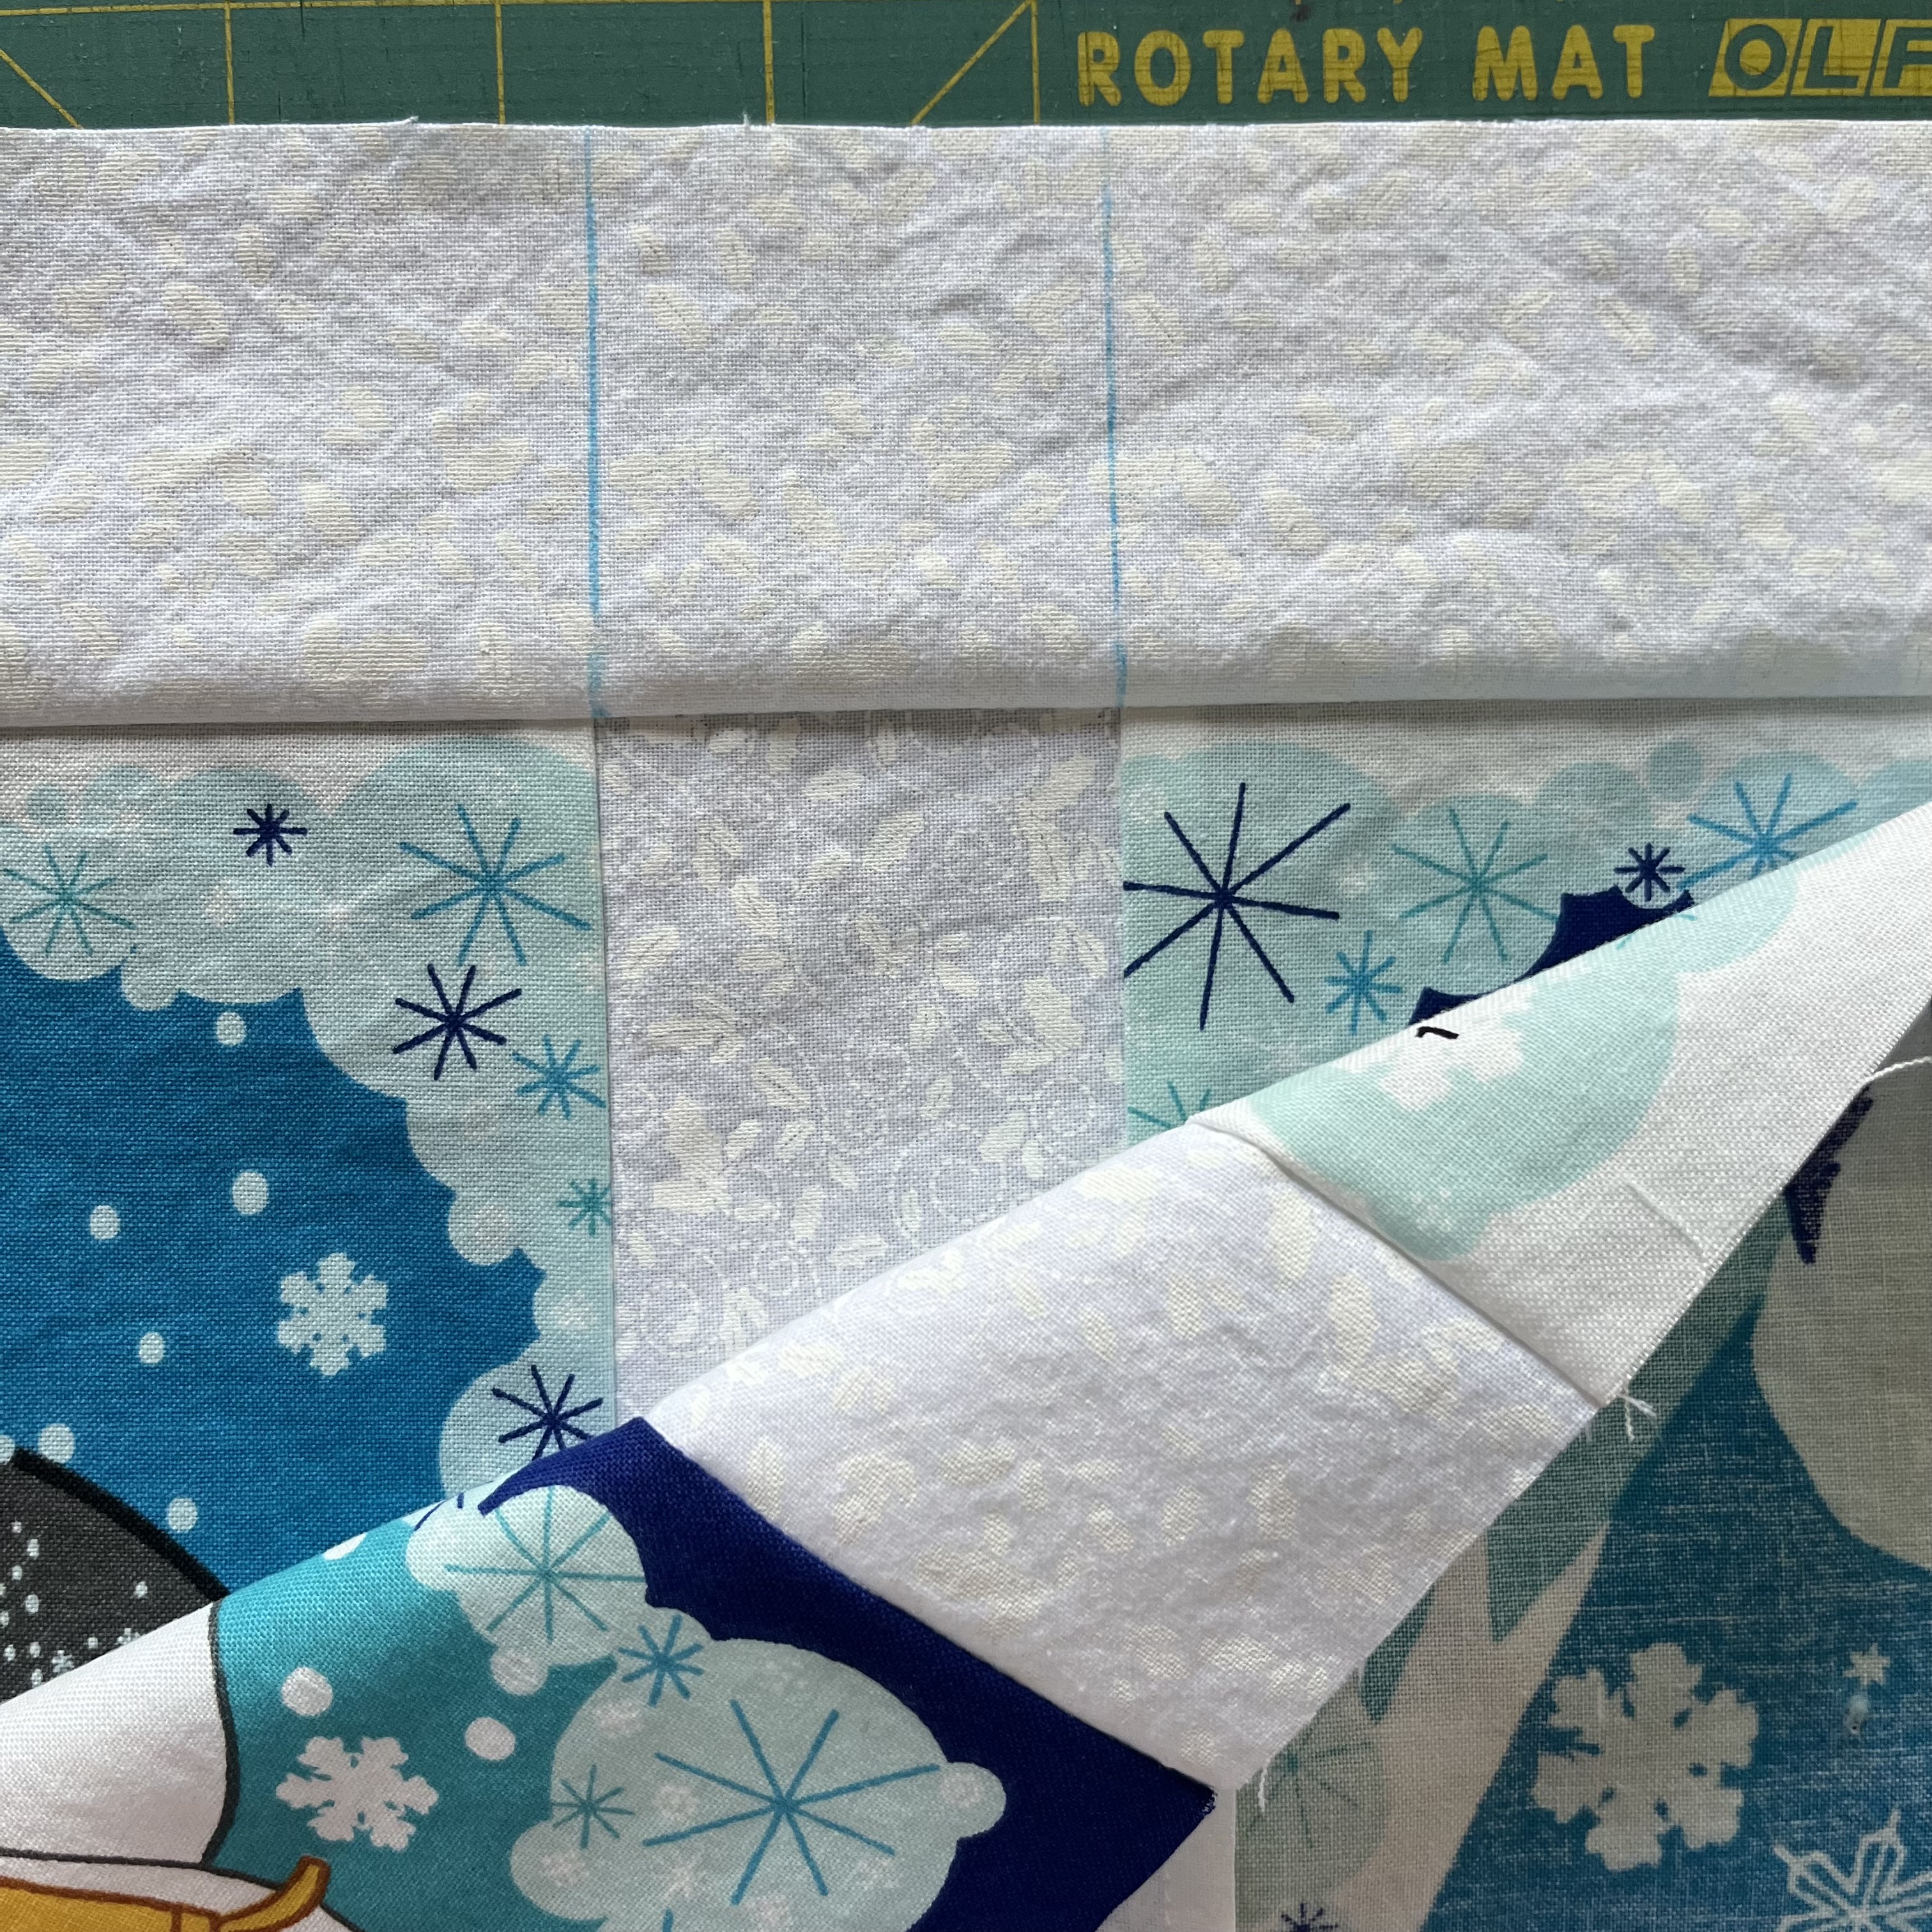
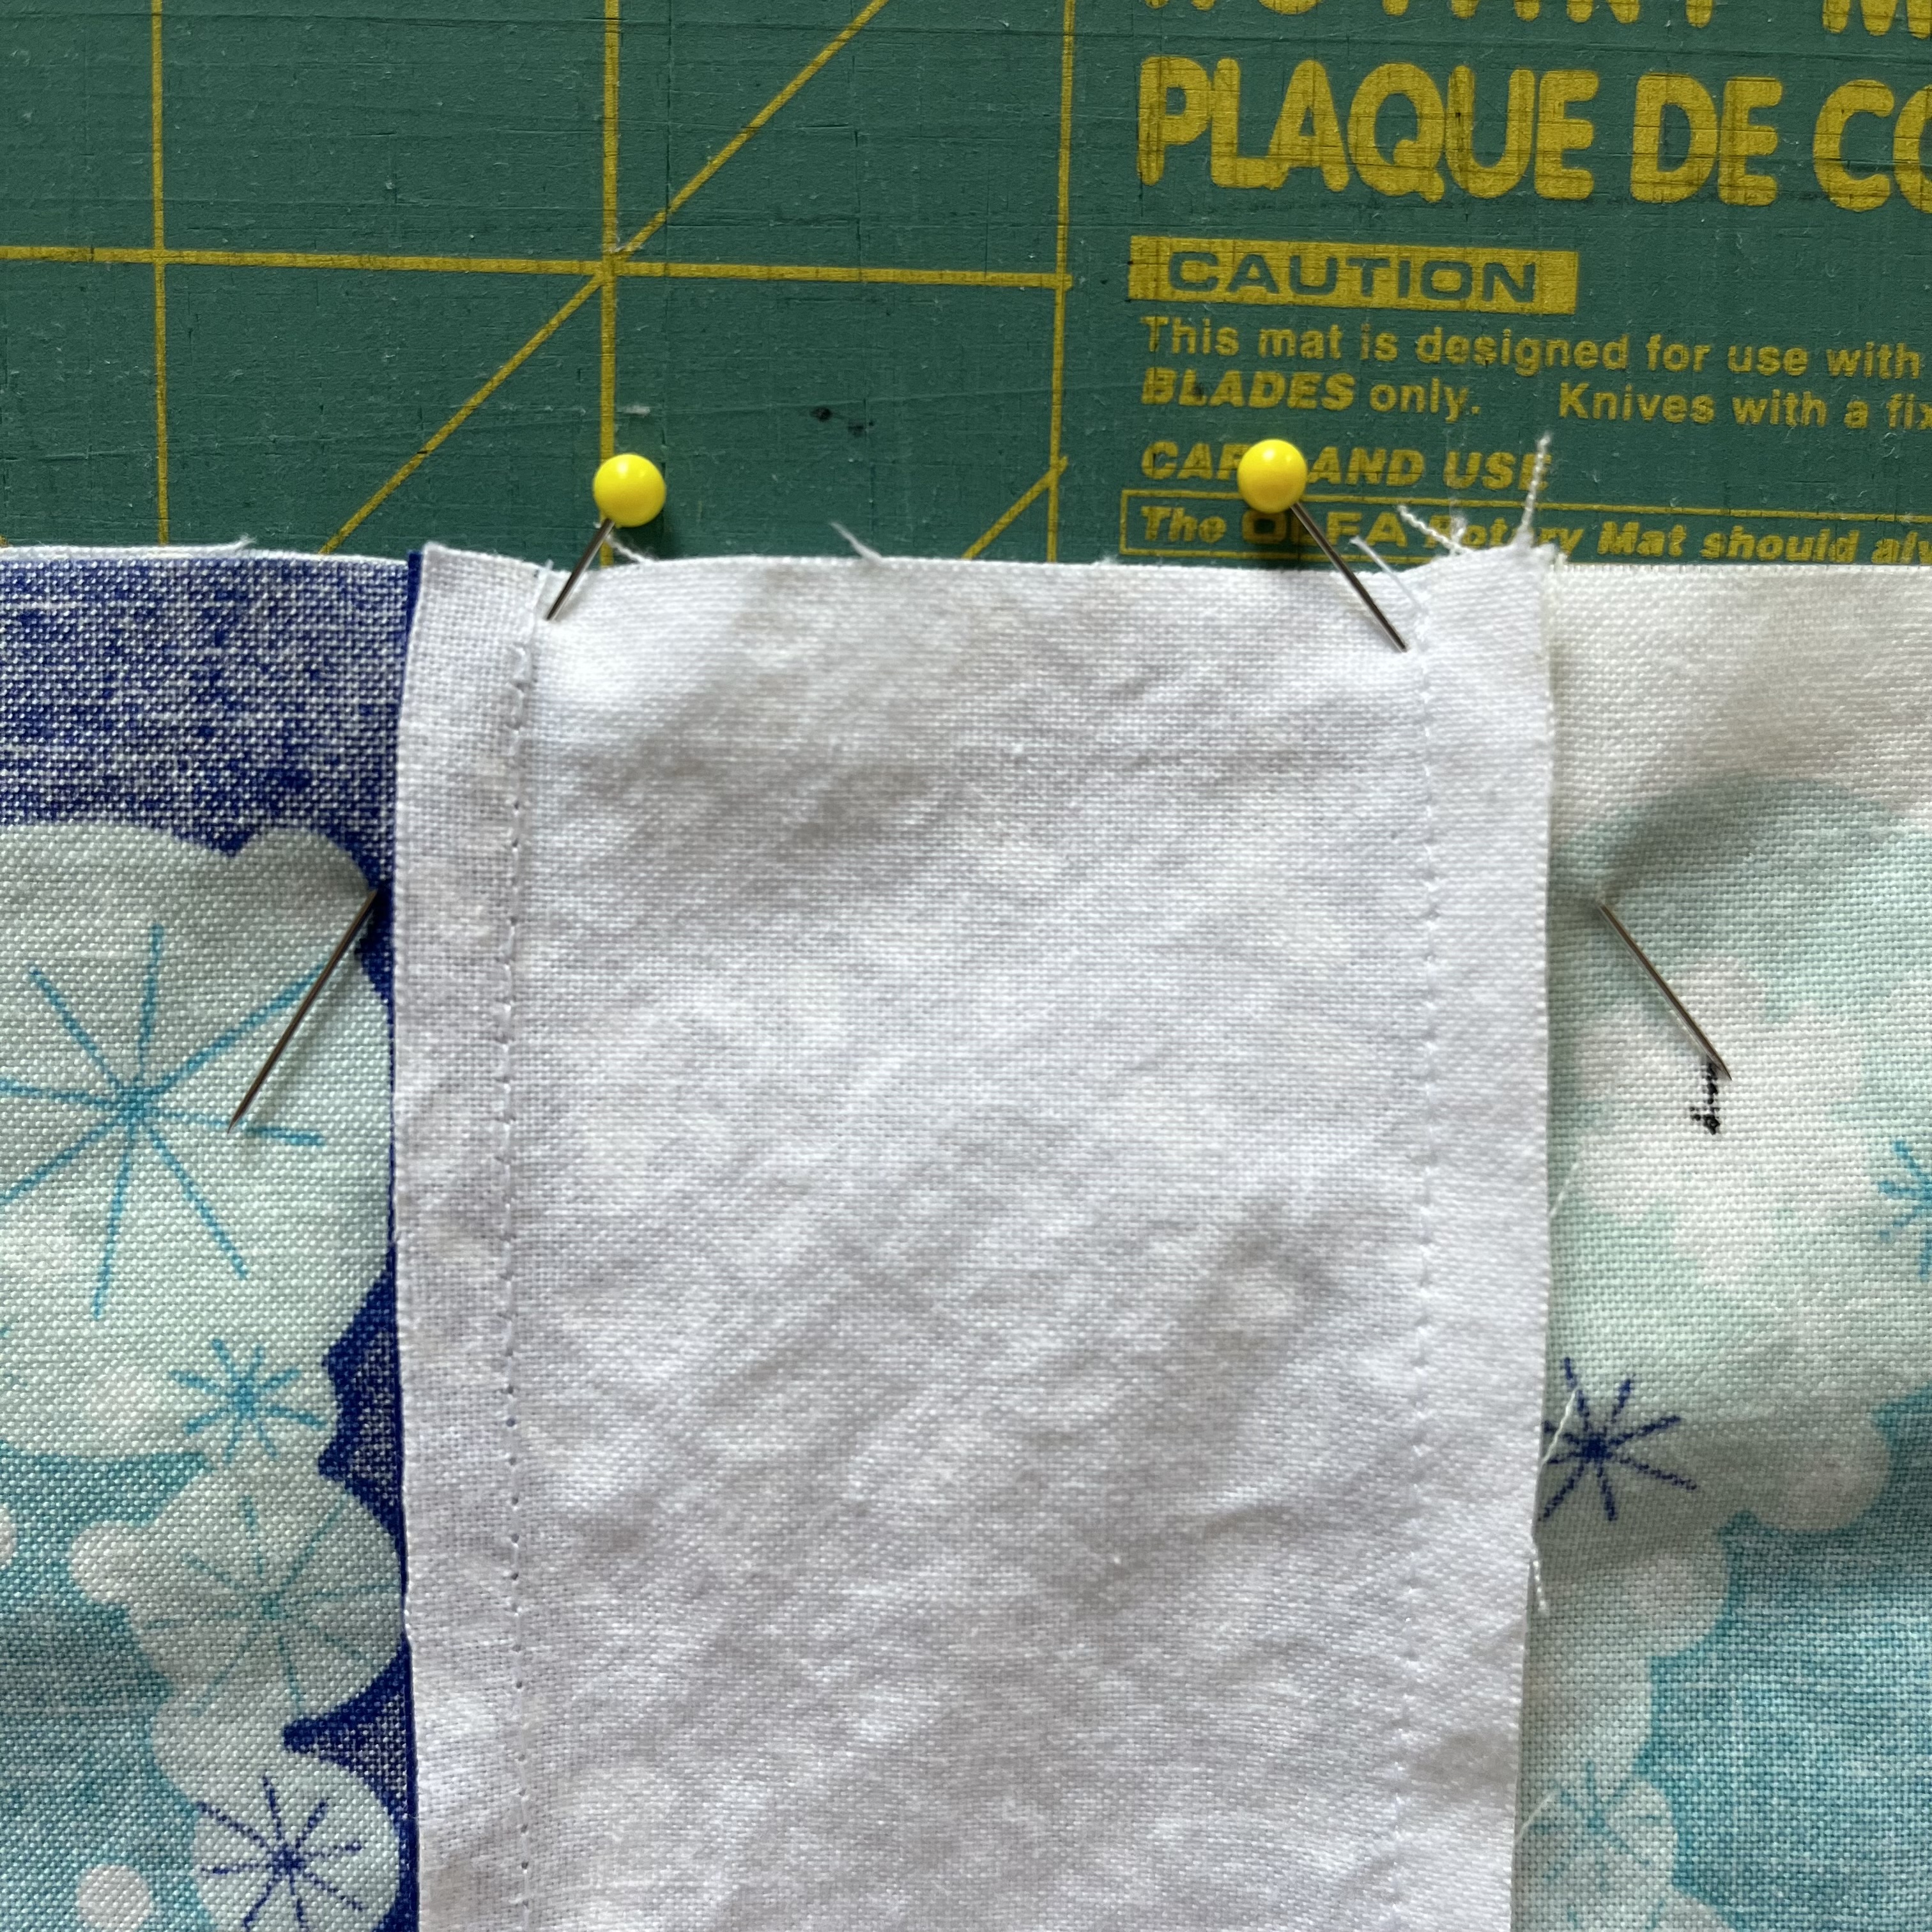
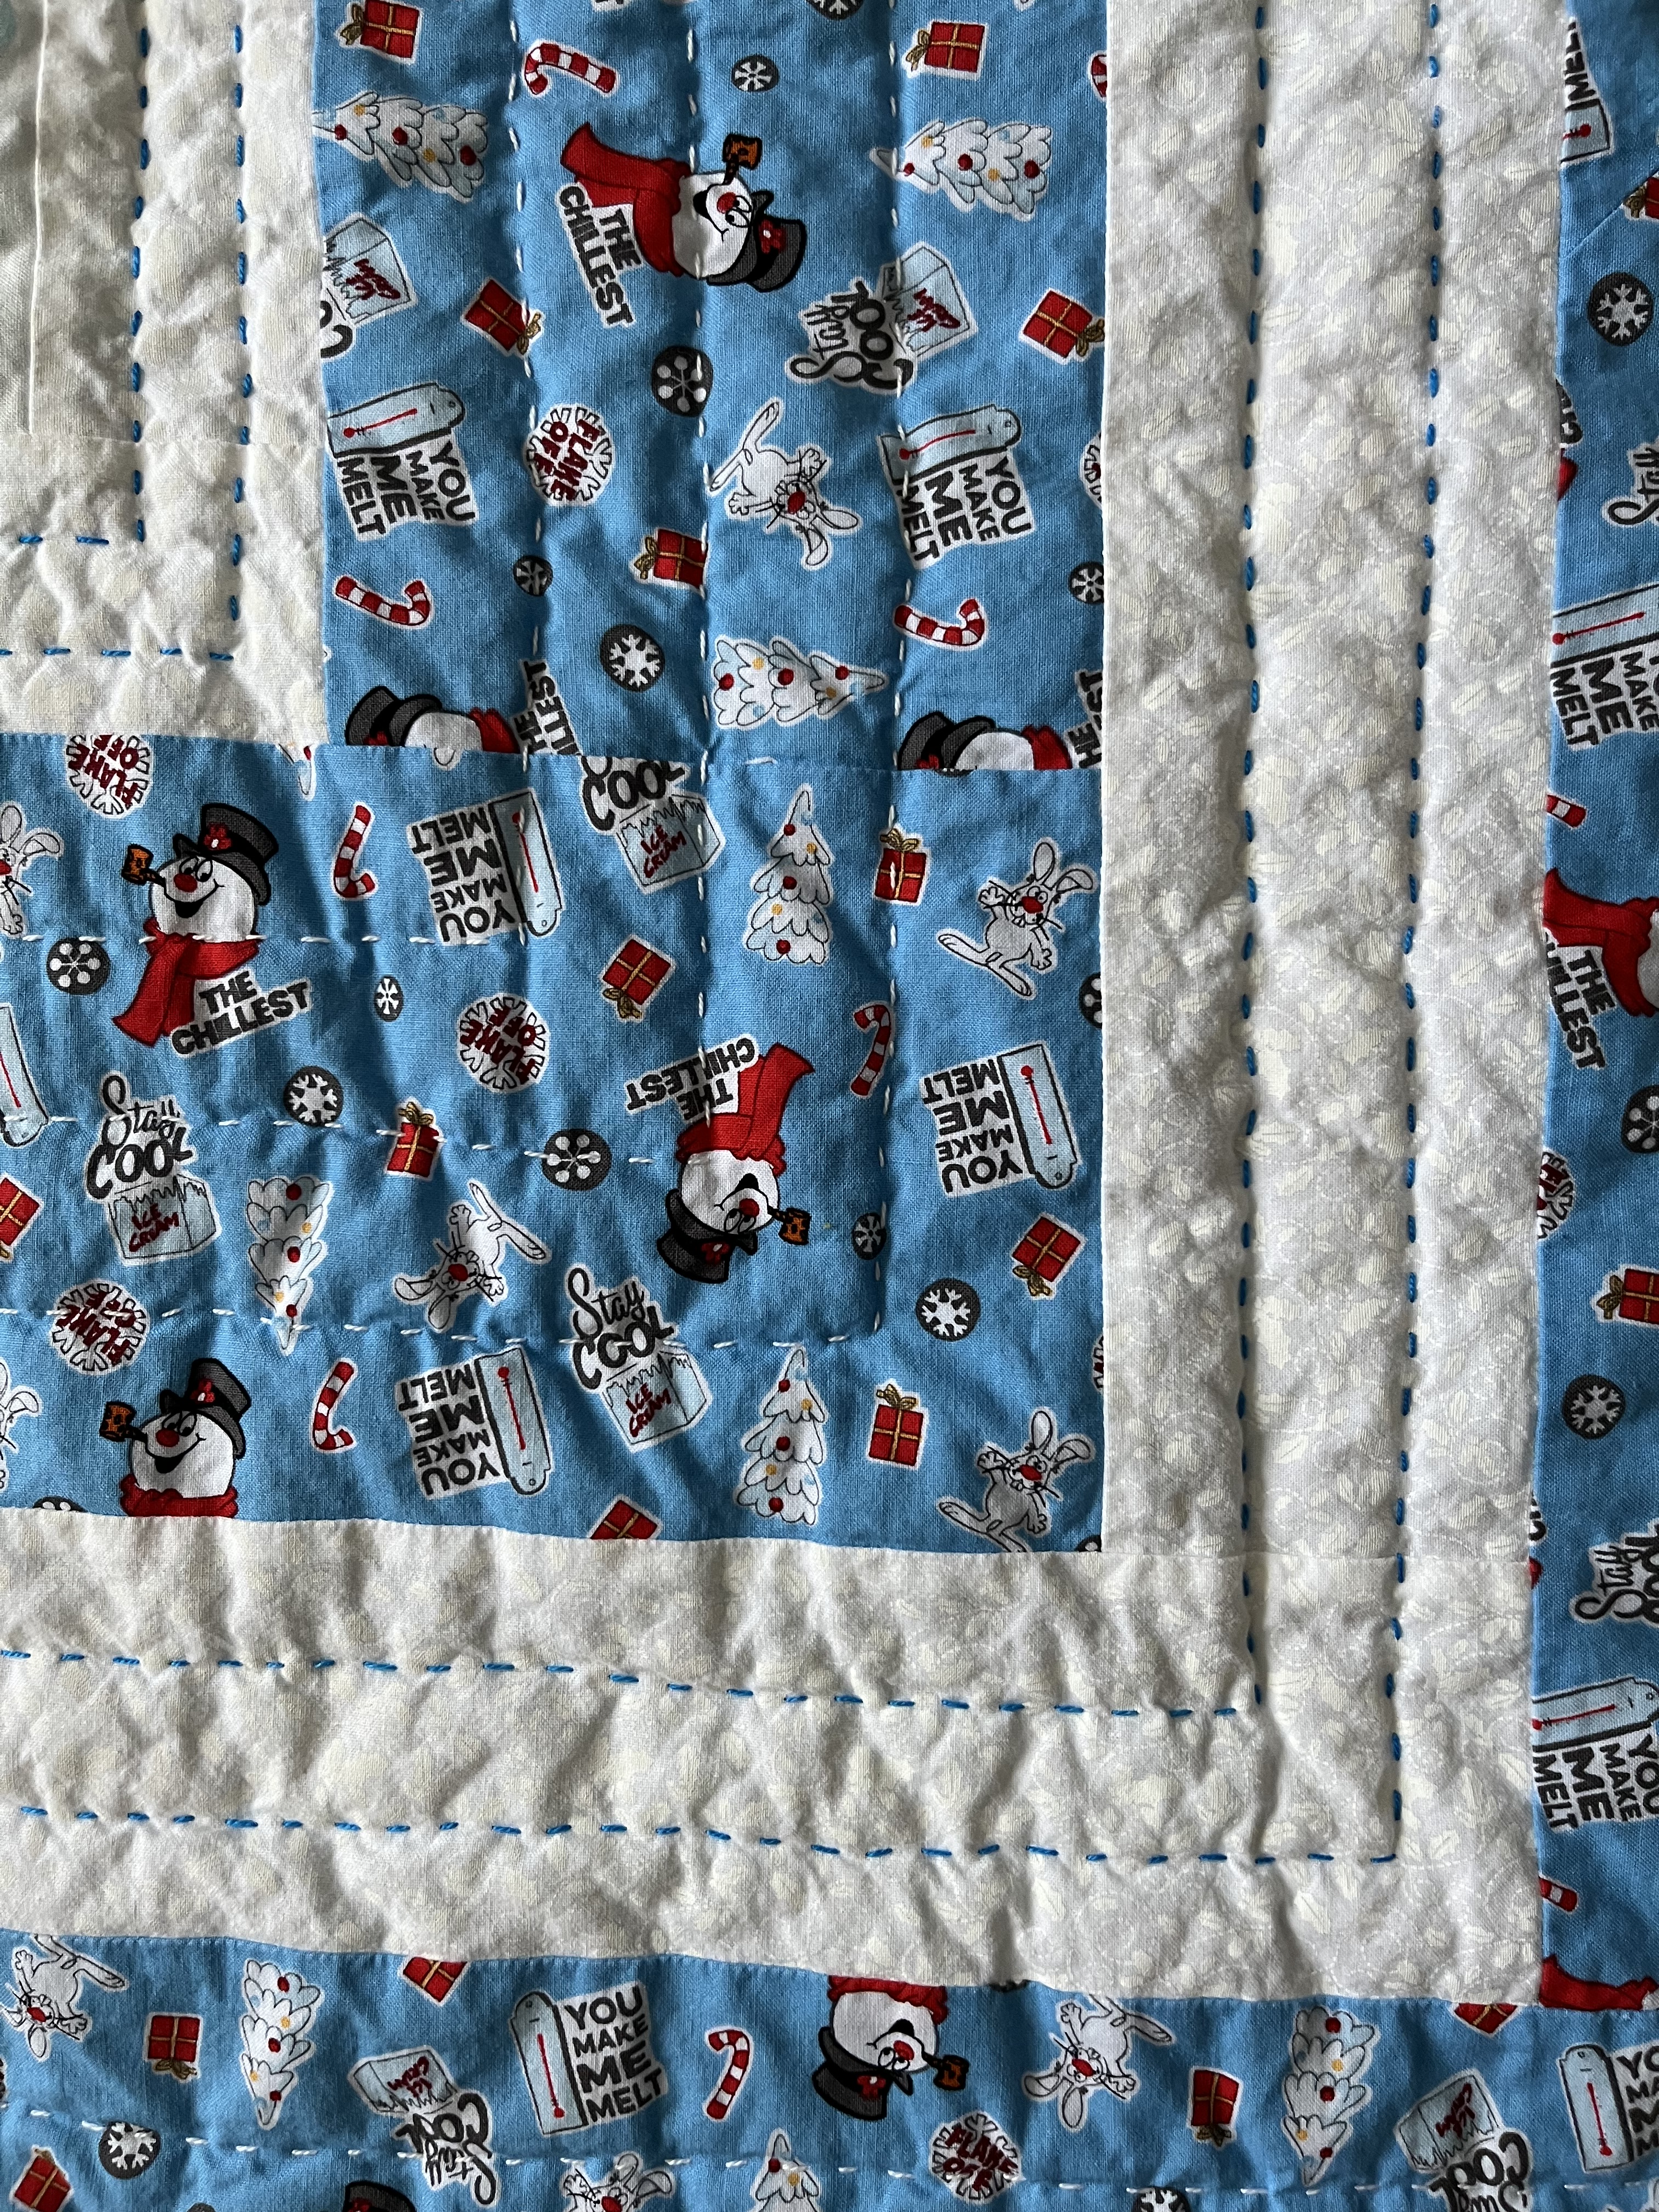
And, speaking of lining up, I think my blocks line up well and make a good grid. I previously wrote about how I use tailor’s chalk and a ruler to make sure my blocks are lined up through sashing.
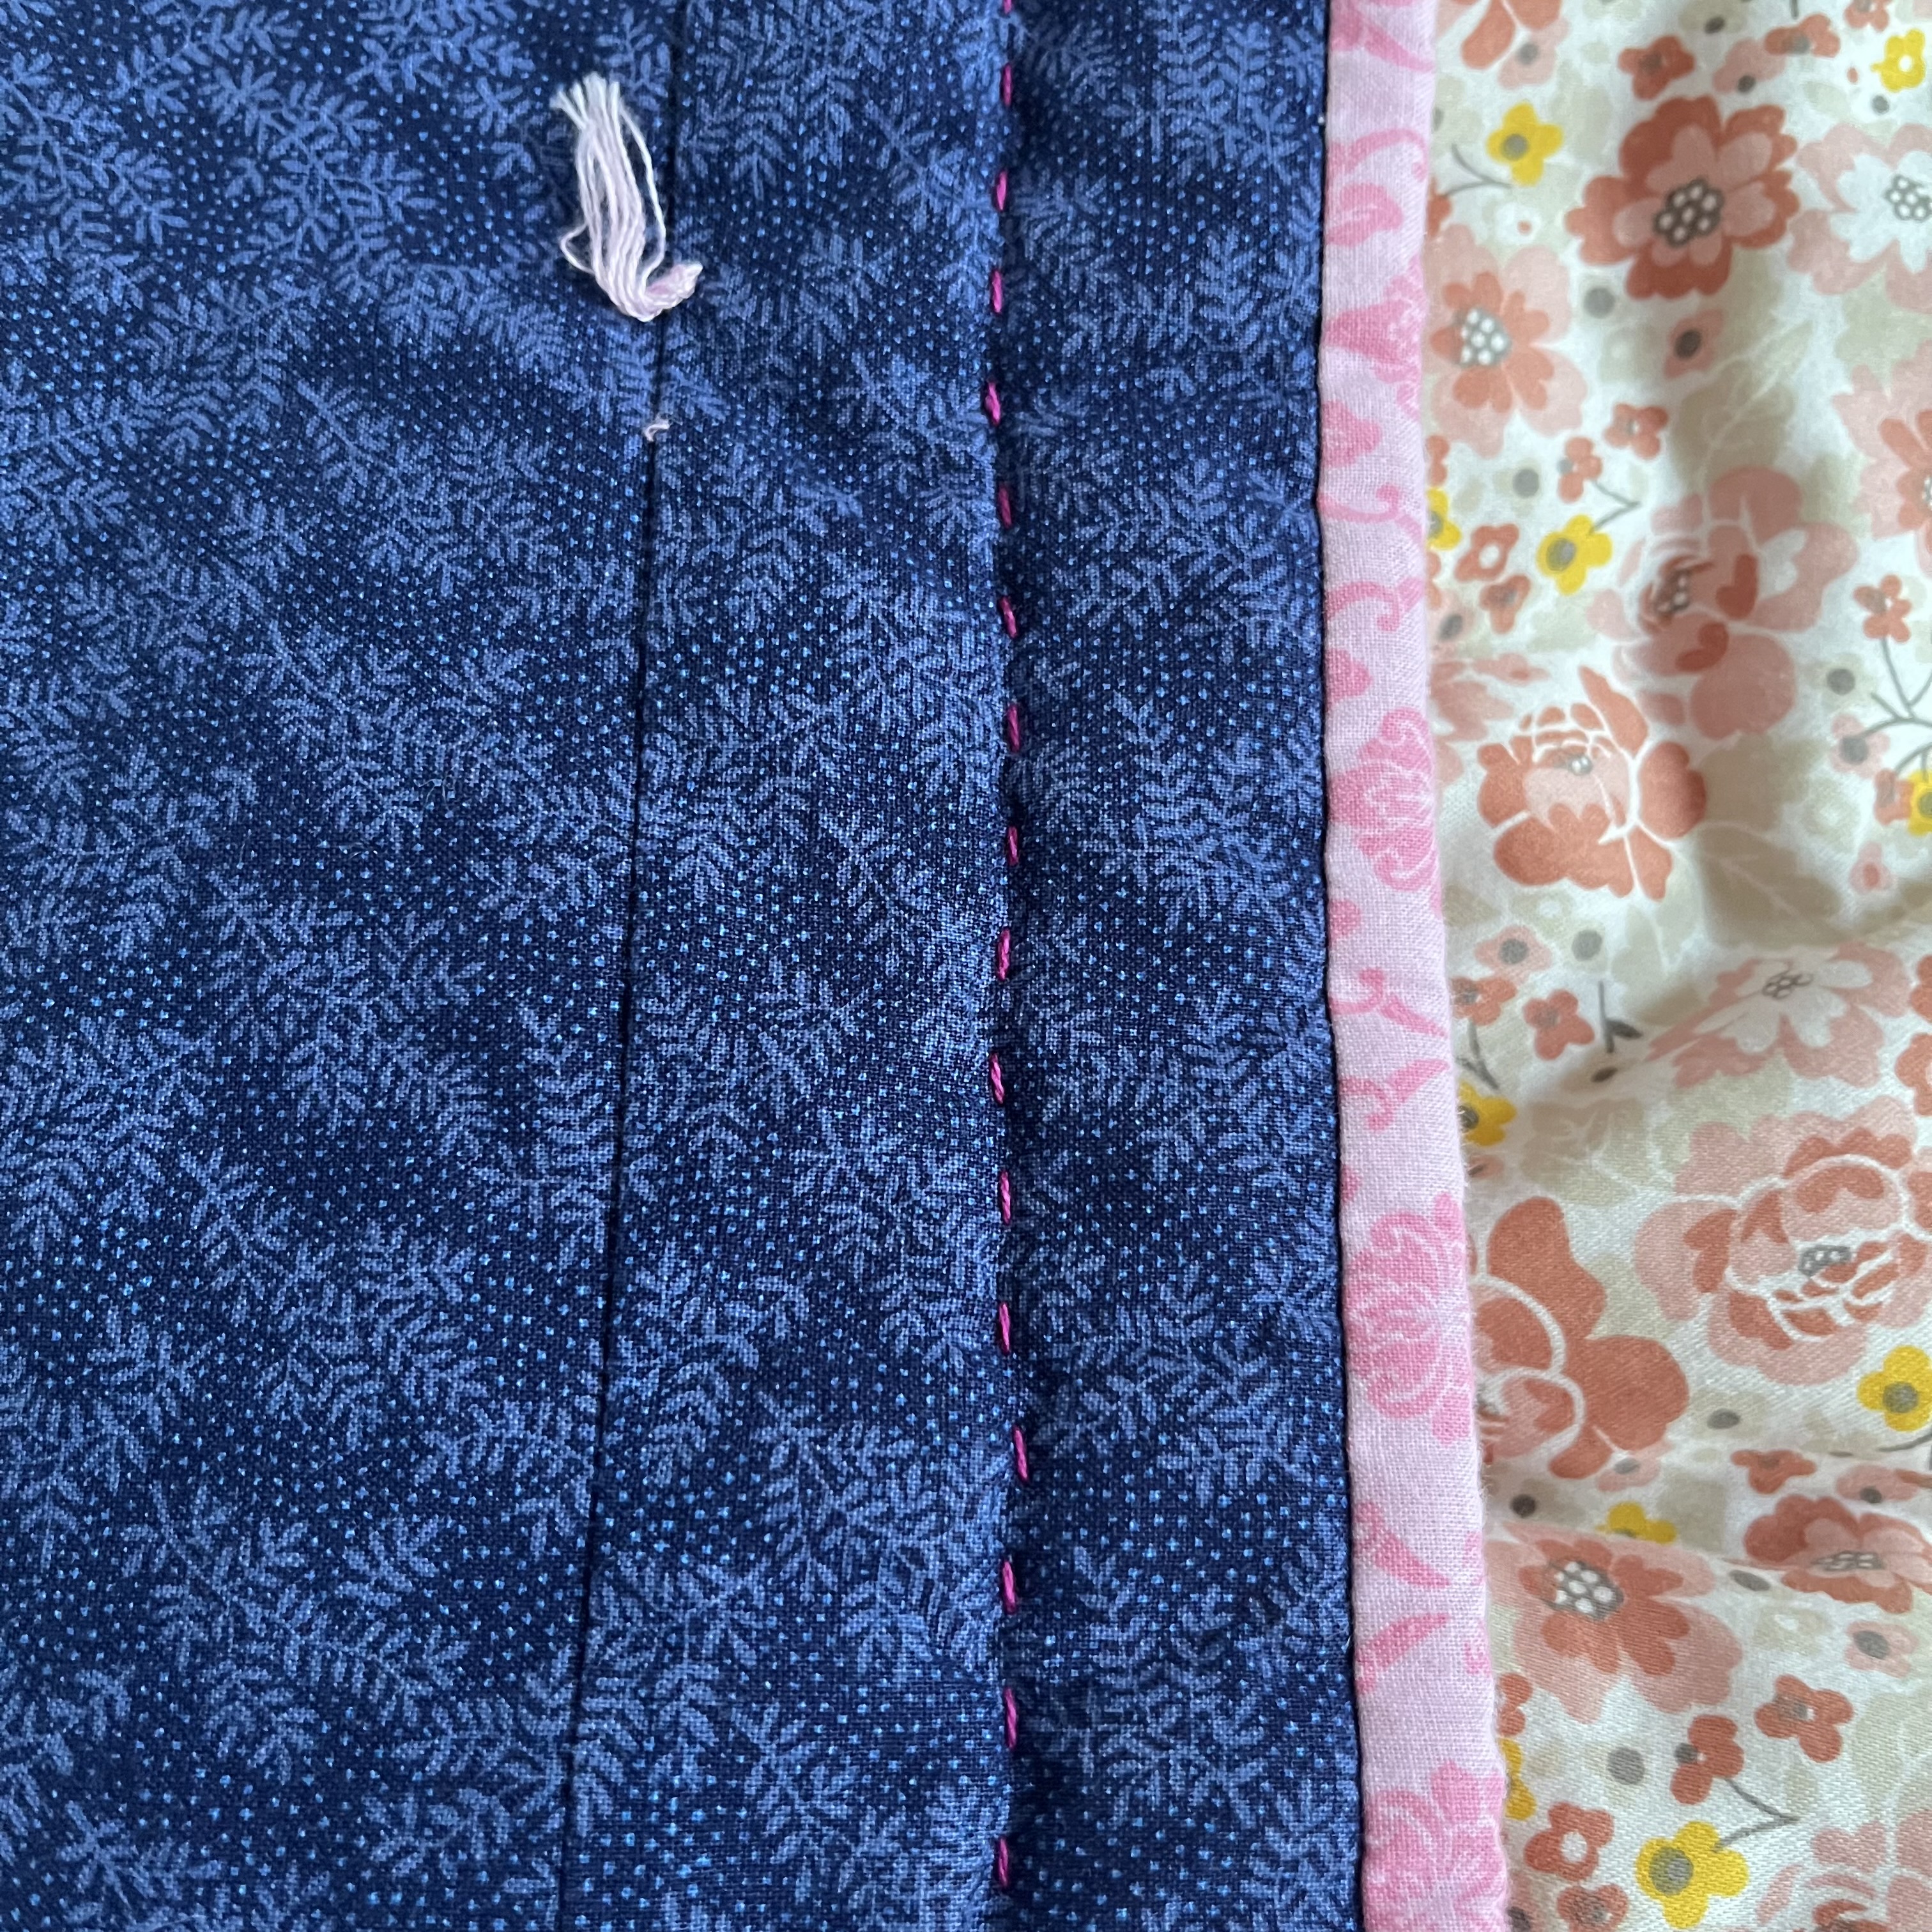
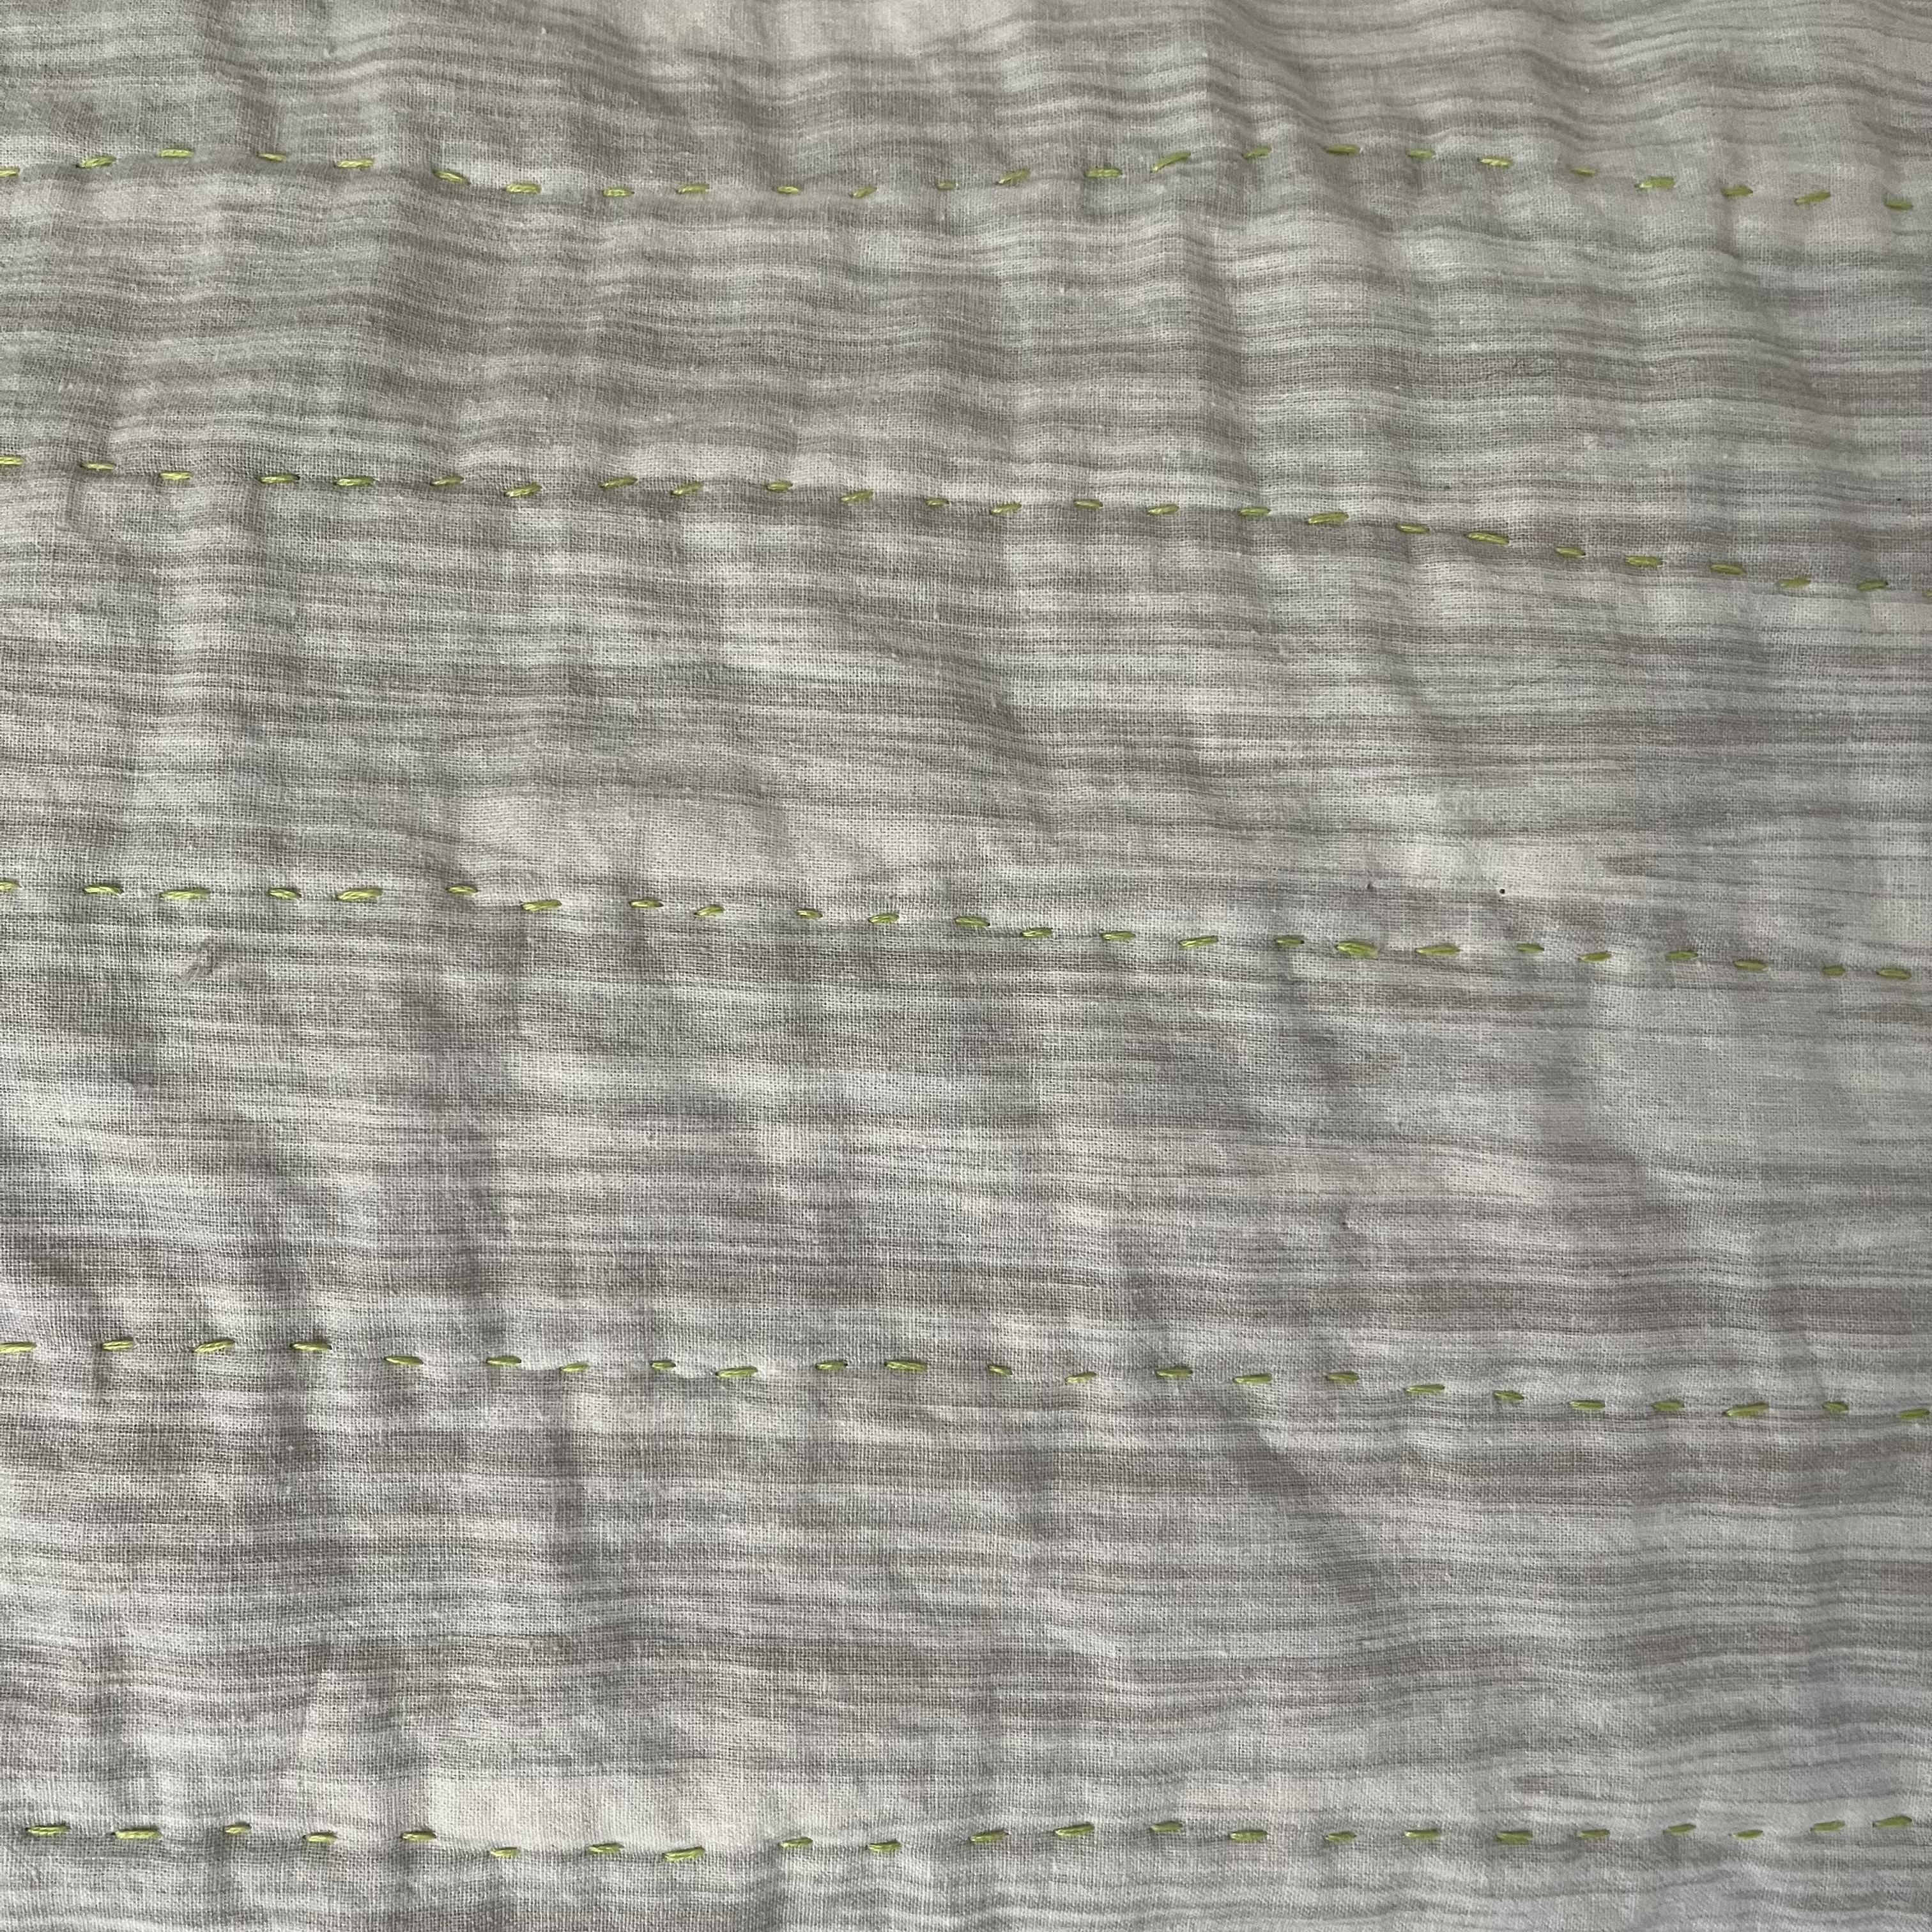
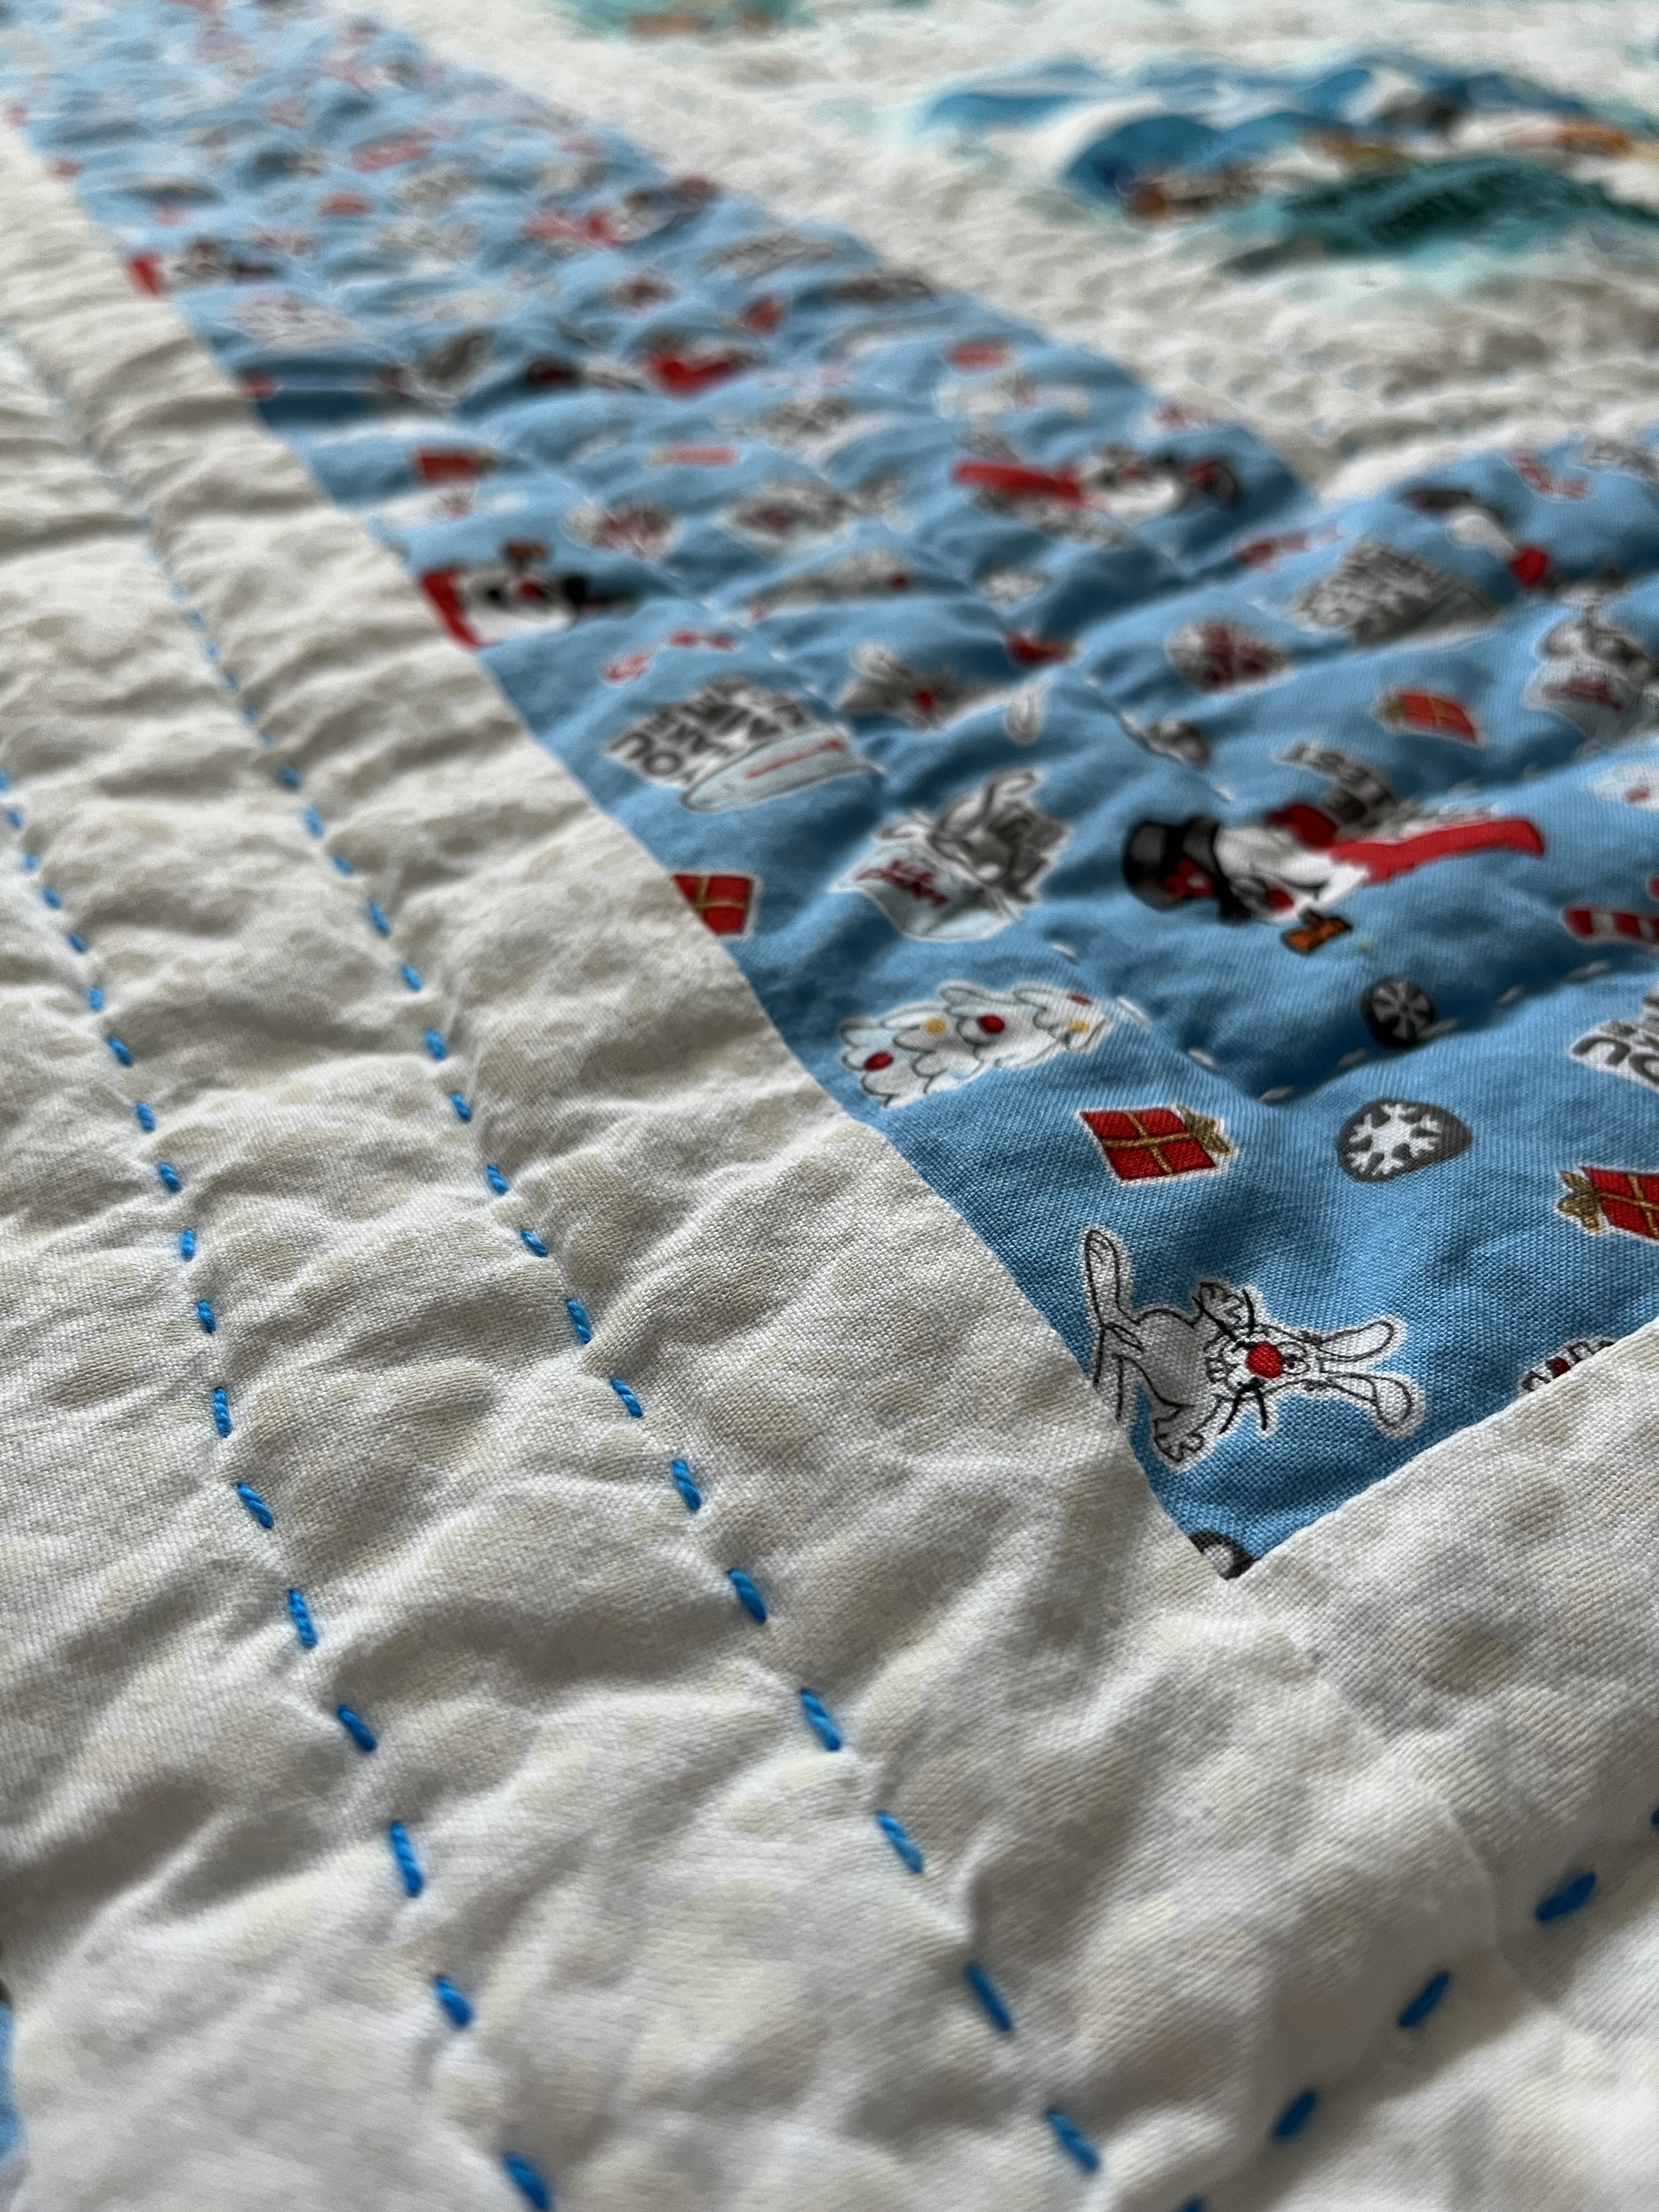
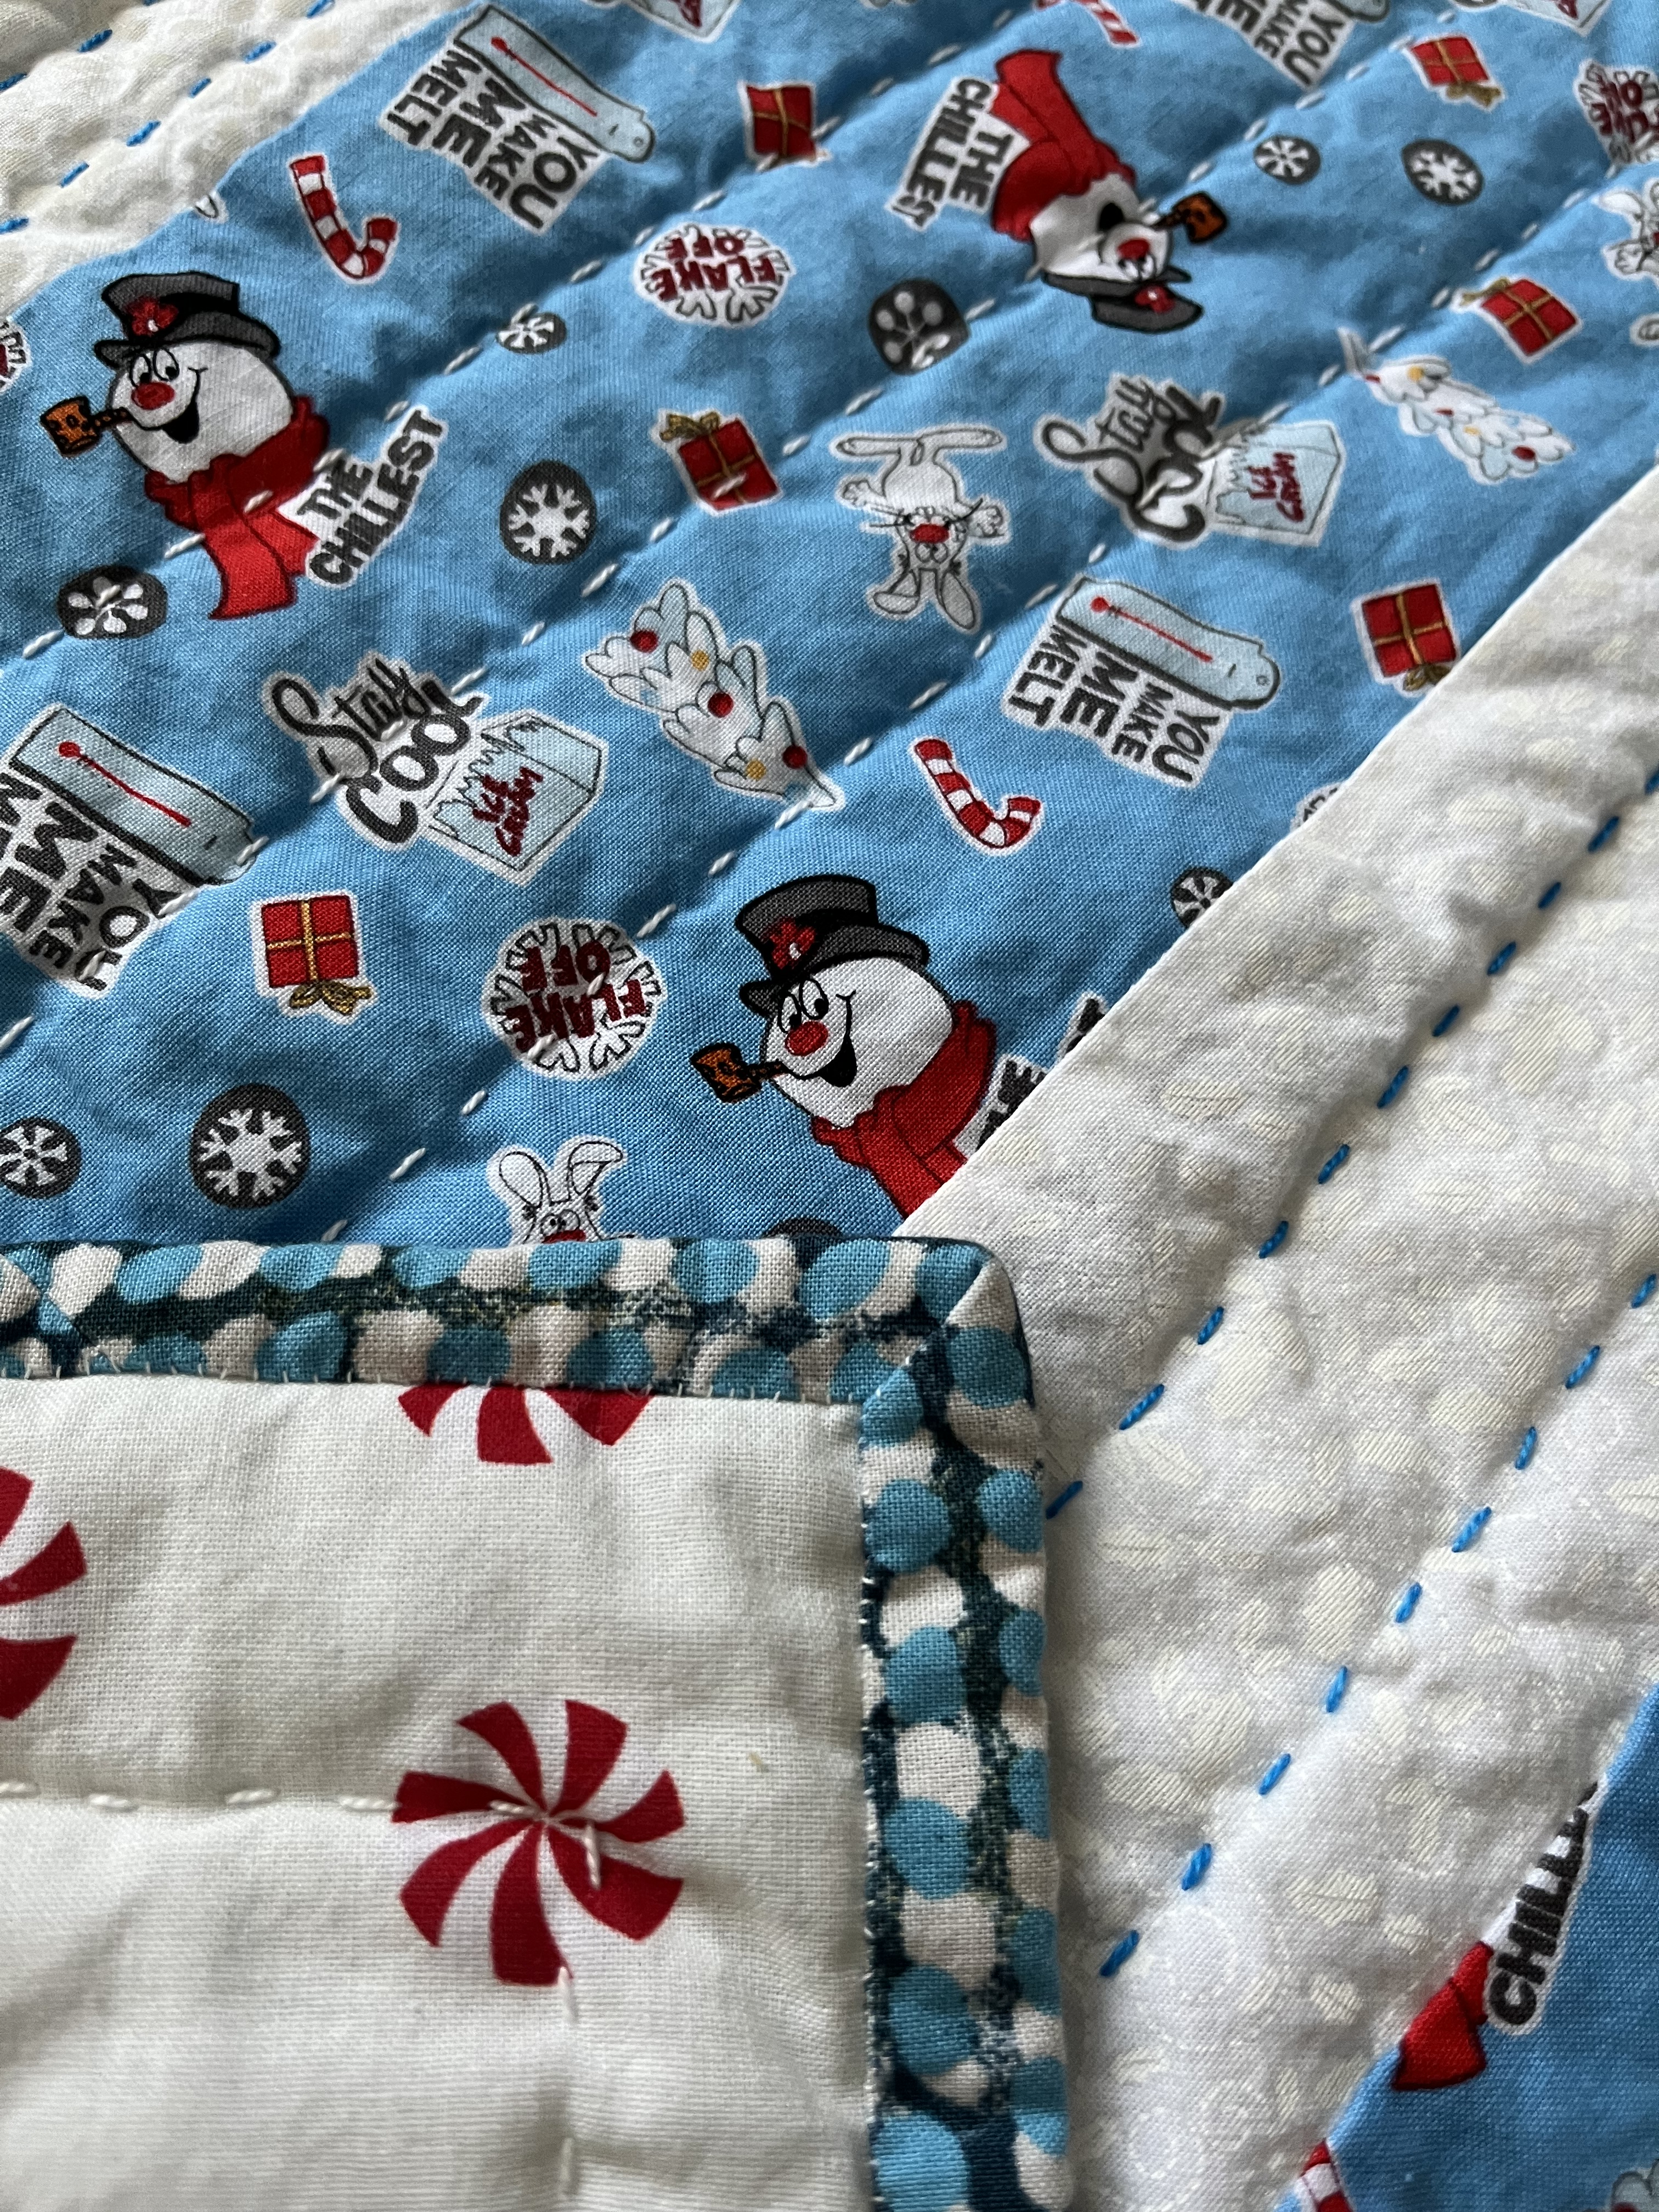
The quilting is big stitch and I did it by hand with DMC pearl thread. It’s easy and quick and creates a textural finish. Within each block, I stitched around the picture. In the sashing and borders, I did a few straight lines. I used blue thread on the white fabric and white thread on the blue fabric.
From the original cut-and-sew panel, I snagged the “Frosty the Snowman” logo. Using the needle-turn appliqué technique, I attached the logo to the back of the quilt, right above my label. That Rankin/Bass typography is just sooo good.
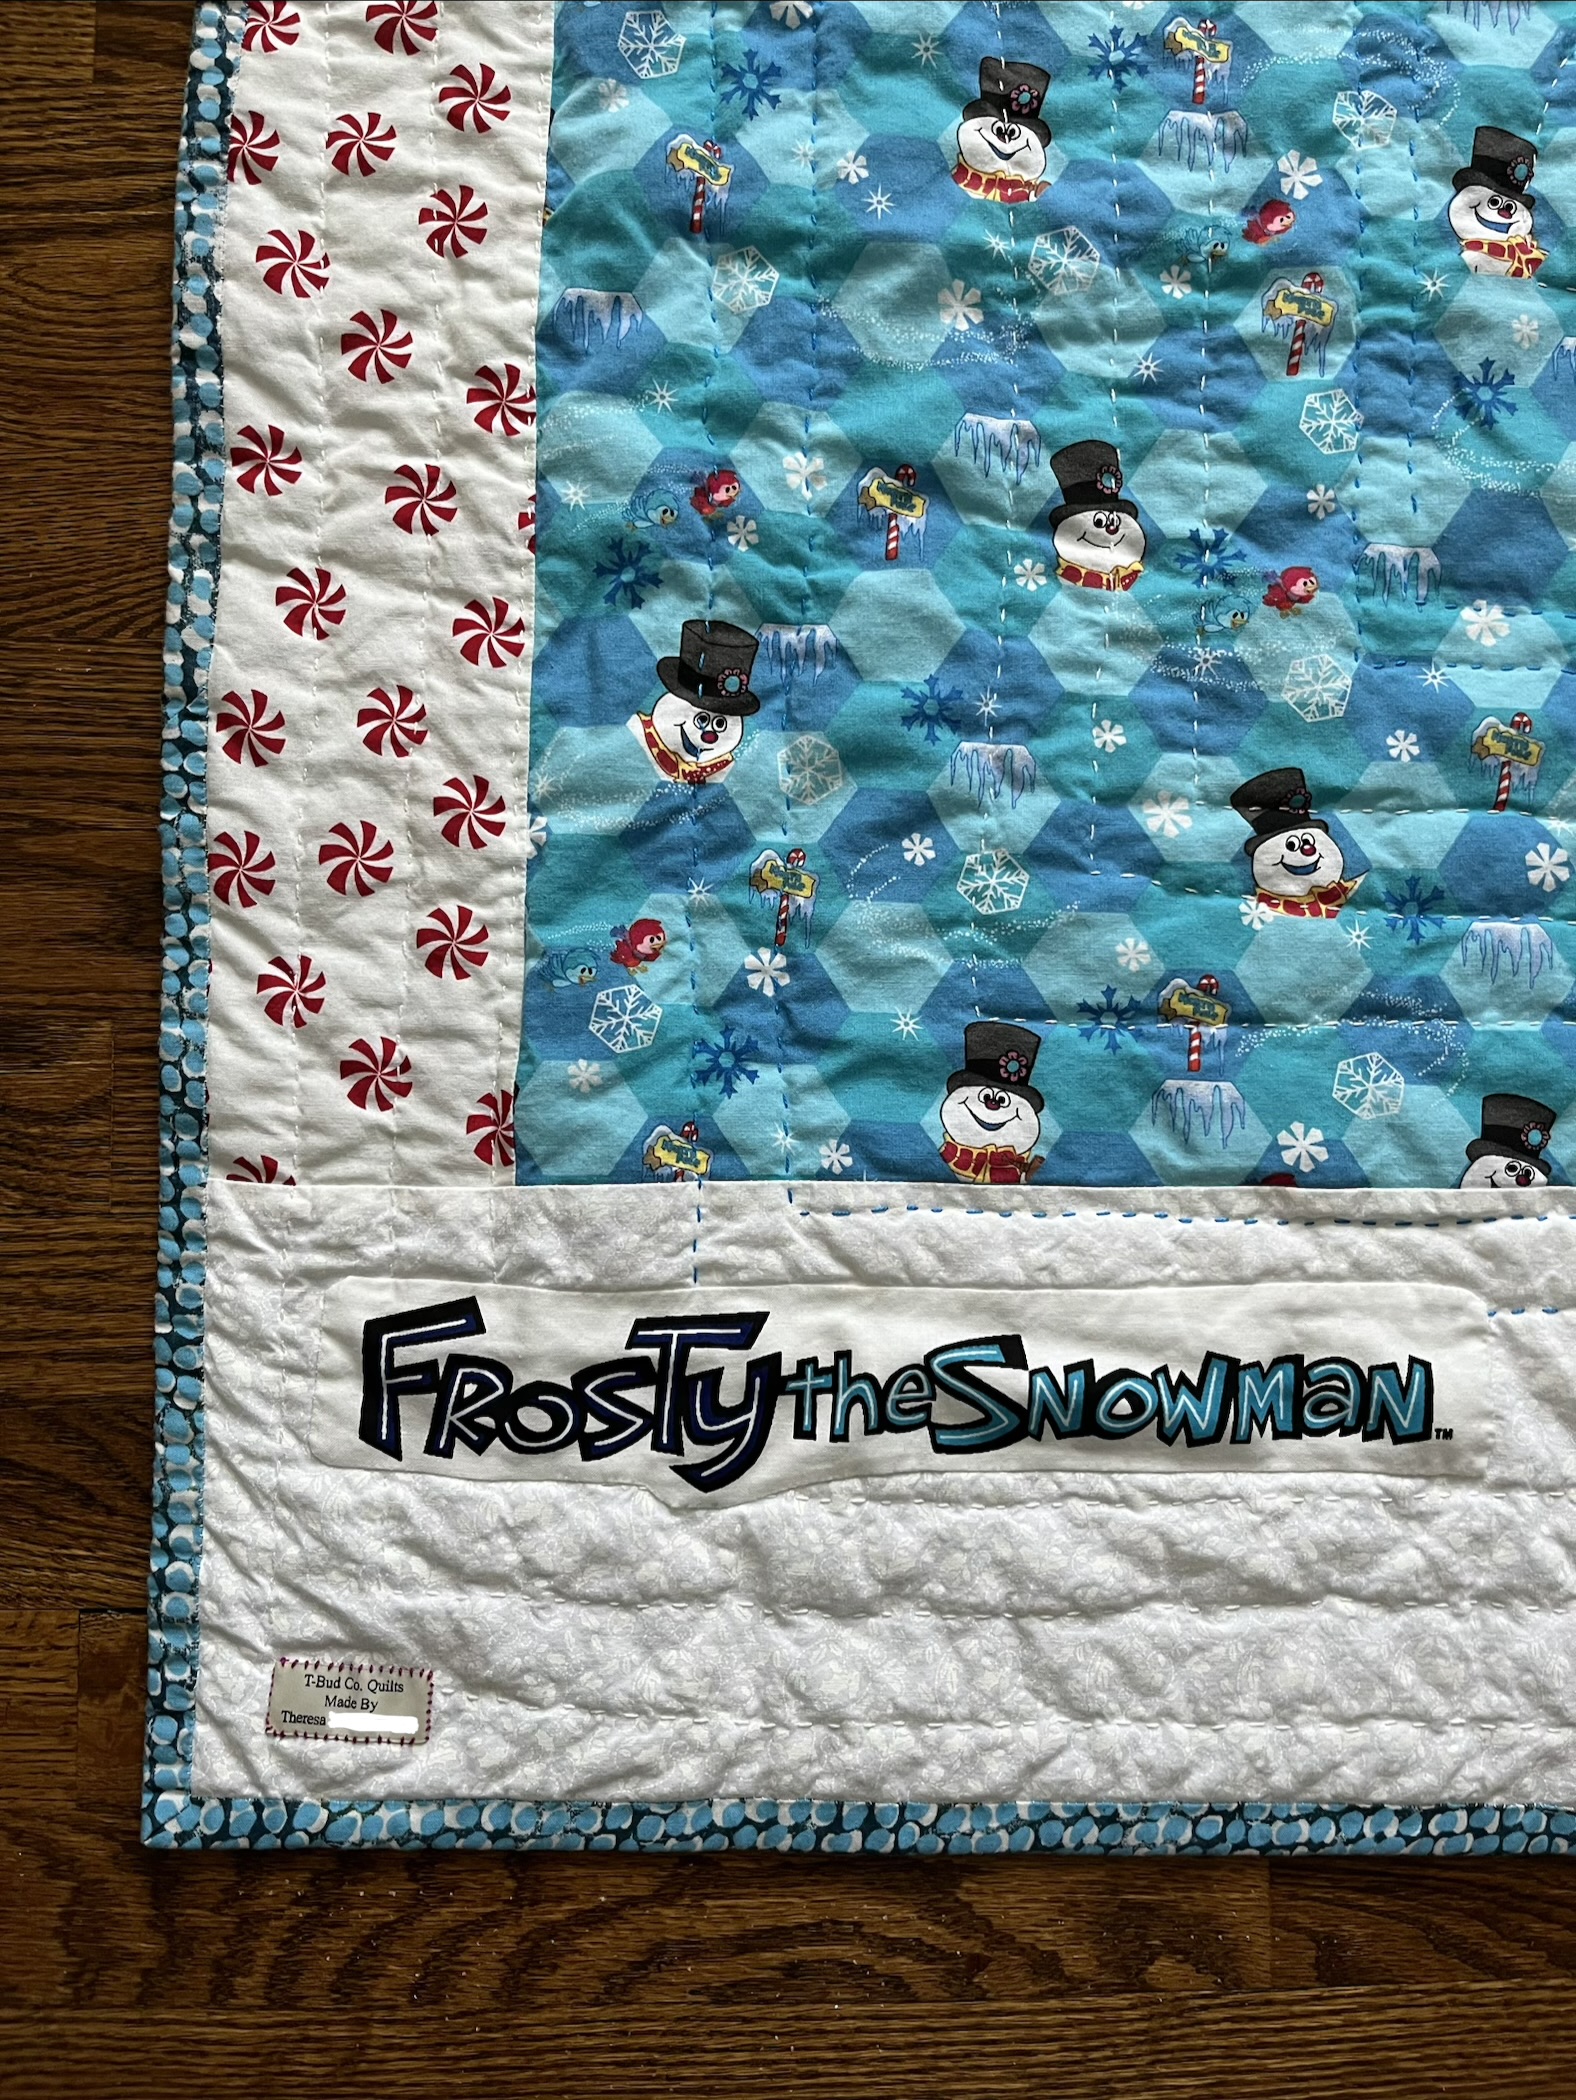
The quilt is bound with a non-Frosty, non-Christmas blue and white patterned fabric. While thematically it doesn’t fit, the colors are just about spot-on. Huzzah for making it work!
The details of my Frosty the Snowman Christmas Quilt:
+ 73”L x 60”W
+ Machine pieced
+ Hand quilted
+ Cotton top and backing
+ Polyester batting
*Not For Sale*