Sew an Easy Travel Toiletry Roll with a Hand Towel & Fabric Fat Quarter

Using an online tutorial, I sewed a travel toiletry roll using a store-bought hand towel and fat quarter of quilting cotton.

I have had The Yellow Birdhouse’s “DIY Toothbrush Travel Wrap” blog post pinned on a Pinterest board for a few years now. With a trip on the calendar, I knew it was time to try it out. All it requires is a store-bought hand towel, a fat quarter of quilting cotton, some ribbon, and of course, thread, and a sewing machine. 

I bought some 100% cotton hand towels and dug through my stash for some fat quarter-size pieces of fabric. I also dug through my collection of ribbon and trim to find pieces that would match and be long enough to stitch on as tie closures.

Full disclosure: I didn’t measure anything! After getting the gist of how to make the toiletry roll, I let the hand towel and mini travel toiletries be my guide. It was an exercise in letting go of perfection. I mean, who is going to see this? Function over beauty, I say!

First, using my secondhand embroidery machine, I stitched my name into the fabric. I’m still learning the ins and outs of machine embroidery and try to use it when I can. It’s all practice, as you’ll see from the fact that the embroidery isn’t very visible. And, it’s off-center.

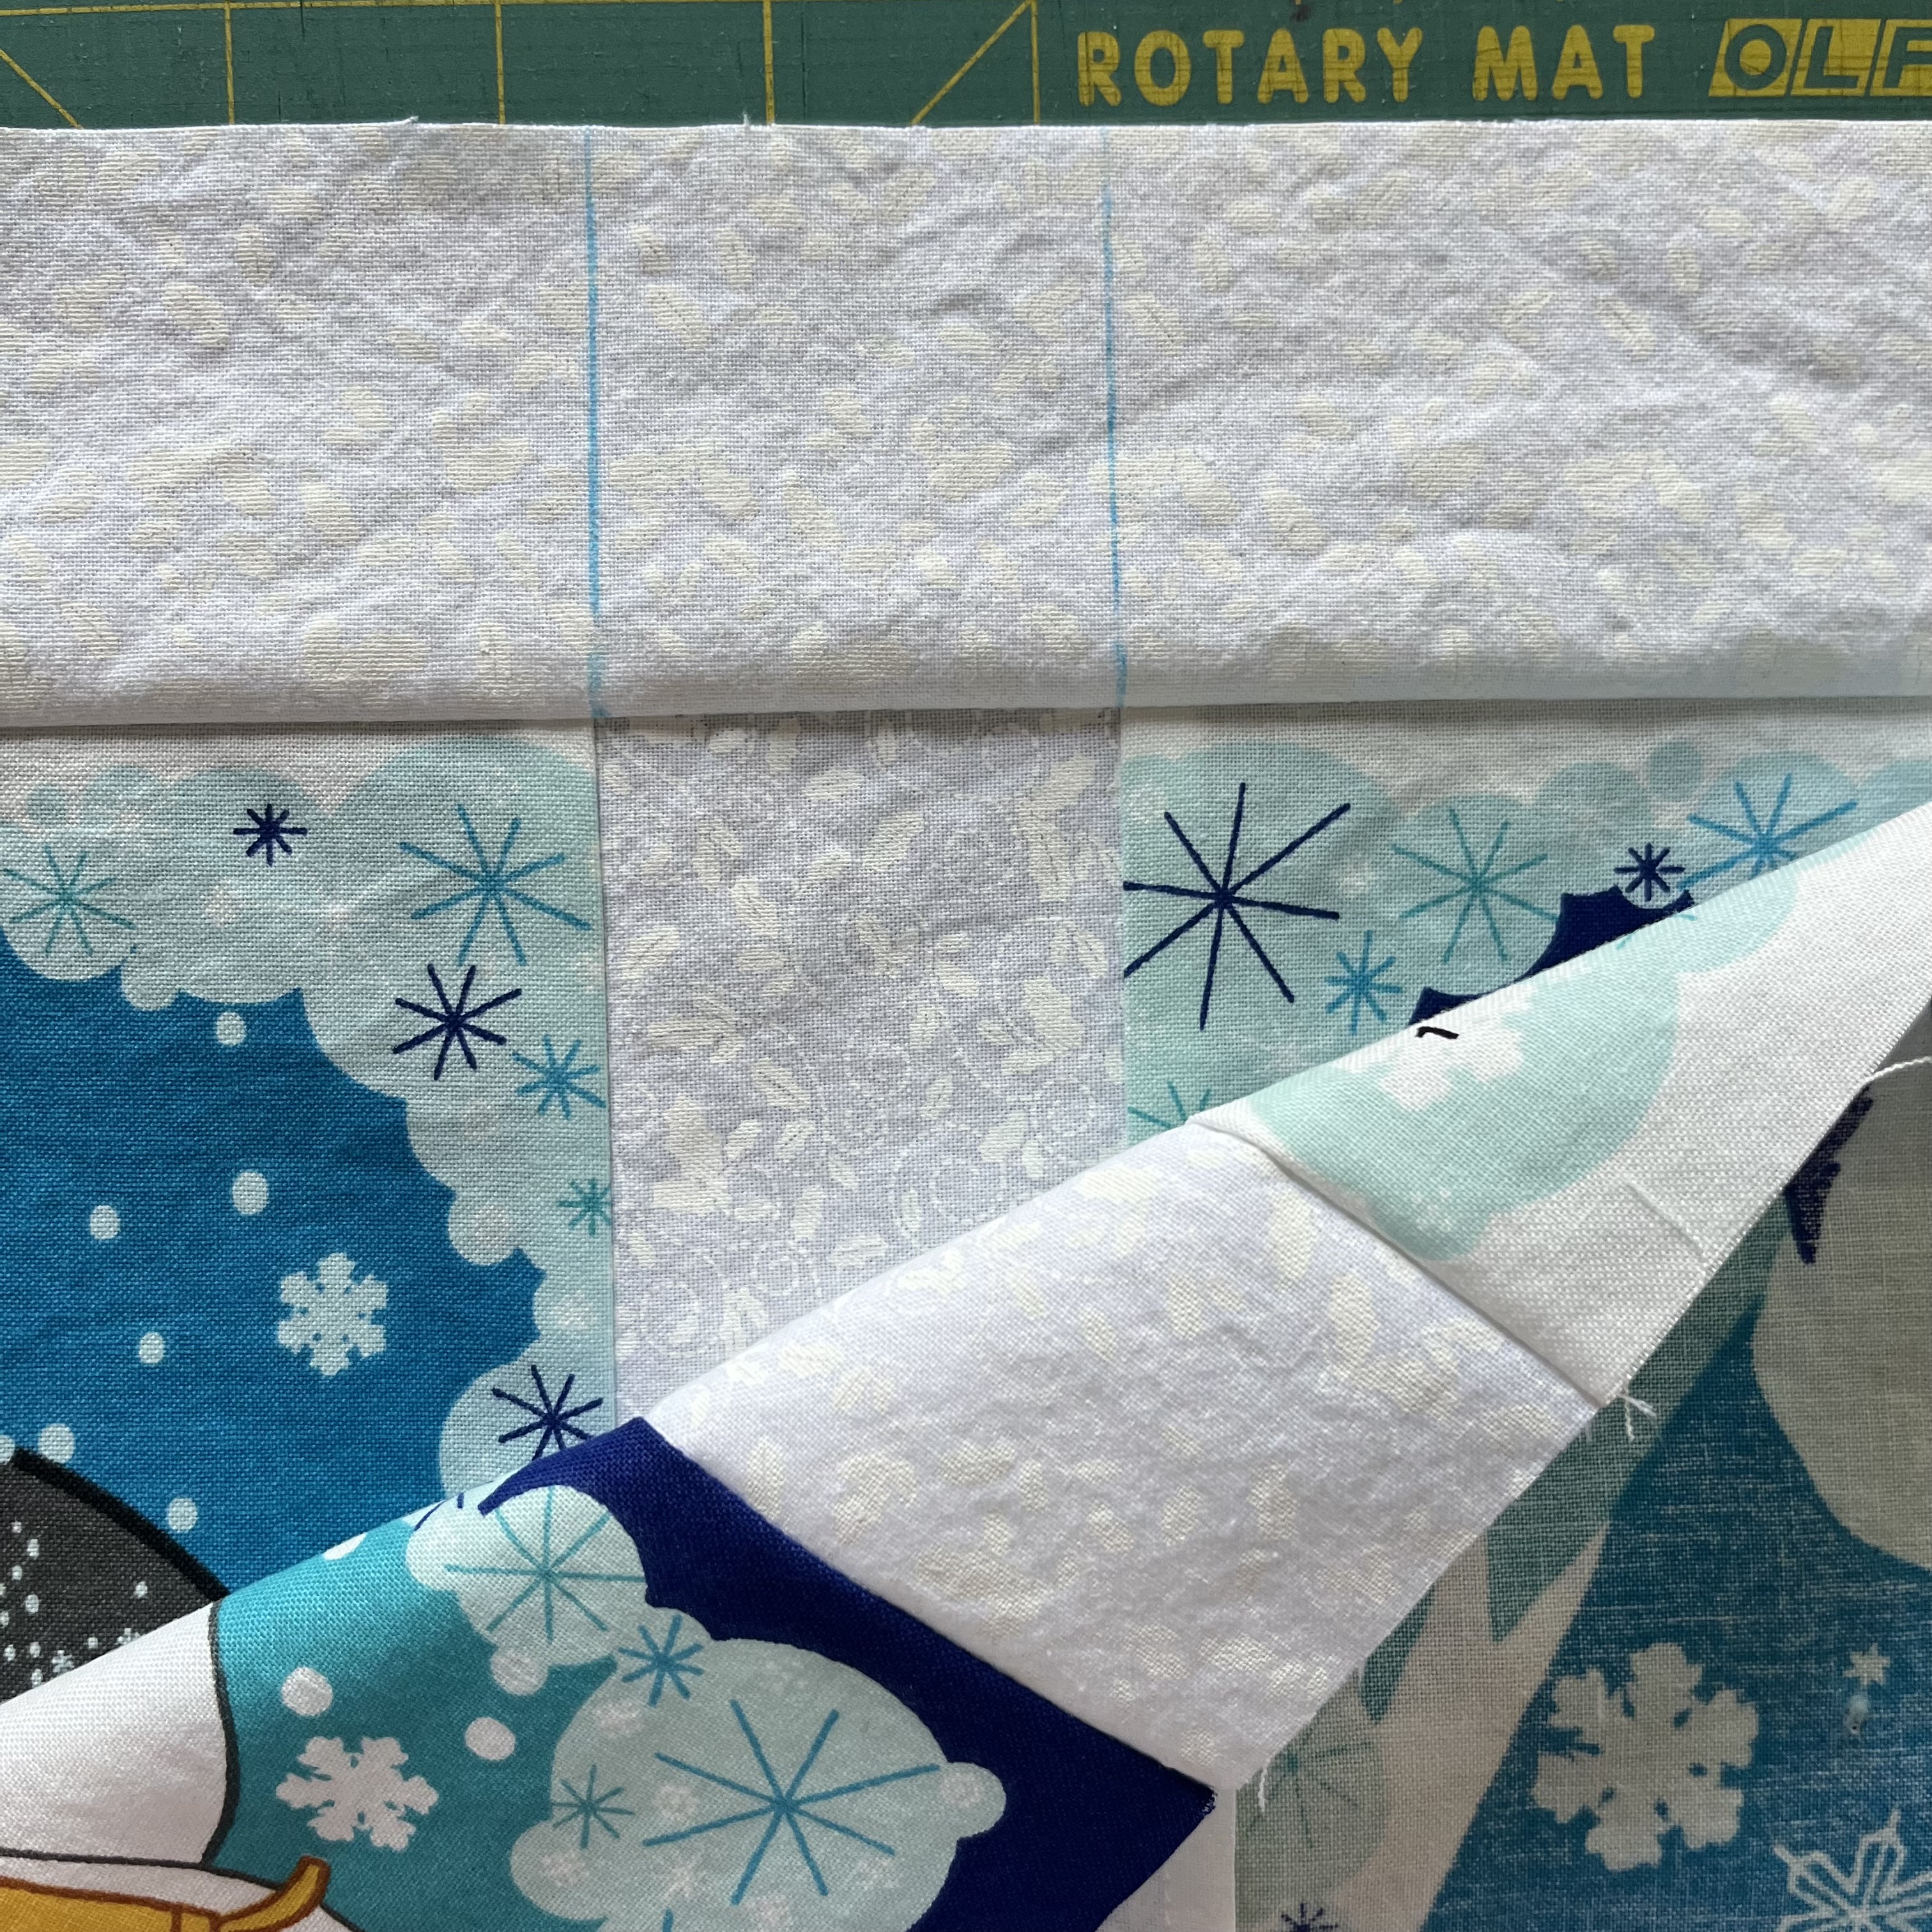
I trimmed the hems off all four sides of the hand towel. Then, I trimmed the fabric to match the size of the towel. I placed the wrong sides together, placed the ribbon in the center on one side so that it would be outside once flipped, and stitched around, leaving 3-4” open so I could flip it to the right side out.

I flipped it, and topstitched around the perimeter, closing up the hole I used to turn it around. 

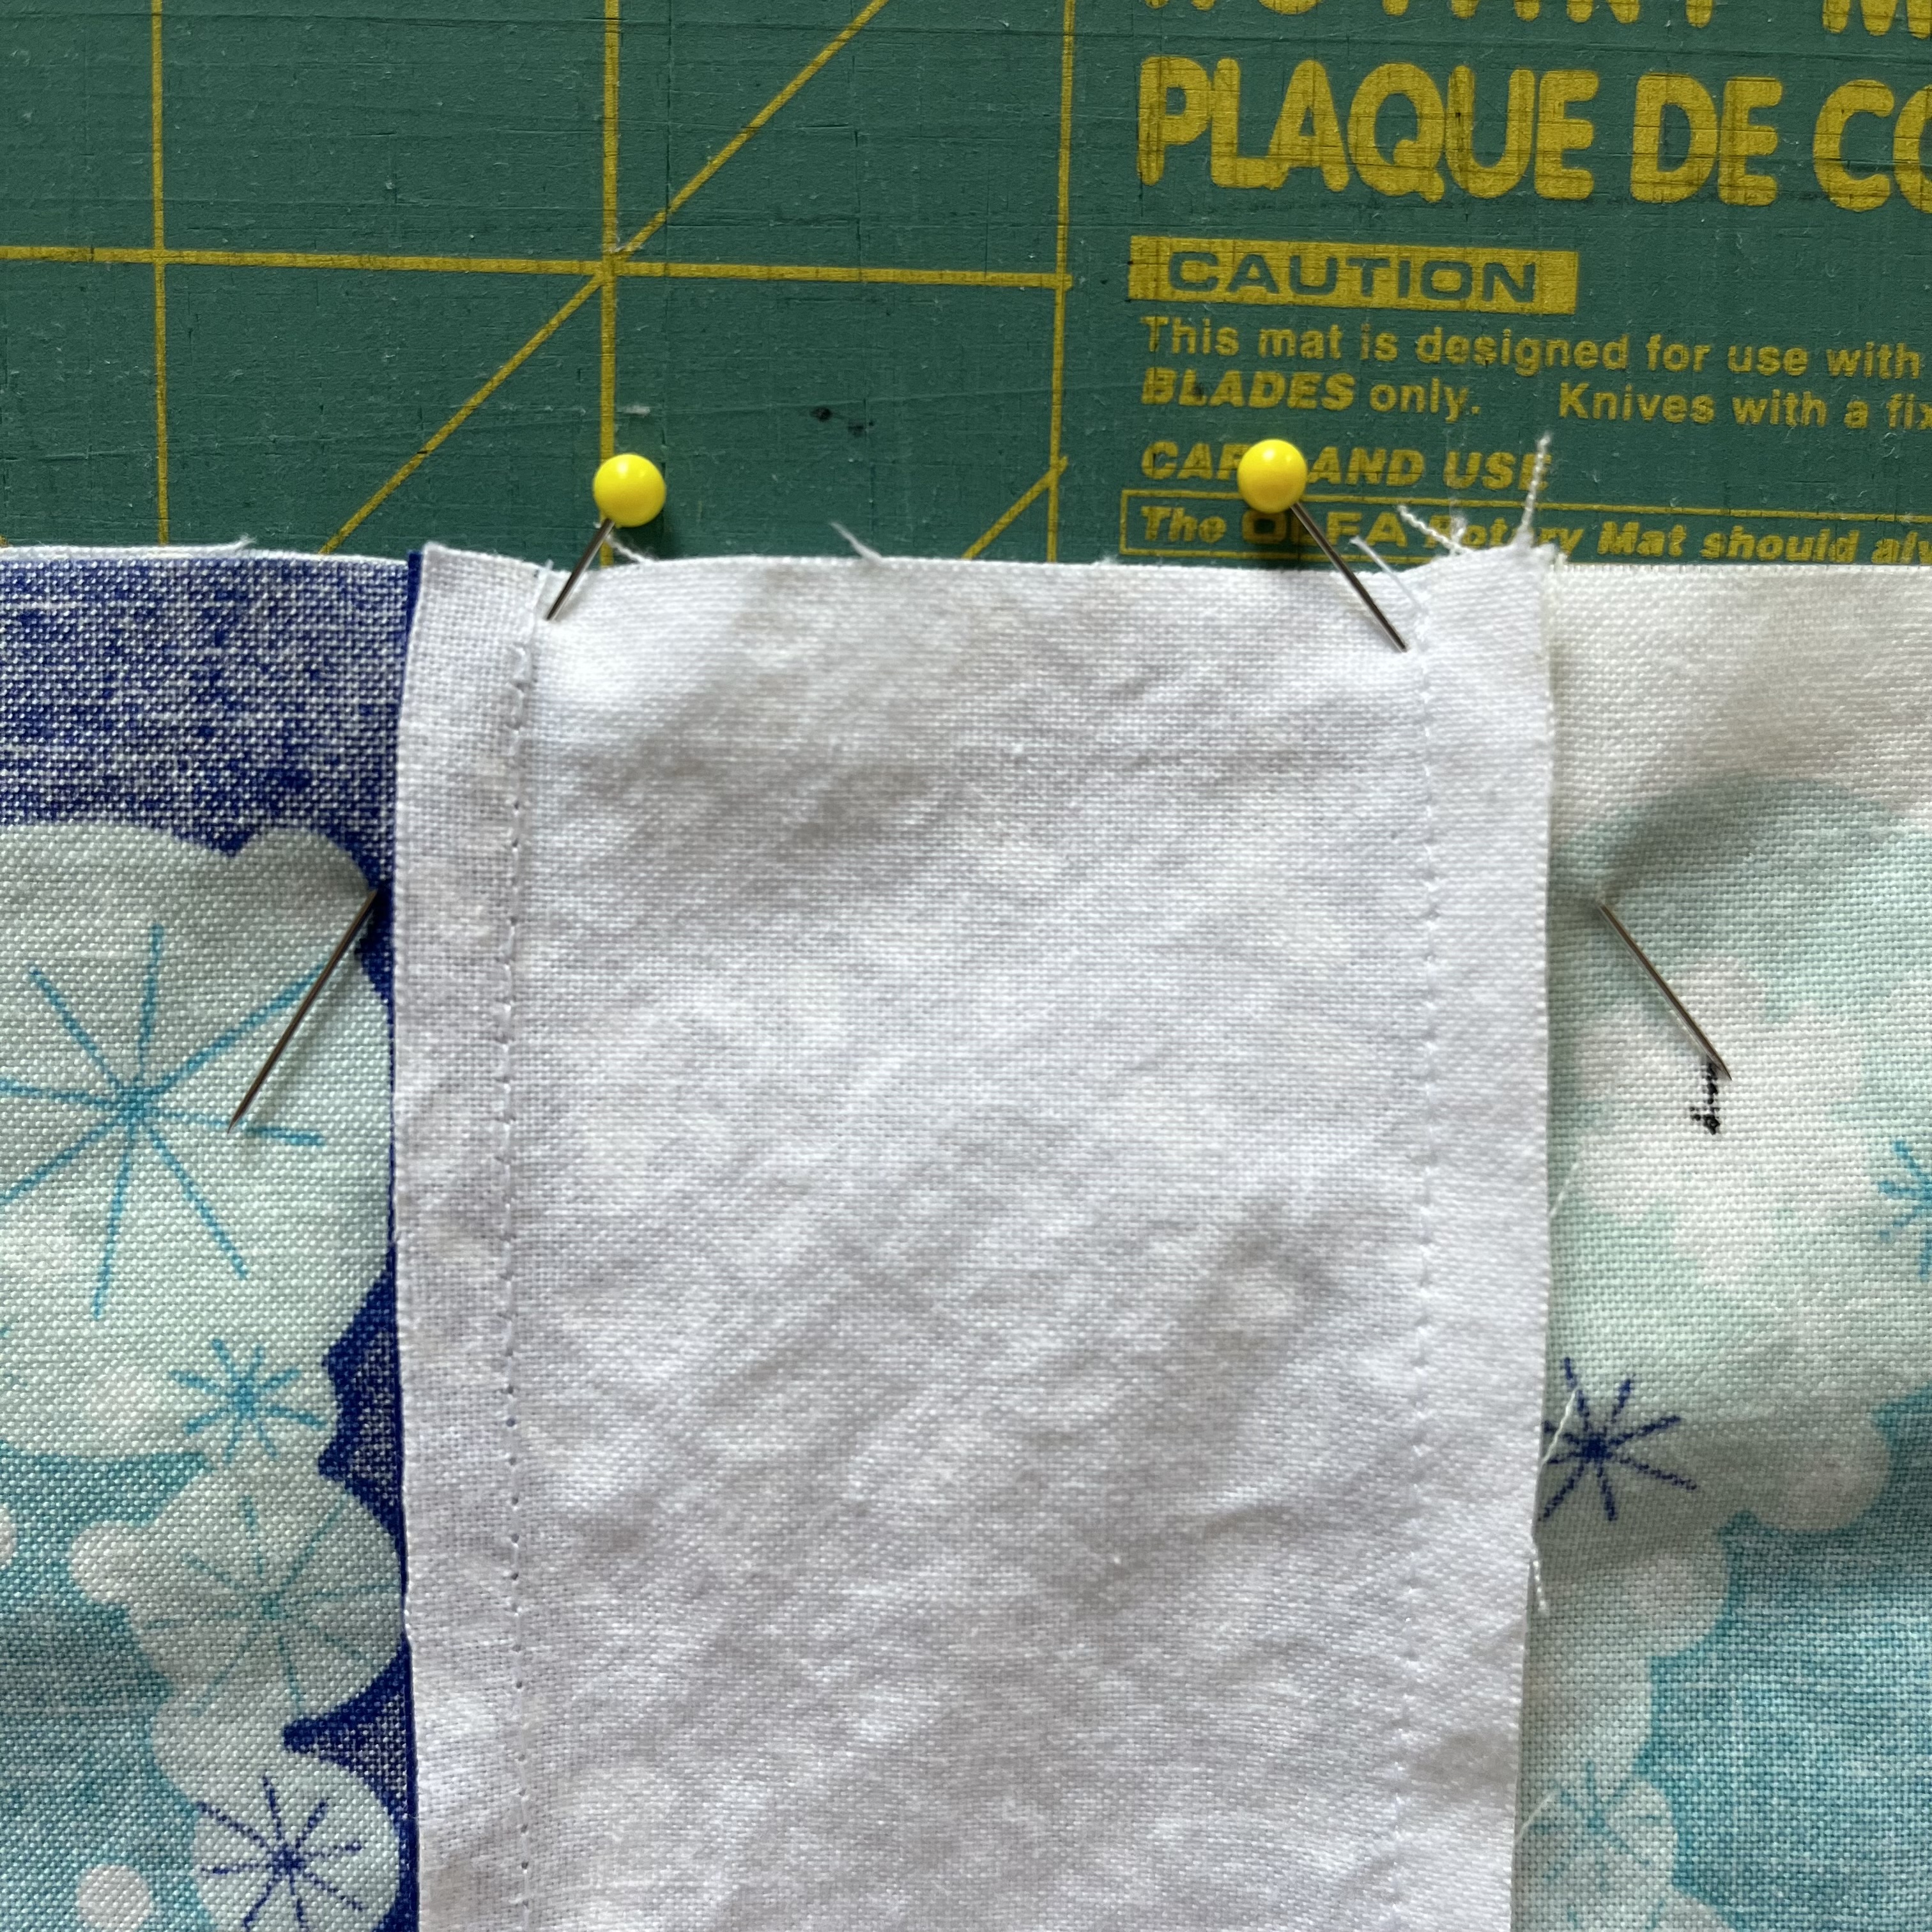
For the next part, I let the toothbrush be the guide. I set the toothbrush on the towel side and folded the bottom up far enough that it would hold the toothbrush. I also folded the top down enough so that it would protect the head of the brush. I clipped together the top and bottom folds down to hold it in place while I stitched each side down.

Now, using a ruler (but not for measuring!) and some tailor’s chalk, I placed each toiletry in, marked with the chalk where I needed to stitch to create a “pocket.” The ruler ensures a straight line. Then, I stitched along the marked line, and repeated this process for each toiletry I wanted this roll to hold. I was sure to leave a little wiggle room with each pocket, because toiletries don’t last forever and surely the next mini-bottle of shampoo will be larger/different shape and that wiggle room will ensure it’ll still slip in!

I’m happy with it! I stitched up a roll for each of my kids. It allows them to keep track of their own toiletries when we go on family trips. If you need a bit more detail on how this travel toiletry roll comes together, head on over to The Yellow Birdhouse’s tutorial here.

Happy sewing and safe travels!

Conversation Sampler Quilt by AnneMarie Chany in Pink, White & Navy Blue

My completed Conversation Sampler Quilt by AnneMarie Chany has a homespun, scrappy, Valentine’s Day style created with variety pink-hued fabrics and a tied finish.

Completed Conversation Heart Quilt

At long last, my Conversation Heart Quilt, as I call it, is done! I picked up AnneMarie Chany’s Conversation Sampler Quilt pattern in early 2019, purchased the fabric, sewed about two rows, and then life happened. About six years later, it’s completed and on a bed!

Close-up of rows 6, 7, & 8

The pattern uses a row-by-row construction method. That means, every row is sewn individually and then the rows are sewn together. Each row in this pattern is a different quilt block pattern. One of the appeals of sewing this pattern was the chance to create 12 different quilt blocks. Each block is unique and required different skills.

AnneMarie Chany’s Conversation Sampler Quilt Pattern

The instructions are written to create a rainbow within the rows, as seen on the front of the pattern. My vision was to keep the white, but use pink—so it felt more like Valentine’s Day. I also wanted a scrappy, homespun style.

Conversation Heart Quilt pattern plus my fabric pull

I purchased fat quarters of fabric in an array of pink hues and prints. Plus, I pulled a few pink fabrics from my stash. Overall, I used about 20 different pink fabrics for the contrast in the blocks. The binding is made with leftover pink fabric. The white and navy fabrics I purchased new. The backing is a new flat sheet. For the blanket stitch on the Orange Peel blocks, tying, and quilting, I used about 20 different hues of pink embroidery floss.

Close-up of the backing on the Conversation Heart Quilt

To finish the quilt, I put ties all throughout the blocks and did a single line of big-stitch quilting around the outer border. First, I have limitations for machine quilting, both with my own machine (it’s a basic model) and my budget to pay for longarm quilting by a professional. Second, tying is just a lovely way to create a homespun aesthetic. It’s just not as polished as machine quilting and really highlights the hand of the maker. Third, I wanted this quilt DONE, so I wasn’t going to hand quilt it. Especially with all those seams! (Seams create an obstacle to any kind of quilting.)

The resulting quilt achieves my vision and I’m pleased as punch with it! The colors exude a Valentine’s Day vibe (although this quilt is destined to be used year-round). The variety of pink fabrics used in both the blocks and binding create a scrappy style, as if the quilt was made with leftover material from different projects. The ties bring it all together with texture and a homespun feel.

Close-up of tie and single line of quilting

Since I have completed this quilt, I have seen it on the bed and thought, “that is a really nice quilt!” And, you know what? Isn’t that the purpose of creating—to make something that delights ourselves?

The Details:

+ Pattern is “Conversation Sampler Quilt Pattern” by AnneMarie Chany

+ Measures 76” square

+ Approximately 20 different pink fabrics

+ Approximately 20 different shades of pink embroidery floss

+ Finished with ties and a single line of hand quilting along the border

Completed Conversation Heart Quilt

Desert Sun & Then Some Quilt AKA The Leftover Quilt

After sewing a baby-size quilt top with Maeberry Square’s Desert Series Quilt Pattern, I added borders with leftover fabric to create a twin-size quilt.

Completed Desert Sun & Then Some Quilt

Several years ago, I signed up to test Maeberry Square’s One Block | Three Designs Desert Series Pattern. Unfortunately, it looks like the shop is taking a break. You may remember this quilt from here. It’s a fun pattern and I love the colors. But, I’m a big-quilt kind of person. The top was only baby-size and I don’t have any babies to make quilts for! The top had been waiting patiently while I figured out what to do.

Center was tied with six-strand embroidery floss.

Finally, inspiration struck in the form of leftover fabric from some pillowcases I made. I decided to just add borders of fabric until I had a large enough quilt. To me, a quilt needs to be long enough to cover your shoulders and wrap around your feet while you’re fully stretched out. In the past, I’ve made a throw-size quilt and found it distinctly unsatisfying to use for a couch nap because either my feet were uncovered, or my shoulders were.

Close up of big-stitch quilting in borders

I gathered my leftover pillowcase fabric along with leftover fabric from the original quilt, too. With some mathing, I just kept cutting strips out of the fabric and sewing them on as borders. It has a vaguely Courthouse Steps quilt block kind of vibe. Once I had sewn all the leftover fabric on, I decided it was big enough. (To be honest, it could be bigger, but it passes my shoulder-to-toes test.)

It’s a leftover quilt because it was completed with materials leftover from a few different quilts.

With newly purchased batting and fabric, I basted the quilt and set about tying the quilt within the “Desert Sun” center. The embroidery floss I used was leftover from my Down the Rabbit Hole Quilt. Then, using the same floss, I did big stitch hand quilting in the borders.

Glamour shot of the quilting on the back

The binding was a quilting miracle! I used leftover binding I had made for a previous quilt project. And, you know what? It was the exact amount I needed for this quilt. I mean, it was exactly—I clipped off maybe 2” of extra binding. If there was ever a sign that this quilt was meant to be, this was it.

The leftover binding was the exact amount needed for this quilt.

And, that’s it! I finished an unfinished quilt top that was (to me) an unusable size in a size that is perfect for the bed that it is currently on. It’s a great feeling to clear out a project bin…and to start scheming about the next project!

The Leftover Quilt

Rudolph the Red-Nosed Reindeer Christmas Quilt

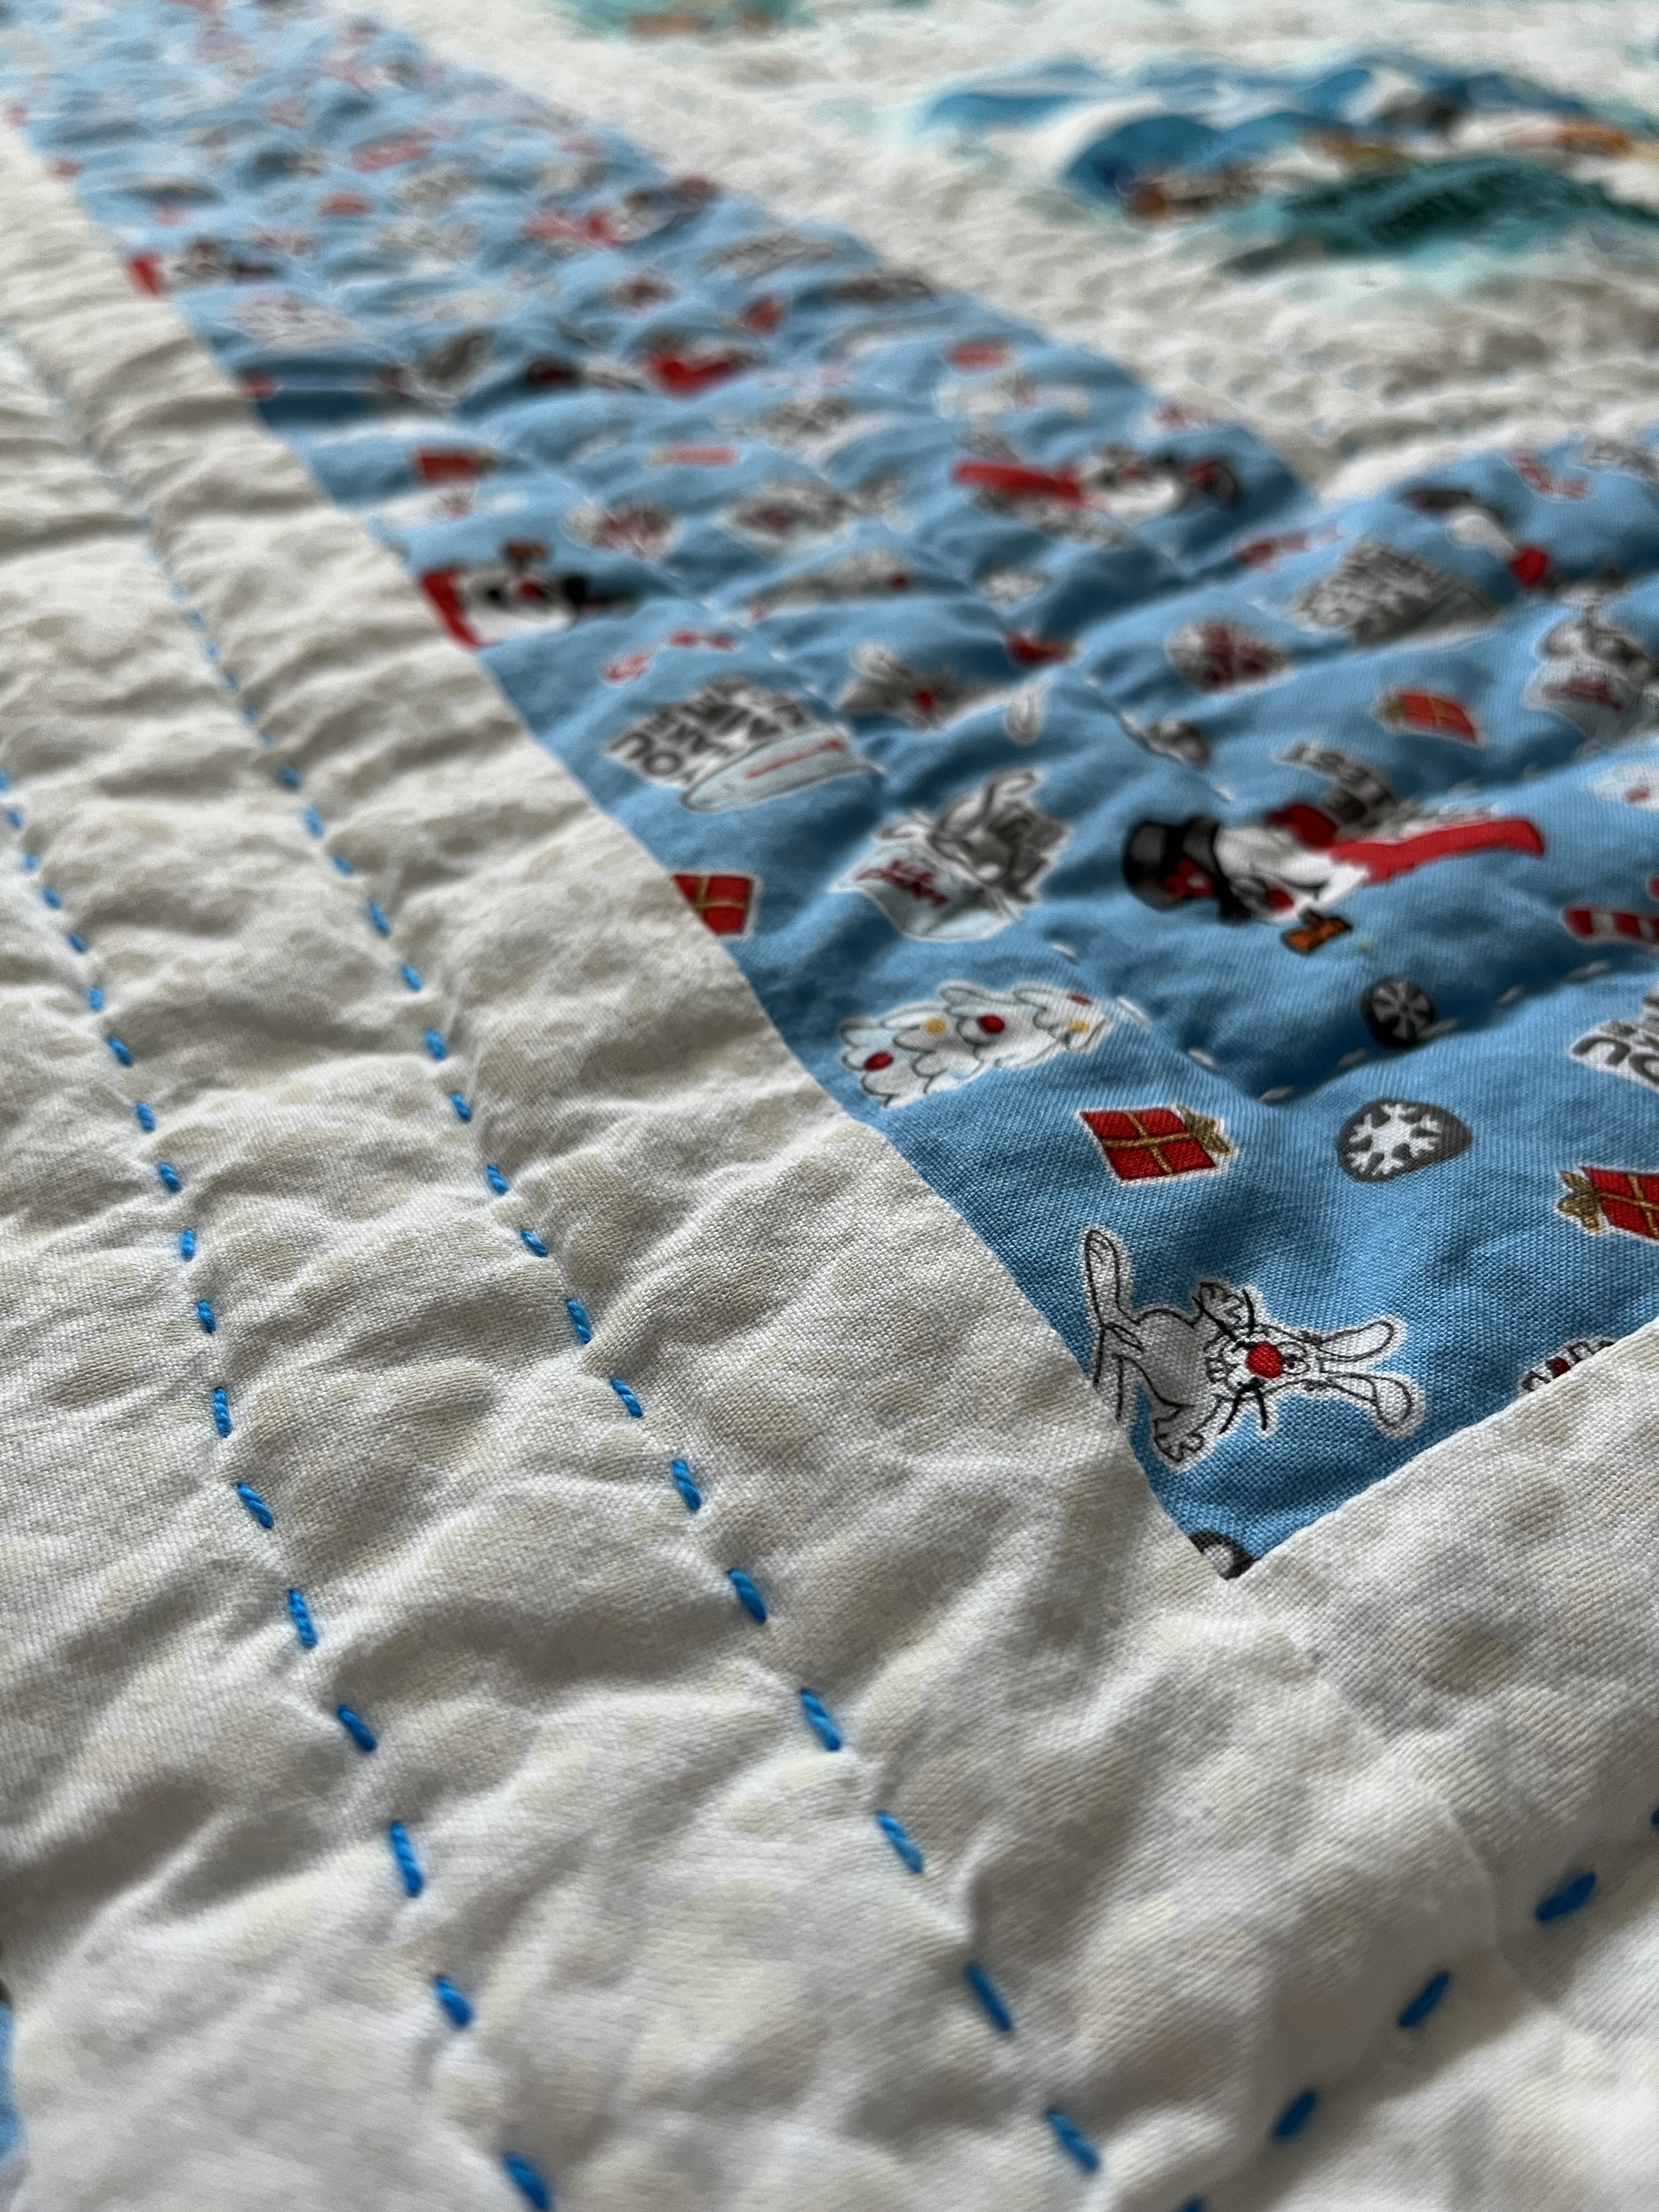
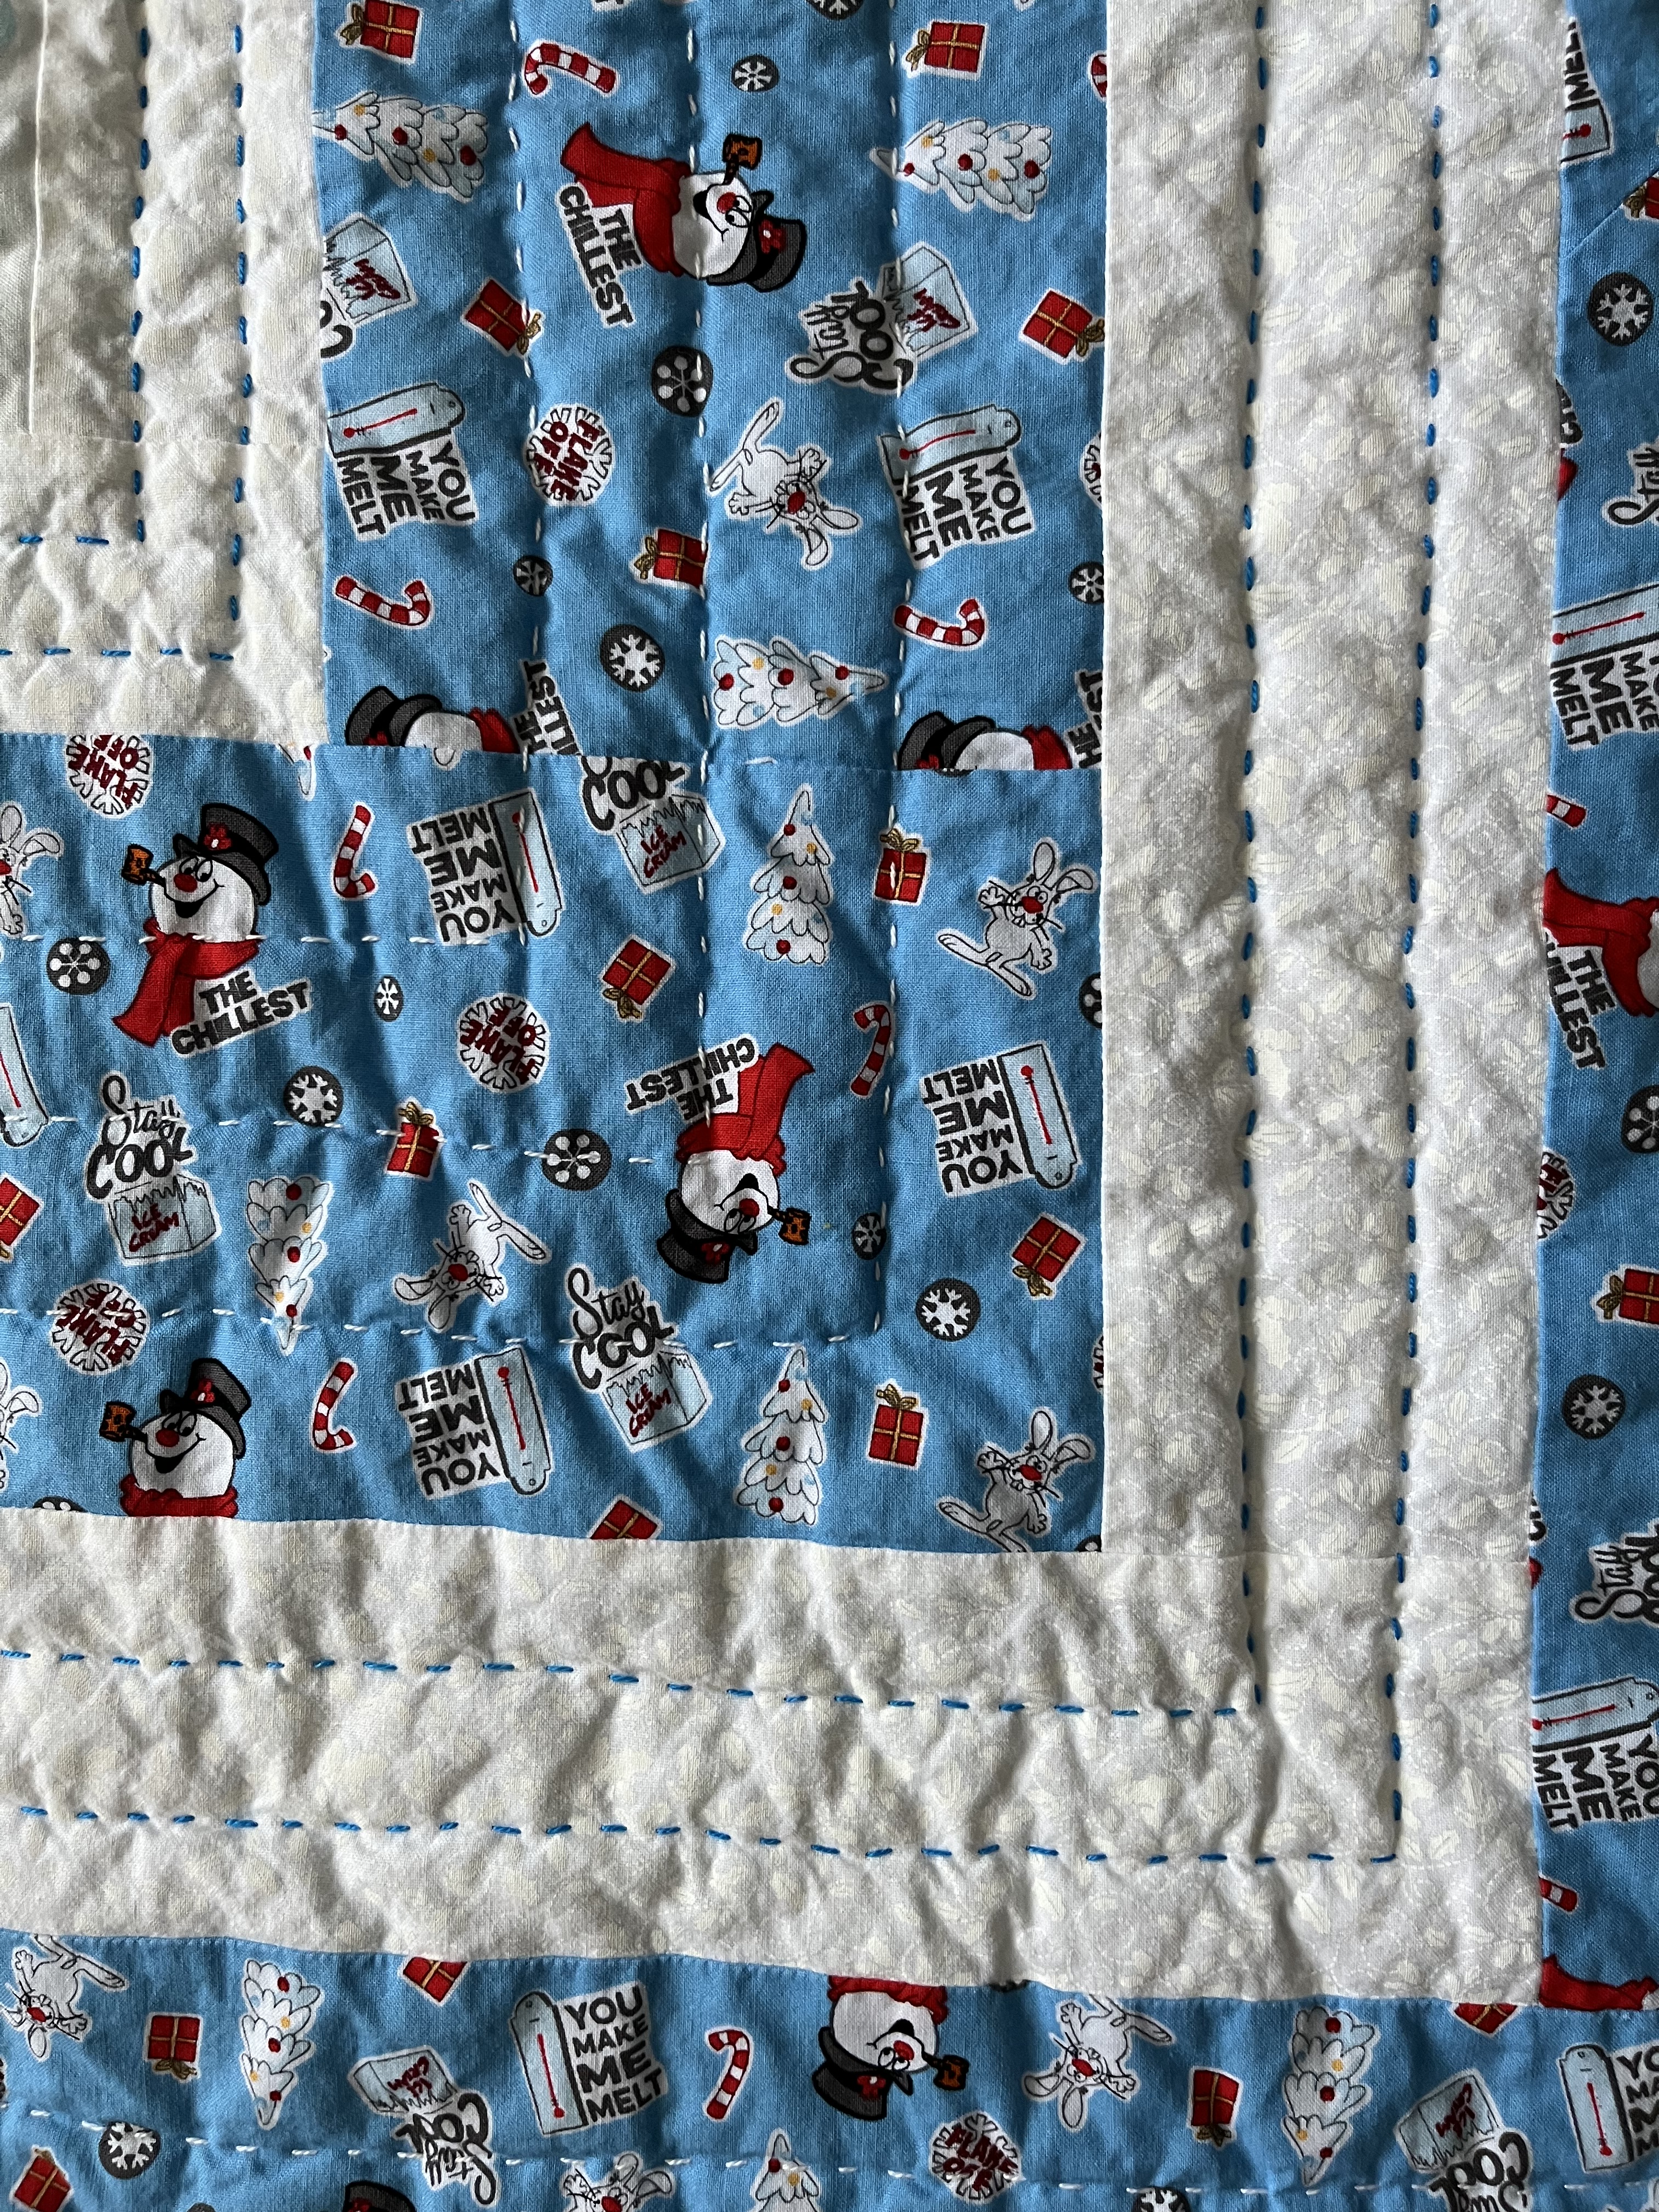
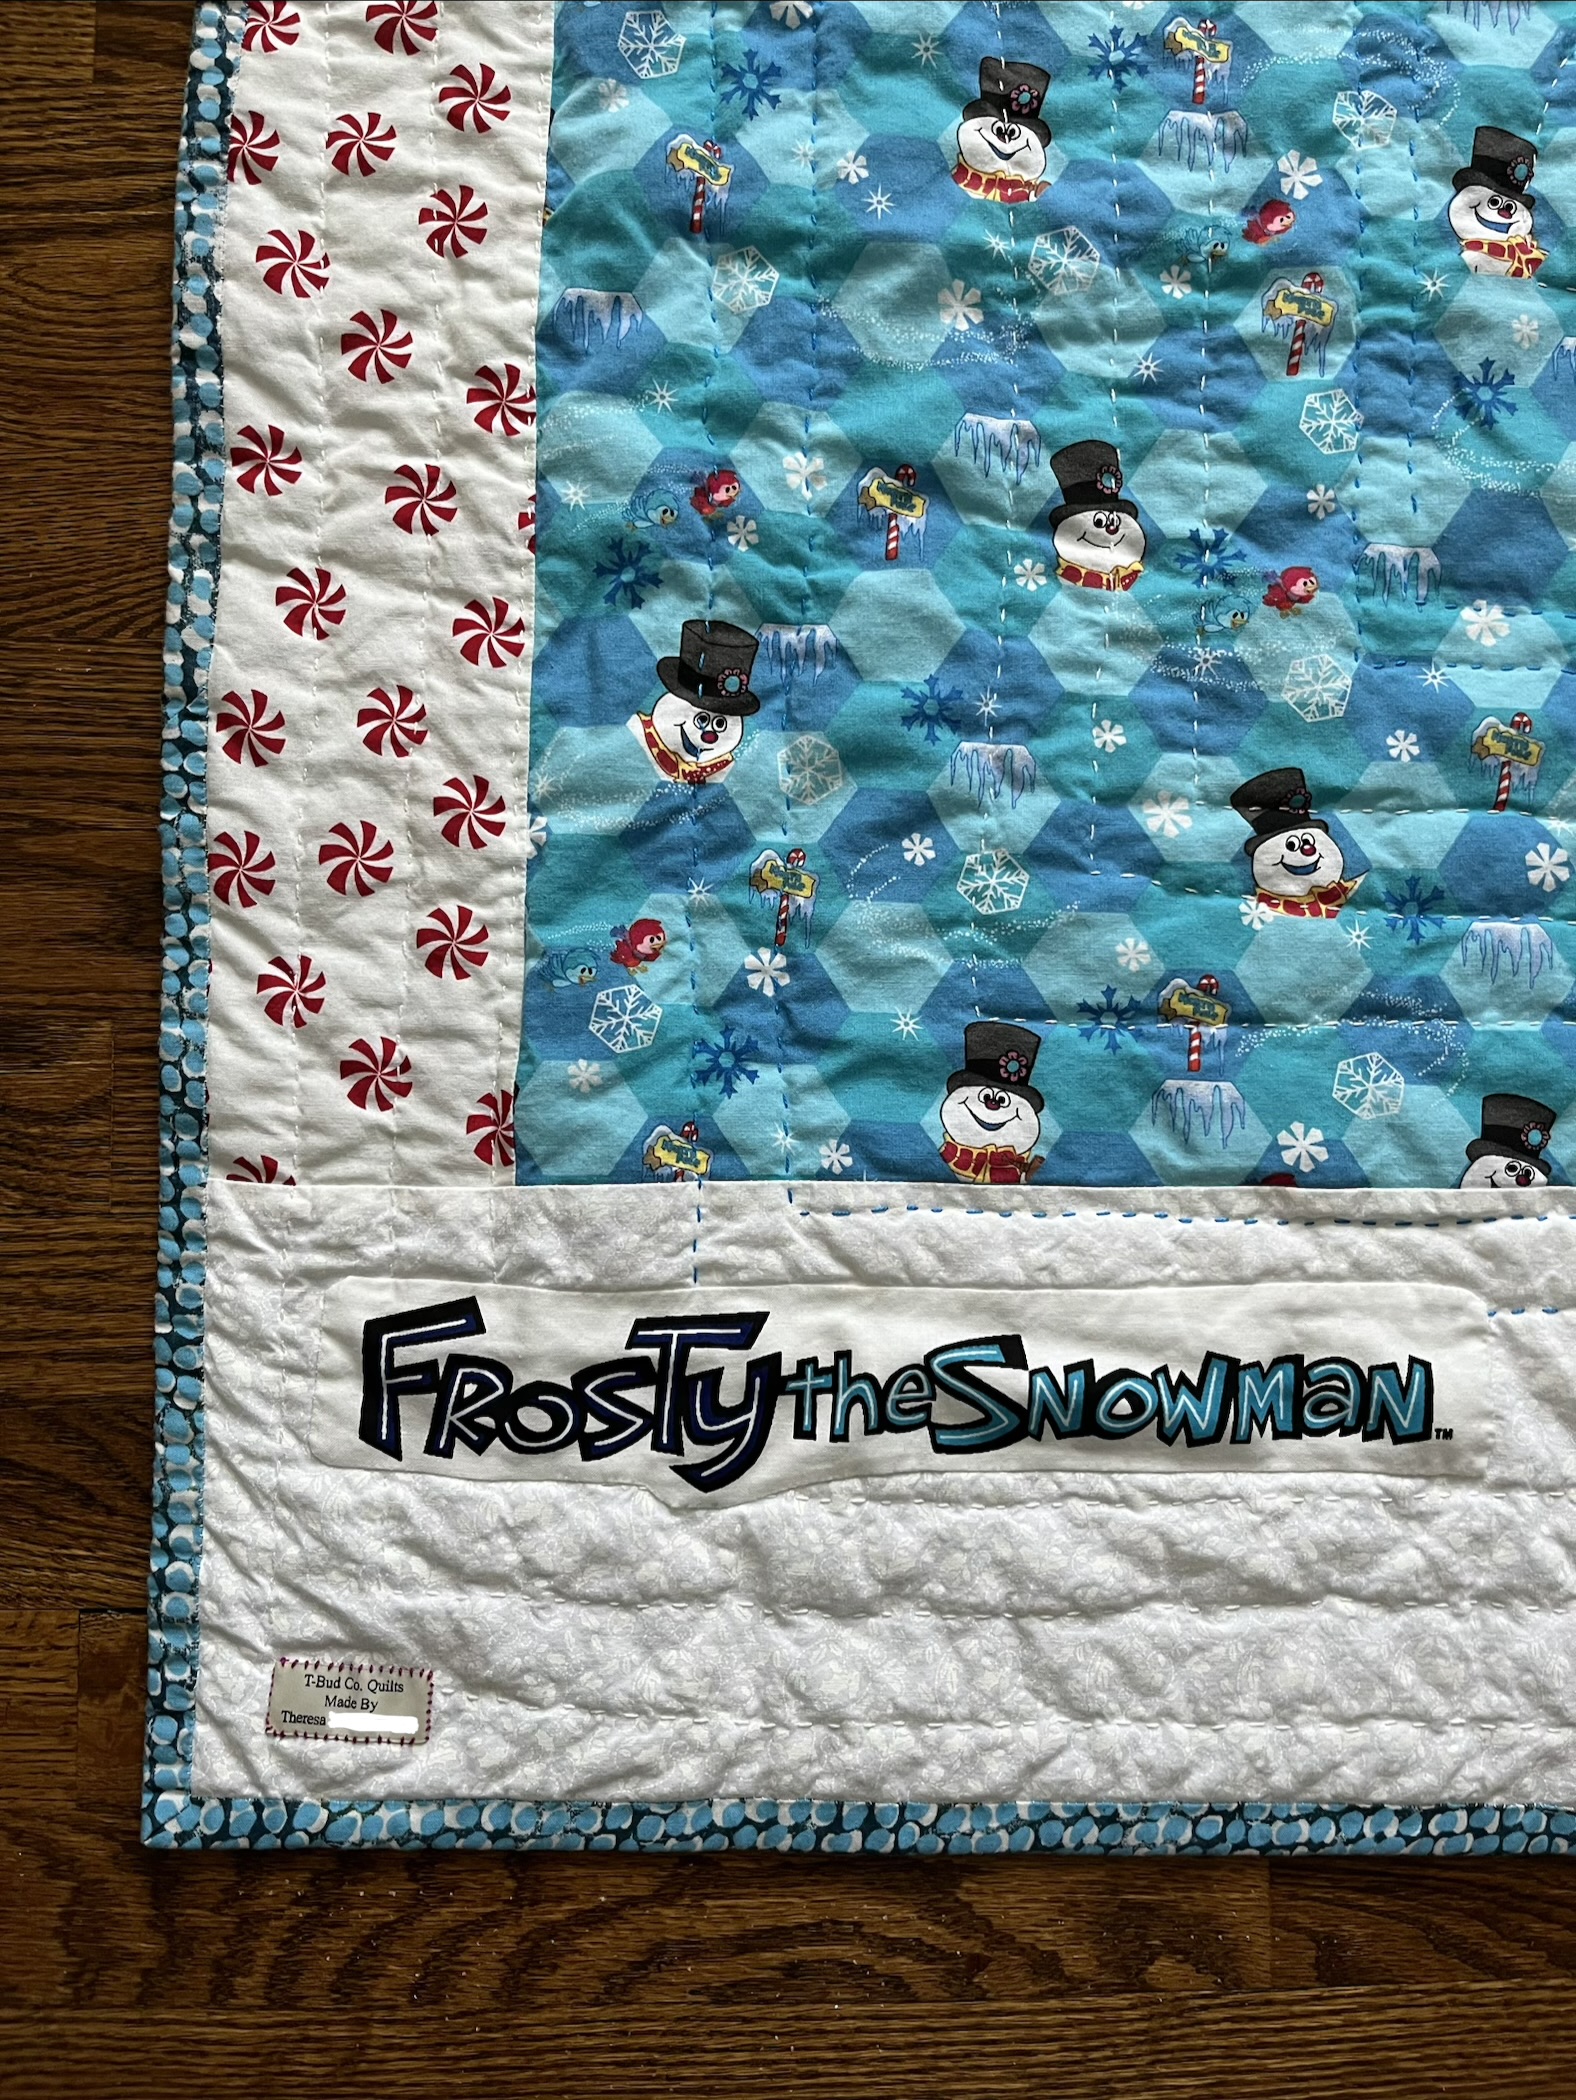
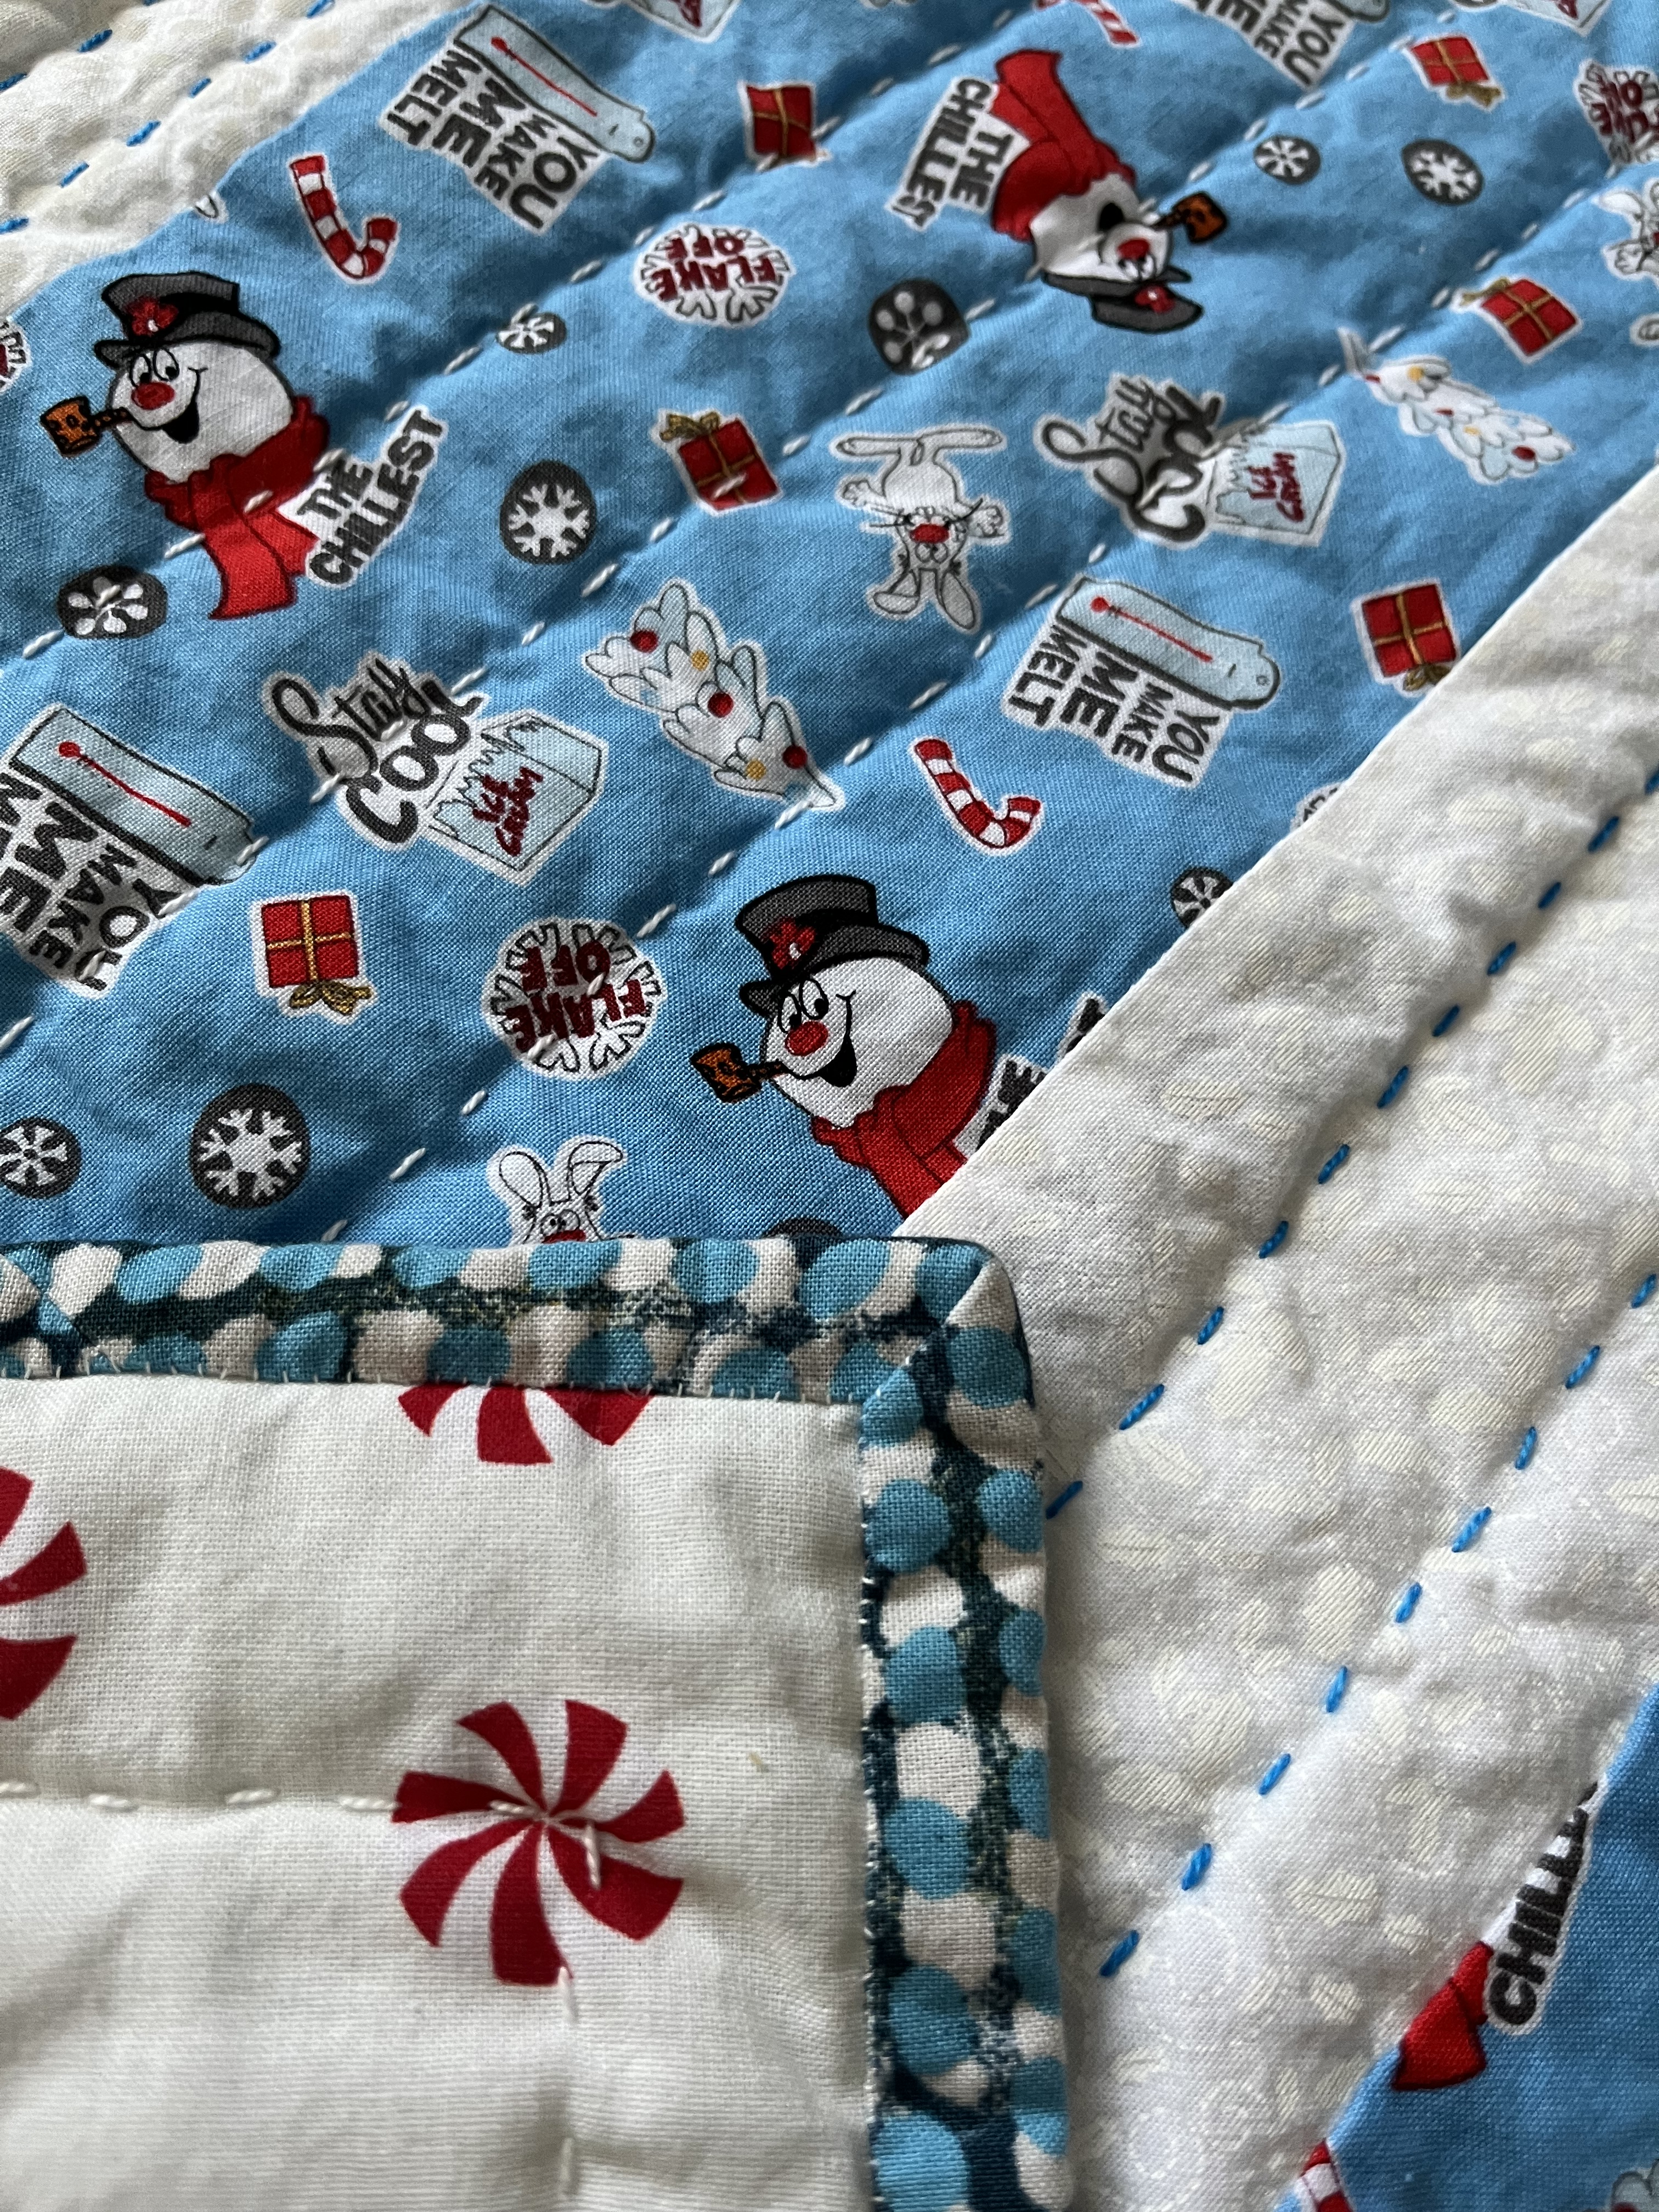
In July of 2022, I finally completed my Rudolph Christmas quilt that I made with a repurposed fabric panel.

My Rudolph Christmas quilt has been in the works for a handful of years. Last July, I finally finished it.

I bought a fabric panel that was intended to be sewn into a fabric kids’ book. Before I could make the book, I was gifted the completed book. (Disclaimer: I love the 1964 Rankin-Bass Rudolph the Red-Nosed Reindeer Christmas special—dated language and all—and I have an affinity for the Bumble. People tend to gift me and my family Rudolph-themed items!)

I decided to make each page a block and use some of the Rudolph and Bumble fabric I had been collecting as borders and backing. I did have to buy some white snowflake fabric to use for borders, too.

This was the first quilt I made after I realized I like quilts big enough to use. I want a quilt to be at least twin-size—it should cover my shoulders and feet! I simply kept adding borders to the page blocks until I was satisfied with the size

To quilt it, I decided to hand quilt it with big-stitch quilting. I quilted in each page block around the scene with white DMC pearl thread. Then I did straight quilting in a combination of red and green DMC pearl thread in the white snowflake borders. In the green Rudolph print borders, I did more straight quilting in white DMC pearl thread. 

The binding is just a black Christmas-themed fabric. I think it’s a nice frame to the red, green, white of the quilt.

I was able to save the Rudolph logo from the panel and stitched it onto the back right above my quilt label.

I have to say, I love this quilt! I love the colors. I love the quilting. And the size is perfect. I have no desire to only have this quilt out at Christmas. Ha! And, isn’t that the point? To make a quilt that you love and use?

The details:

+ 76.5” H x 61.5” W

+ Machine pieced

+ Hand quilted

+ The blocks are from a panel that was designed to be sewn into a fabric book. I like the quilt better the book—it’s warmer, too!

+ Don’t ask how long it took me to finish this quilt!

Knowing When It’s Time to Throw Away Mended Clothing

When my mended pair of jeans needed to be repaired again, I knew it was time to let them go. I patched them after a year of wear and then wore them for another year.

It’s time to let these jeans go.

Nothing lasts forever, unfortunately, and while I could have mended these jeans for a second time, I just wasn’t feeling comfortable wearing them. I tend to wear out my jeans in the crotch. So, visible repairs are in an awkward place and I certainly don’t want to draw attention to my crotch! The layered fabric in the crotch creates a different kind of discomfort—it’s physically uncomfortable.

Right after the mending a year ago.

I took photos of these jeans when I originally mended them. The date linked is March of 2022. I estimate that I wore them for a year before they needed repair. I wore them for two years: one year as-is and a second year patched. Full disclosure: I am on sabbatical from working outside the home. A lot of days I just don’t leave home—I can get away with wearing the same clothes every day, from week to week. I wore these jeans multiple days per week for two years straight. Conservatively, I’ll say I wore them only 2 days per week. Let’s do some math!

52 + 52 = 104 weeks in the 2 years I wore them

104 x 2 = 208 days worn

I do laundry once a week. They were washed 104 times.

208 days of wear. 104 washes. Now, they’re done.

That’s pretty good and beats NPR’s LifeKit’s suggestion that you wear an article of clothing 30 times.

I learned a lot from this pair of pants. First, there’s a lot of stretch in these jeans. Look at how they wore out. It’s amazing how much the wear looks like stretch marks on skin.

Denim wore right down to the patch material.

Second, I think the stitching frayed and broke because I mended these jeans while they were clean. There’s a difference in the fabric when it’s freshly washed and when it has been worn a couple of times.

I used a single strand of DMC Cotton Pearl thread in a medium blue to blend with the color of the denim as much as possible.

The next pair of jeans, I will wear them a day or two before mending. Then, I’ll be stitching on fabric at its maximum stretched size, not at a shrunken size.

Layers of fabric

Finally, I’m not sure I’ll heave the whole pair into the trash bin. I’m going to try part them out—I’ll try to take out the zipper and maybe cut out swatches of relatively unworn fabric on the legs for future mending or other projects. All in all, eventually everything has to go. While only having this pair of jeans for two years seems paltry, after doing the math, I realize that I actually got a lot of wear out of them. Now it’s time to put them to rest.

Pretty stitches.