
Using an online tutorial, I sewed a travel toiletry roll using a store-bought hand towel and fat quarter of quilting cotton.

I have had The Yellow Birdhouse’s “DIY Toothbrush Travel Wrap” blog post pinned on a Pinterest board for a few years now. With a trip on the calendar, I knew it was time to try it out. All it requires is a store-bought hand towel, a fat quarter of quilting cotton, some ribbon, and of course, thread, and a sewing machine.
I bought some 100% cotton hand towels and dug through my stash for some fat quarter-size pieces of fabric. I also dug through my collection of ribbon and trim to find pieces that would match and be long enough to stitch on as tie closures.
Full disclosure: I didn’t measure anything! After getting the gist of how to make the toiletry roll, I let the hand towel and mini travel toiletries be my guide. It was an exercise in letting go of perfection. I mean, who is going to see this? Function over beauty, I say!
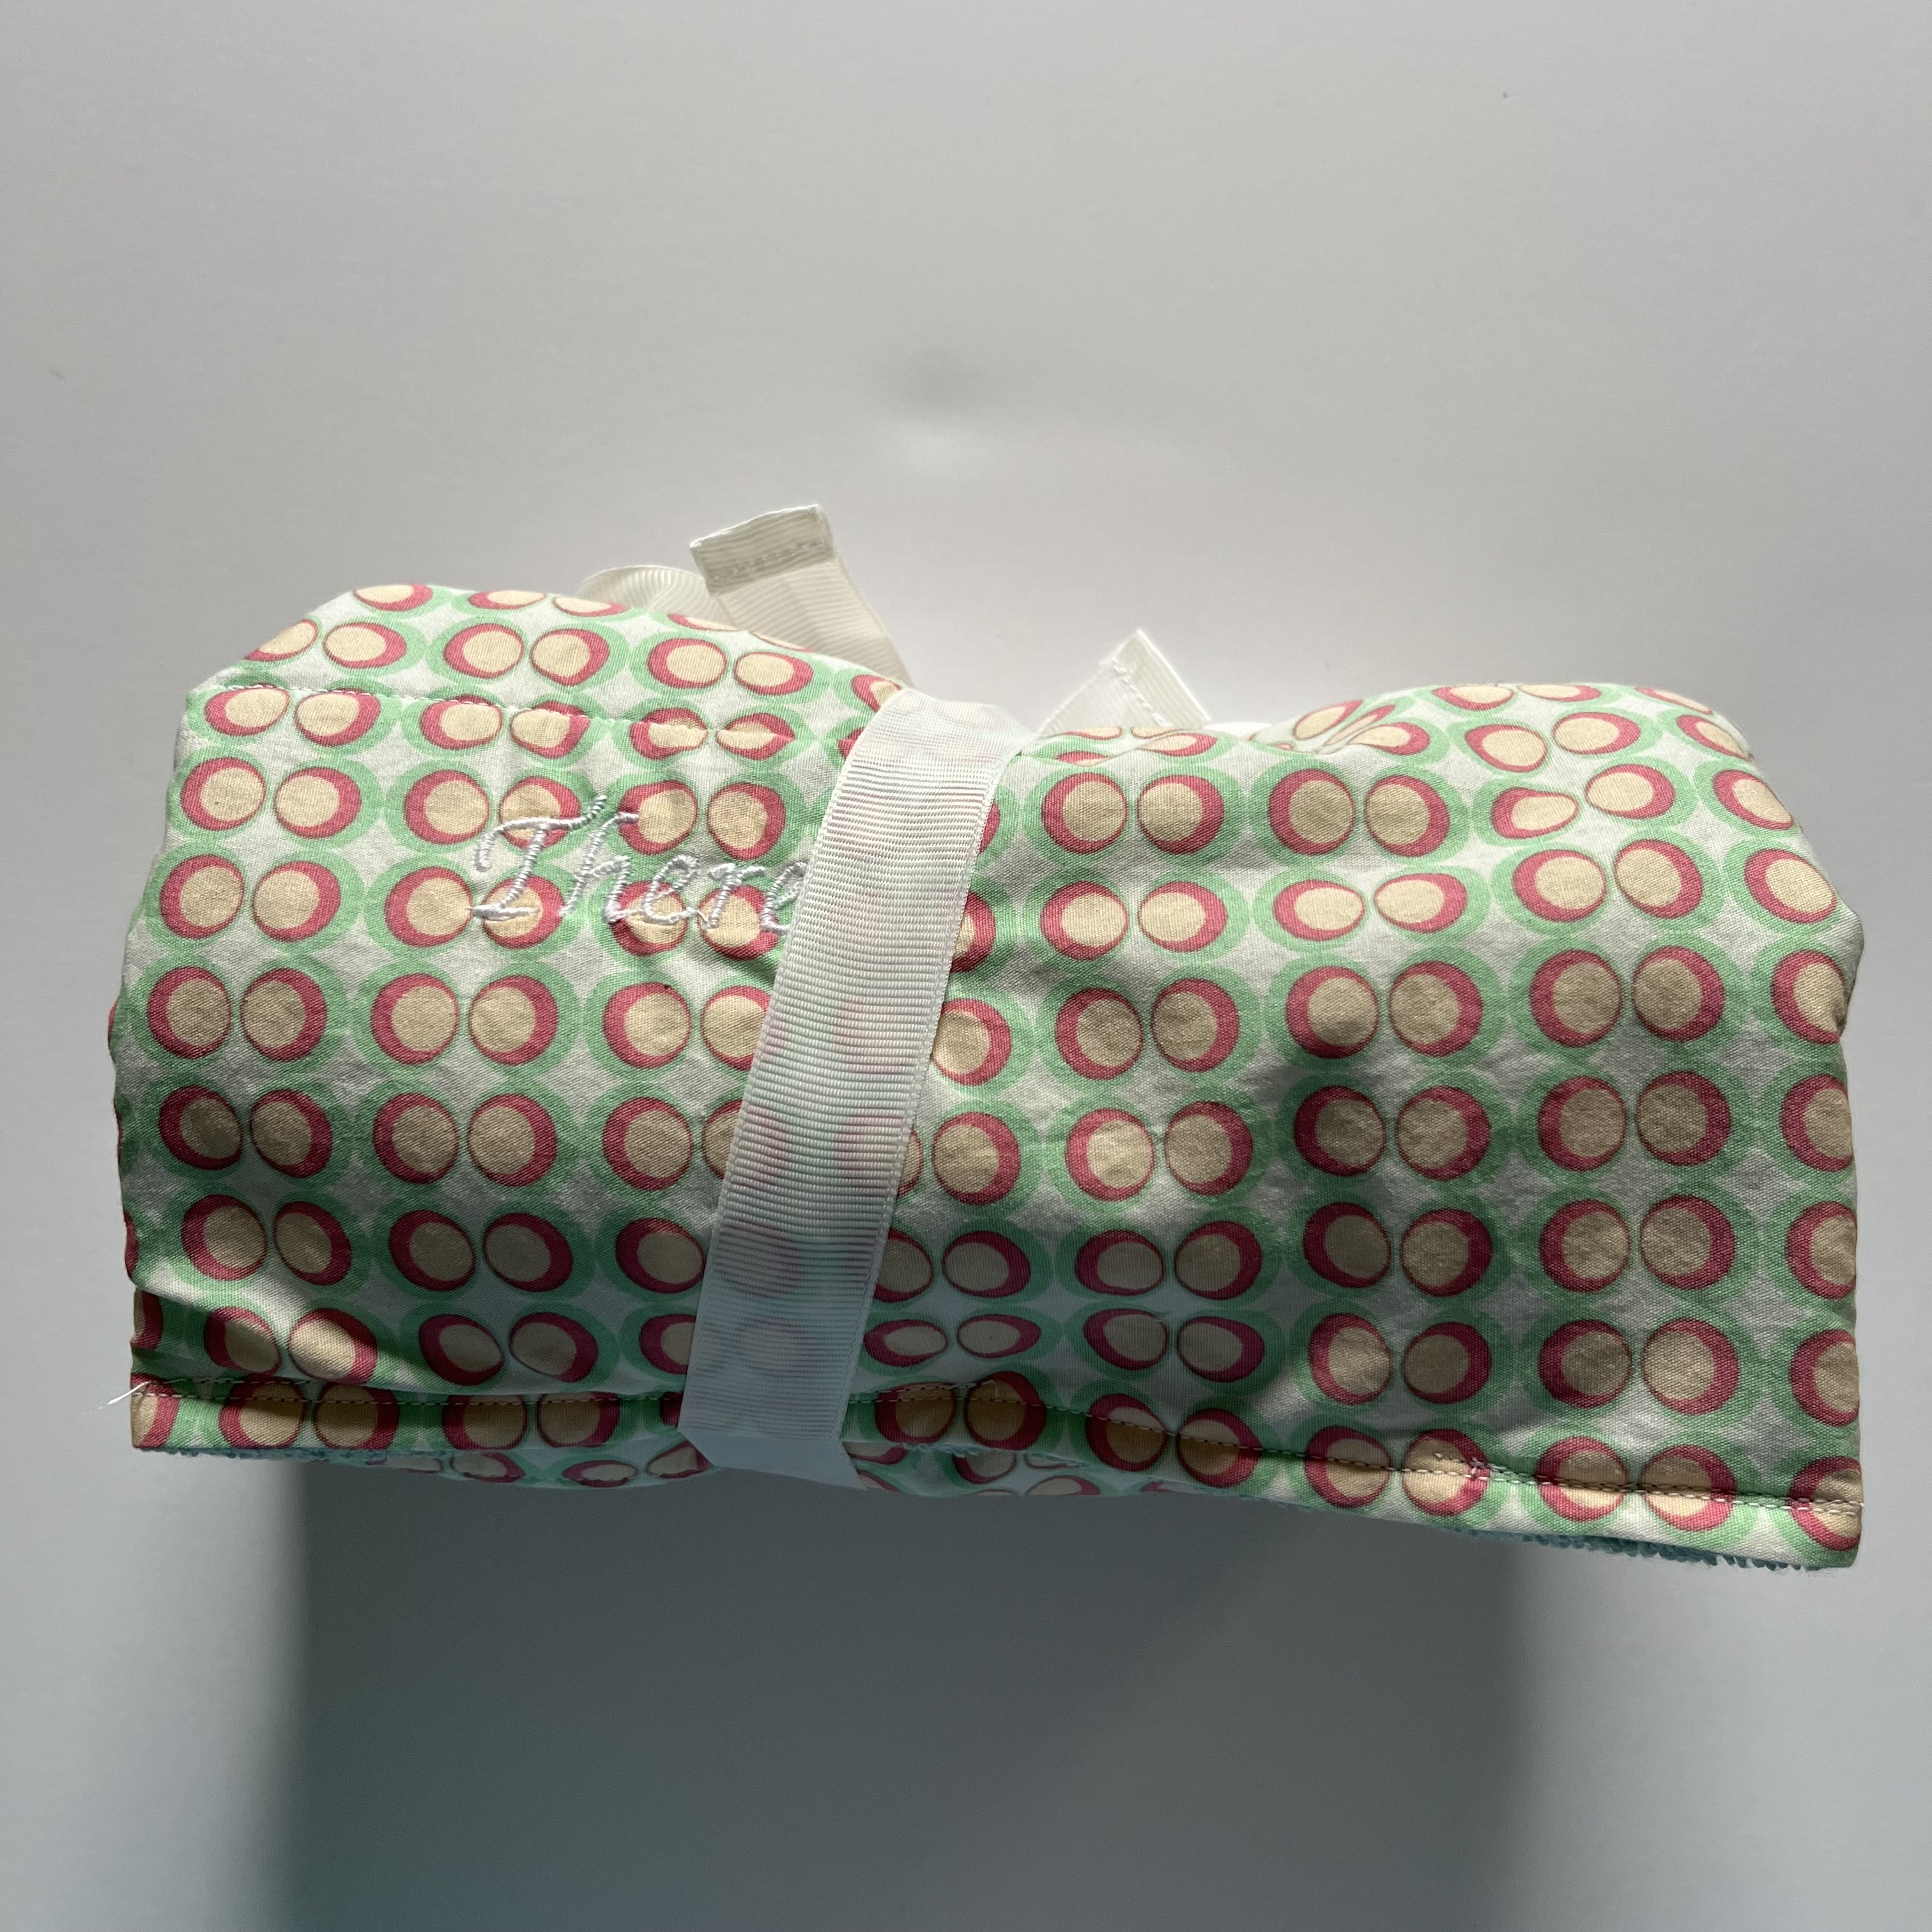
First, using my secondhand embroidery machine, I stitched my name into the fabric. I’m still learning the ins and outs of machine embroidery and try to use it when I can. It’s all practice, as you’ll see from the fact that the embroidery isn’t very visible. And, it’s off-center.

I trimmed the hems off all four sides of the hand towel. Then, I trimmed the fabric to match the size of the towel. I placed the wrong sides together, placed the ribbon in the center on one side so that it would be outside once flipped, and stitched around, leaving 3-4” open so I could flip it to the right side out.
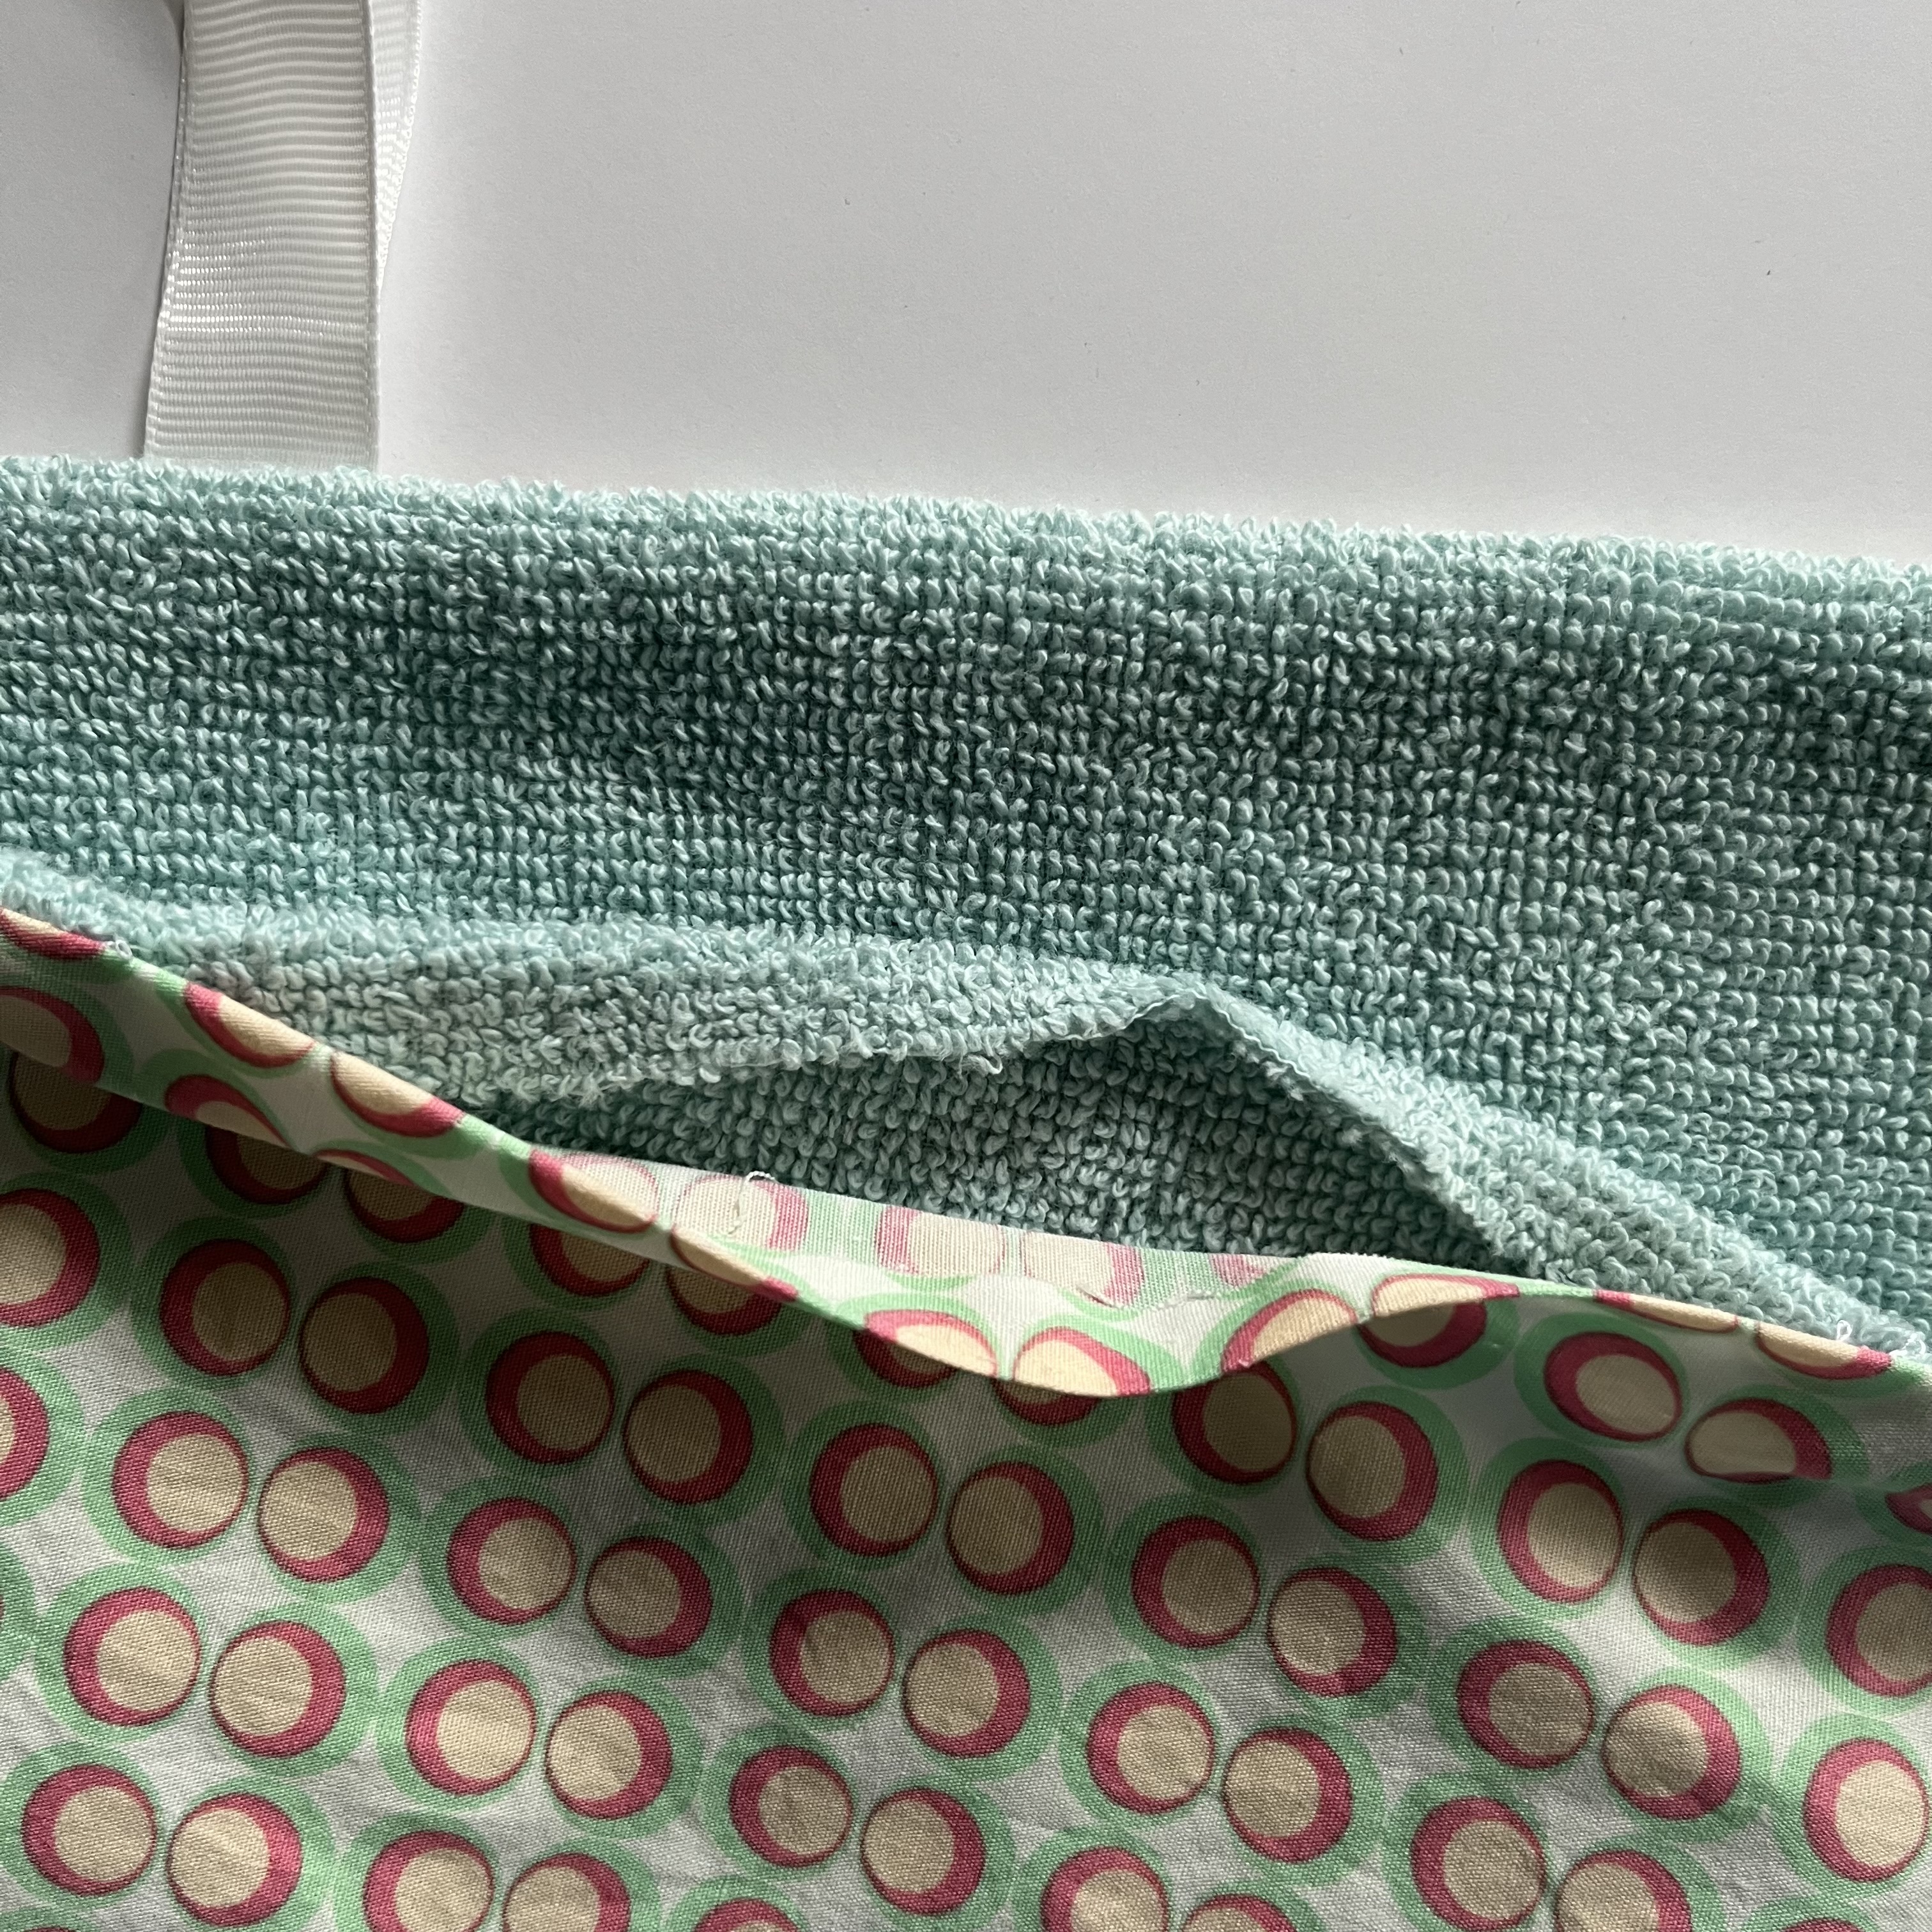
I flipped it, and topstitched around the perimeter, closing up the hole I used to turn it around.
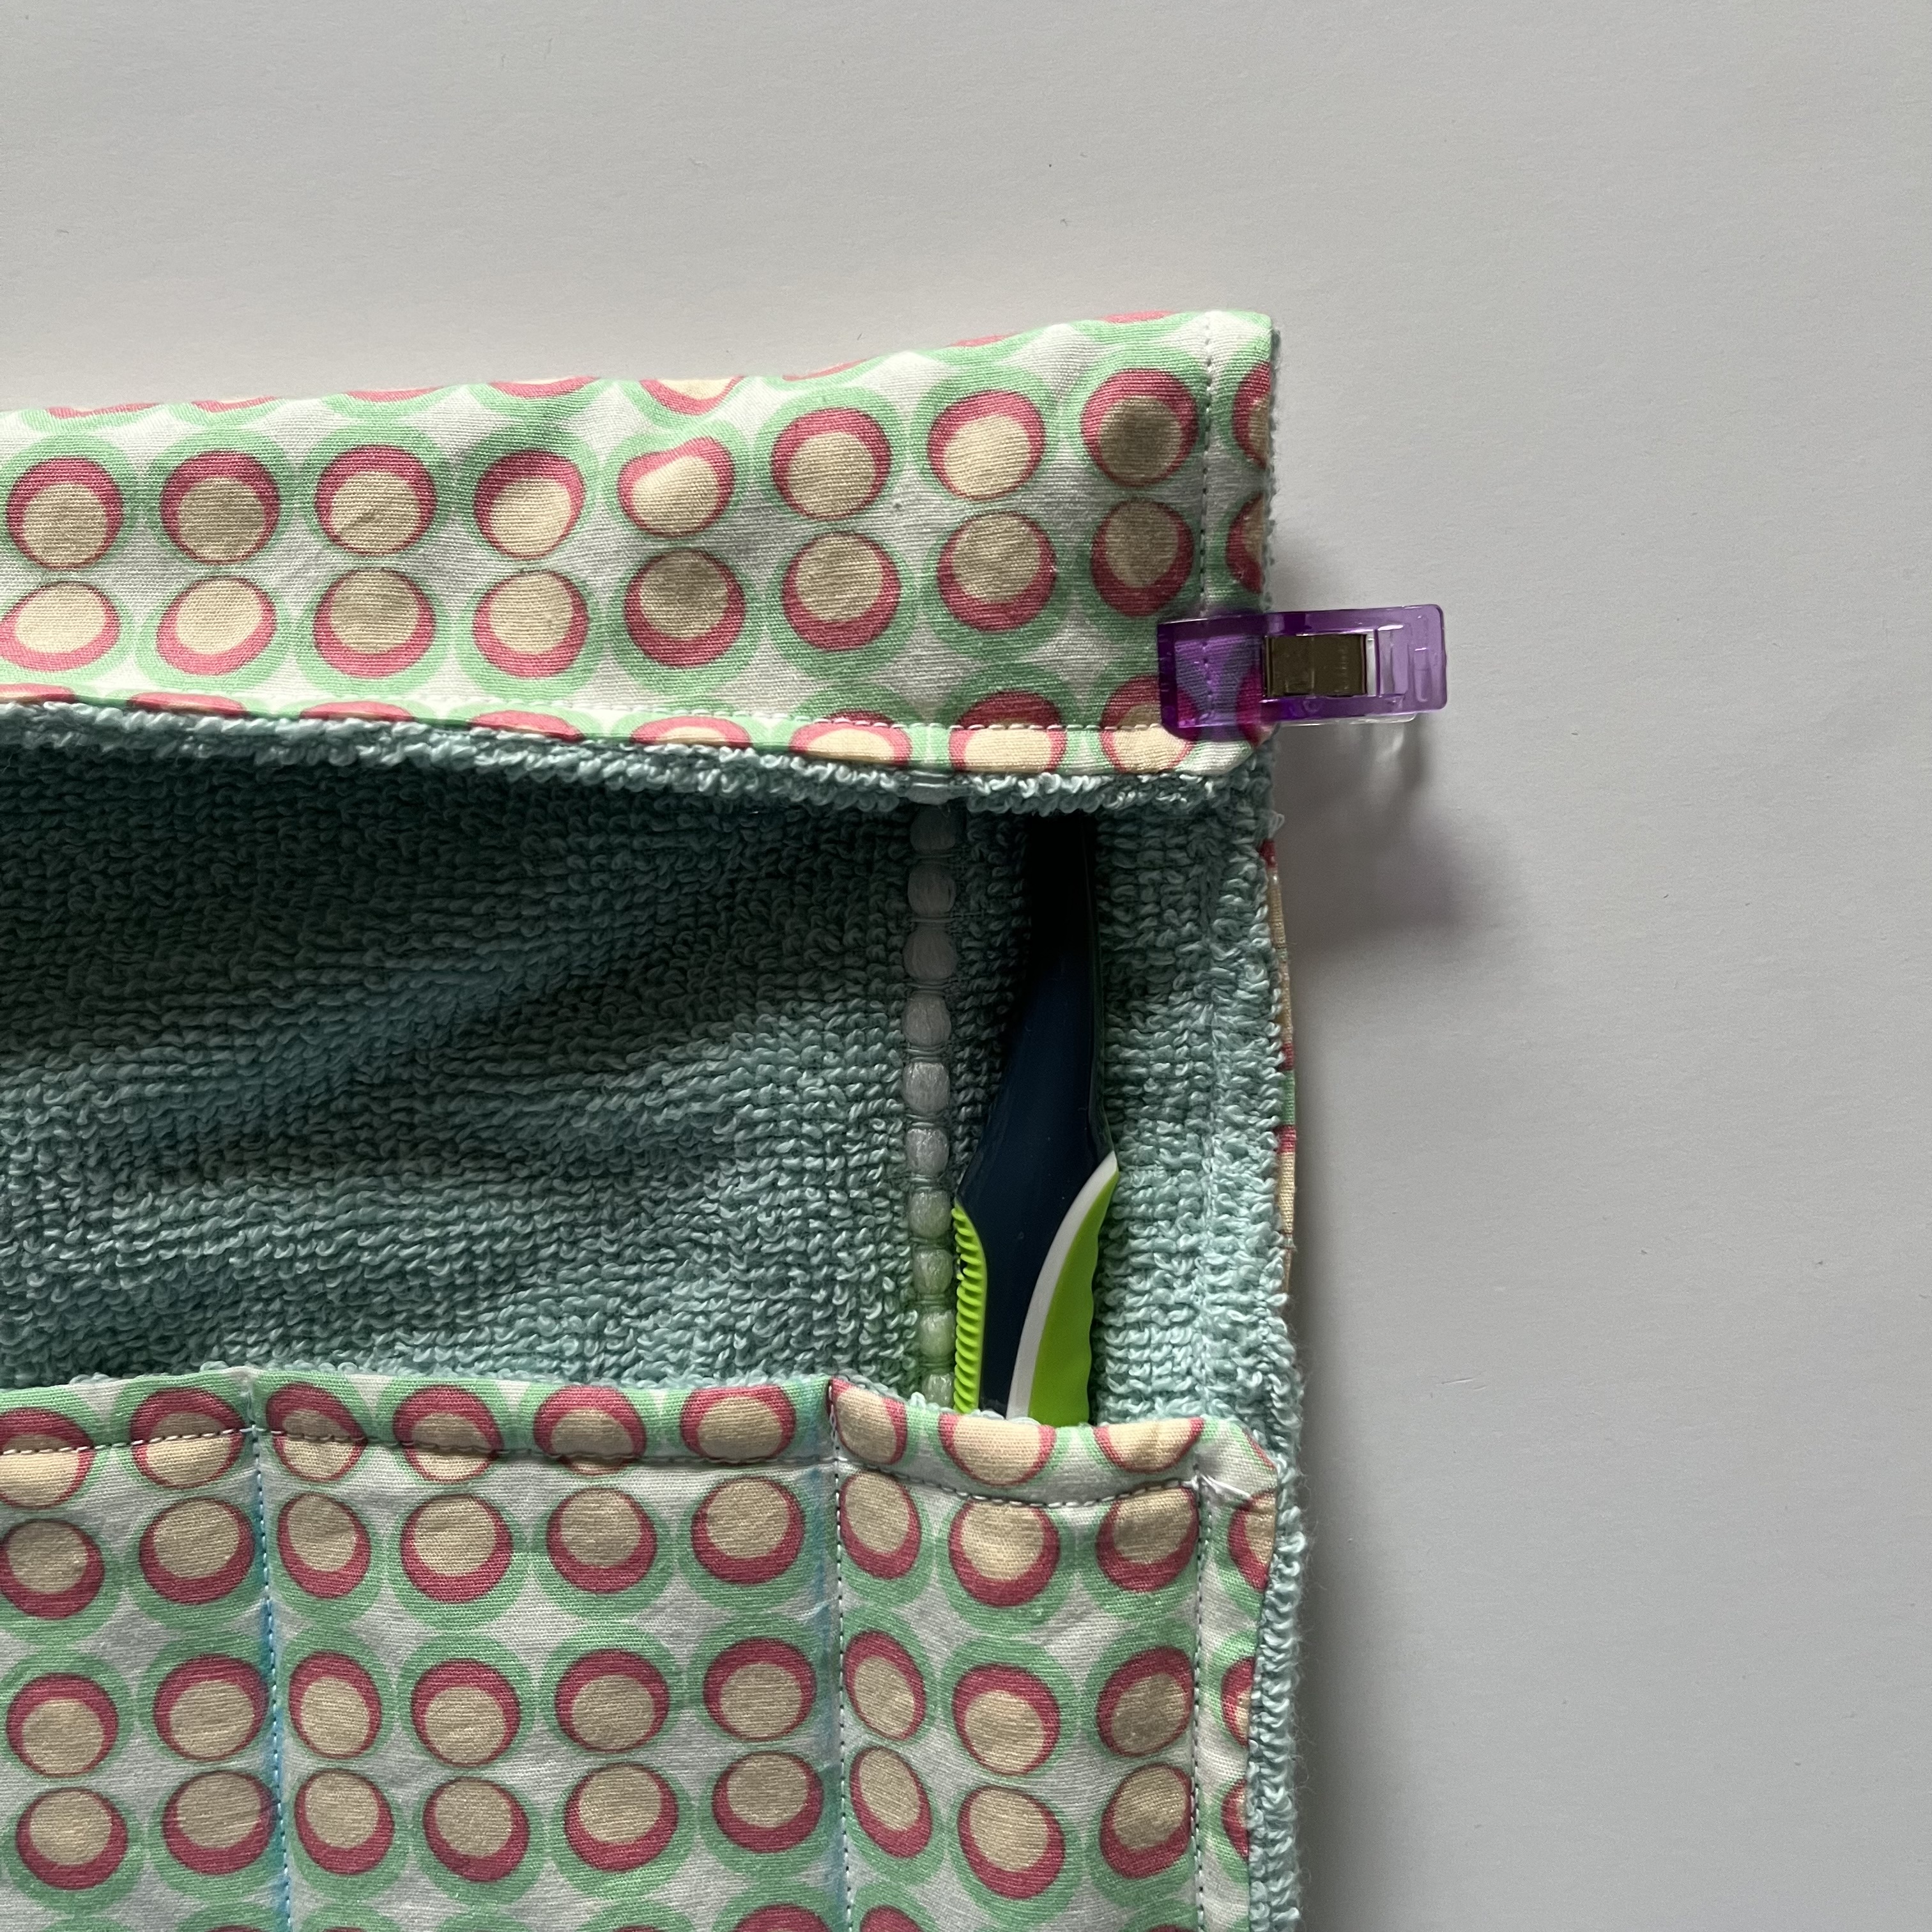
For the next part, I let the toothbrush be the guide. I set the toothbrush on the towel side and folded the bottom up far enough that it would hold the toothbrush. I also folded the top down enough so that it would protect the head of the brush. I clipped together the top and bottom folds down to hold it in place while I stitched each side down.
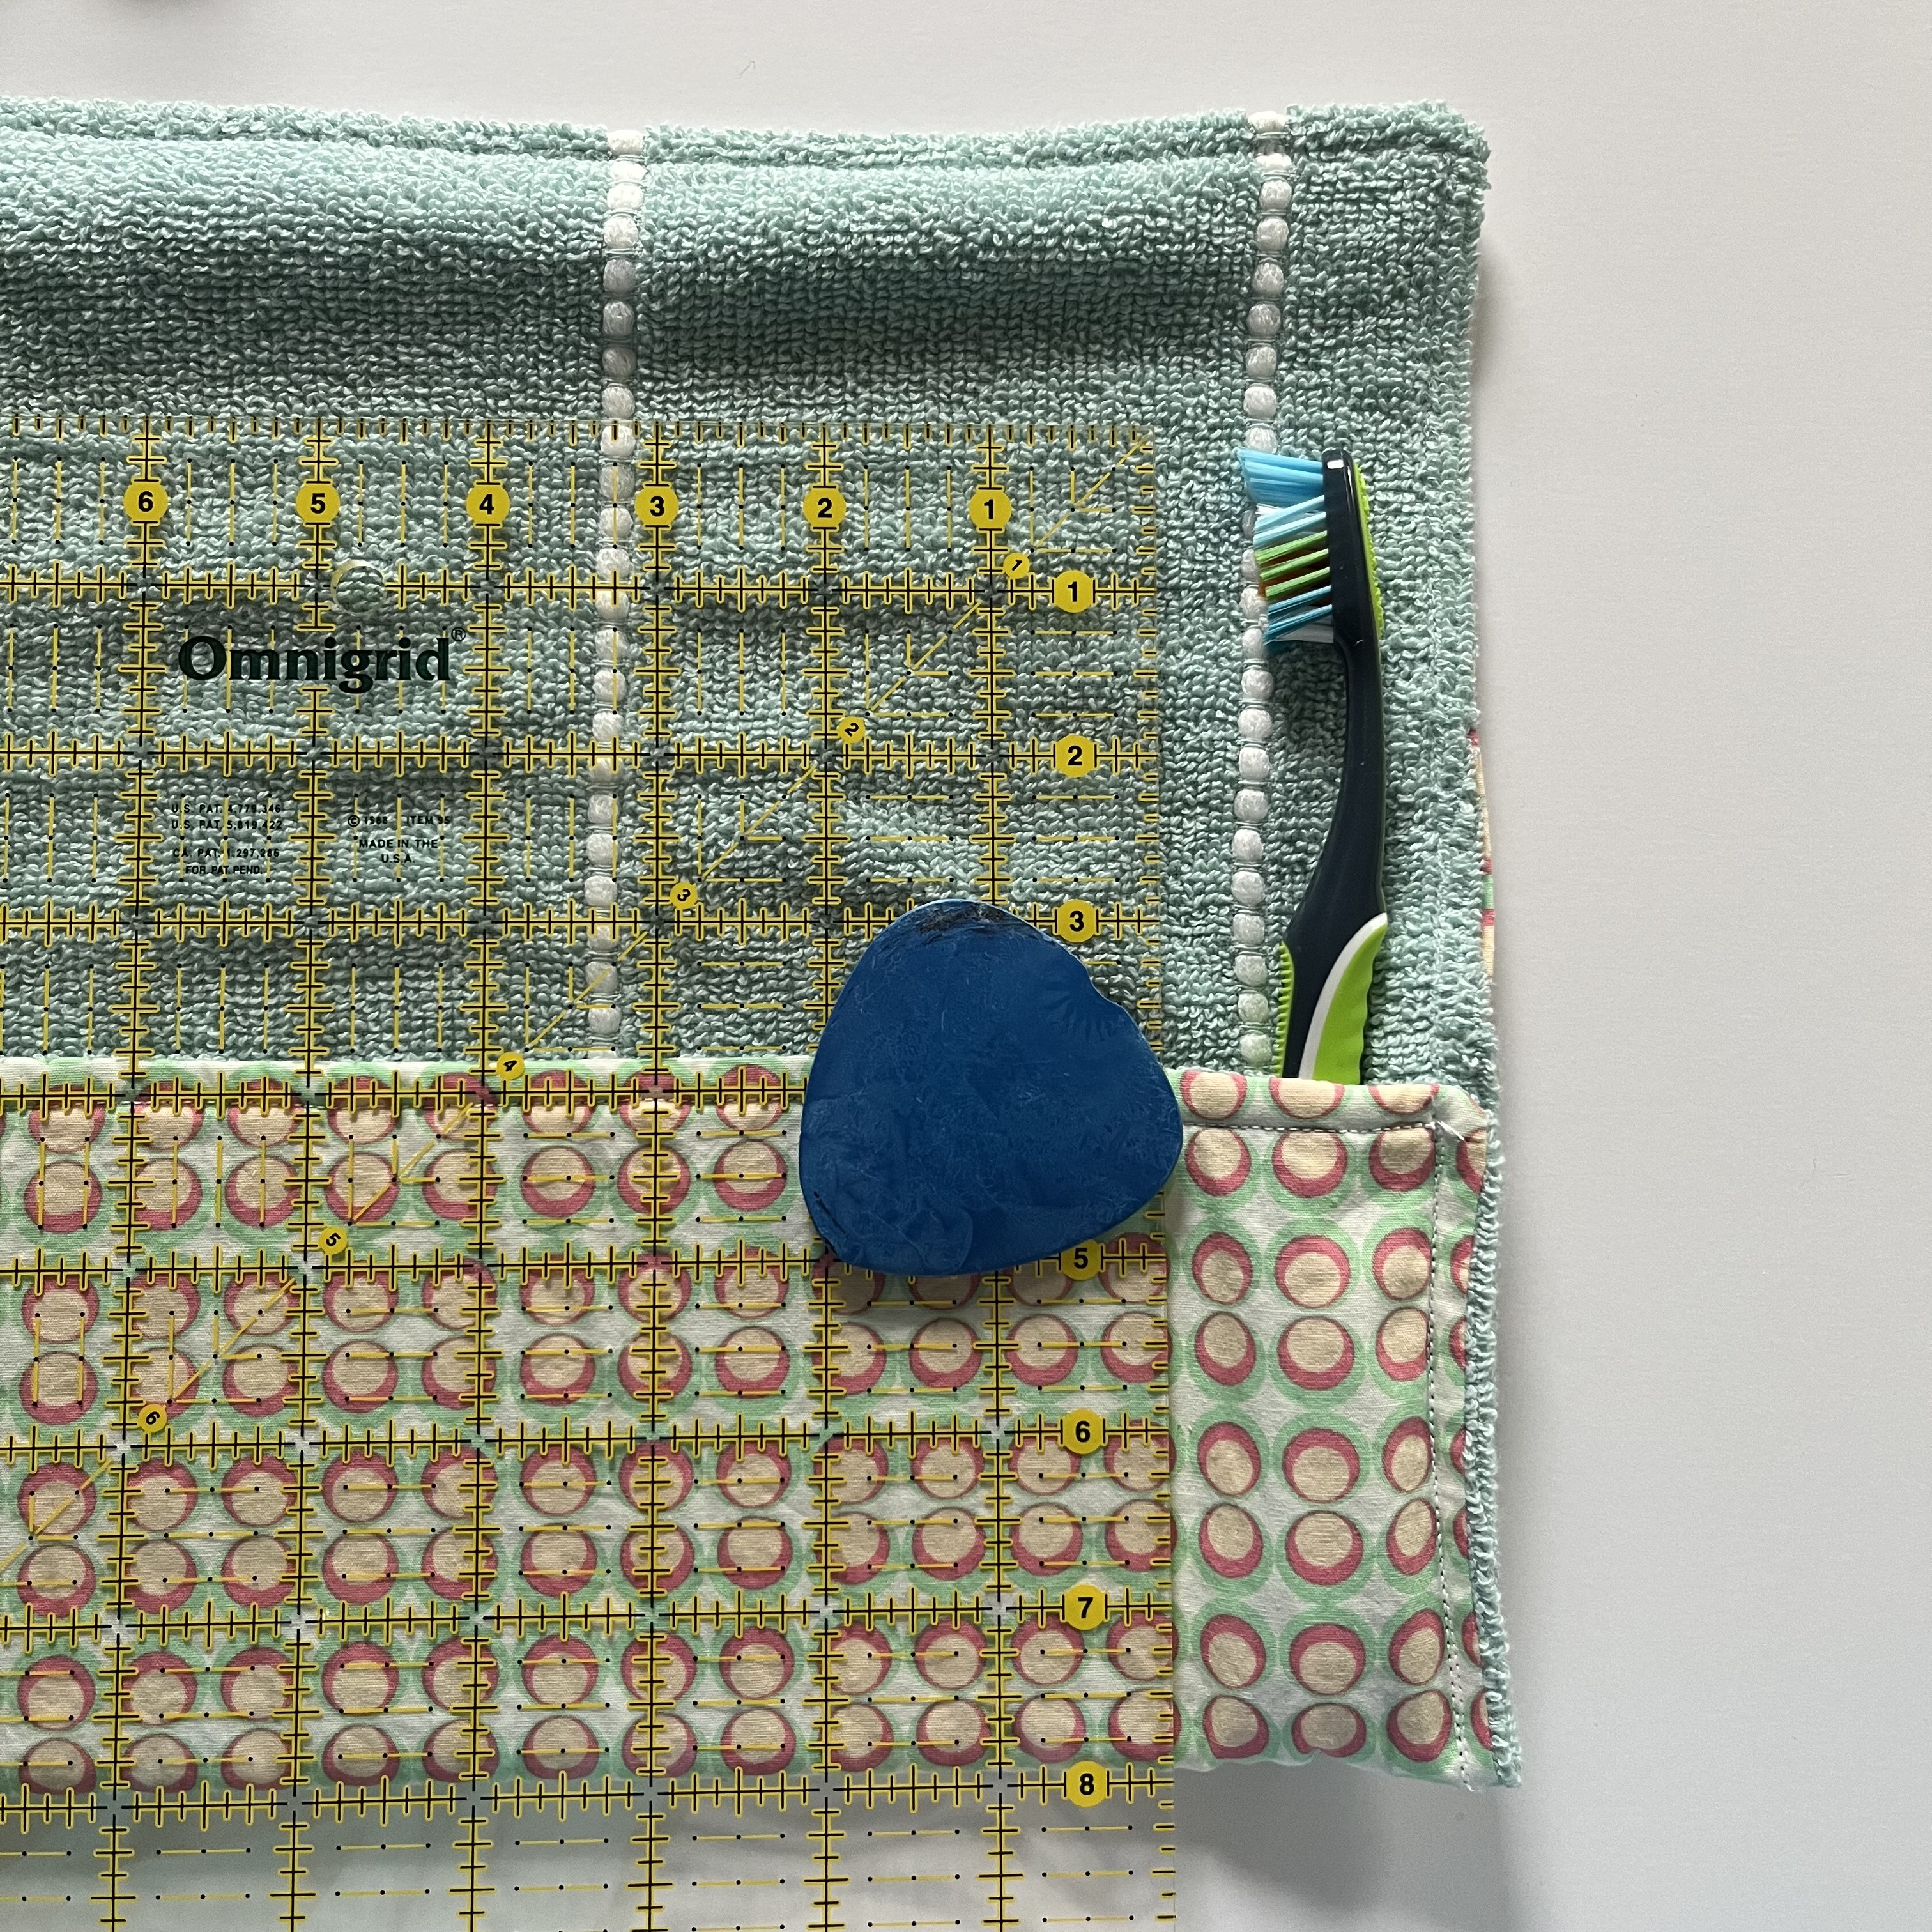
Now, using a ruler (but not for measuring!) and some tailor’s chalk, I placed each toiletry in, marked with the chalk where I needed to stitch to create a “pocket.” The ruler ensures a straight line. Then, I stitched along the marked line, and repeated this process for each toiletry I wanted this roll to hold. I was sure to leave a little wiggle room with each pocket, because toiletries don’t last forever and surely the next mini-bottle of shampoo will be larger/different shape and that wiggle room will ensure it’ll still slip in!
I’m happy with it! I stitched up a roll for each of my kids. It allows them to keep track of their own toiletries when we go on family trips. If you need a bit more detail on how this travel toiletry roll comes together, head on over to The Yellow Birdhouse’s tutorial here.

Happy sewing and safe travels!

